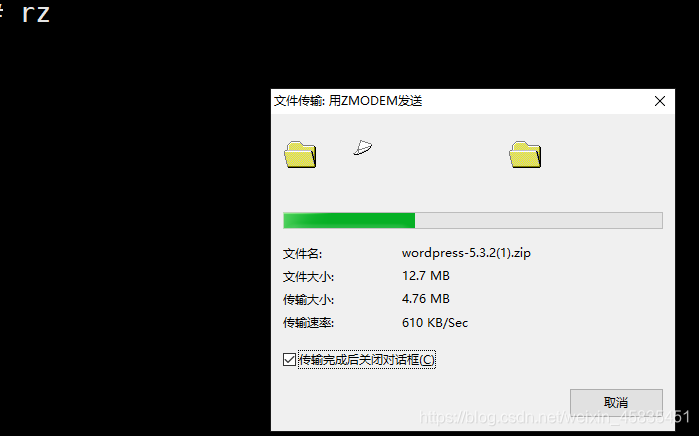
Upload wordpress

Install unzip
[root@localhost ~]# yum -y install unzip
Unpack

Move the content under wordpress to the default path of nginx /data/sevser/nginx/html/
[root@localhost wordpress]# mv * /data/sevser/nginx/html/
mv: overwrite ‘/data/sevser/nginx/html/index.php’? y
[root@localhost wordpress]# ls
[root@localhost wordpress]# cd /data/sevser/nginx/html/

Start mysql
systemctl start mysql
Configure mysql database
Initialize the database
[root@localhost html]# mysql_secure_installation
mysql_secure_installation
NOTE: RUNNING ALL PARTS OF THIS SCRIPT IS RECOMMENDED FOR ALL MySQL
SERVERS IN PRODUCTION USE! PLEASE READ EACH STEP CAREFULLY!
In order to log into MySQL to secure it, we’ll need the current
password for the root user. If you’ve just installed MySQL, and
you haven’t set the root password yet, the password will be blank,
so you should just press enter here.
Enter current password for root (enter for none):
OK, successfully used password, moving on…
Setting the root password ensures that nobody can log into the MySQL
root user without the proper authorisation.
Set root password? [Y/n] y (To set the database password for the root administrator)
New password: Enter the database password to be set for the root administrator
Re-enter new password: Enter the password again
Password updated successfully!
Reloading privilege tables...
… Success!
By default, a MySQL installation has an anonymous user, allowing anyone
to log into MySQL without having to have a user account created for
them. This is intended only for testing, and to make the installation
go a bit smoother. You should remove them before moving into a
production environment.
Remove anonymous users? [Y/n] y (Remove anonymous accounts)
… Success!
Normally, root should only be allowed to connect from ‘localhost’. This
ensures that someone cannot guess at the root password from the network.
Disallow root login remotely? [Y/n] y (Forbid root administrator to log in remotely)
… Success!
By default, MySQL comes with a database named ‘test’ that anyone can
access. This is also intended only for testing, and should be removed
before moving into a production environment.
Remove test database and access to it? [Y/n] y (Delete test database and cancel access to it)
- Dropping test database…
… Success! - Removing privileges on test database…
… Success!
Reloading the privilege tables will ensure that all changes made so far
will take effect immediately.
Reload privilege tables now? [Y/n] y (Refresh the authorization table to make the initialized settings take effect immediately)
… Success!
All done! If you’ve completed all of the above steps, your MySQL
installation should now be secure.
Thanks for using MySQL!
Cleaning up...
Log in to mysql
mysql -u root -p to
create the database required by wordpress
mysql> create database wordpress;
create a new user account
mysql>grant all on wordpress.* to wordpress@'localhost' identified by'root';
make the configuration effective
mysql> flush privileges;
exit
mysql> exit
Change the configuration file
cd /data/server/nginx/html
cp wp-config-sample.php wp-config.php
vim wp-config.php
before

modification

Reset nginx
systemctl daemon- after modification Reload
close the firewall
[root@localhost html]# iptables -F
host browser access and register account
