Foreword
Recently, after studying the functions of Office 365, I saw IRM (Information Rights Management) in SharePoint Online. I feel that it is a good function. Although it only supports Office documents and PDF, it is still a good supplement to the needs of enterprises.
Below, I will introduce to you how to open IRM for SharePoint Online.
Configure IRM
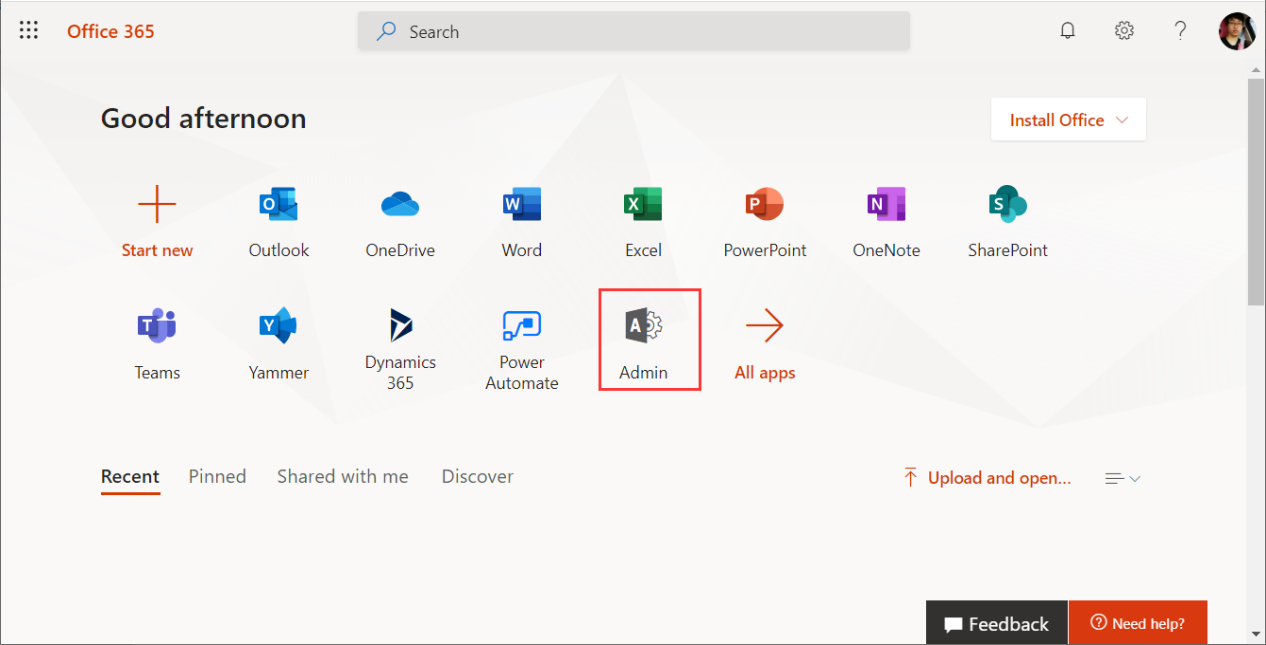
1. Enter the SharePoint Online interface, click Admin to enter the management page, as shown below:
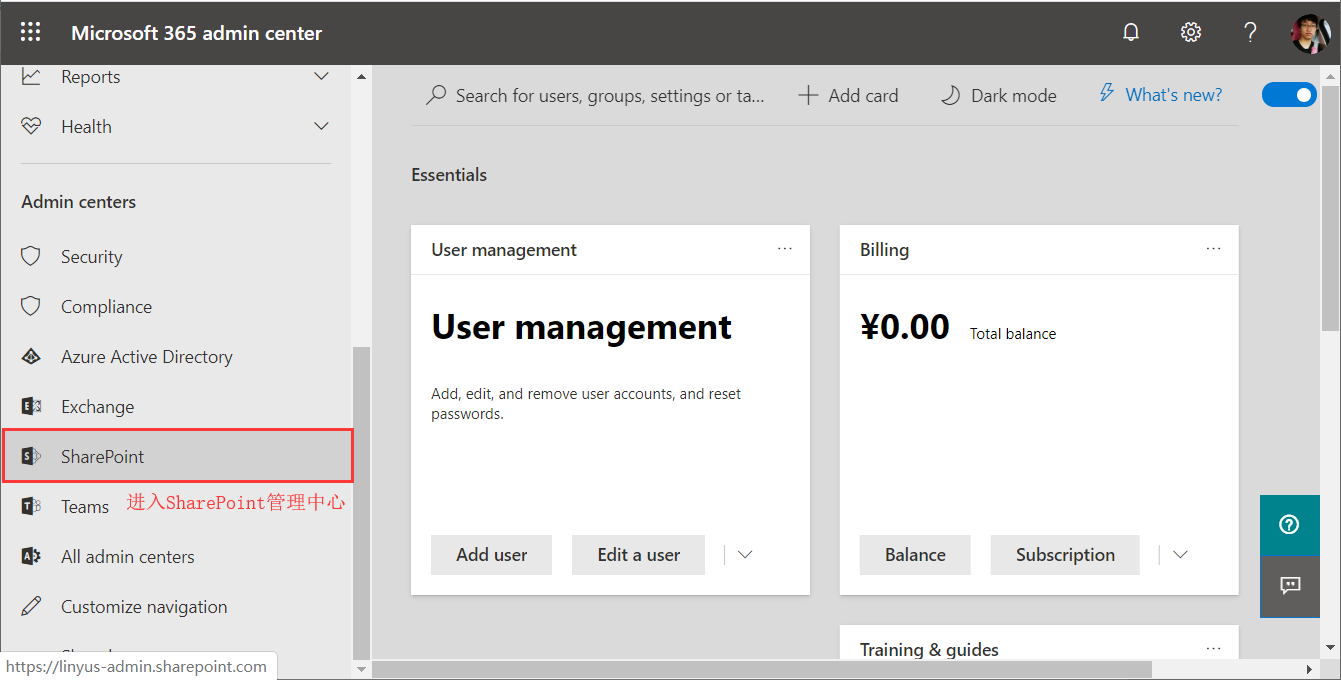
2. Click Show All in the left navigation, then find SharePoint and click to enter, as shown below:
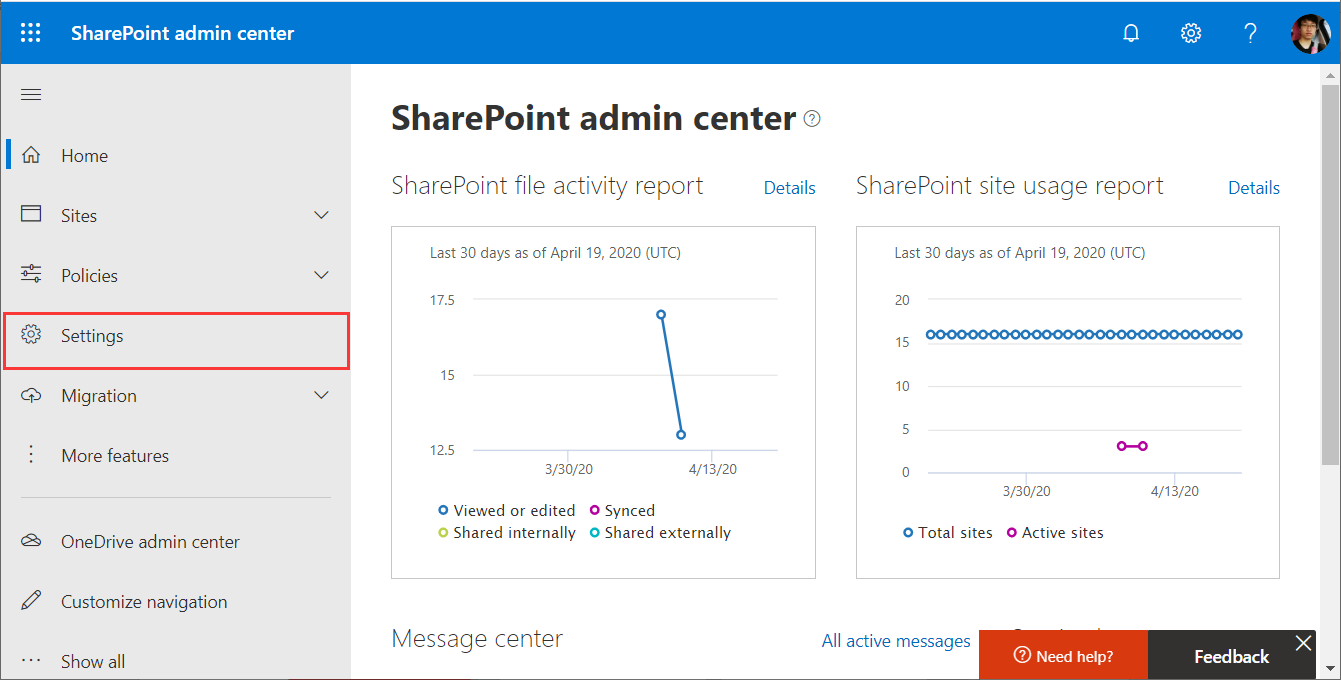
3. Click Settings to enter the settings page, as shown below:
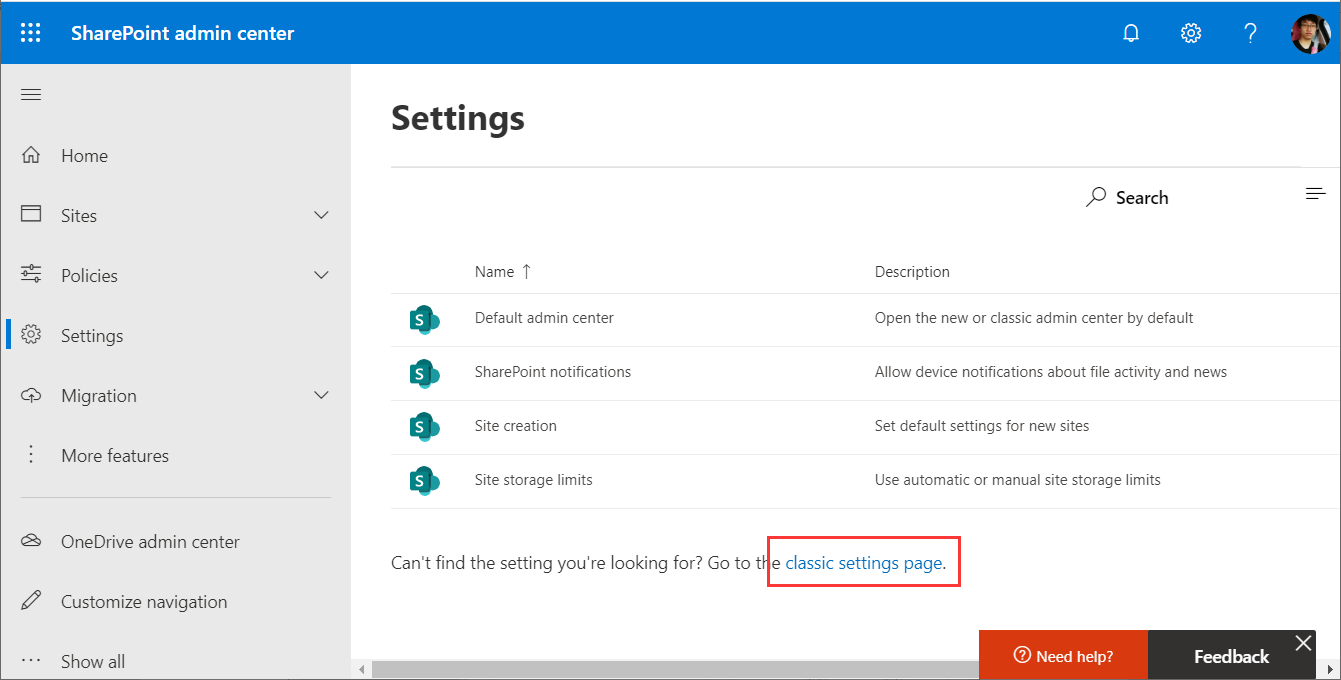
4. Click classic settings page to enter the traditional settings page, as shown below:
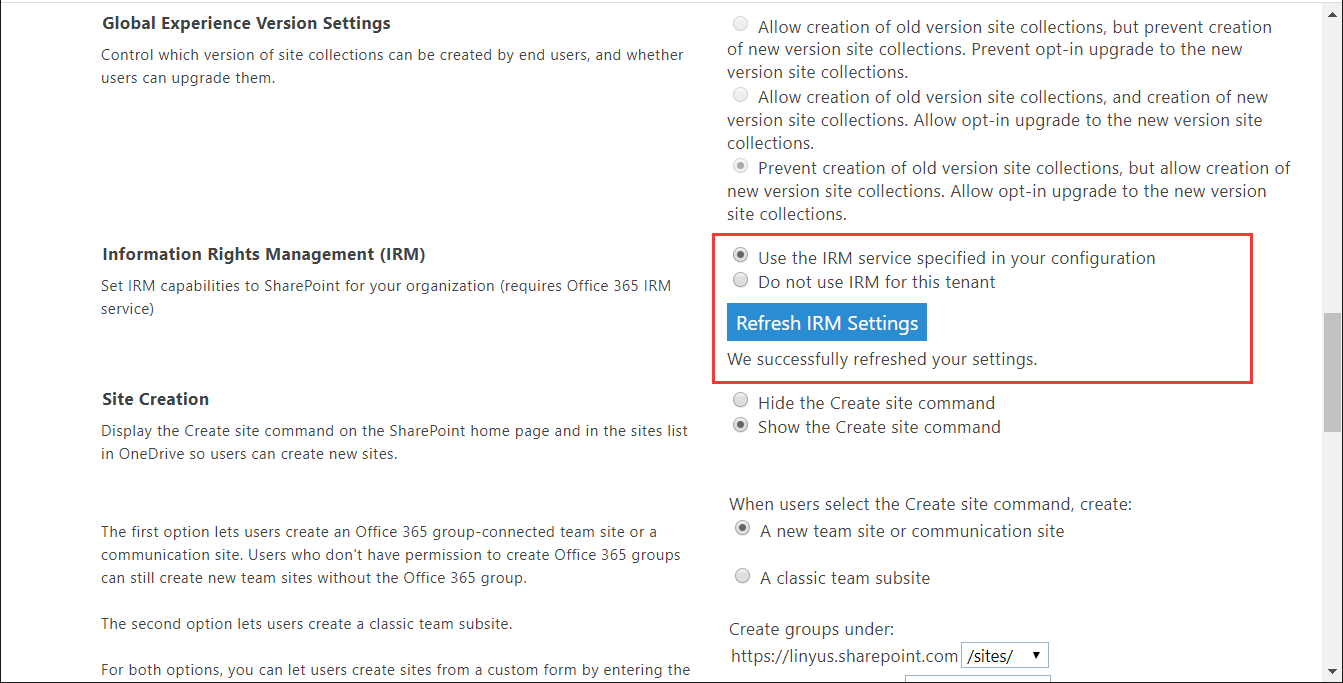
5. Find IRM, check Use the IRM service specified in your configuration, click Refresh IRM Settings, there is a red word below that IRM Online is not enabled

Turn on IRM
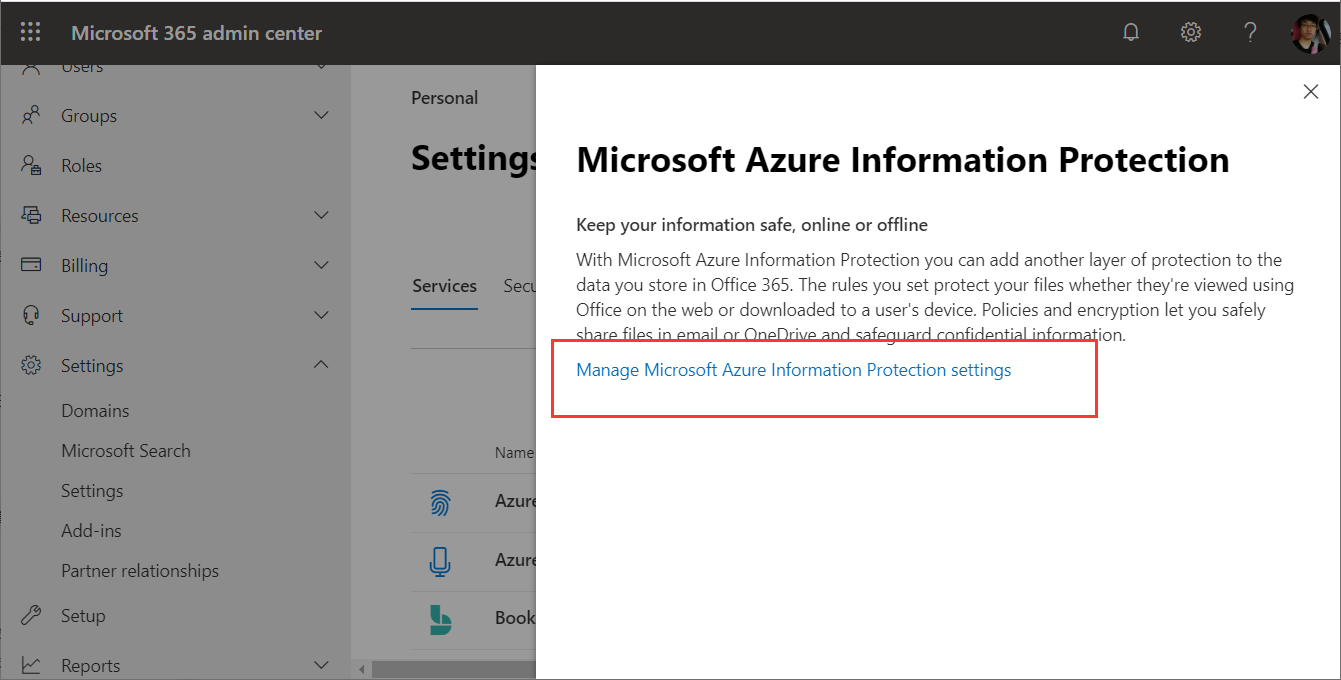
6. Enter Office 365 settings, find Microsoft Azure Information Protection, as shown below:

7. Click Manage Microsoft Azure Information Protection Settings, as shown below:
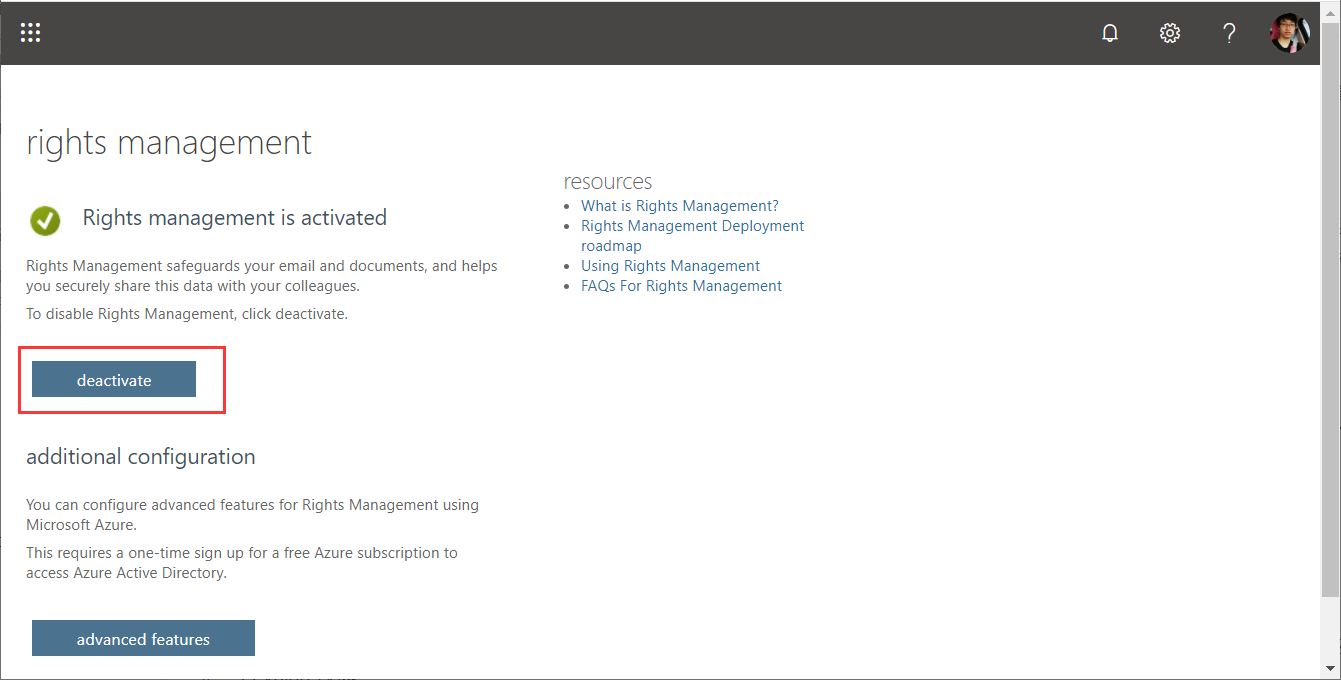
8. If it is not activated, you need to click active to activate, as shown below:
Continue to set up IRM
9. Go back to SharePoint Settings, Refresh IRM Settings found successfully, check Use ... to save, as shown below:
There is a problem here. In the previous step of setting up Office 365, you need to wait after clicking Activate. I waited for more than 4 hours before it took effect.
10. Here is the document library setting menu without IRM enabled, as shown below:
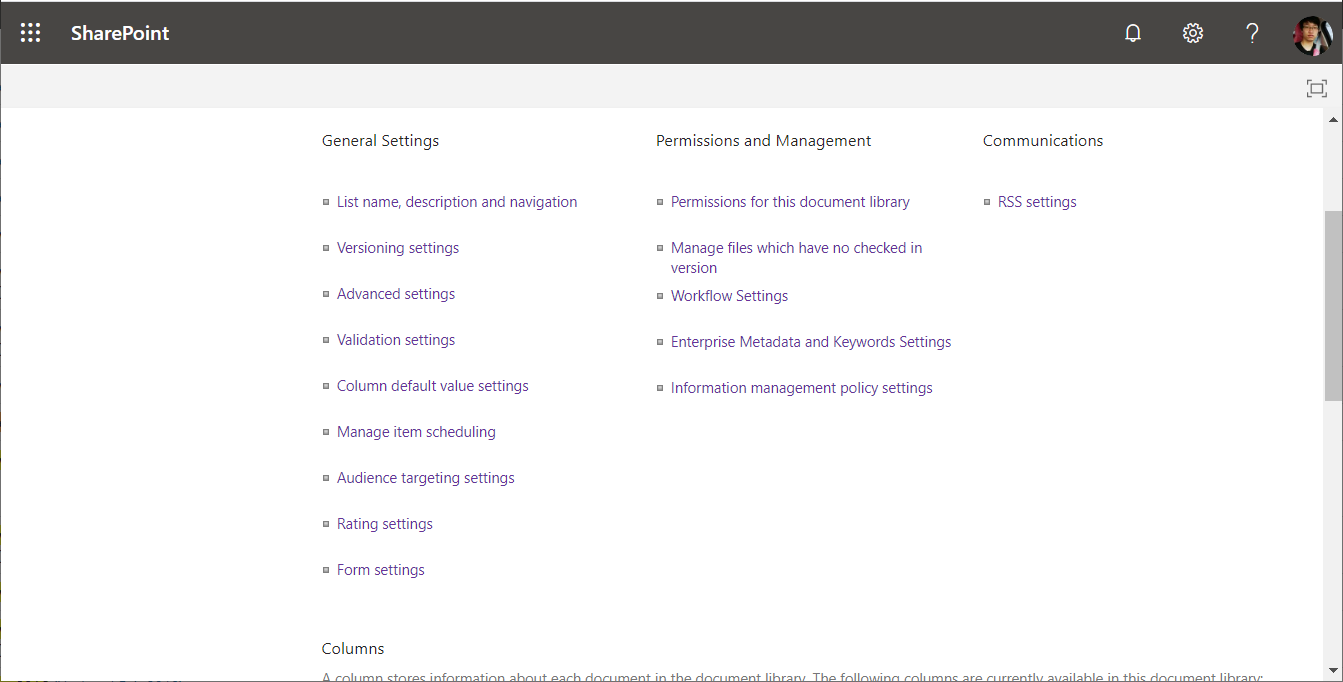
11. After saving the SharePoint IRM Settings, I waited a few more hours, the menu set in the document library, we found more Information Rights Management, as shown below:

12. Enter the settings of Information Rights Management, as shown below:

Conclusion
So far, we have enabled IRM in SharePoint Online, and we can perform more comprehensive permission control on Office documents and PDFs.