Arduino's own IDE environment has always been very simple, no syntax highlighting, no code completion, and can not quickly find jump functions and variables. It is very painful when developing a slightly more complicated project. Sometimes you need to check the library file code, and you can only search the file name on the computer to open it.
Introduction to VSCode
VSCode is a popular editor nowadays. It has the characteristics of light weight, cross-platform, and a large number of plug-in support. It supports syntax highlighting, intelligent code completion, custom shortcut keys, bracket matching and color differentiation of almost all mainstream development languages . There is also an Arduino plug-in on VSCode, which integrates all the functions on the Arduino, whether it is code burning or import library, etc. can be completed on it.
Build environment
- Download and install VSCode, the official website .

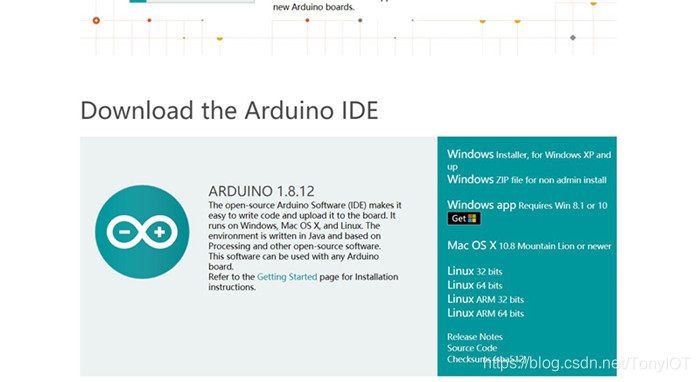
- Download the official Arduino IDE, VSCode is just an editor, you need to call the Arduino IDE to complete the program compilation, etc. Official website .
- Start VSCode, search for the Arduino plug-in and install it.

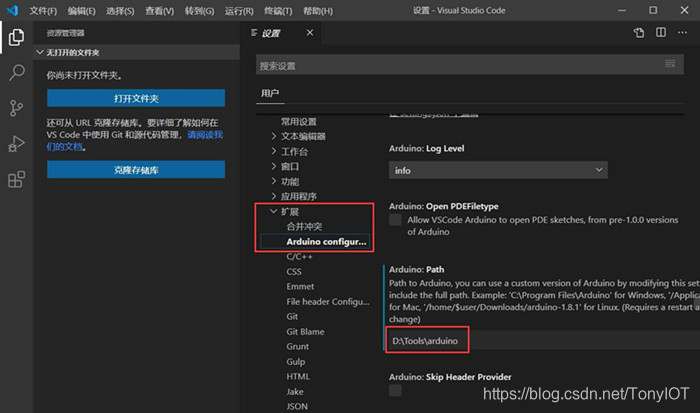
- Enter the VSCode setting interface, you can use the shortcut key "Ctrl +," to search for Arduino related settings, and add the installation path of the Arduino IDE in Path.
After the setting is completed, open a program to test it.
Use VSCode
Open the folder where the routine is located, you can also create a new folder, and then create a new arduino program.

We can click on the development board model, COM port, etc. in the status bar at the bottom of the window, and we can click the plug logo to open the serial monitor.

Click the icon at the top right of the window or use the shortcut keys to compile and upload:
- Ctrl + Alt + U compile and upload
- Ctrl + Alt + R to compile and verify
The following is a demonstration animation, let's try it.

Pay attention to the public number "TonyCode" and reply "1024" to get 1000G learning materials.
personal blog

