Sentence every day: We should not waste our lives and should be able to say: "I have done what I can do"
data visualization
# Mounting matplotlib
Import matplotlib.pyplot AS PLT
Squares = [1,4,9,16,25 ]
plt.plot (Squares)
plt.show ()
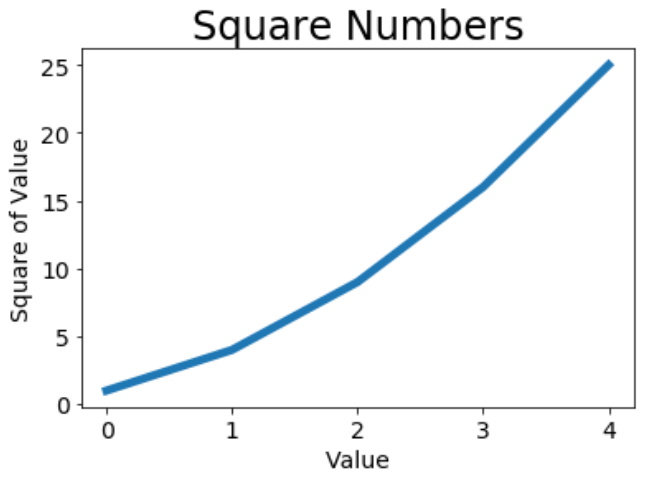
# draw simple line graph

# Modify the label text and lines
Import matplotlib.pyplot AS plt
Squares = [1,4,9,16,25 ]
plt.plot (Squares, as linewidth =. 5) # line thickness

# Set the chart title, and the coordinate labeled
plt .title ( " Square Numbers " , fontSize = 24 )
plt.xlabel ( " the Value " , fontSize = 14 )
plt.ylabel ( " Square of the Value " , fontSize = 14 )
 # set the size of the tick marks
plt.tick_params (axis = ' both ' , labelsize = 14 )
plt.show ()
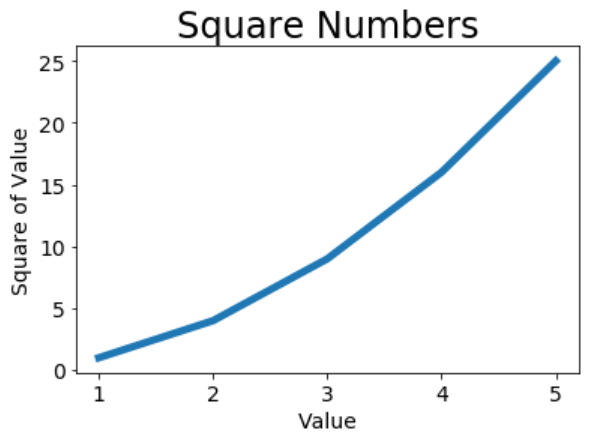
# Correction pattern
Import matplotlib.pyplot AS PLT
input_values = [1,2,3,4,5 ]
Squares = [1,4,9,16,25 ]
plt.plot (input_values, Squares, as linewidth =. 5) # line thickness

# set the chart title, and the coordinate tagged
plt.title ( " Square Numbers " , fontSize = 24 )
plt.xlabel ( " the Value " , fontSize = 14 )
plt.ylabel ( " Square of the Value " , fontSize = 14 )
 # set the size of the tick marks
plt.tick_params (Axis = ' both ' , 14 = labelsize)
plt.show()
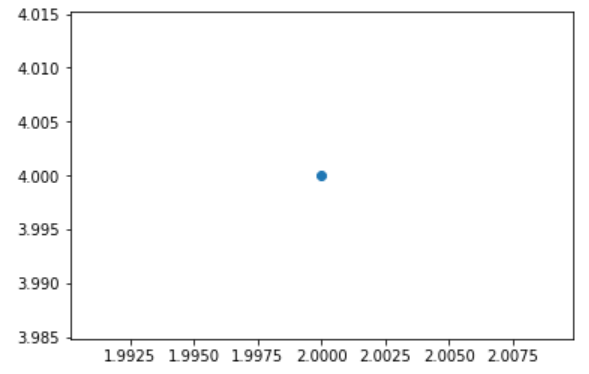
# Use Scatter () plotted scattergram and styling
Import matplotlib.pyplot AS PLT
plt.scatter ( 2,4 )
plt.show ()
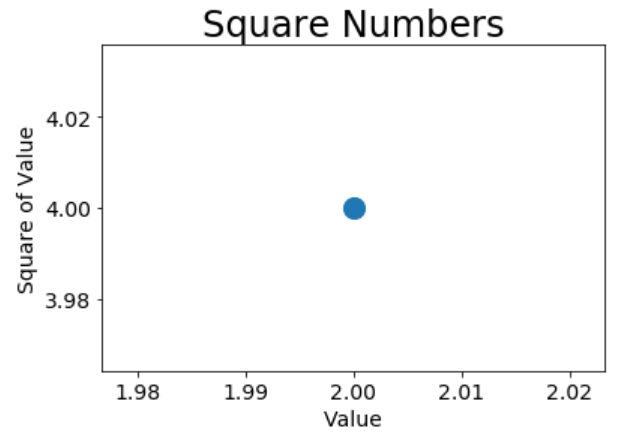
# modify
plt.scatter (2,4, S = 200 is )
# Set the chart title and a coordinate axis labeled
plt.title ( " Square Numbers " , fontSize = 24 )
plt.xlabel ( " the Value " , fontSize = 14 )
plt.ylabel ( " Square of the Value " , fontSize = 14 )
# set scale markings The size of
plt.tick_params (axis = ' both ' , which = ' major ',labelsize=14)
plt.show()
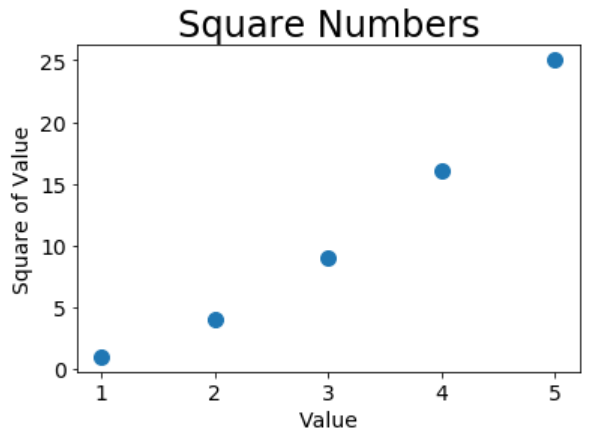
# 使用scatter()绘制绘制一系列点
import matplotlib.pyplot as plt
x_value=[1,2,3,4,5]
y_value=[1,4,9,16,25]
plt.scatter(x_value,y_value,s=100)

# 设置图表标题并给坐标轴加上标签
plt.title("Square Numbers",fontsize=24)
plt.xlabel("Value",fontsize=14)
plt.ylabel("Square of Value",fontsize=14)
# 设置刻度标记的大小
plt.tick_params(axis='both',which='major',labelsize=14)
plt.show()
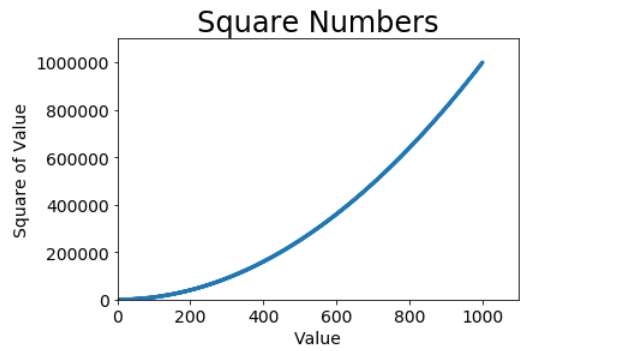
# 自动计算数据
import matplotlib.pyplot as plt
x_value=list(range(1,1001))
y_value=[x**2 for x in x_value]
plt.scatter(x_value,y_value,s=10)

# 设置图表标题并给坐标轴加上标签
plt.title("Square Numbers",fontsize=24)
plt.xlabel("Value",fontsize=14)
plt.ylabel("Square of Value",fontsize=14)
# 设置刻度标记的大小
plt.tick_params(axis='both',which='major',labelsize=14)

#设置每个坐标轴的取值范围
plt.axis([0,1100,0,1100000])

plt.show()
print("----------------------------------分割线--------------------------------")
# 删除数据点的轮廓
plt.scatter(x_value,y_value,edgecolor='none',s=10)

# 设置图表标题并给坐标轴加上标签
plt.title("Square Numbers",fontsize=24)
plt.xlabel("Value",fontsize=14)
plt.ylabel("Square of Value",fontsize=14)
# 设置刻度标记的大小
plt.tick_params(axis='both',which='major',labelsize=14)

#设置每个坐标轴的取值范围
plt.axis([0,1100,0,1100000])

plt.show()

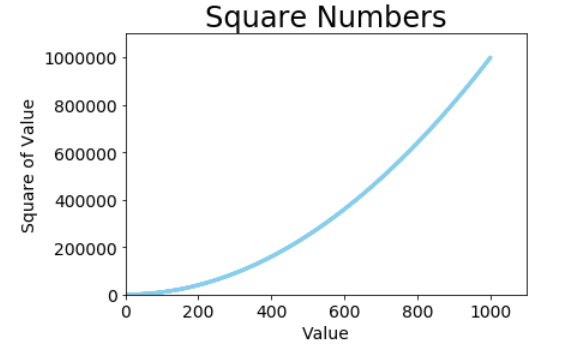
# 自定义颜色
import matplotlib.pyplot as plt
x_value=list(range(1,1001))
y_value=[x**2 for x in x_value]
# 删除数据点的轮廓
plt.scatter(x_value,y_value,c='skyblue',edgecolor='none',s=10)
# c='x',x可以是颜色单词也可以是元组RGB(a,b,c)
# 设置图表标题并给坐标轴加上标签
plt.title("Square Numbers",fontsize=24)
plt.xlabel("Value",fontsize=14)
plt.ylabel("Square of Value",fontsize=14)
# 设置刻度标记的大小
plt.tick_params(axis='both',which='major',labelsize=14)

#设置每个坐标轴的取值范围
plt.axis([0,1100,0,1100000])

plt.show()
# 使用颜色映射
import matplotlib.pyplot as plt
x_value=list(range(1,1001))
y_value=[x**2 for x in x_value]

# 删除数据点的轮廓
plt.scatter(x_value,y_value,c=y_value,cmap=plt.cm.Blues,edgecolor='none',s=30)
# c='x',x可以是颜色单词也可以是元组RGB(a,b,c)

# 设置图表标题并给坐标轴加上标签
plt.title("Square Numbers",fontsize=24)
plt.xlabel("Value",fontsize=14)
plt.ylabel("Square of Value",fontsize=14)
# 设置刻度标记的大小
plt.tick_params(axis='both',which='major',labelsize=14)

#设置每个坐标轴的取值范围
plt.axis([0,1100,0,1100000])

plt.show()
# 了解pyplot中所有的颜色映射,访问http://matplotlib.org/
# 点击Examples,向下滚动到ColorExample,再点击colormaps_reference
print("http://matplotlib.org/")

import matplotlib.pyplot as plt
x_value=list(range(1,1001))
y_value=[x**2 for x in x_value]

# 删除数据点的轮廓
plt.scatter(x_value,y_value,c=y_value,cmap=plt.cm.Blues,edgecolor='none',s=30)
# c='x',x可以是颜色单词也可以是元组RGB(a,b,c)

# 设置图表标题并给坐标轴加上标签
plt.title("Square Numbers",fontsize=24)
plt.xlabel("Value",fontsize=14)
plt.ylabel("Square of Value",fontsize=14)
# 设置刻度标记的大小
plt.tick_params(axis='both',which='major',labelsize=14)

#设置每个坐标轴的取值范围
plt.axis([0,1100,0,1100000])

# 自动保存图表
plt.savefig('squares_plot.png',bbox_inches='tight')
