Reprinted from the original link
1, first download the Android studio installation package, you can download the latest version from http://www.android-studio.org/, where the use demo version 3.0, the corresponding installation package for the android-studio-ide-183.5522156- Windows, the installation package size is 971 MB, and the installation package does not come with SDK.
2.

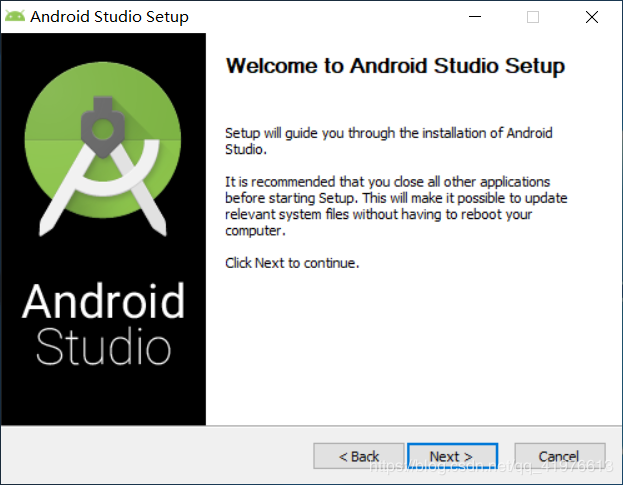
3. The installation after downloading
will follow the following steps:

The next step is to choose the installation path. Personally recommend that you do n’t change it if the memory is large. I edited it here in the
D: \ android \ android studio
D: \ android \ android studio
D: \ android \ android studio
folder Just create a new one
(said three times, the picture is wrong !!!)

This basic part has been completed.
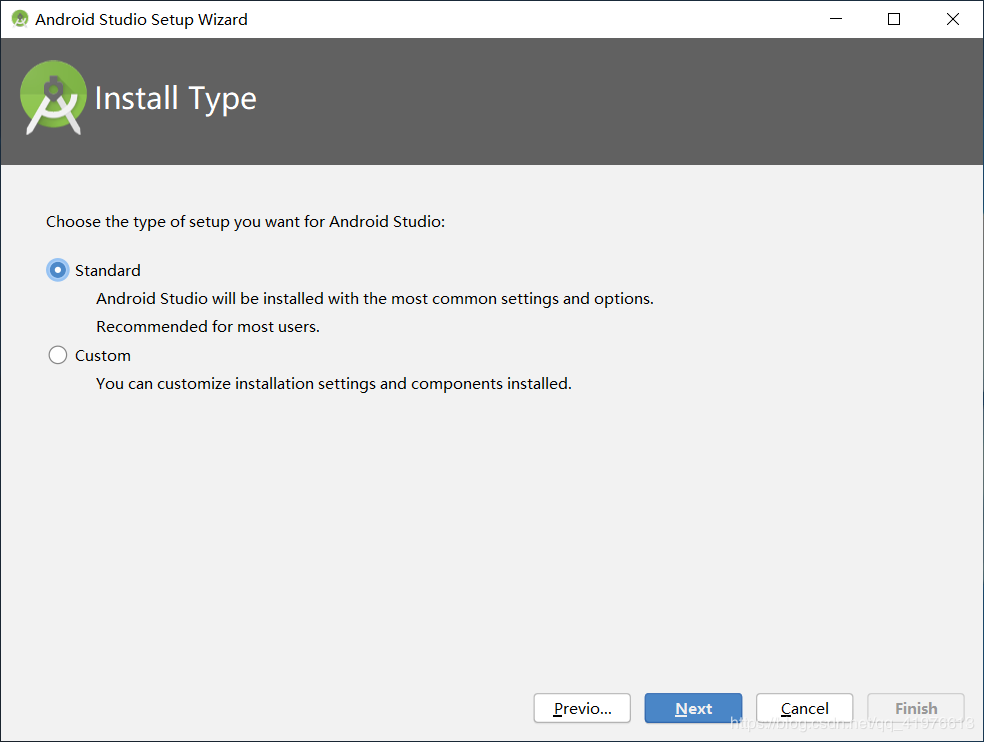
4. The following must be completed step by step, carefully step by step:
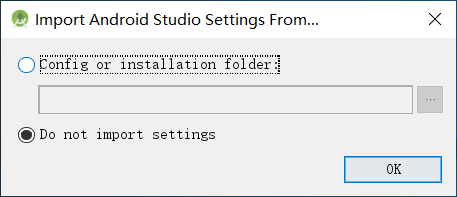
Click the second
Then there will be various prompts, the next step is here
After installing this
custom,
you can change the installation location, otherwise, you can only install it on the C drive
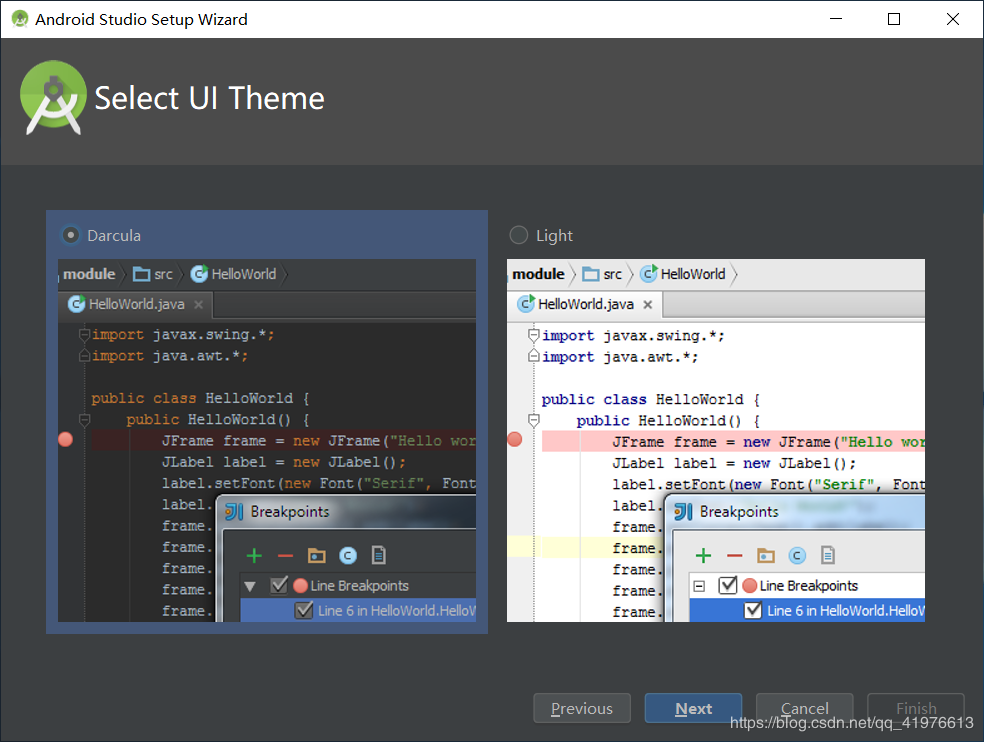
Choose the theme style: (driving warning: Xiaobian likes black siiiiiii ..., you choose it yourself)
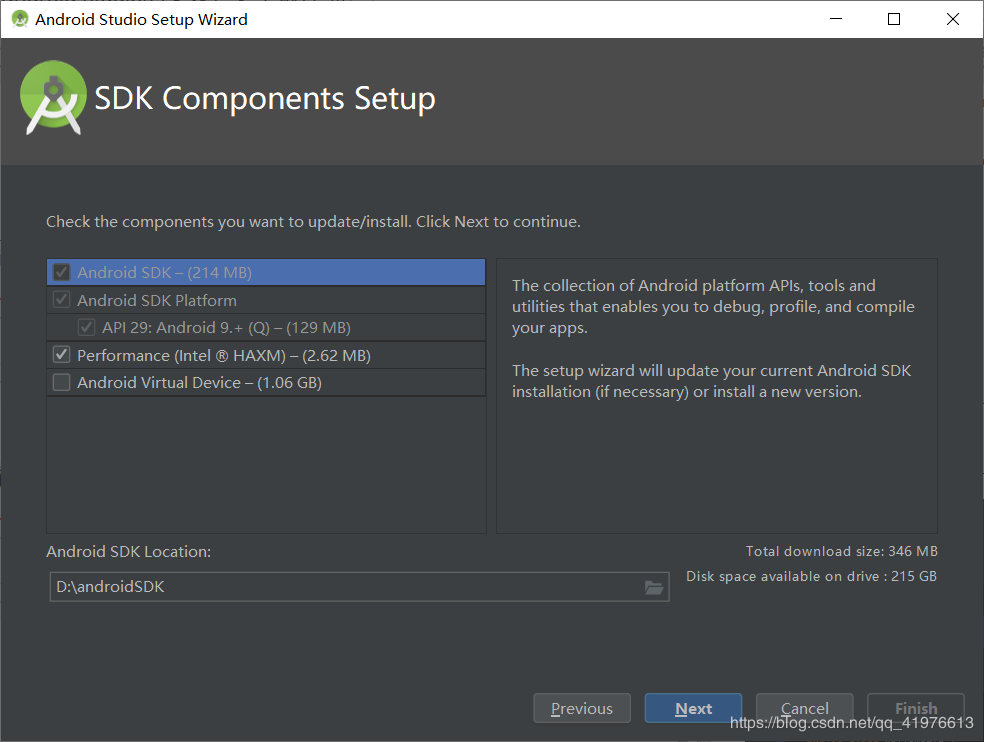
If you need to change the installation path below, you must change
to no punctuation, (do not have spaces, etc., in addition, Chinese can not appear !!! All paths in this article, Chinese can not appear !!! Novices follow my go installation like, do not need to bother to change the)
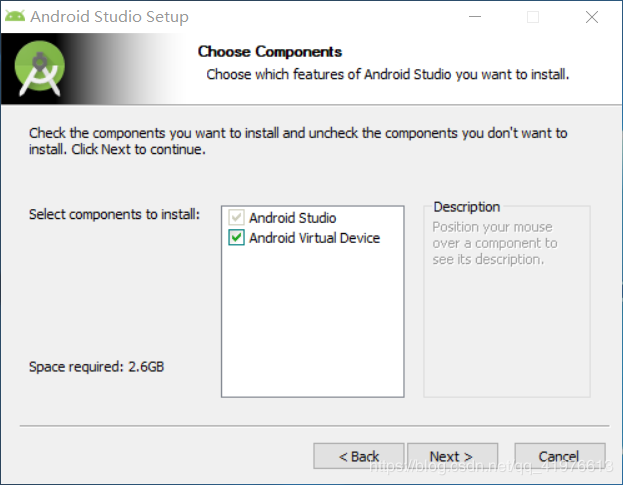
check the contents with reference to FIG.
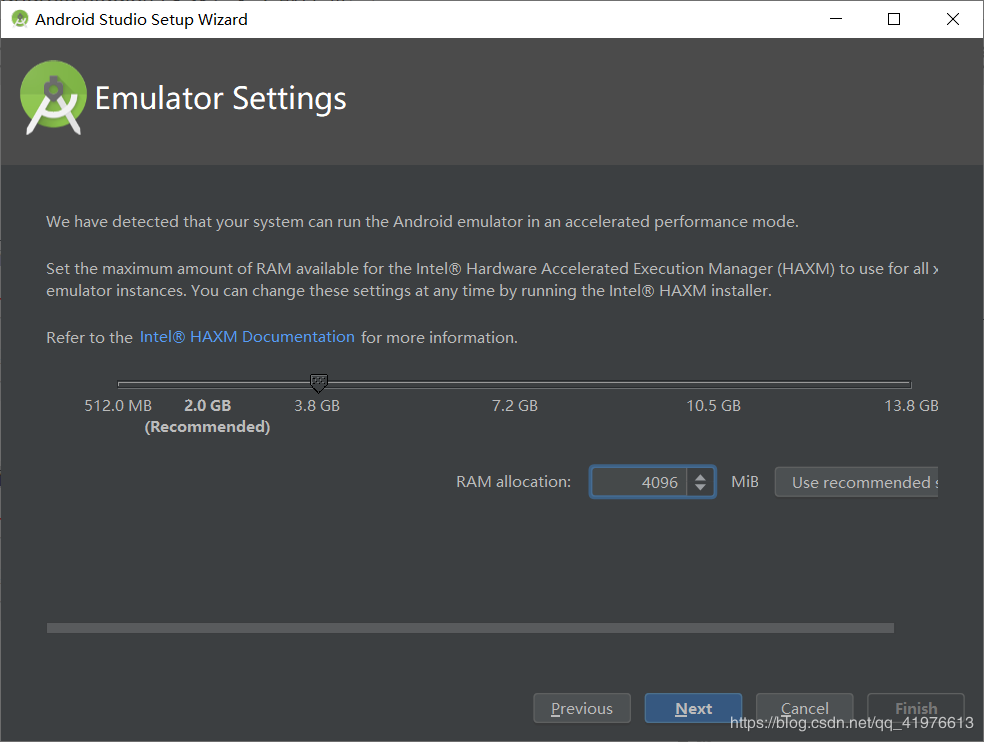
The choice of memory, I personally is a 16G memory stick. I chose 4096MB. You can choose according to the situation. It is best not to be lower than 2G (2048MB)
At this next step, start to run crazy installation:
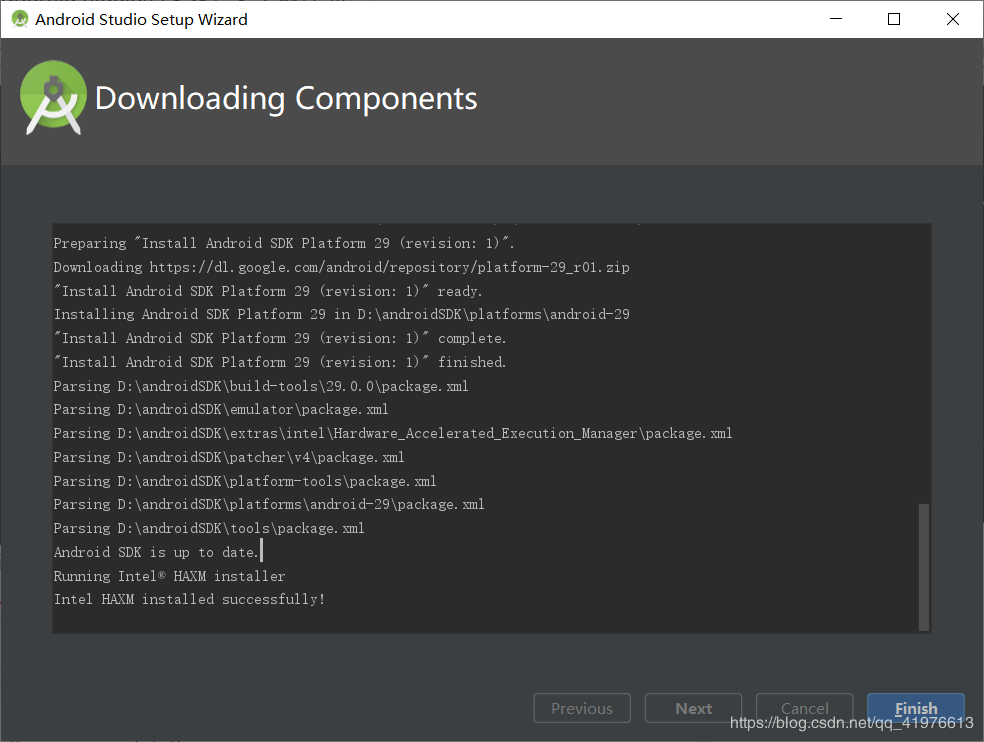
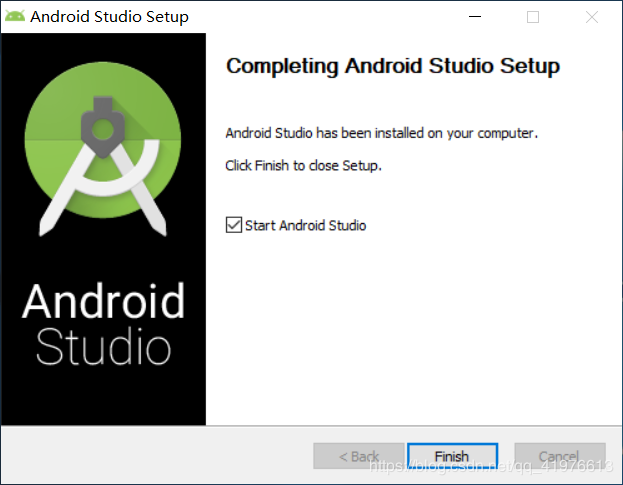
Of course, it is a choice!
I finally saw the dawn !!
The picture below!
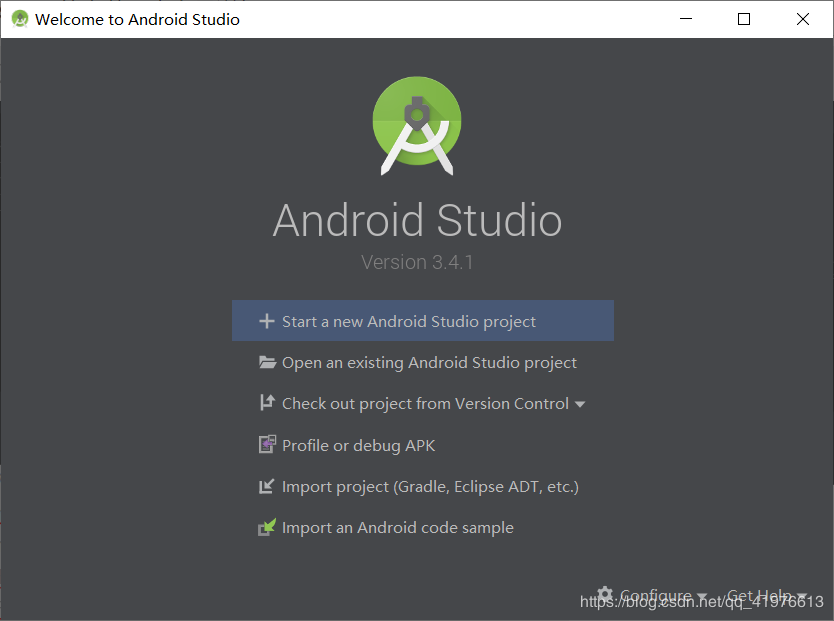
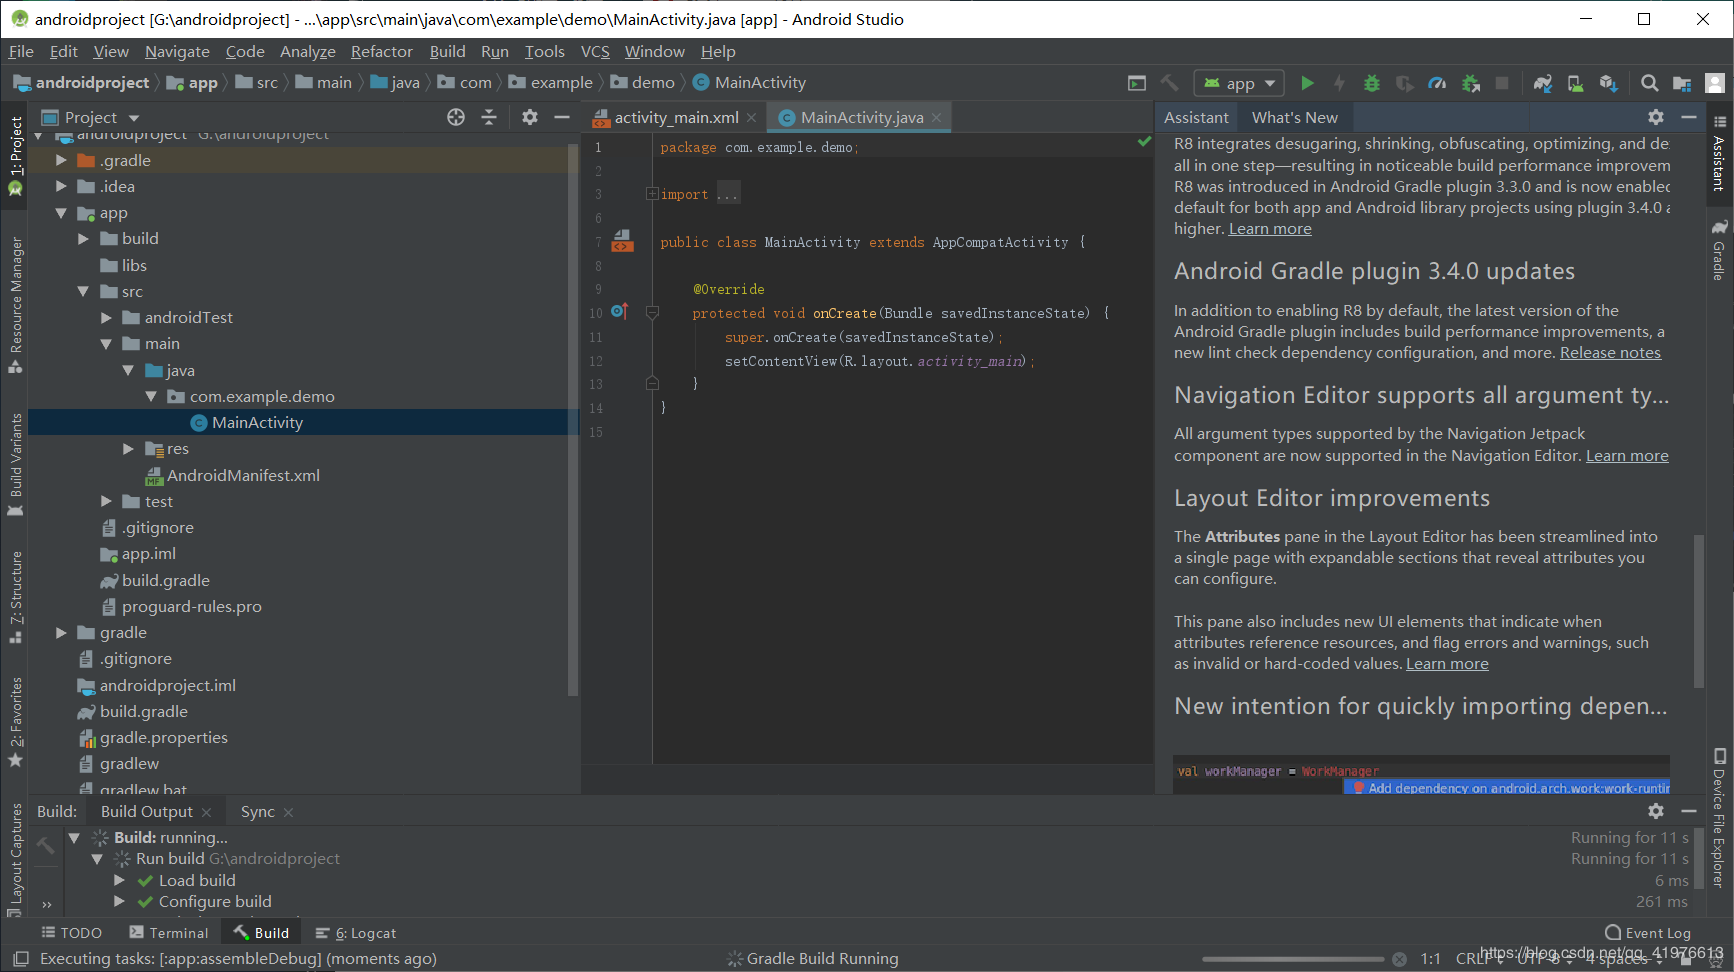
5. Start to demonstrate the first hello world program!
Click start a new balabala in the picture above ... The
demo is a blank case, and no other template is displayed!

Project name, domain name, language, API level, just choose according to your needs
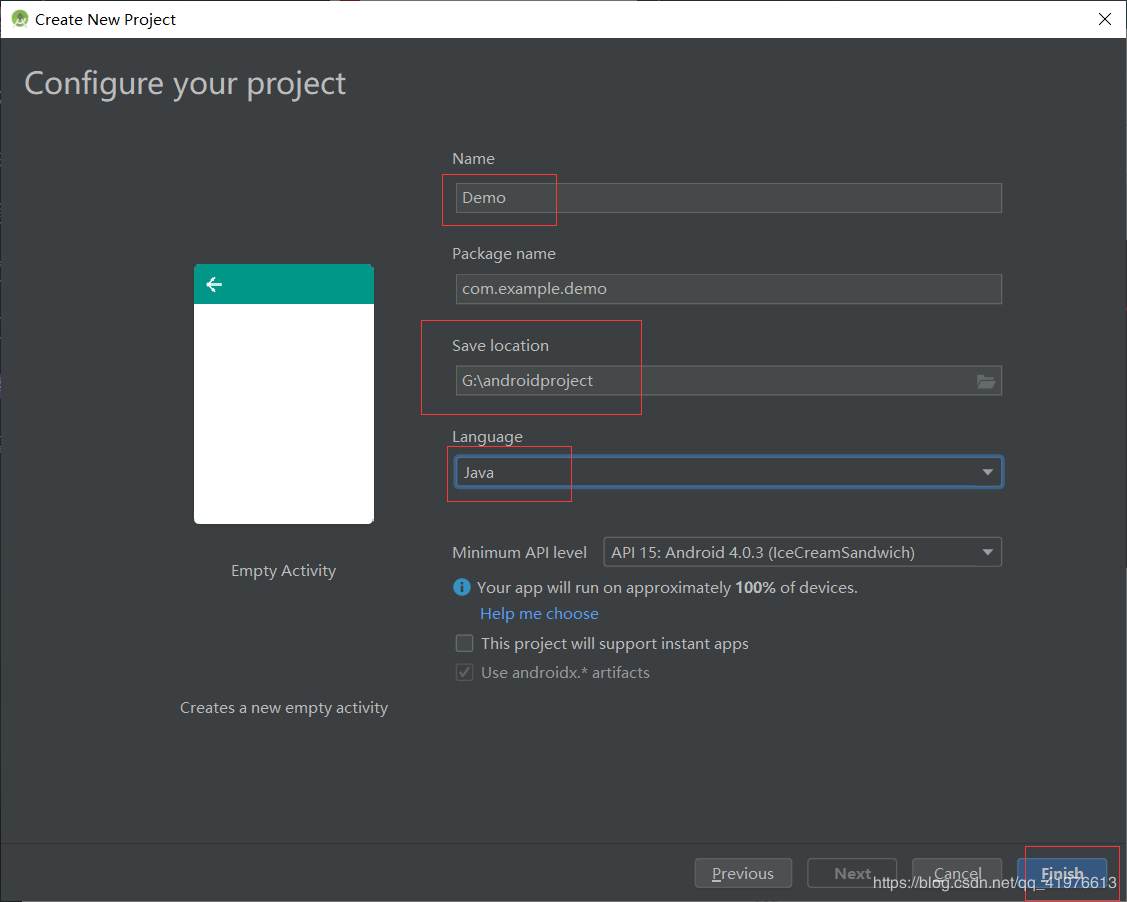
carry on!
The first installation will be configured for the environment, and will perform gradle
(here may be many compatriots will fail, because the gradle downloaded in the remote is blocked, you can refer to my other blog android studio installation (supplemental gradle failure problem ))
Just wait patiently
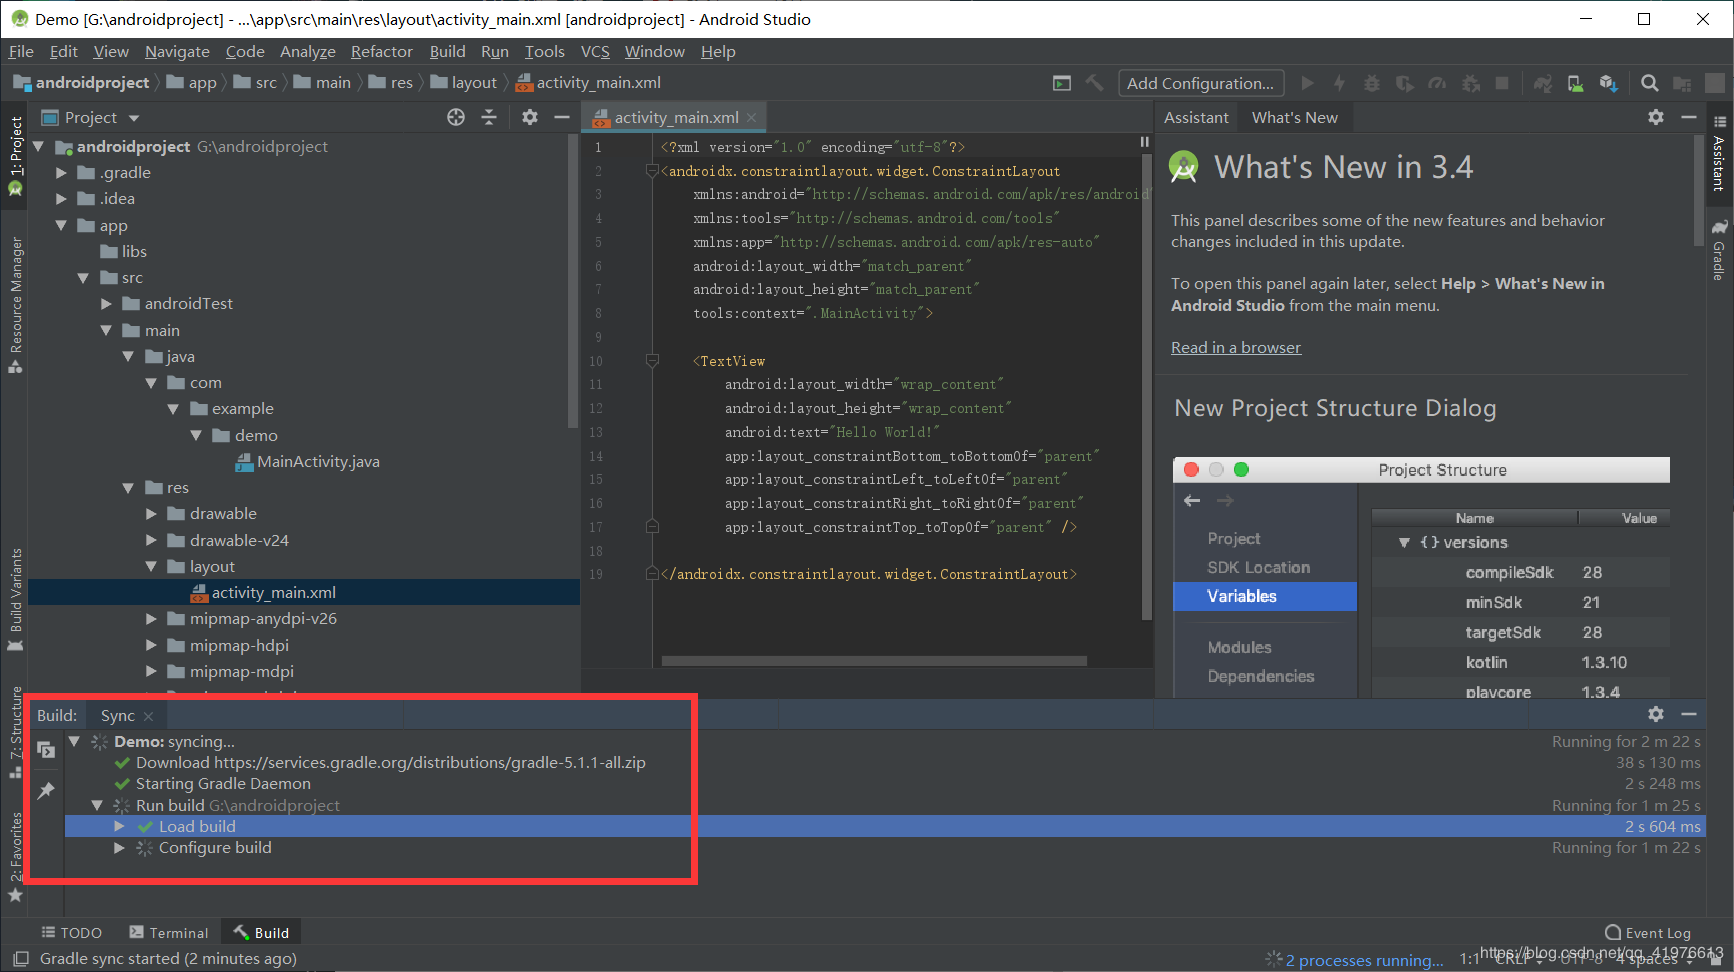
After the analysis is completed. Click the hammer in the upper right corner, then click the triangle
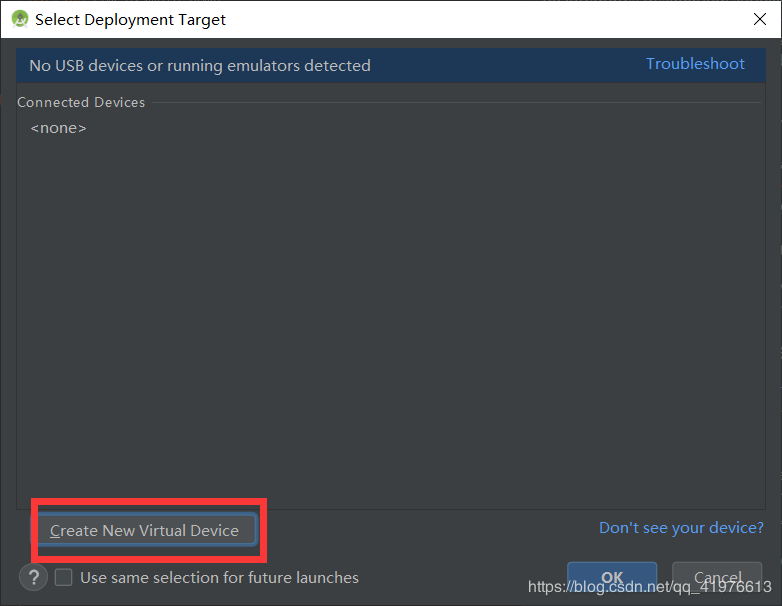
Since the first installation, you need to configure a new emulator
(do not understand the emulator is okay, just follow the steps to hahaha)
Create a new virtual device
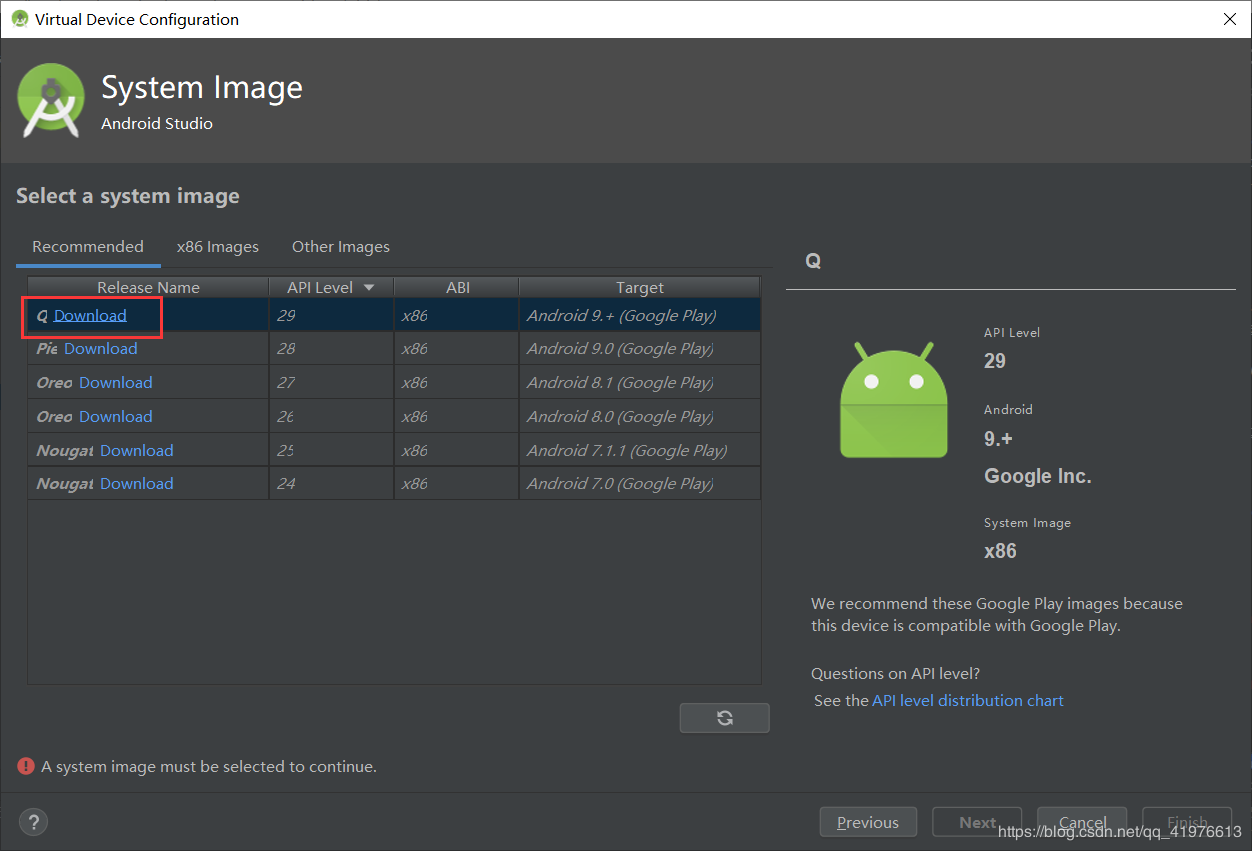
Choose the type of template you want, it is strongly recommended that the two in the picture, the other, ugly, haha

To continue to select image material, you
need to download about 1 G!
Follow the pictures below!
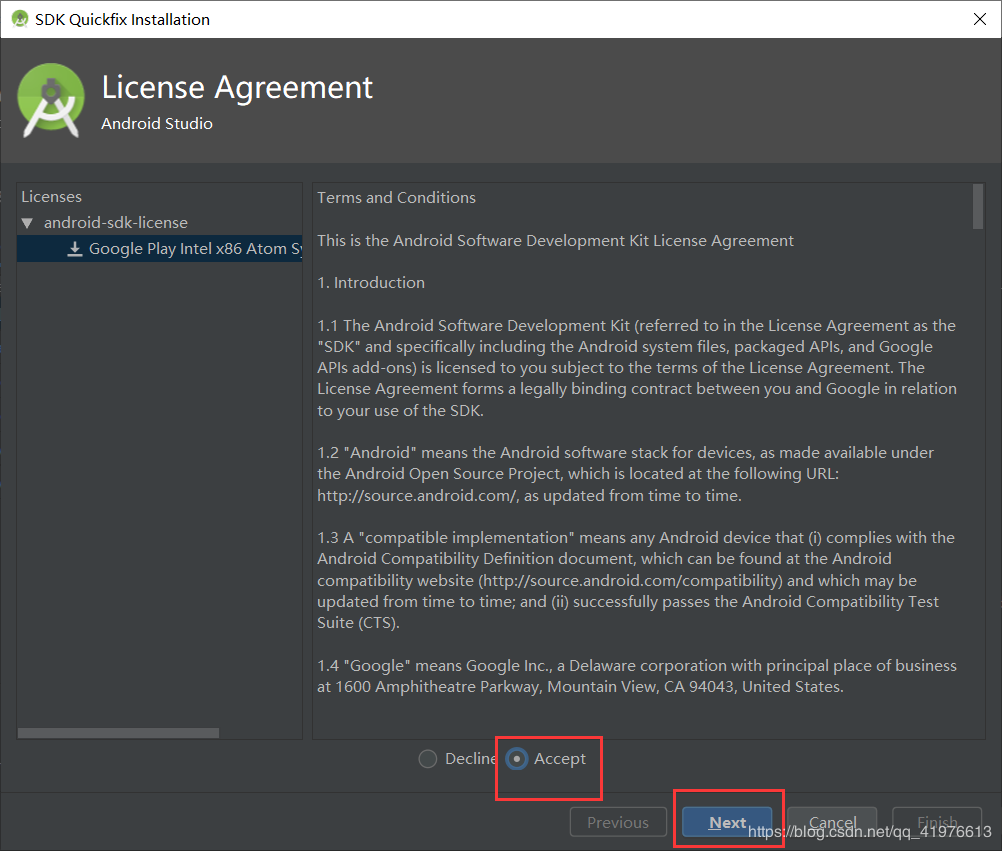
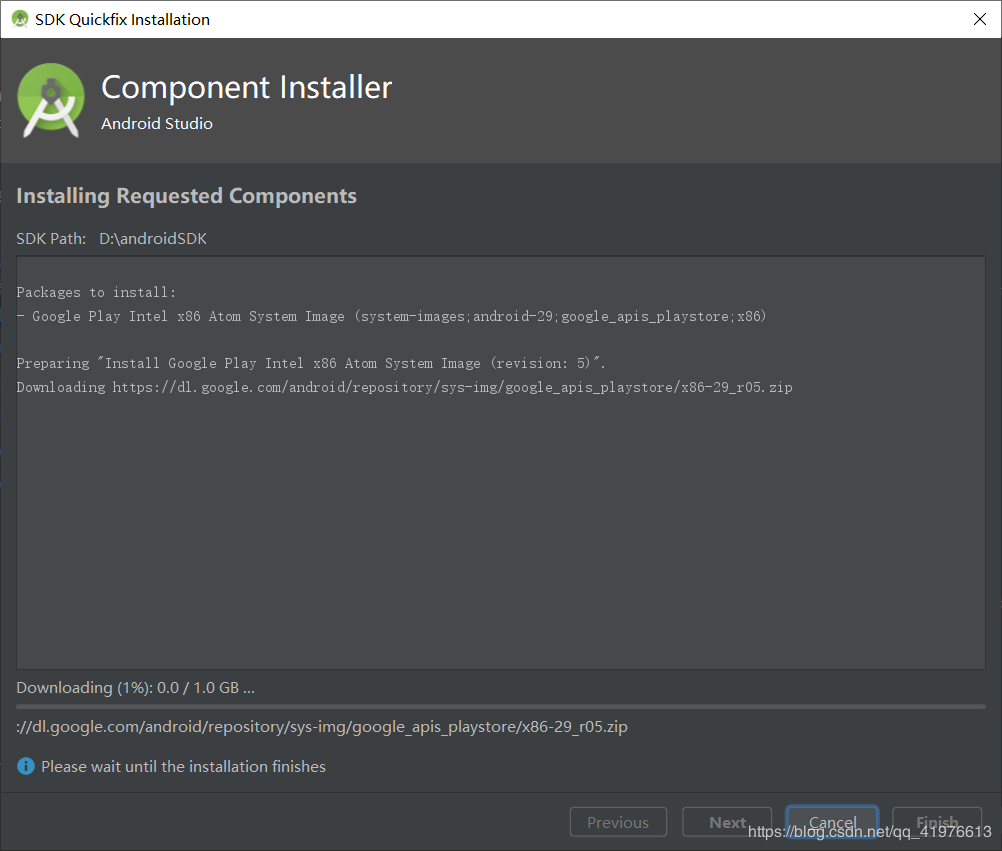
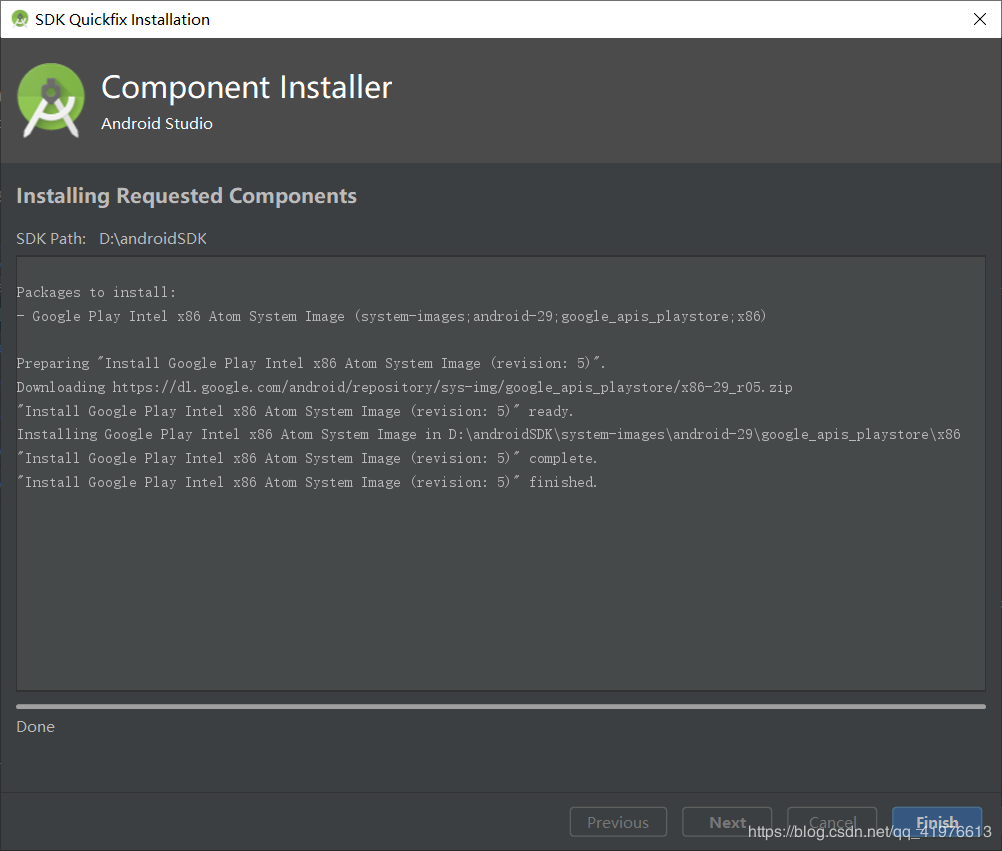
carry out!
The next step of renaming does not matter if it is done directly!
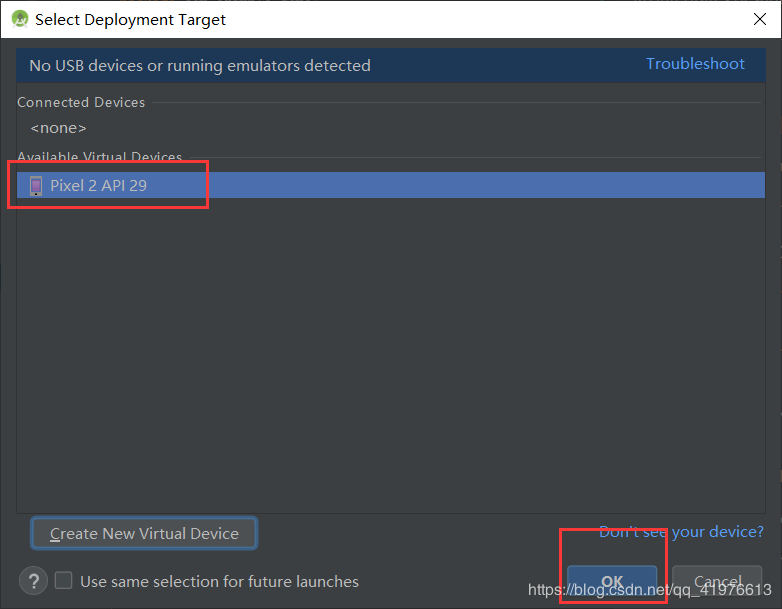
At this point, there is already a device in the previous virtual device selection screen, check it!
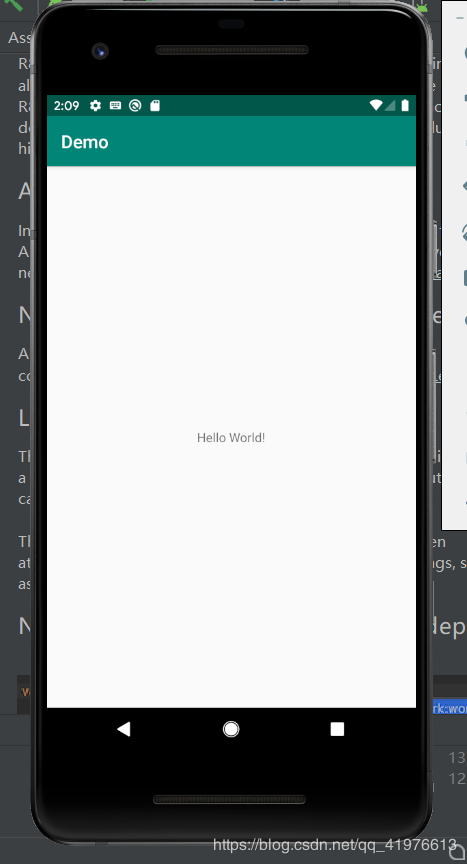
See this screen,
congratulations, the journey of Android!
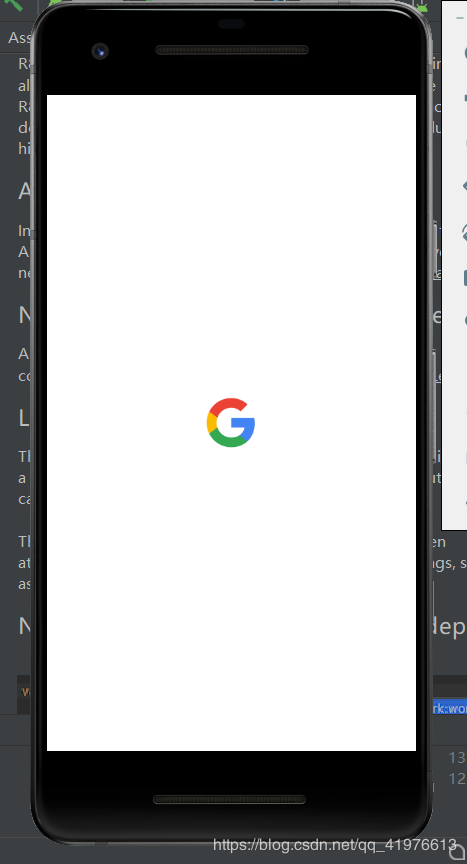
The default is helloworld! The first procedure is completed!
No action required!
Original link: https://blog.csdn.net/qq_41976613/java/article/details/91432304