Baidu cloud disk download https://pan.baidu.com/s/1MqUEdeqZuQbq-veLuVItQQ address
The downloaded mysql-5.7.14-linux-glibc2.5- x86_64.tar.gz package upload / Home / the User / Software folder.
1, move the file to the specified directory
[root@centos software]# mv mysql-5.7.14-linux-glibc2.5-x86_64.tar.gz /usr/local/2, to move into the directory, extract the compressed file
[root@centos software]# cd /usr/local/
[root@centos local]# tar -zxvf mysql-5.7.14-linux-glibc2.5-x86_64.tar.gz
3, the file name modified decompression [root @ centos local] # mv mysql-5.7.14-linux-glibc2.5-x86_64 mysql
III. Needed to run the installation package mysql
Method 1 :( I am using this method)
[root@centos downloads]# yum search libaio
[root@centos downloads]# yum install libaio
Method 2:
(1) libaio rpm package download, and upload the rpm package is downloaded and uploaded to the cloud server using SSH Secure File Transfer Client, the same upload / home / user / downloads folder, website: HTTPS: // pkgs .org / download / libaio
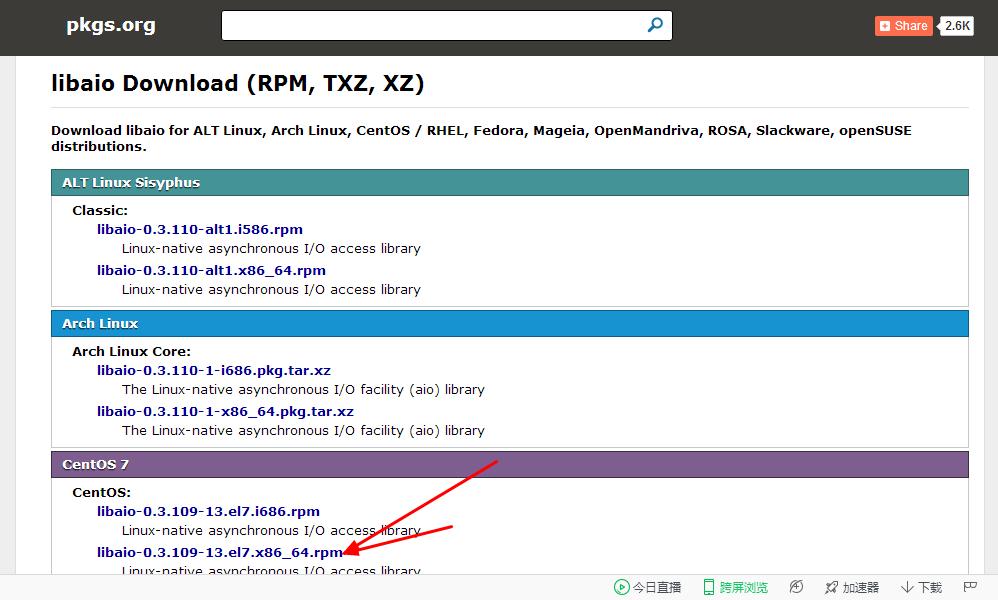
(2) Enter / home / user / downloads, installation execution command rpm [root @ centos downloads] # rpm -ivf libaio-0.3.109-13.el7.x86_64.rpm
IV. Installation and configuration mysql
1, the establishment of user [root @ centos downloads] # groupadd mysql add a mysql user group [root @ centos downloads] # useradd -r -g mysql -s / bin / false mysql add a mysql user Note: Setting -s / bin / false can not be represented as a signed user mysql
2. Create a directory to store data [root @ centos local] # cd mysql enter the mysql directory [root @ centos mysql] # mkdir data established as a directory to store data
3, rights: (mysql user) modify the read and write permissions to install directory and mysql mysql user to give permission [root @ centos mysql] # chmod 770 data to the user data owner and the same group of folders given to read, write and execute permissions, other users no permissions [root @ centos mysql] # chown -R mysql. change the current directory to the owner of the mysql user, "." indicates the current directory [root @ centos mysql] # chgrp -R mysql change the current directory of the user group mysql, "." indicates the current directory
4, copy support-files / mysql.server file to the /etc/init.d/mysql [root @ centos mysql] # cp support-files / mysql.server /etc/init.d/mysql
5, modify the configuration file: /etc/my.cnf l [@ CentOS the root MySQL] CD # / etc / l [@ CentOS the root etc] #vi the my.cnf modify or add the following the basedir = / usr / local / MySQL DATADIR = / usr / local / MySQL / Data Socket = / tmp / mysql.sock
6, modify the configuration file: / etc / Profile l [root @ CentOS etc] #vi / etc / Profile configuration environment variable to add the following
#加入环境变量,编辑 /etc/profile,这样可以在任何地方用mysql命令了
export
PATH=$PATH:
/usr/local/mysql/bin
7, the configuration timely entry into force [root @ centos etc] # / etc / profile for the configuration to take effect in time. PS: [root @ CentOS etc] #source / etc / Profile and [root @ centos etc] # / etc / profile. the same effect. In this way, the available service mysql start to start the mysql database.
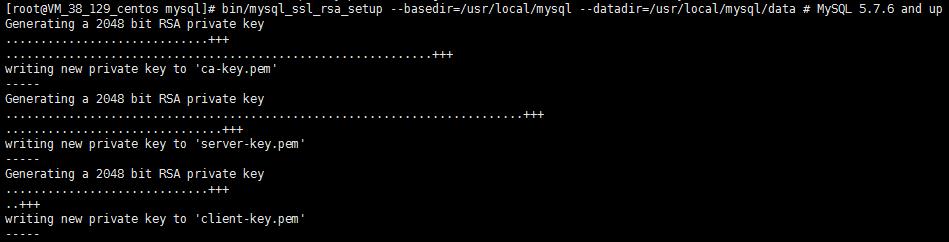
8, initialization database (to be above steps 3-7 to here) l [@ CentOS the root MySQL] # bin / mysqld MySQL --basedir -initialize --user = = / usr / local / MySQL --datadir = / usr / local / mysql / data must pay attention to the last line [Note] information: [Note] a Temporary generated iS password for root @ localhost:) #Fzu) -oj6f8 generated here initial password required at the first sign the root user used. [root @ centos mysql] # bin / mysql_ssl_rsa_setup -basedir = / usr / local / mysql --datadir = / usr / local / mysql / data


9, mysql is added to a control to start the service folder (error-prone) (1) create log files l [root @ CentOS mysql] # cd / var / log l [root @ CentOS log] # mkdir MariaDB # as deposit running log database file folder (2) may be added to control the start mysql service l [root @ CentOS log] # cd / usr / local / mysql / l [root @ CentOS mysql] # bin / mysqld_safe -user = mysql -basedir = / usr / local / mysql --datadir = / usr / local / mysql / data & will be added to control the start mysql service folder, and name mysql, namely service can control the service name, then the available service mysql start | stop control start and shut down mysql
10, the boot configuration service mysql [root @ CentOS etc] # chkconfig -add mysql [root @ CentOS etc] # chkconfig mysql ON -Level 2345
V. login mysql (first login)
Prior to this, we must first start the mysql database: service mysql start
1, log MySQL [root @ CentOS etc] # MySQL -u root -p the Enter password: enter temporary password generated before
2, reset the password must be reset passwords :() MySQL> the SET PASSWORD = PASSWORD ( '123456'); or mysql> UPDATE user SET Password = PASSWORD ( 'newpassword') where USER = 'root';
3, the refresh permission mysql> FLUSH PRIVILEGES;
4, exit MySQL MySQL> quit
VI. Installation errors collection may encounter
(A), mysql not start Could not find MySQL server (/ usr / bin / mysqld_safe) "
Method 1: Modify the configuration file /etc/my.cnf
复制support-files/mysql.server
[root@centos etc]# cp support-files/mysql.server /etc/init.d/mysql
to the / etc directory configuration my.cnf [root @ CentOS etc] # cd / etc / [root @ CentOS etc] #vi my.cnf # modify or add the following basedir = / usr / local / mysql This must be input accurate, and start the path is configured here. = DATADIR / usr / local / MySQL / Data Socket = / tmp / mysql.sock
Method 2: Remove /etc/my.cnf profile (not verified) #rm [the root @ CentOS etc] /etc/mysql/my.cnf
(二)、MySQL: Starting MySQL….. ERROR! The server quit without updating PID file
1, a problem when you view the state of the database: [root @ centos etc] # /etc/rc.d/init.d/mysql status or [root @ centos etc] #service mysql status with the following error: MySQL is not running, but lock file (/ var / lock / subsys / mysql [FAILED] start mysql: [root @ centos etc] # /etc/rc.d/init.d/mysql start or [root @ centos etc] #service mysql start the following error: Starting MySQL ... The server quit without updating PID file (/usr/local/mysql/data/localhost.localdomain.pid) [FAILED].
2, the reason is not initialized table rights
3, the solution
Method 1: Restart [root @ VM_38_129_centos /] # reboot
Method 2: (1) enter the directory mysql installation (2) modify permission (3) to reinitialize the database
Method 2 Examples [root @ VM_38_129_centos mysql] # rm -rf data / delete the original data directory [root @ VM_38_129_centos mysql] # mkdir data and then create a [root @ VM_38_129_centos mysql] # chmod 770 data to the data directory of all and those where the groups are assigned write permission l [@ VM_38_129_centos the root MySQL] # chown -R & lt MySQL. l [@ VM_38_129_centos the root MySQL] # chgrp -R & lt MySQL. l [@ VM_38_129_centos the root MySQL] # bin / mysqld -initialize -user = mysql -basedir = / usr / local / mysql -datadir = / usr / local / mysql / data re-initialization permission on the table, change the default password to remember. [root @ VM_38_129_centos mysql] # bin / mysql_ssl_rsa_setup -basedir = / usr / local / mysql -datadir = / usr / local / mysql / data

(三)ERROR 2002 (HY000): Can’t connect to local MySQL server through socket ‘/tmp/mysql.sock’ (111)
After the installation is complete mysql does not start, run the mysql command will prompt the following error: ERROR 2002 (HY000): of Can not Connect to local MySQL Server through socket '/var/lib/mysql/mysql.sock' (2) can be used following command to start MySQL: Service start MySQL or use the following command:
/etc/init.d/mysql start
Then connect remotely
grant all privileges on *.* to 'root'@'%' identified by 'root' with grant option;
flush privileges;
