VUE part
On older versions
Vue CLI package name changed to @ vue / cli a vue-cli. If you have already installed an older version of the global vue-cli (1.x or 2.x), you need to uninstall it by npm uninstall vue-cli -g, or yarn global remove vue-cli.Node Requirements Vue CLI version requires Node.js version 8.9 or later (recommended 8.11.0+). You can use nvm nvm-windows or Node manage multiple versions on the same computer.
1. Install Node
- The first Baidu nodejs, the official website go https://nodejs.org/en/
- The first is the stable version, the second is up to date, are generally stable version download, so click on the first download, the download is complete, double-click directly run the installation
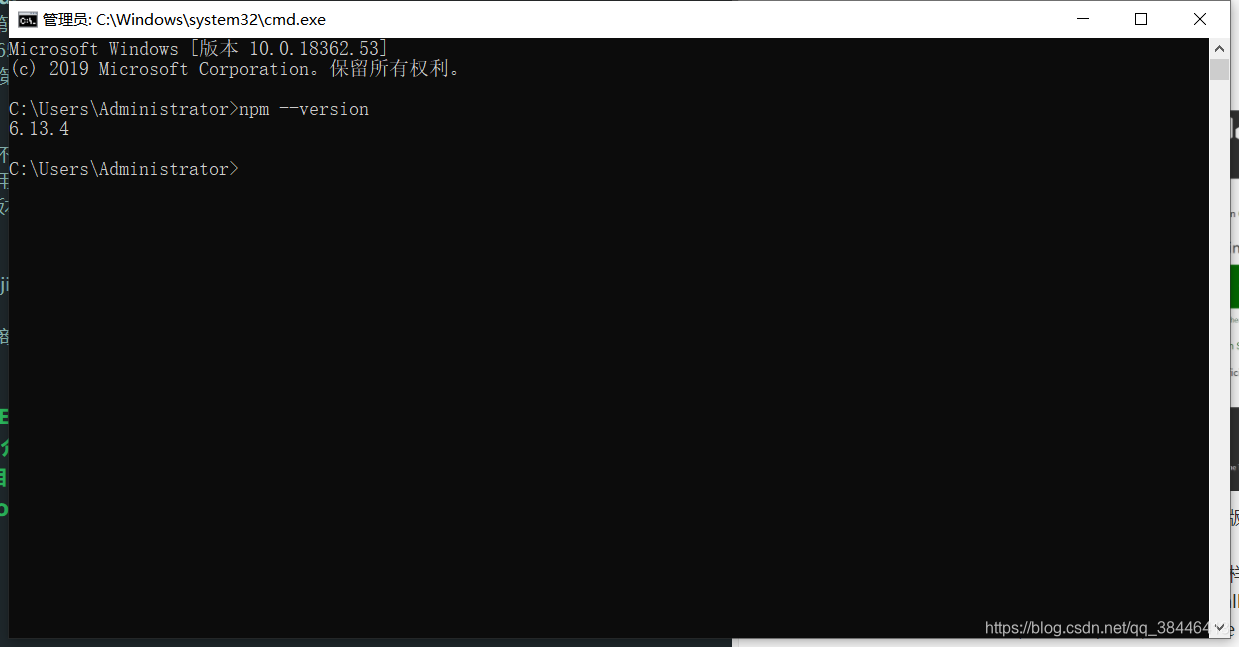
- The next step has been just fine, and click the Add to PATH, so you do not have to configure their own environment variables, or have to, then configure their own environment variables, configuration is not difficult, a lot of Baidu tutorials. Finally Install, wait for the installation to complete, after the completion of Finish, NODE installation is complete. Check to see if available, open a command window, enter the node --version, npm test is available, the command window npm --version, this time the version number says that the installation was successful.
2. Install VUE scaffolding
- cmd run
npm install -g @vue/cli
or
yarn global add @vue/cli`
- View version
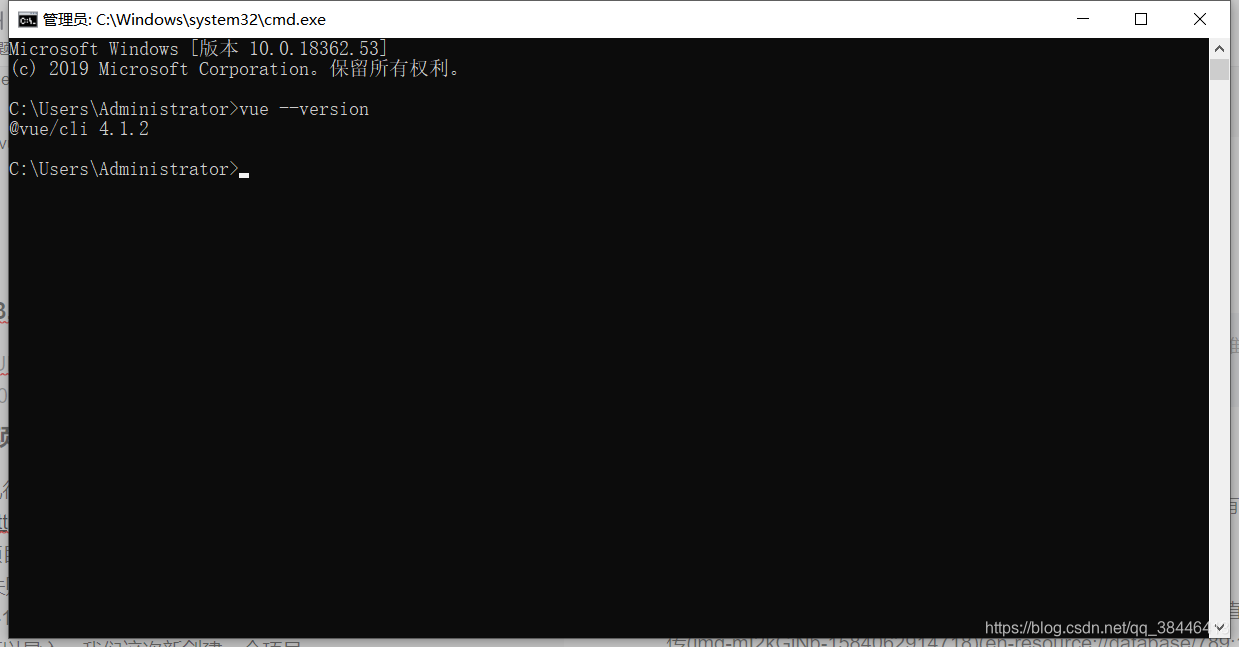
vue --version
3.VUE3.0 Introduction and Benefits
vue3.0 increased UI interface, you can not quickly create a project and add a plug-in to knock the command line, recommended for newbies 3.0 or later
4. Create project
- Execute the command line
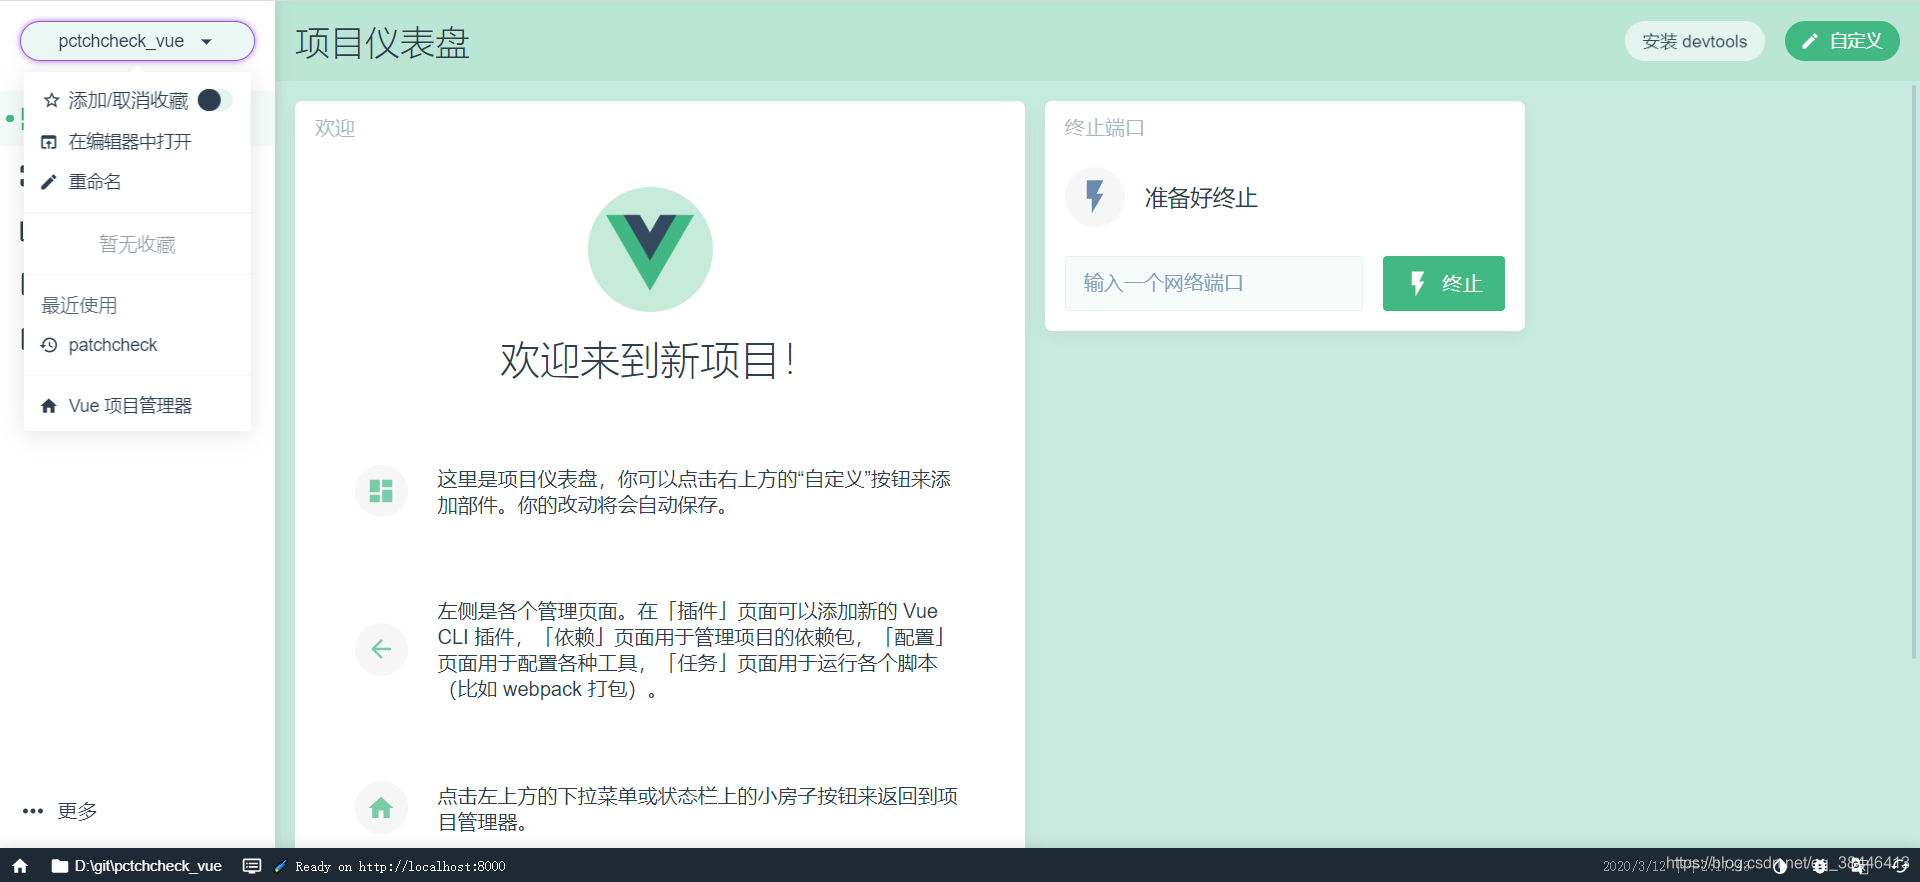
vue ui, if no problems will directly interface pop, no pop-up, then you can enter your own http: // localhost: 8000 / - Click the top left corner of the Project Manager
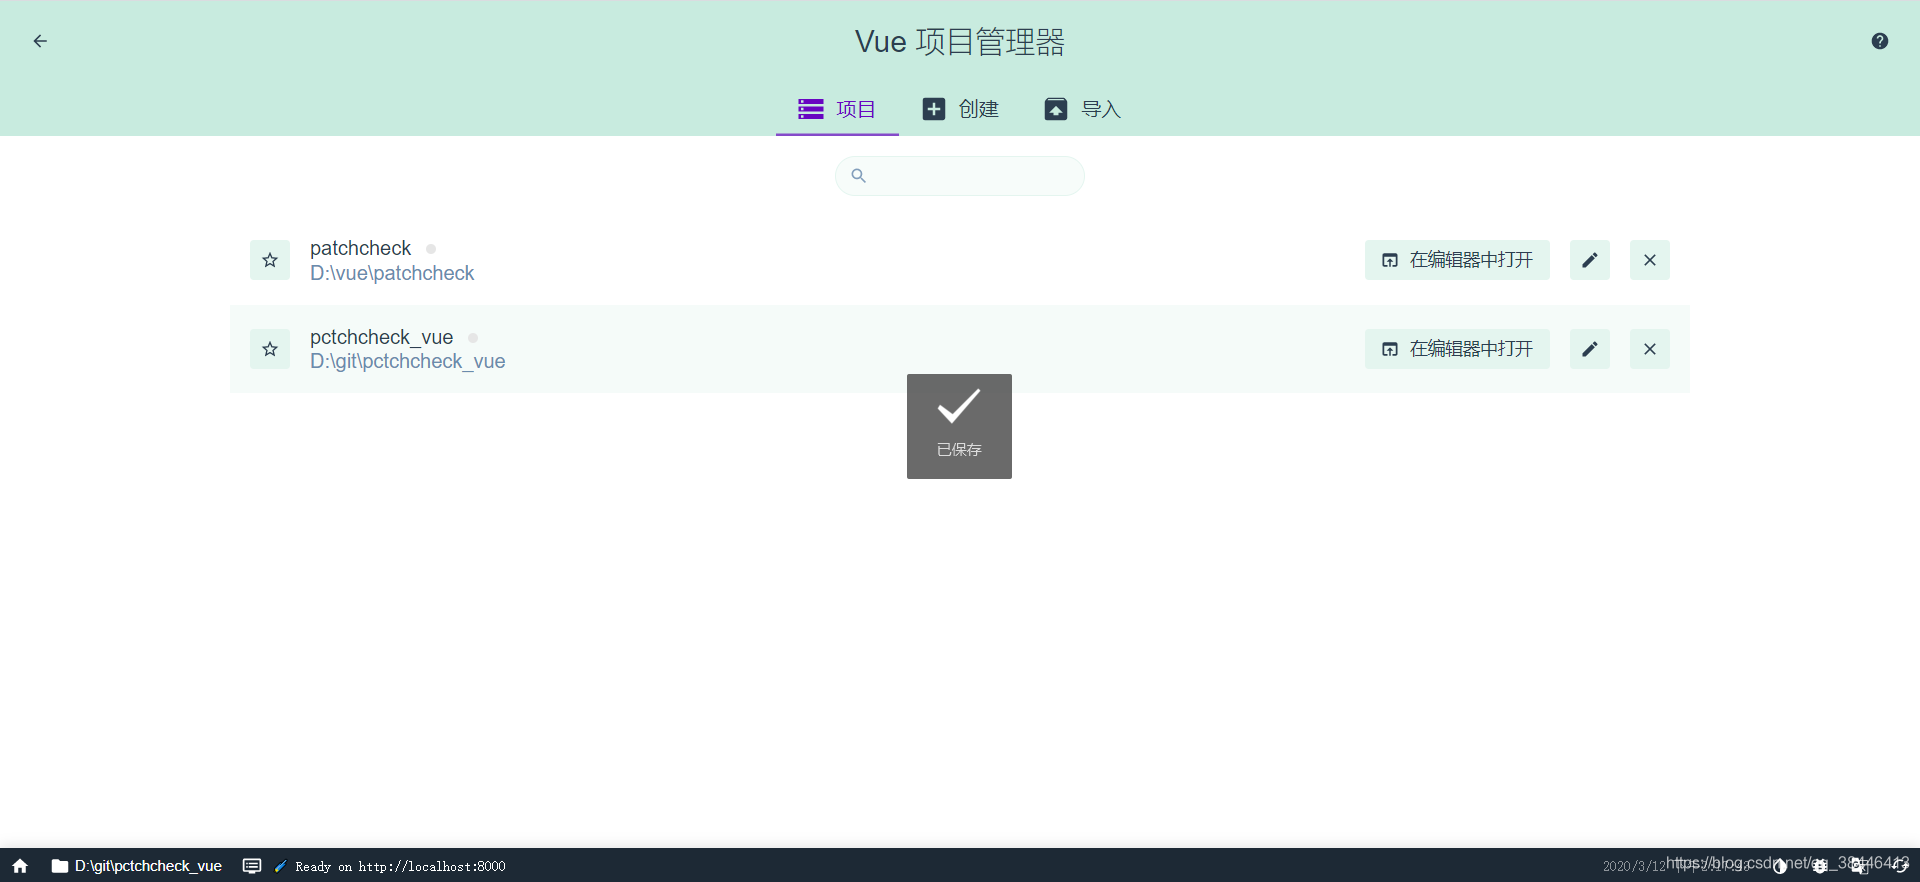
- You can create can also import, this time we create a new project
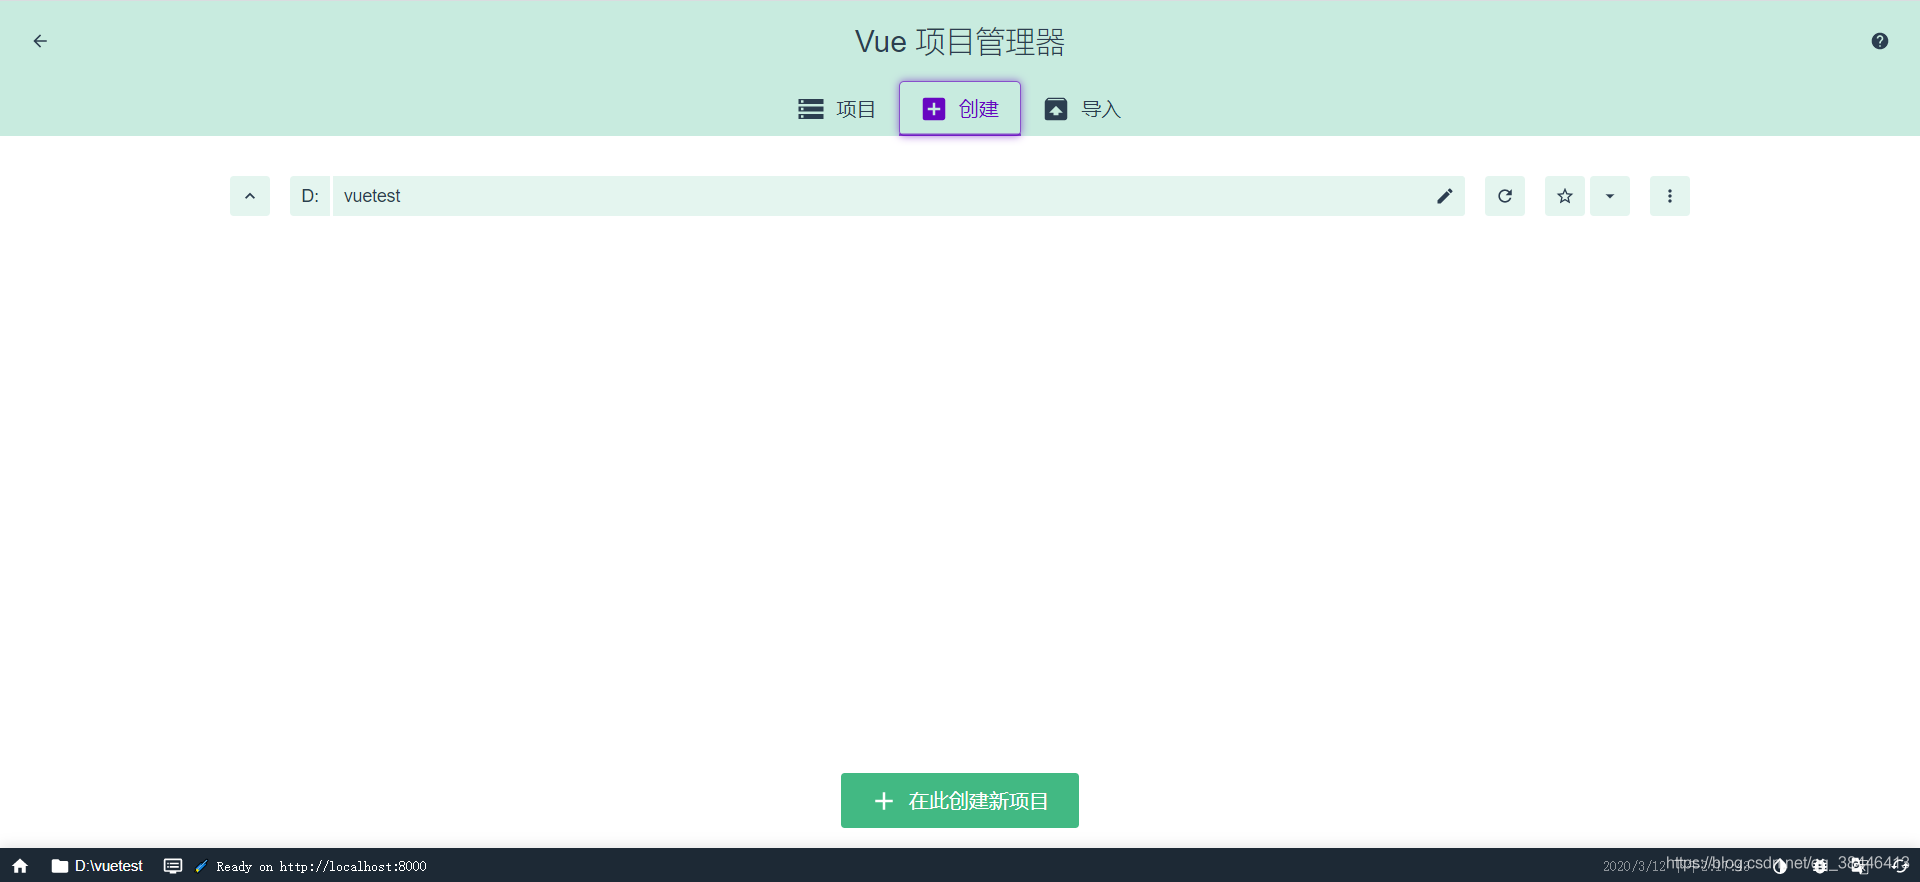
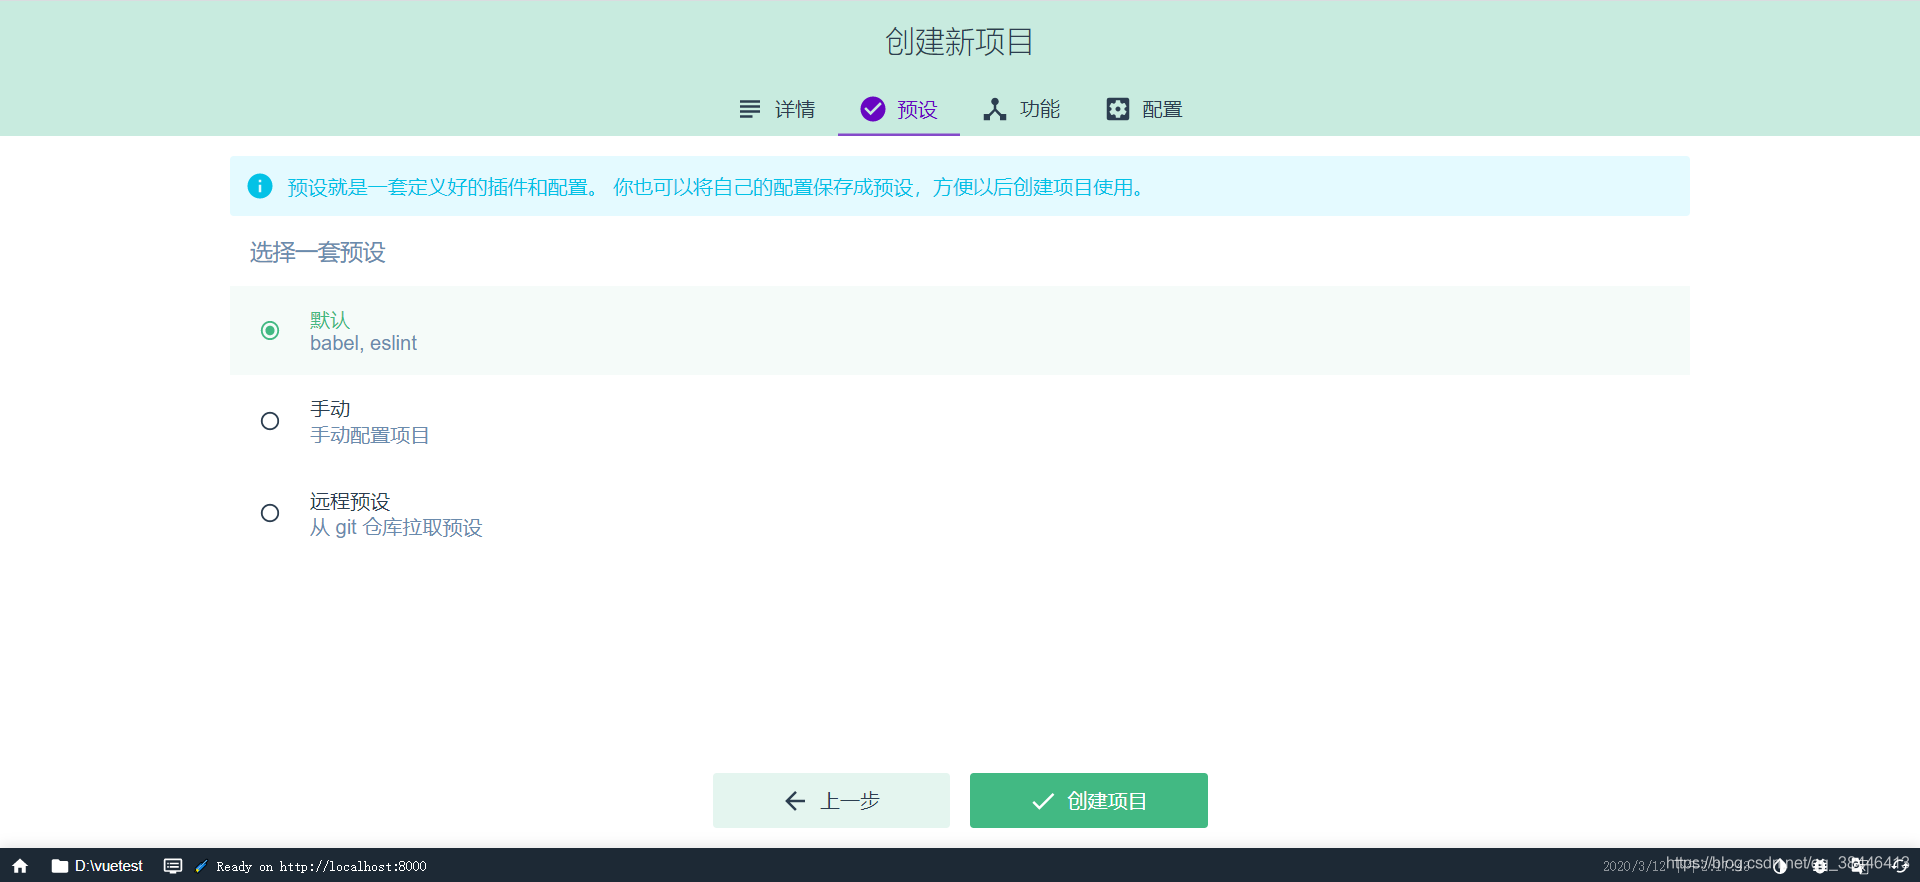
- Add the project name, click Next
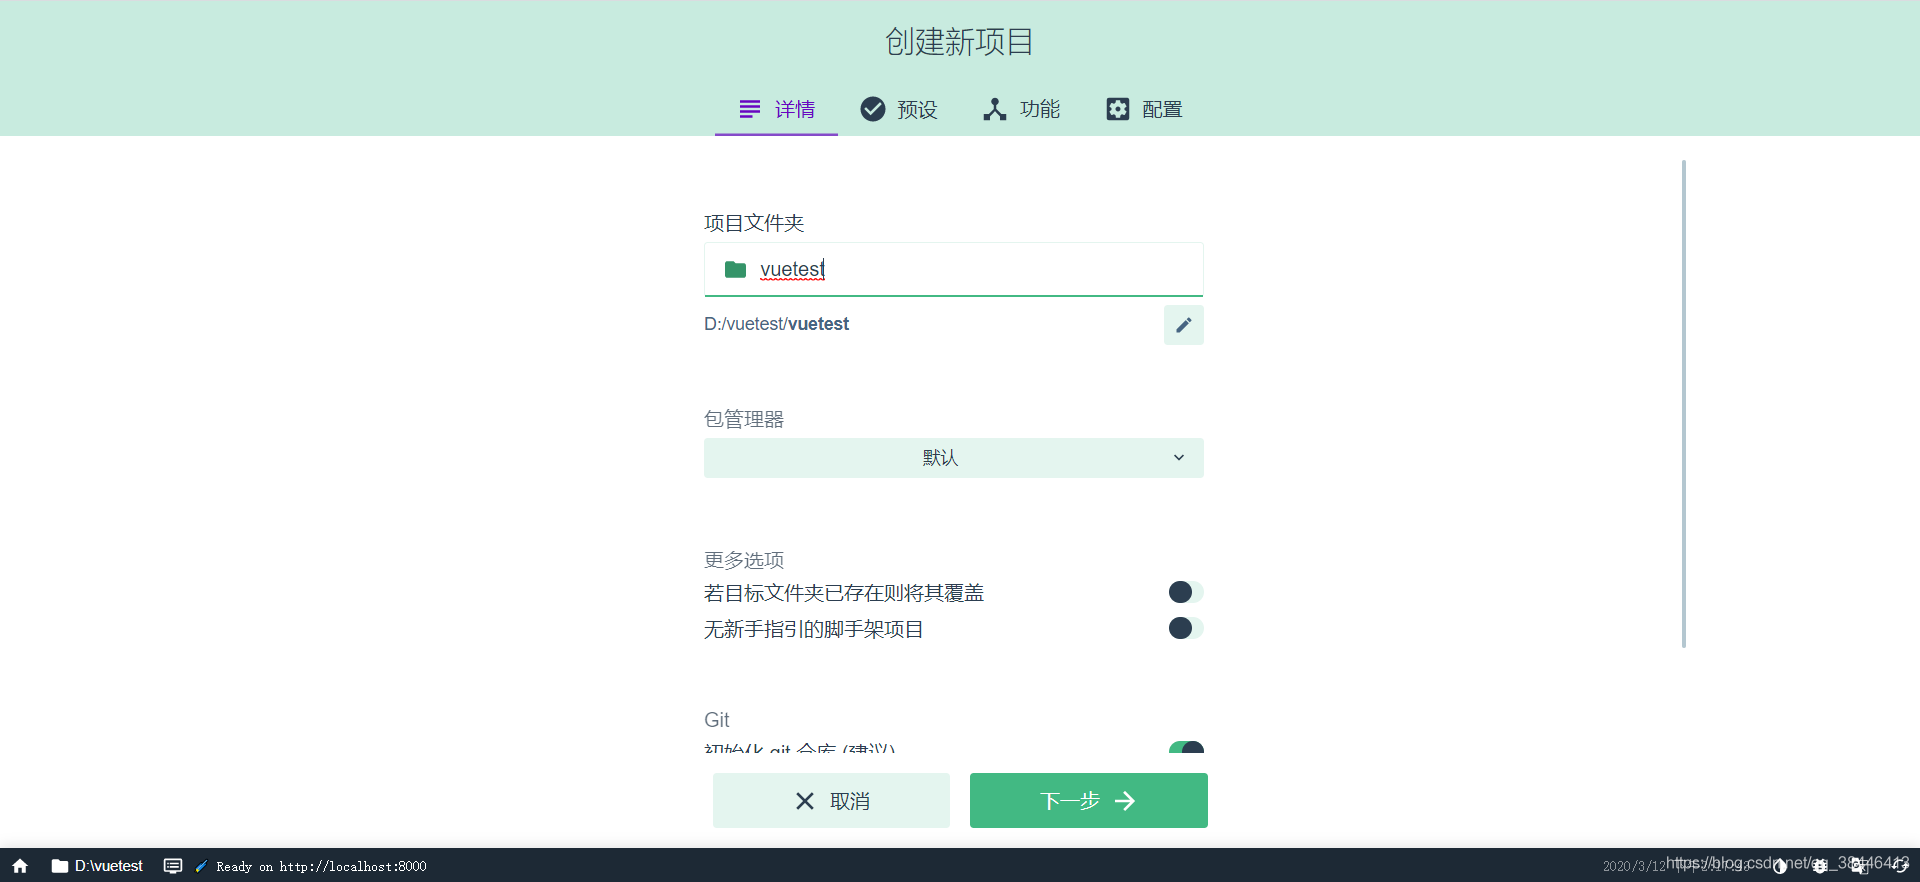
- Select the default configuration, click created
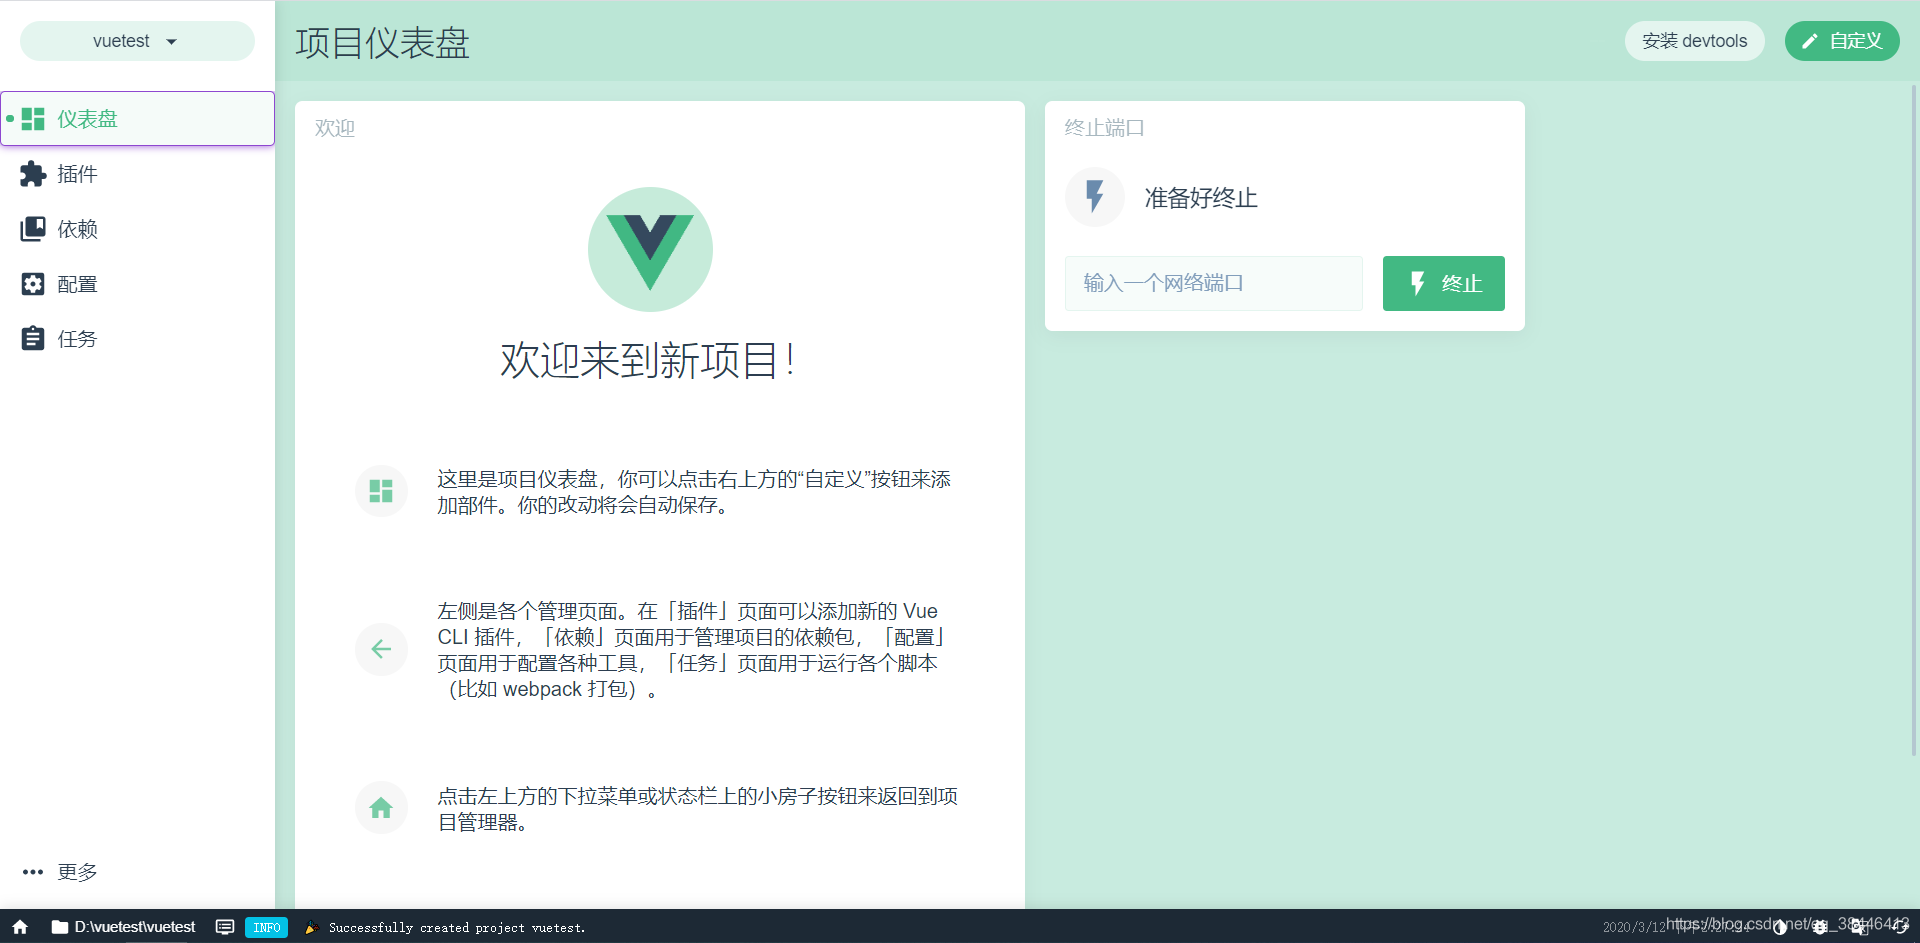
 6. wait a bit to create a finished project
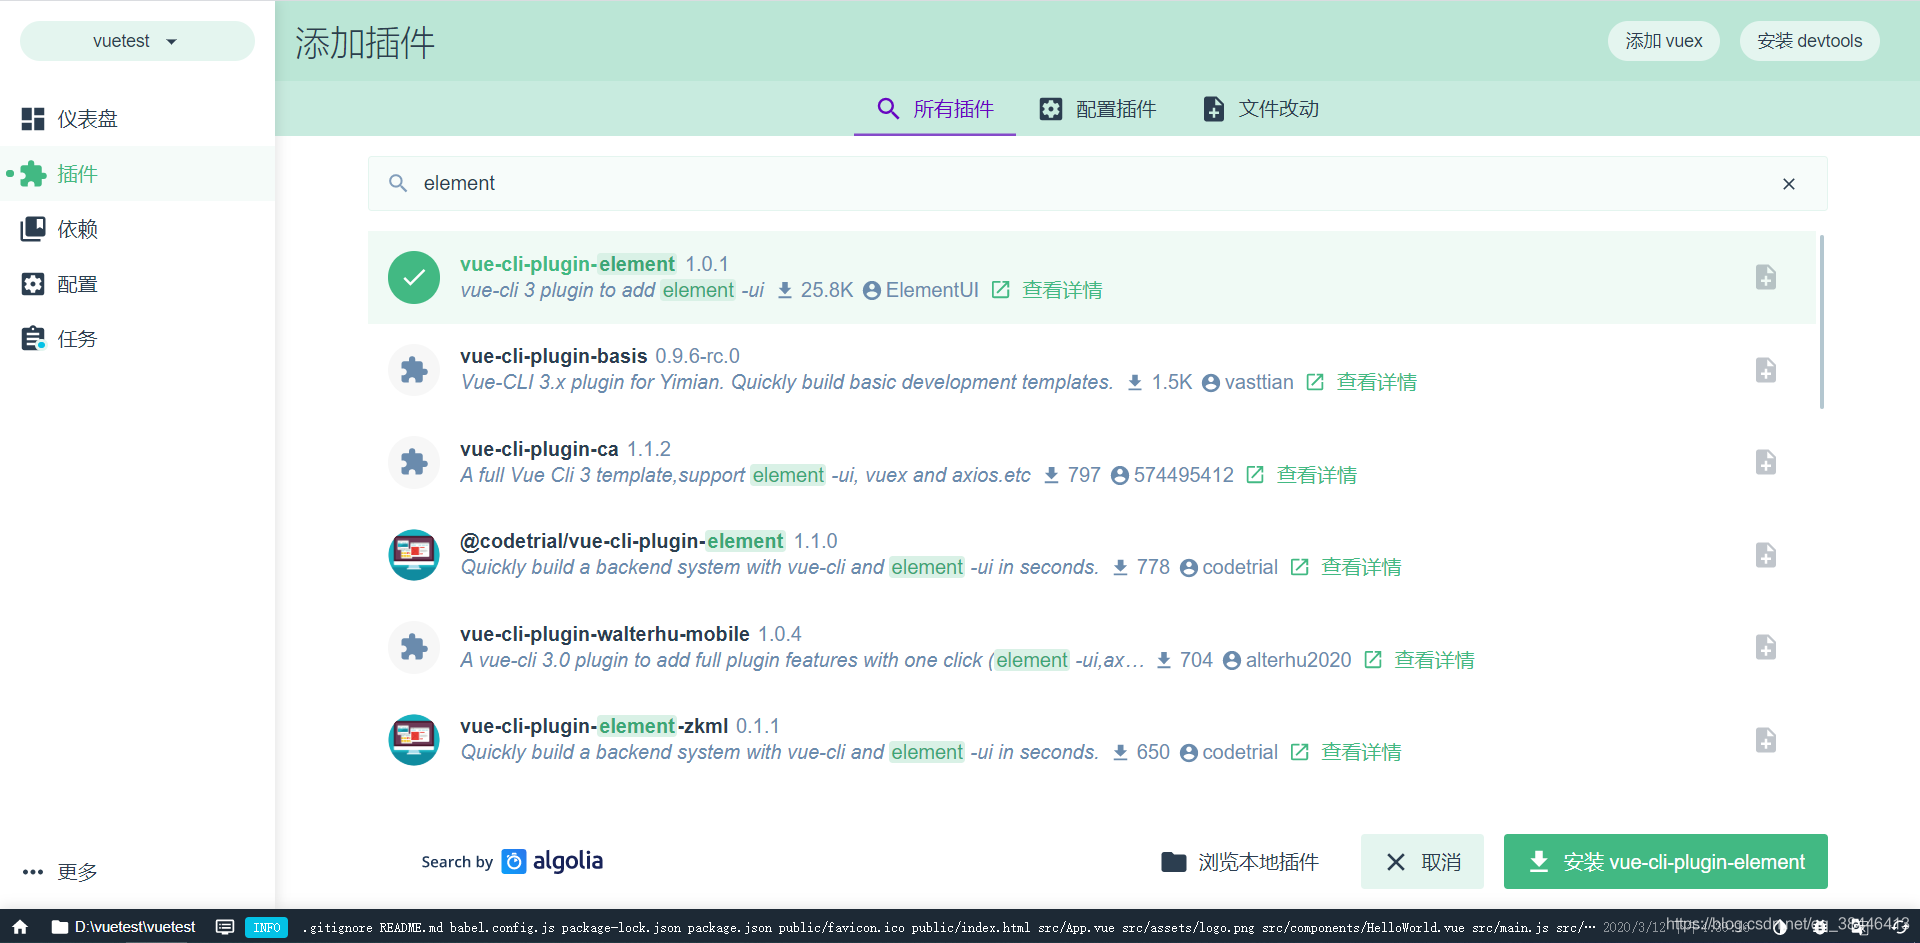
5. How to quickly install plug
- Select the plug-in navigation
- Click Add plug-in, you need a plug-in search box
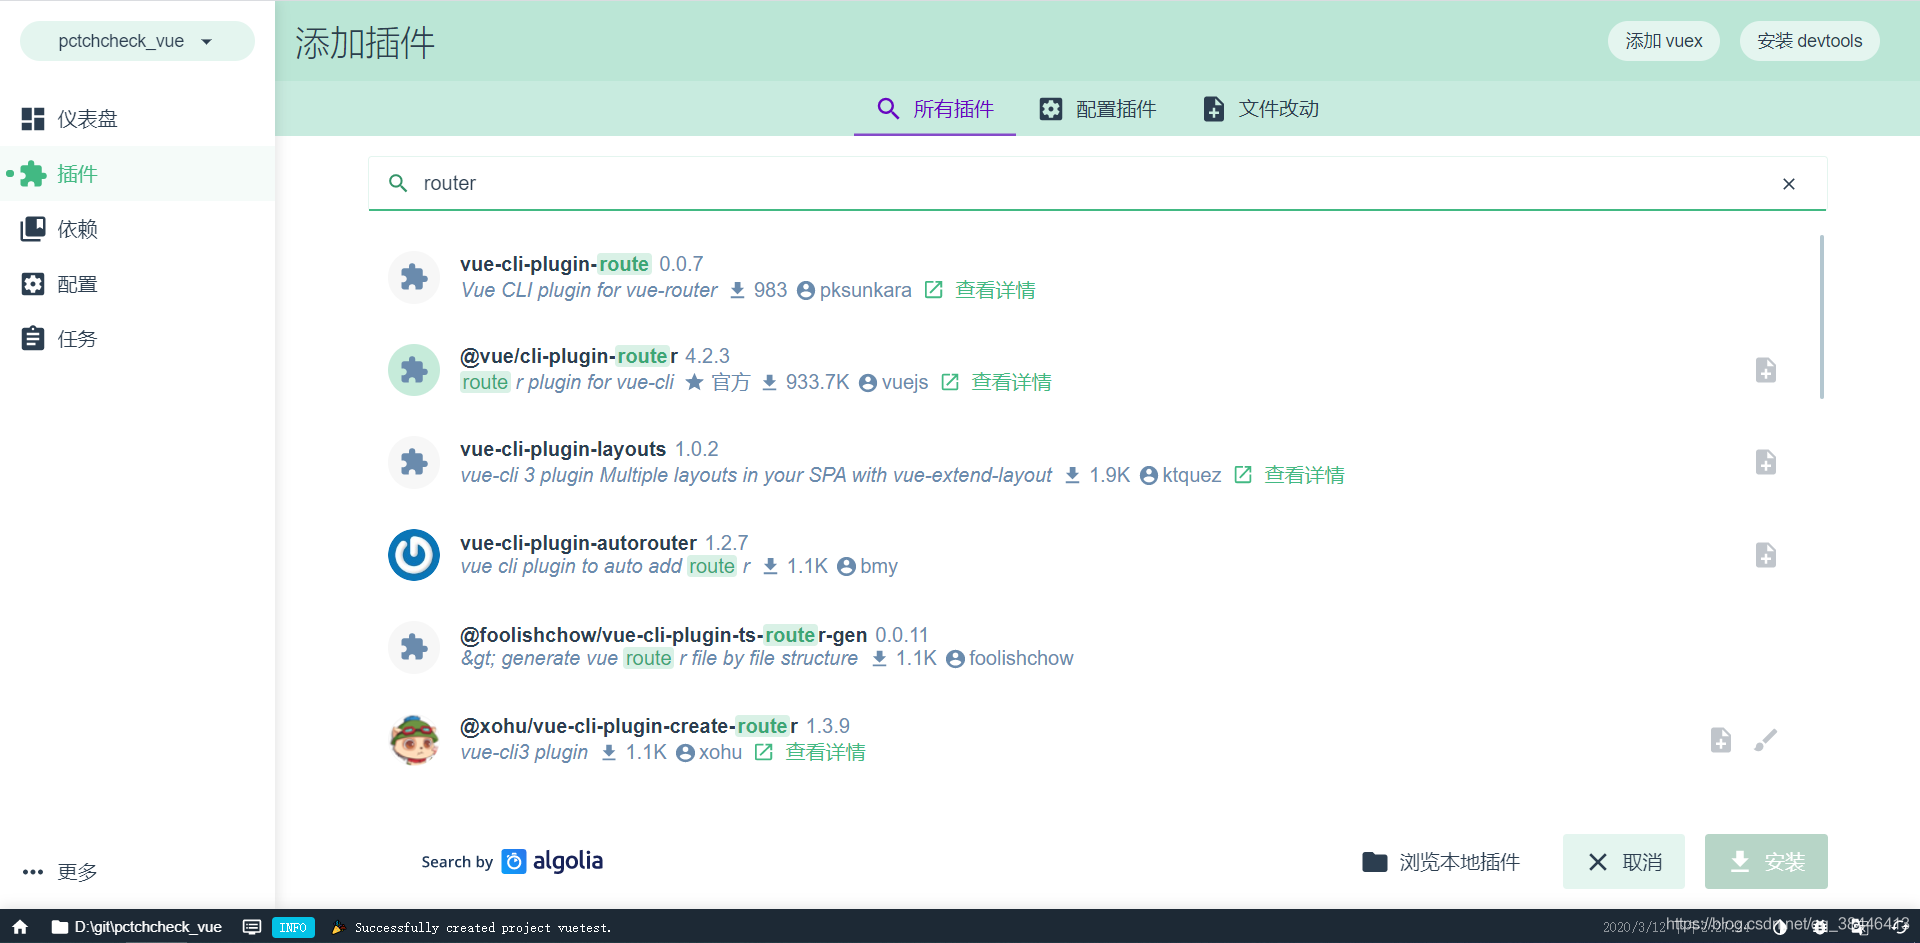
- Click Install
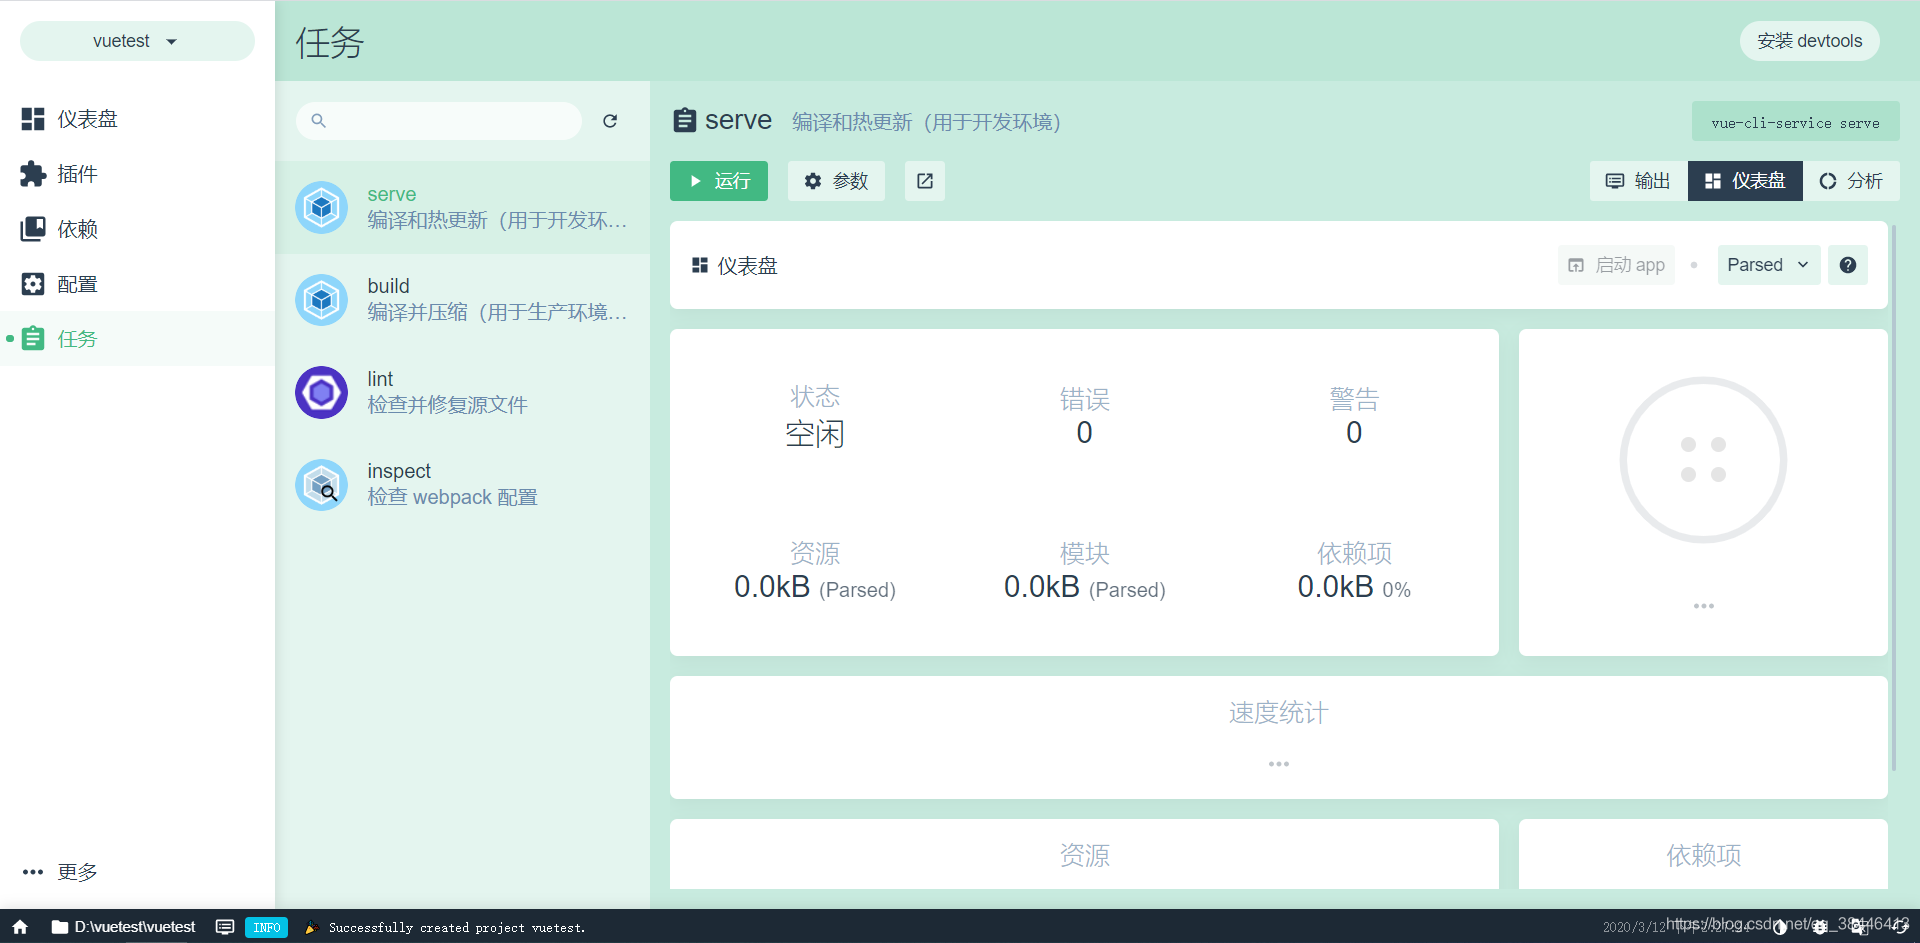
6. How to Start project
- Click on the task, first select a server, you can click on Run to start the project
- Click Start app, the interface will automatically pop up vue
SpringBoot part
-
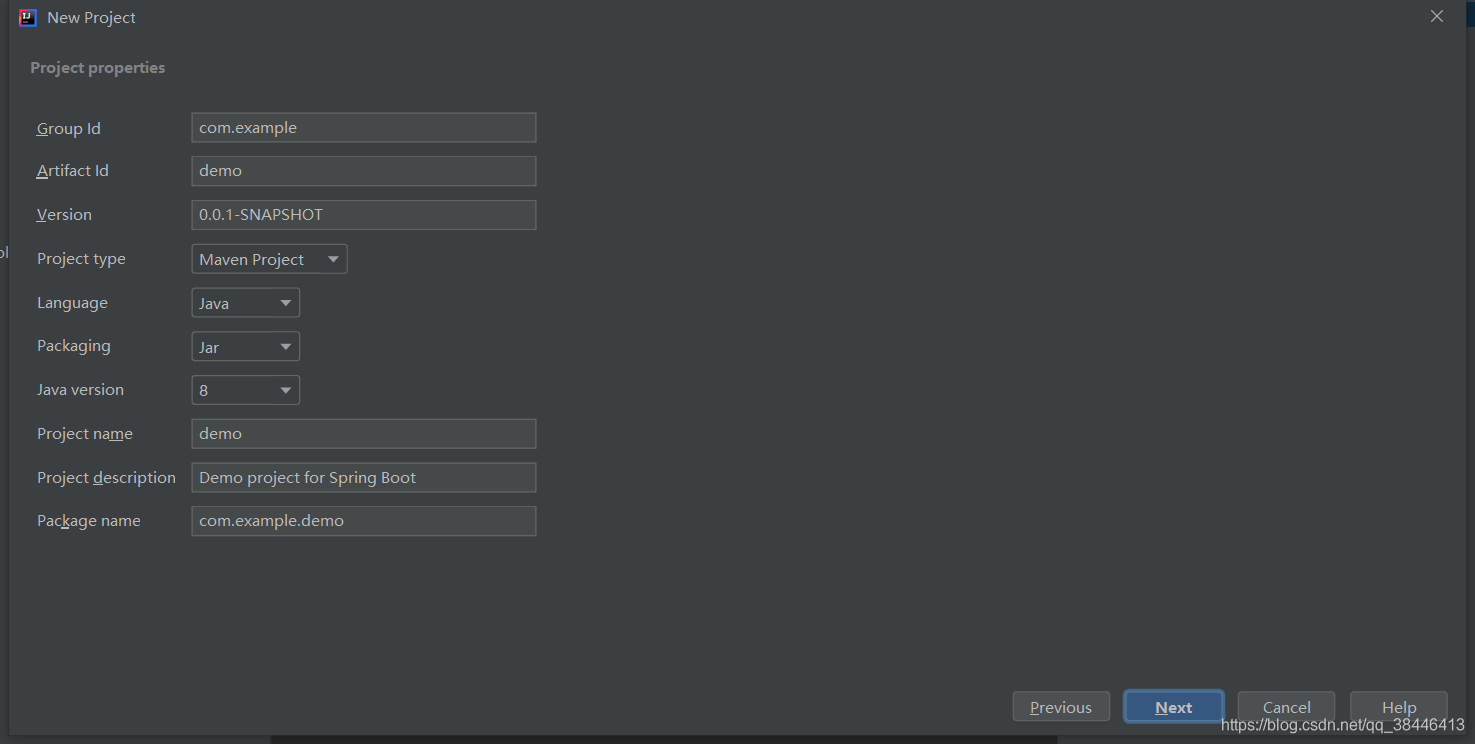
File------>New------>Project
-
spring Assistant ------> select the JDK version -------> Next

-
Fill in the package name -----> Project name ---------> Next
-
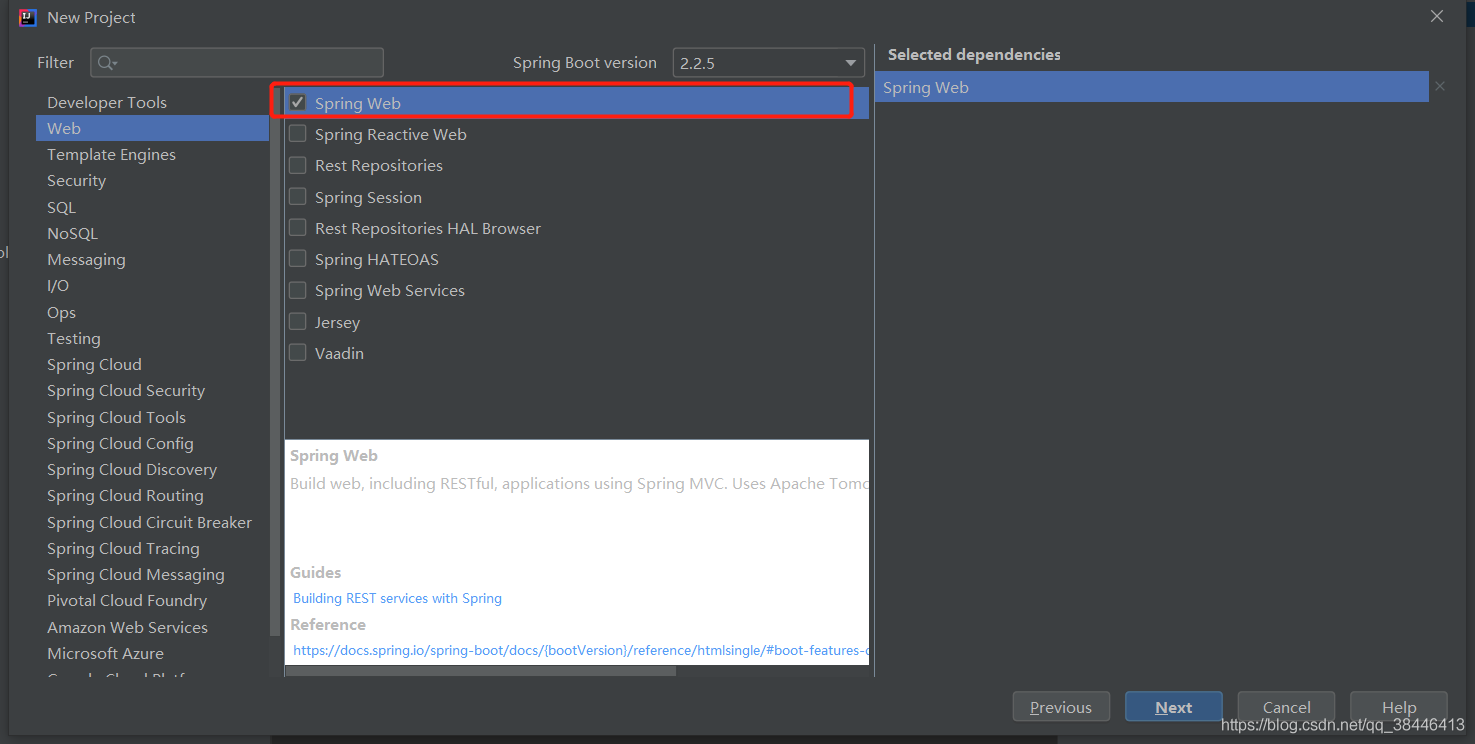
Select the web project ------> Next
-
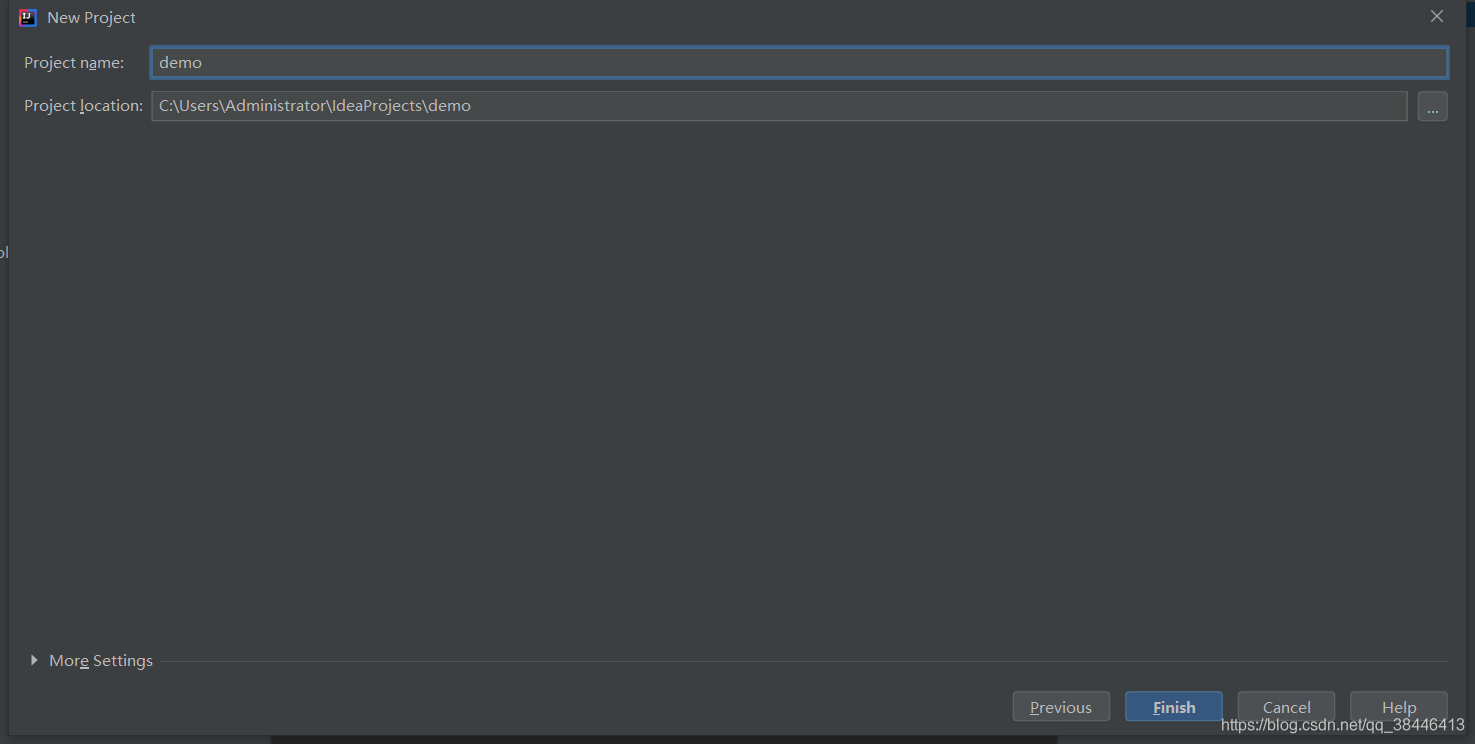
Change the project save path
-
Step 5 Finish to create the project successfully
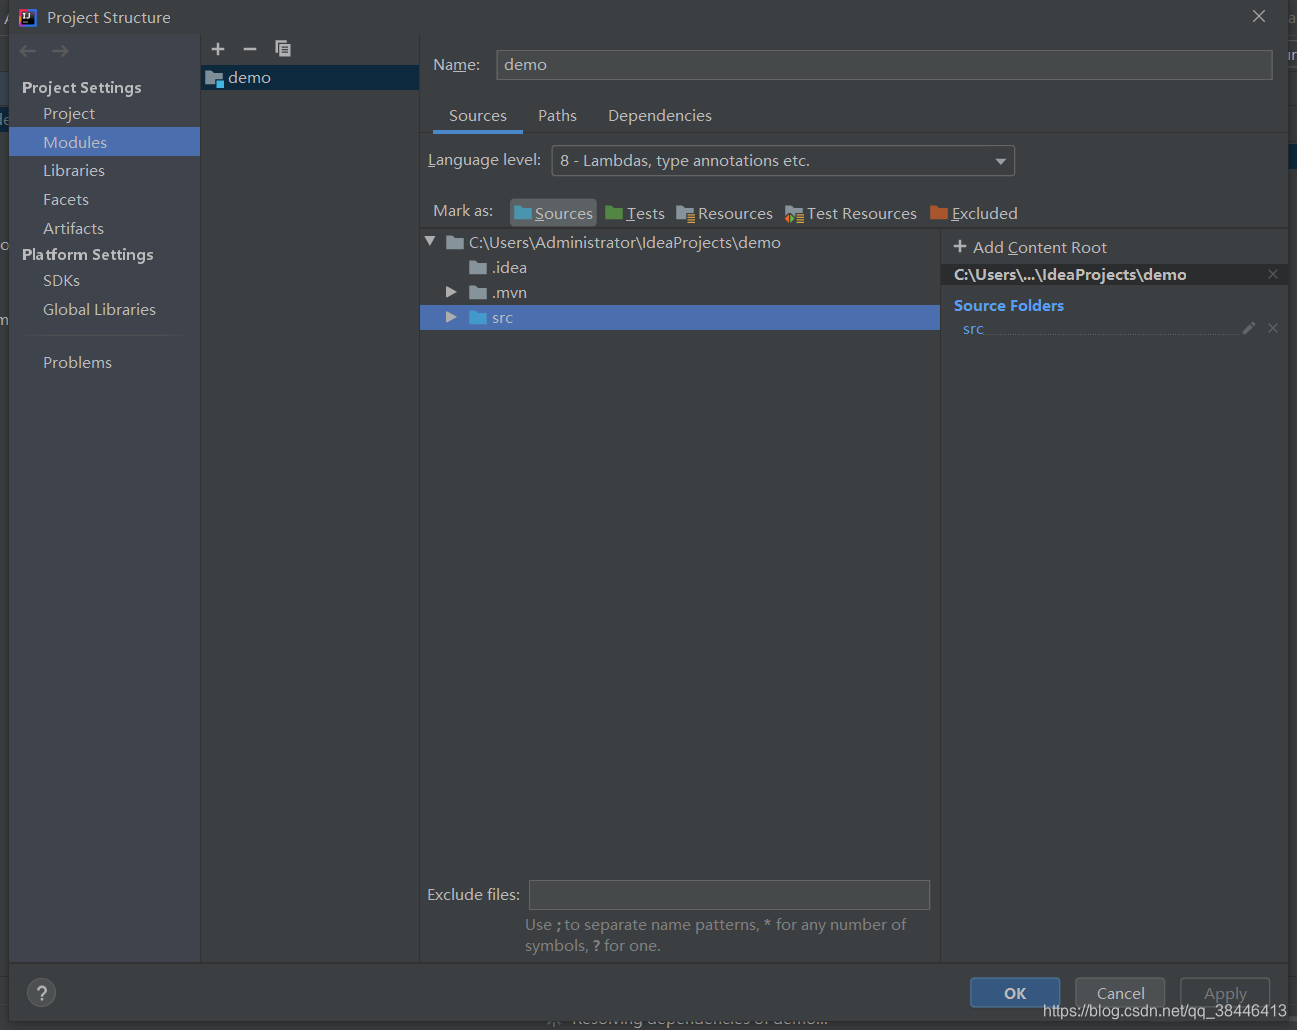
-
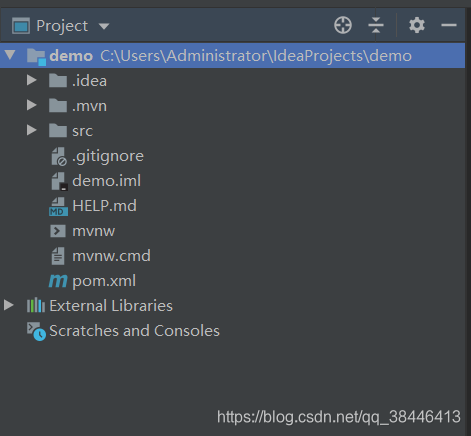
The src marked as sources
-
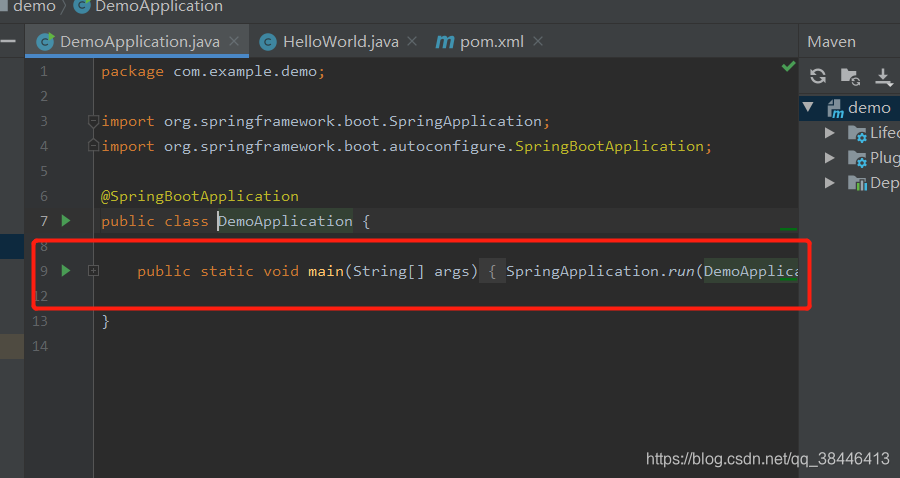
Related to the preparation Controller, Service
package com.example.demo;

import org.springframework.web.bind.annotation.RequestMapping;
import org.springframework.web.bind.annotation.RestController;

@RestController
public class HelloWorld {
    @RequestMapping("/hello")
    public String hello(){
        return "hello world !";
    }
}
-
The main program starts
-
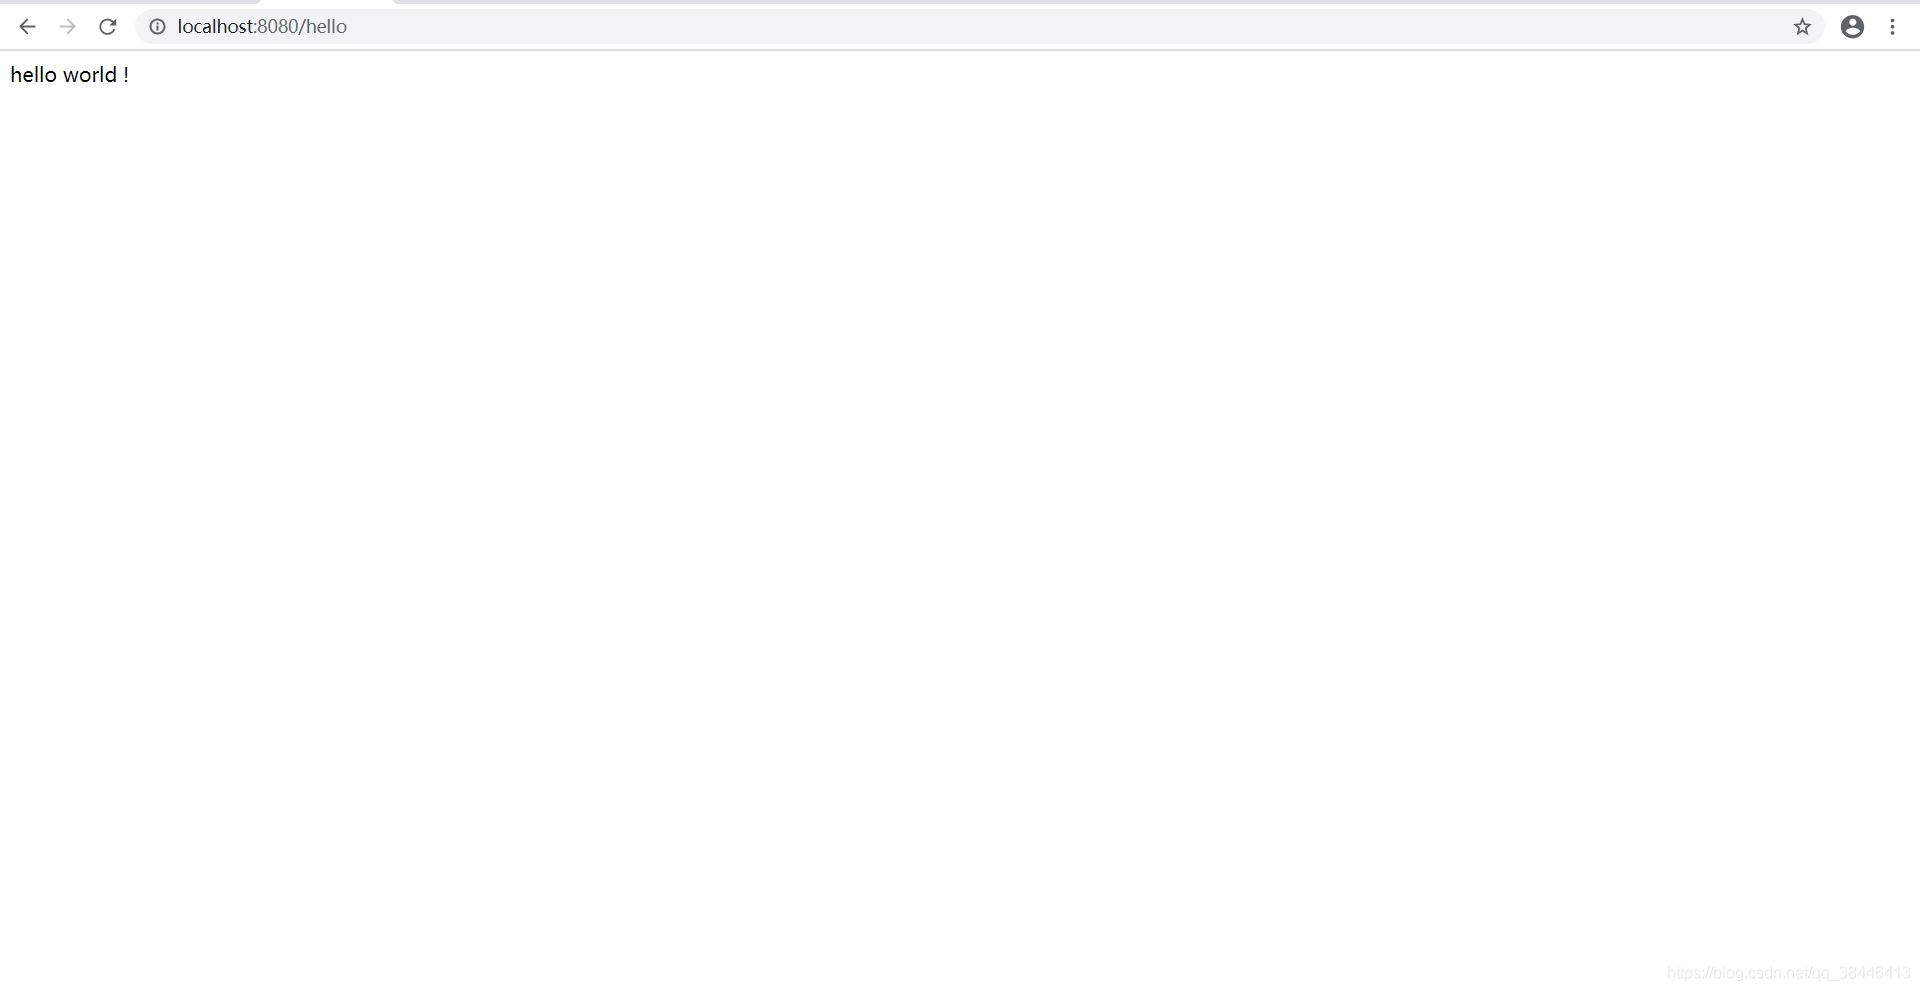
Access localhost: 8080 / hello, as FIG.
How to separate front and back end development
Through a simple user authentication to explain how to develop
1. Develop a simple front-end interface
In order to facilitate the development, we have introduced hungry yet UI
- Introducing element ui
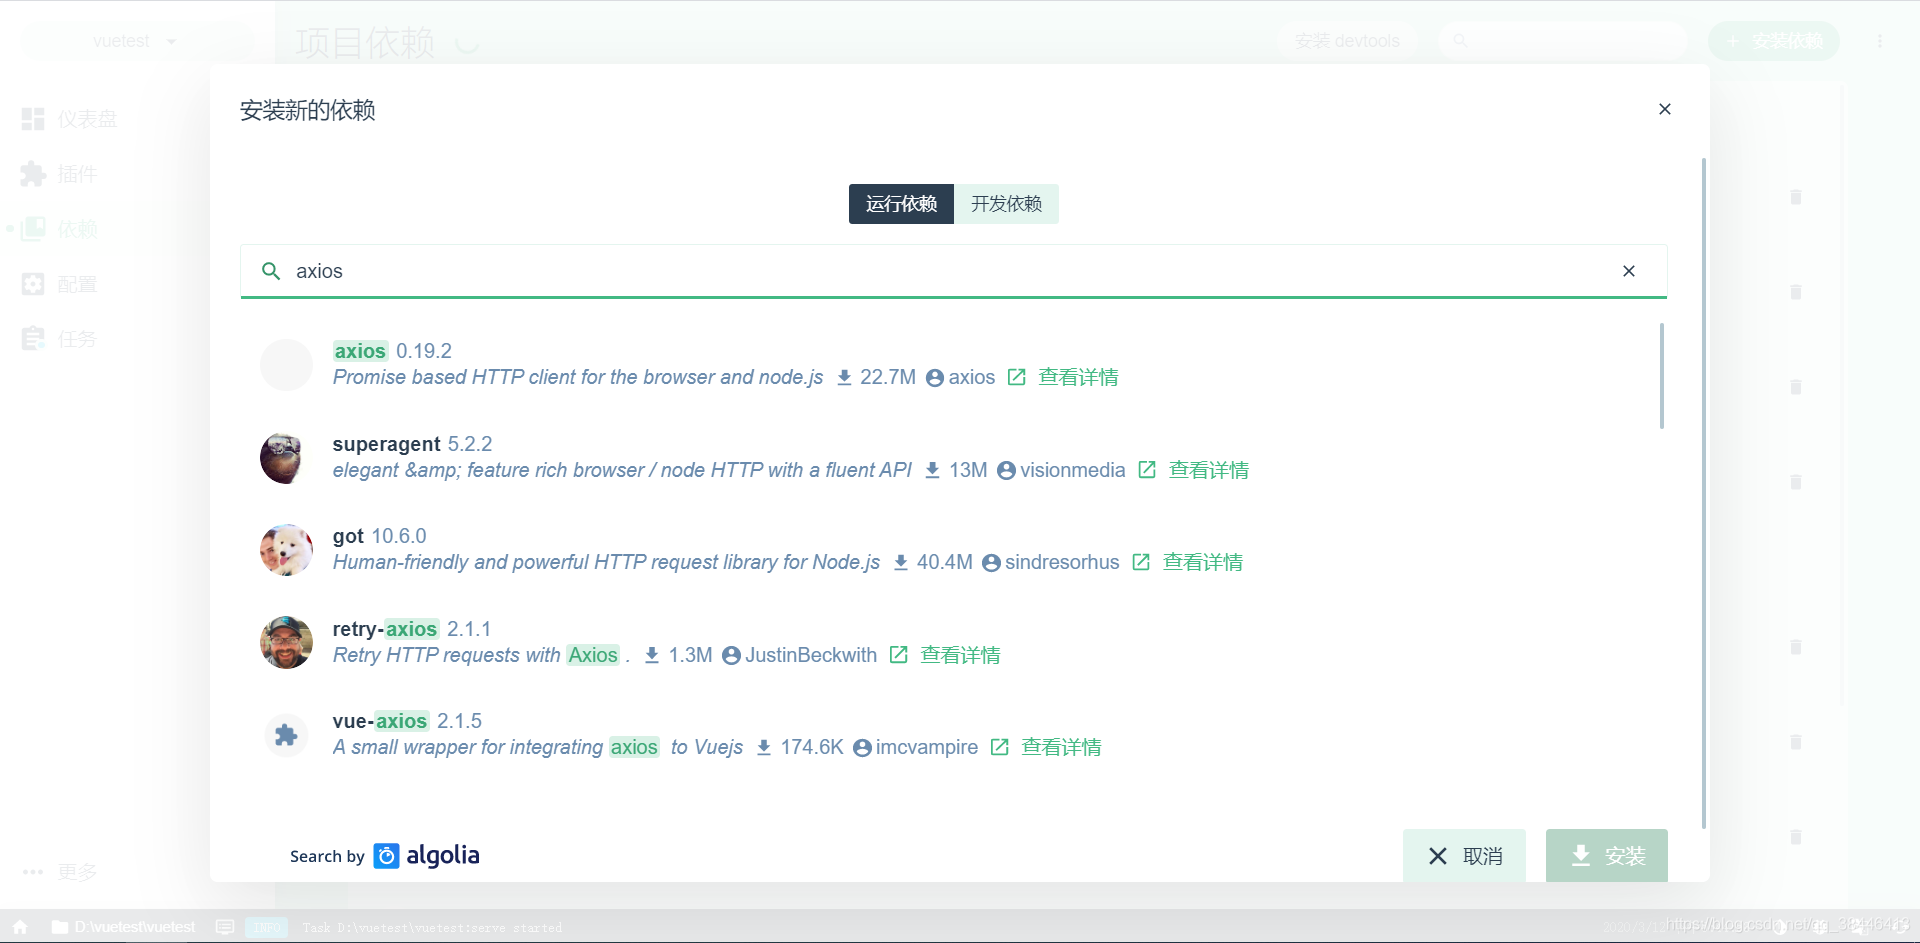
- Introducing Axios dependent
reference axios in the main.js
import Vue from 'vue'
import App from './App.vue'
import router from './router'
import './plugins/element.js'
import axios from 'axios'
Vue.prototype.$axios = axios    //全局注册,使用方法为:this.$axios
Vue.config.productionTip = false

new Vue({
  router,
  render: h => h(App)
}).$mount('#app')
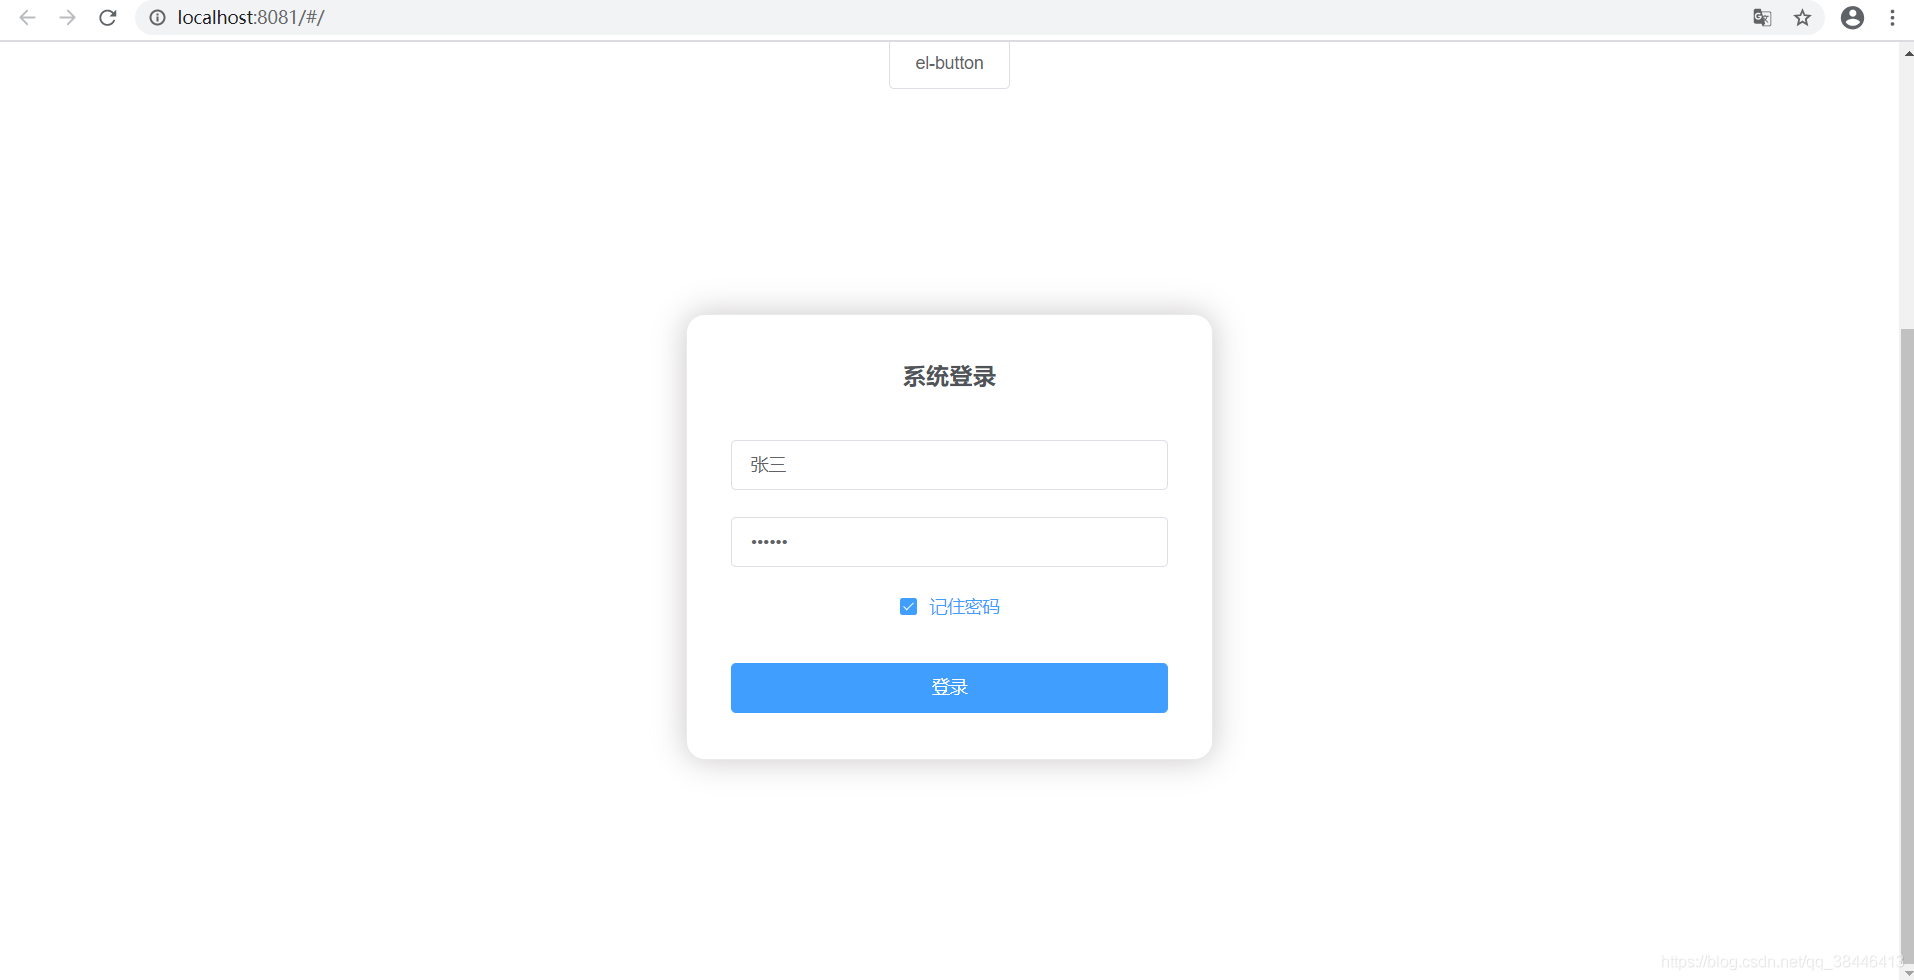
- Reception Code
<template>
<el-form :rules="rules" class="login-container" label-position="left"
label-width="0px" v-loading="loading">
<h3 class="login_title">系统登录</h3>
<el-form-item prop="account">
<el-input type="text" v-model="loginForm.name" auto-complete="off" placeholder="账号"></el-input>
</el-form-item>
<el-form-item prop="checkPass">
<el-input type="password" v-model="loginForm.password" auto-complete="off" placeholder="密码"></el-input>
</el-form-item>
<el-checkbox class="login_remember" v-model="checked" label-position="left">记住密码</el-checkbox>
<el-form-item style="width: 100%">
<el-button type="primary" @click.native.prevent="submitClick" style="width: 100%">登录</el-button>
</el-form-item>
</el-form>
</template>
<script>
export default{
data(){
return {
rules: {
account: [{required: true, message: '请输入用户名', trigger: 'blur'}],
checkPass: [{required: true, message: '请输入密码', trigger: 'blur'}]
},
checked: true,
loginForm: {
name: '张三',
password: '666666'
},
loading: false
}
},
methods: {
submitClick: function () {
var _this = this;
this.loading = true;
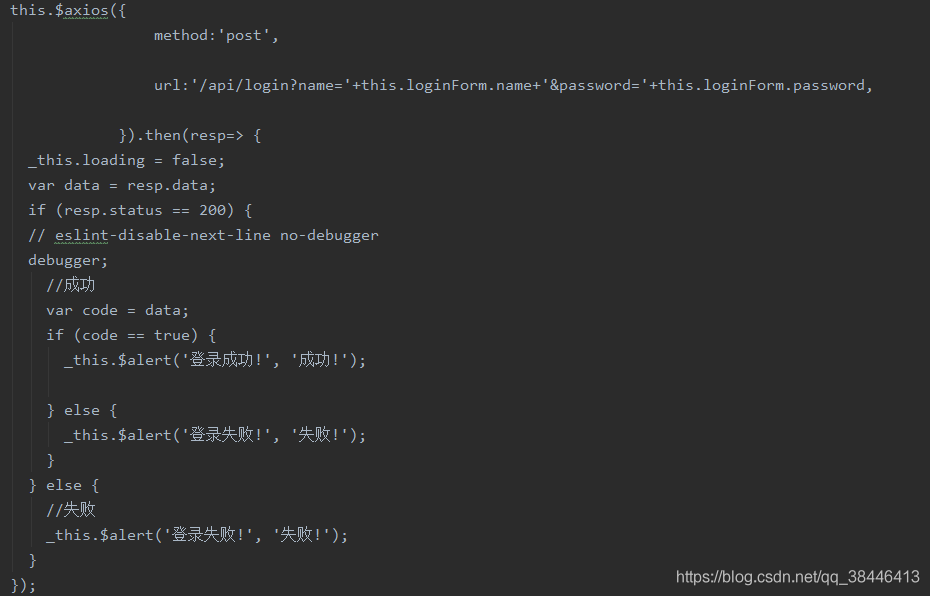
this.$axios({
method:'post',
url:'/api/login?name='+this.loginForm.name+'&password='+this.loginForm.password,
}).then(resp=> {
_this.loading = false;
var data = resp.data;
if (resp.status == 200) {
// eslint-disable-next-line no-debugger
debugger;
//成功
var code = data;
if (code == true) {
_this.$alert('登录成功!', '成功!');
} else {
_this.$alert('登录失败!', '失败!');
}
} else {
//失败
_this.$alert('登录失败!', '失败!');
}
});
}
}
}
</script>
<style>
.login-container {
border-radius: 15px;
background-clip: padding-box;
margin: 180px auto;
width: 350px;
padding: 35px 35px 15px 35px;
background: #fff;
border: 1px solid #eaeaea;
box-shadow: 0 0 25px #cac6c6;
}
.login_title {
margin: 0px auto 40px auto;
text-align: center;
color: #505458;
}
.login_remember {
margin: 0px 0px 35px 0px;
text-align: left;
}
</style>
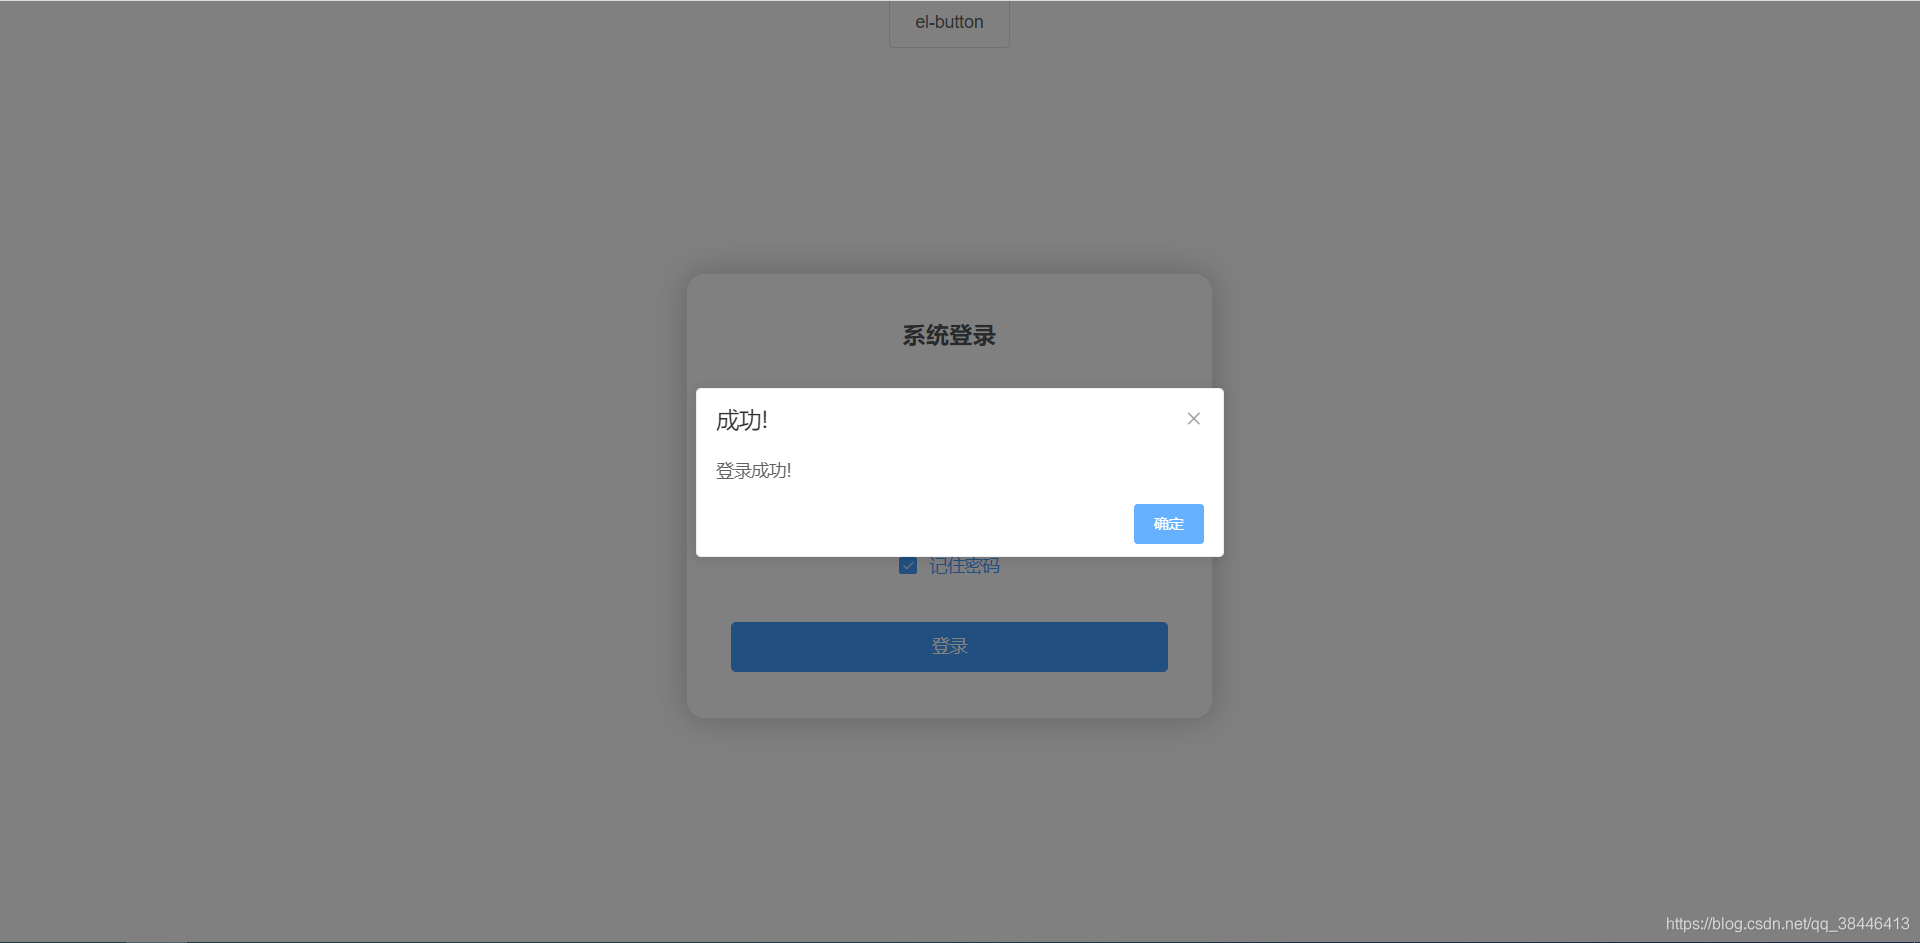
- Renderings
2. solve cross-domain problems
vue3.0 1.0, 2.0 and different, you need to create your own profile, create vue.config.js in the root directory, it will automatically load the configuration file on startup
module.exports = {
    devServer:{
    //所有通过'api'调用的请求都会转发到'http://localhost:8090/'下面
        proxy:{
            '/api':{
                target:'http://localhost:8090/',
                changeOrigin: true,
                 pathRewrite: {
                                    "^/api": ""
                                }
            }
        }
    }
}
3. Call backend interface through Ajax
4. Background Interface Development
Create a user VO
package com.example.demo;

public class user {
    private String name;
    private String password;

    public String getName() {
        return name;
    }

    public void setName(String name) {
        this.name = name;
    }

    public String getPassword() {
        return password;
    }

    public void setPassword(String password) {
        this.password = password;
    }
}
Creating Controller
package com.example.demo;

import org.springframework.web.bind.annotation.PostMapping;
import org.springframework.web.bind.annotation.RestController;

@RestController
public class login {
    @PostMapping(value = "/login")
    //@ApiImplicitParam(name = "id", value = "id值", paramType = "path", required = true, dataType = "Integer")
    public boolean login(user user) {
        System.out.println("name :"+user.getName()+"password :"+user.getPassword());
        //简单演示,直接把用户名和密码写死
        if("user".equals(user.getName())&&"user".equals(user.getPassword())){
            return true;
        }else{
            return false;
        }
    }
}
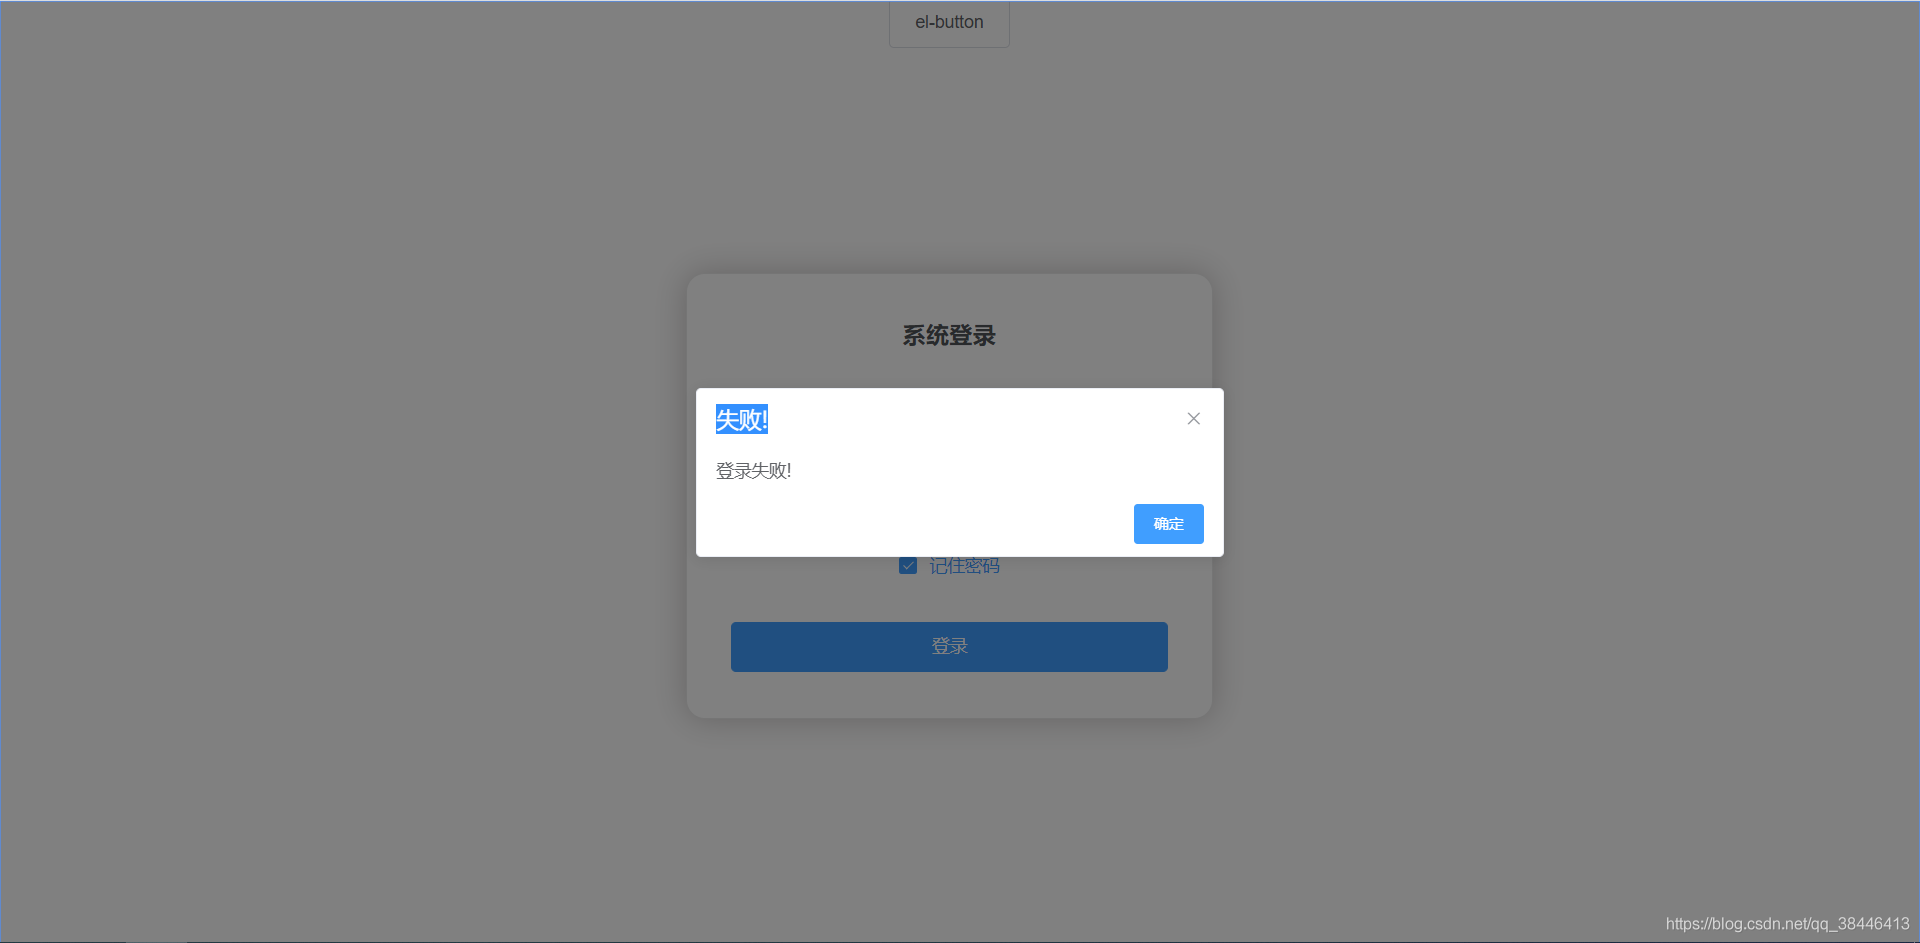
FIG. 5. Effect
If you enter the wrong
success