That I have a good online to download a html template but I want him to start with the idea of plug-in service then you have to let it follows
the premise is already installed npm, nodejs etc. (How to configure npm, node.js own online search Bo main not be described here)
Bloggers file format (using a tool idea)
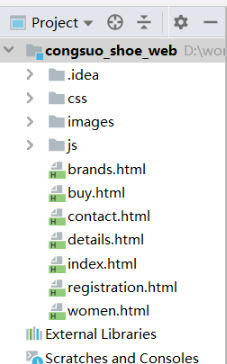
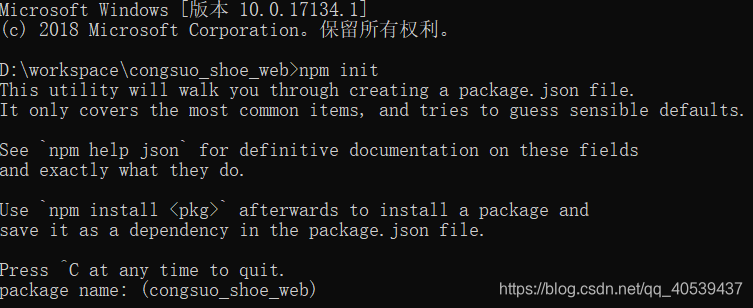
find the root of the file is stored (Select All command input cmd, enter cmd command line)
[insert here the picture description] (https:! // img- blog. csdnimg.cn/2020010800130161.png 

the command line to enter npm init,

then there will be a lot of tips has been directly press enter (here set some properties)
 end allows you to input whether to confirm (that is, do not ignore it directly enter available, the default is yes)
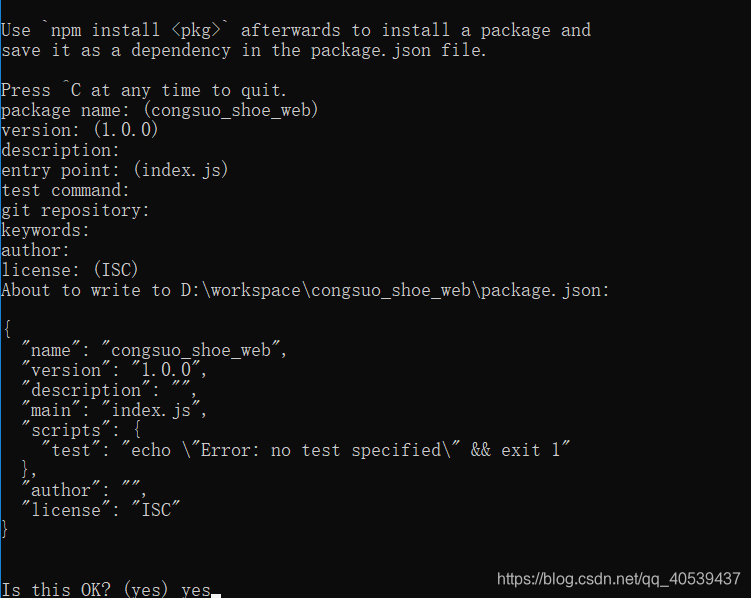 completed (will be one more file package.json)
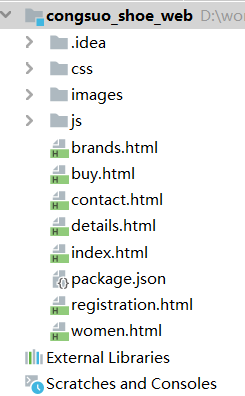
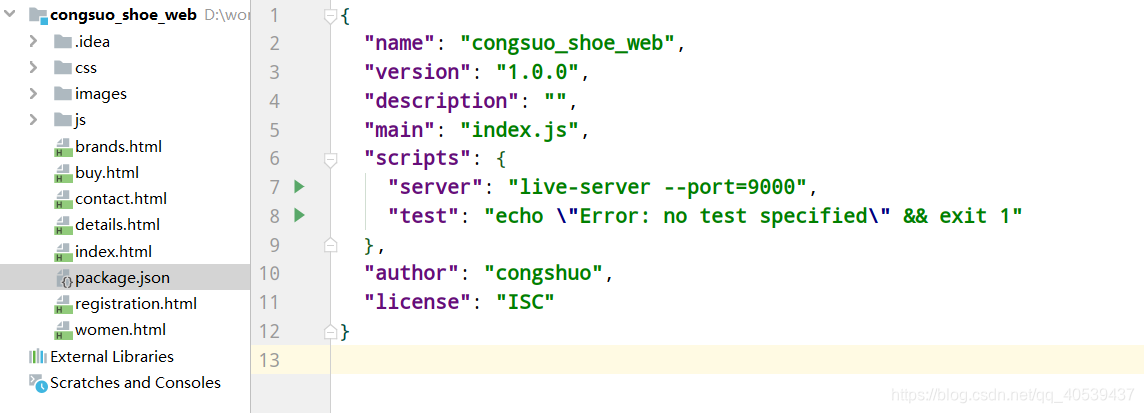
then we can be configured directly inside information (which is the original default preparation)
{
  "name": "congsuo_shoe_web",
  "version": "1.0.0",
  "description": "",
  "main": "index.js",
  "scripts": {
    "test": "echo \"Error: no test specified\" && exit 1"
  },
  "author": "",
  "license": "ISC"
}
Then we want to formulate port number:
 {
  "name": "congsuo_shoe_web",
  "version": "1.0.0",
  "description": "",
  "main": "index.js",
  "scripts": {
    "server": "live-server --port=9000",
    "test": "echo \"Error: no test specified\" && exit 1"
  },
  "author": "congshuo",
  "license": "ISC"
}
 Because I upload plug-in idea directly related to the operation of vue can not enter the command line
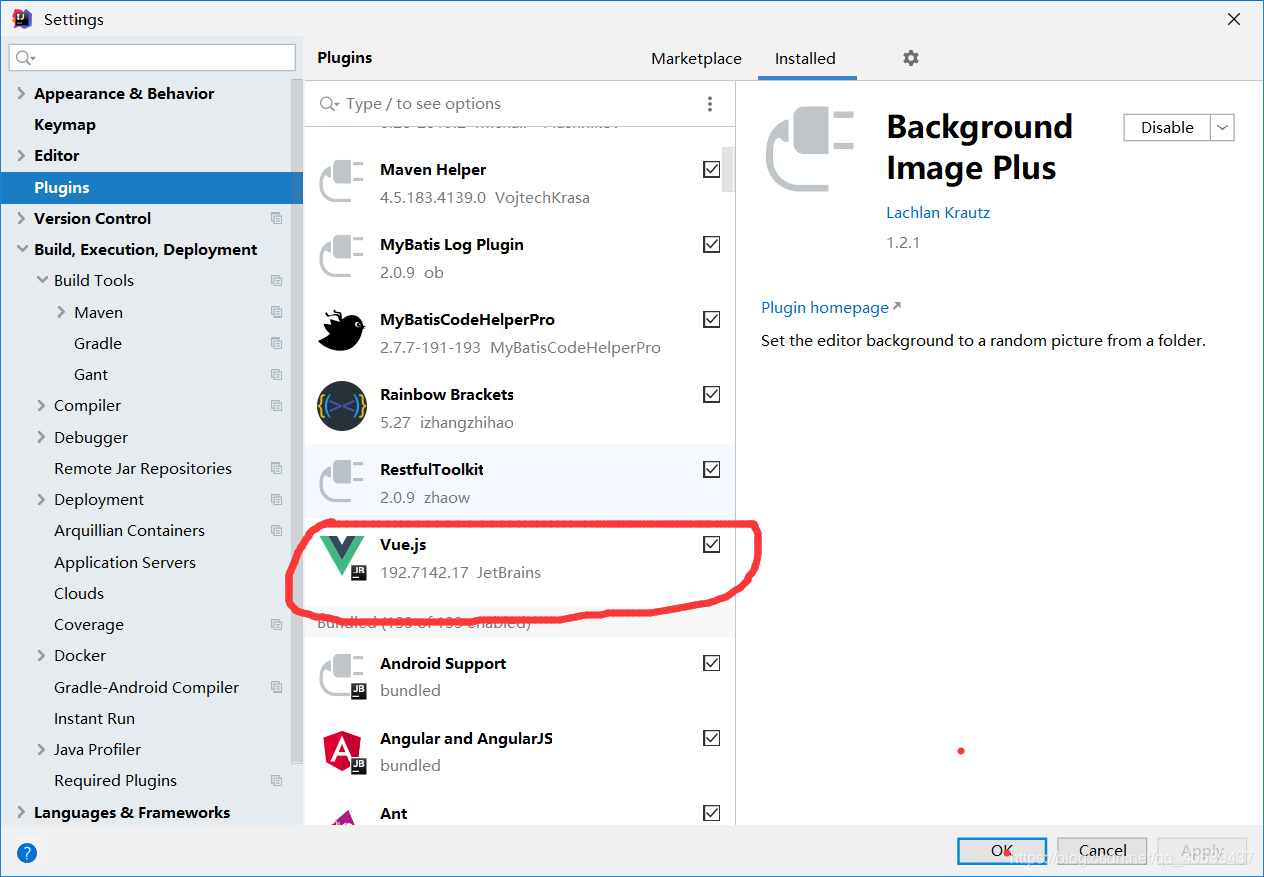 if you can not download directly next
run to see results:

127.0.0.1:9000 is the port number (tested successfully) we set but this is not good no domain name, so now we have to use our previously mentioned the nginx
Found this path, the local host configuration file
C:\Windows\System32\drivers\etc

You can
see the effect:
 But we do not change the port number, how to do, this time we need before I talked about the nginx
Computer to install nginx
Open nginx core configuration file so increase a code
include vhost / * conf;. # Add config message
to
#user  nobody;
worker_processes  1;

#error_log  logs/error.log;
#error_log  logs/error.log  notice;
#error_log  logs/error.log  info;

#pid        logs/nginx.pid;


events {
    worker_connections  1024;
}


http {
    include       mime.types;
    default_type  application/octet-stream;

    #log_format  main  '$remote_addr - $remote_user [$time_local] "$request" '
    #                  '$status $body_bytes_sent "$http_referer" '
    #                  '"$http_user_agent" "$http_x_forwarded_for"';

    #access_log  logs/access.log  main;

    sendfile        on;
    #tcp_nopush     on;

    #keepalive_timeout  0;
    keepalive_timeout  65;

    #gzip  on;


	include vhost/*.conf; # add config message


    server {
        listen       80;
        server_name  localhost;

        #charset koi8-r;

        #access_log  logs/host.access.log  main;

        location / {
            root   html;
            index  index.html index.htm;
        }

        #error_page  404              /404.html;

        # redirect server error pages to the static page /50x.html
        #
        error_page   500 502 503 504  /50x.html;
        location = /50x.html {
            root   html;
        }

        # proxy the PHP scripts to Apache listening on 127.0.0.1:80
        #
        #location ~ \.php$ {
        #    proxy_pass   http://127.0.0.1;
        #}

        # pass the PHP scripts to FastCGI server listening on 127.0.0.1:9000
        #
        #location ~ \.php$ {
        #    root           html;
        #    fastcgi_pass   127.0.0.1:9000;
        #    fastcgi_index  index.php;
        #    fastcgi_param  SCRIPT_FILENAME  /scripts$fastcgi_script_name;
        #    include        fastcgi_params;
        #}

        # deny access to .htaccess files, if Apache's document root
        # concurs with nginx's one
        #
        #location ~ /\.ht {
        #    deny  all;
        #}
    }


    # another virtual host using mix of IP-, name-, and port-based configuration
    #
    #server {
    #    listen       8000;
    #    listen       somename:8080;
    #    server_name  somename  alias  another.alias;

    #    location / {
    #        root   html;
    #        index  index.html index.htm;
    #    }
    #}


    # HTTPS server
    #
    #server {
    #    listen       443 ssl;
    #    server_name  localhost;

    #    ssl_certificate      cert.pem;
    #    ssl_certificate_key  cert.key;

    #    ssl_session_cache    shared:SSL:1m;
    #    ssl_session_timeout  5m;

    #    ssl_ciphers  HIGH:!aNULL:!MD5;
    #    ssl_prefer_server_ciphers  on;

    #    location / {
    #        root   html;
    #        index  index.html index.htm;
    #    }
    #}

}
What I then build its own folder vhost (here If you have questions nginx can look at the article before bloggers)
F: \ SoftWare \ \ conf \ vhost nginx-1.12.2
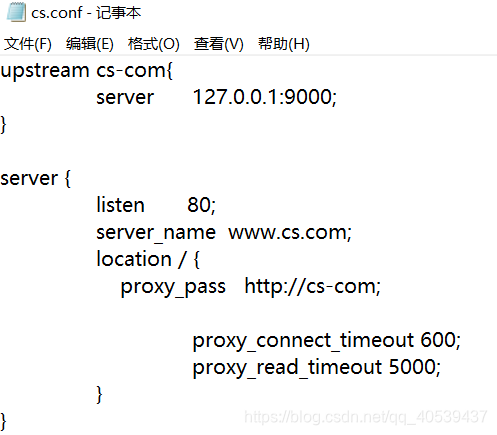
build a cs.conf in this folder (the name you want random) file
upstream cs-com{
	server	127.0.0.1:9000;
}

server {
	listen       80;
	server_name  www.cs.com;
	location / {
	    proxy_pass   http://cs-com;

		proxy_connect_timeout 600;
		proxy_read_timeout 5000;
	}
}
 Select Save cmd to open
the Insert Picture here described

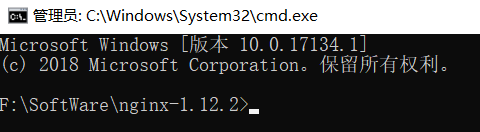
the input start nginx.exe
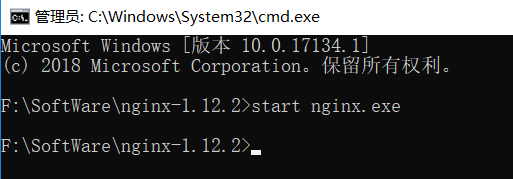
It represents the successful start flashing
We get away to visit
described here insert a picture
 configuration is completed
