1.什么是SpringCache
①Redis在我们程序中最重要的应用便是缓存,利用内存的高吞吐解决数据查询慢的问题.。
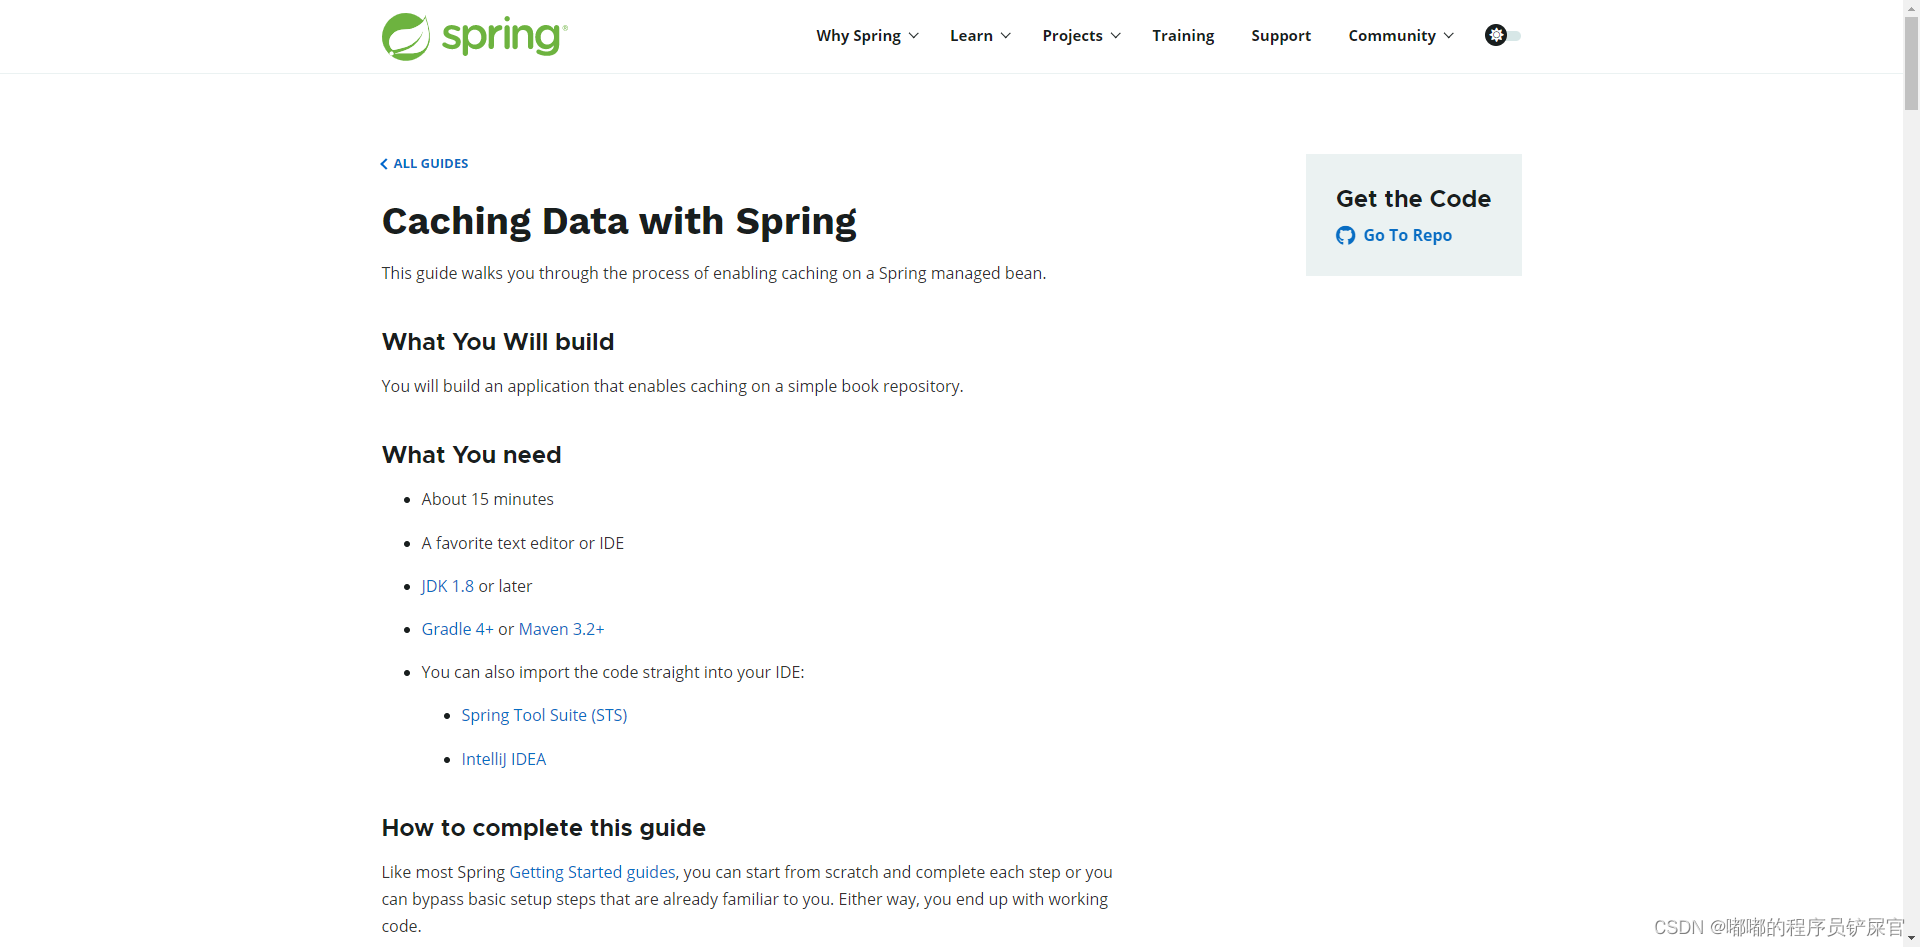
② Spring Cache是Spring生态的一员,用于对主流缓存组件进行一致性集成.通过暴露统一的接口,让我们轻松的使用并进行组件之间的切换。
官网学习链接:https://spring.io/guides/gs/caching/
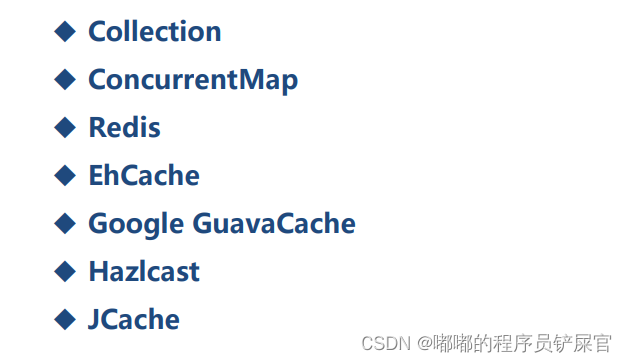
Spring Cache的对缓存的支持:
2.声明式缓存
① 声明式缓存通俗来说是采用注解的形式对当前应用的”非侵入式”扩展.。
② 声明式缓存是Spring Cache的默认支持. 底层采用Spring AOP技术实现。
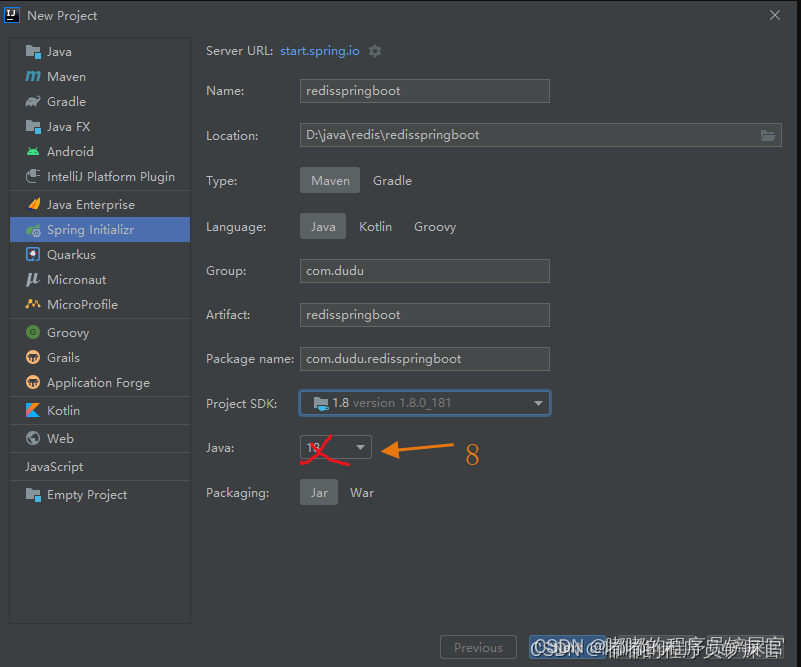
创建一个名为redisspringboot的springboot项目:
整体框架:

pom.xml中导入相关依赖:
<dependencies>
		<dependency>
			<groupId>org.springframework.boot</groupId>
			<artifactId>spring-boot-starter-cache</artifactId>
		</dependency>
		<dependency>
			<groupId>org.springframework.boot</groupId>
			<artifactId>spring-boot-starter-data-redis</artifactId>
		</dependency>

		<dependency>
			<groupId>org.springframework.boot</groupId>
			<artifactId>spring-boot-starter-test</artifactId>
			<scope>test</scope>
		</dependency>

		<dependency>
			<groupId>com.fasterxml.jackson.core</groupId>
			<artifactId>jackson-databind</artifactId>
		</dependency>
	</dependencies>
application.yam中配置Redis的信息:
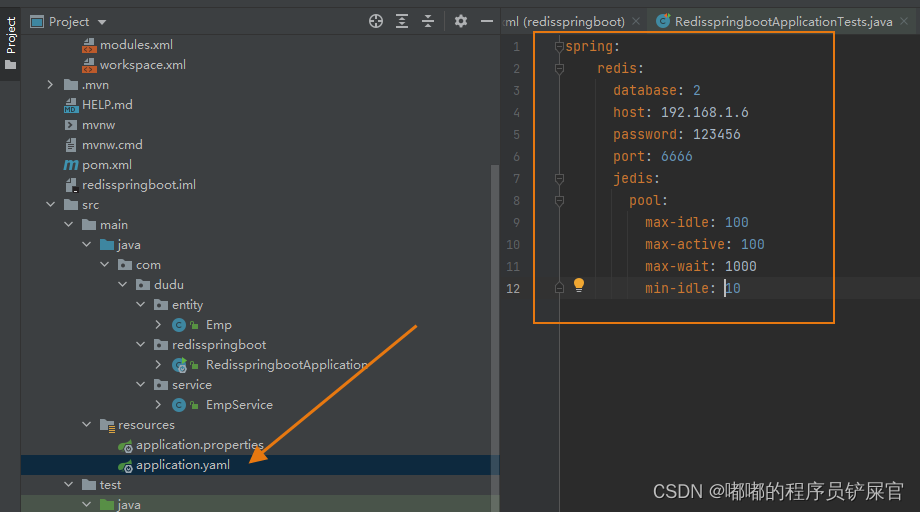
详细配置信息如下( 根据自己的Redis配置进行配置即可 ):
spring:
    redis:
      database: 2
      host: 192.168.1.6
      password: 123456
      port: 6666
      jedis:
        pool:
          max-idle: 100
          max-active: 100
          max-wait: 1000
          min-idle: 10
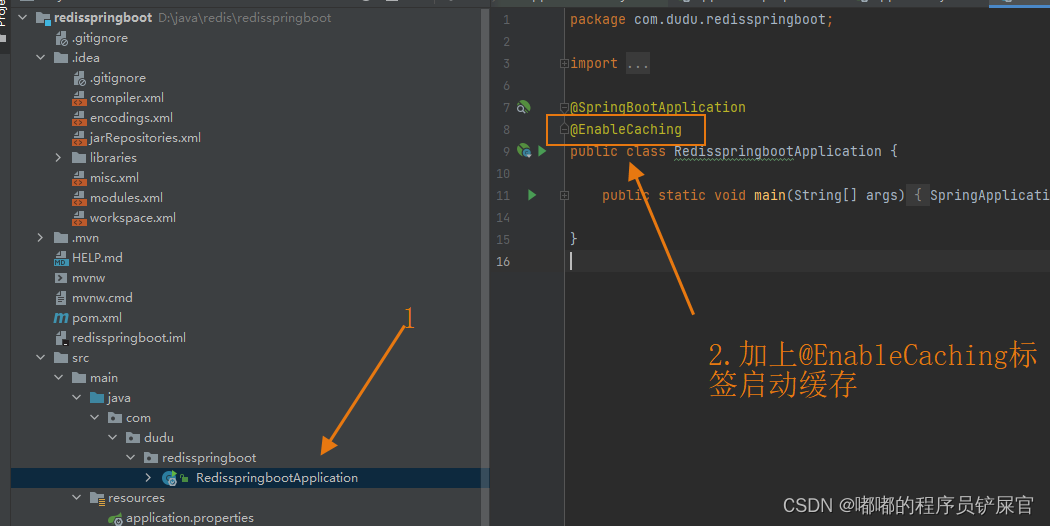
RedisspringbootApplication上加上
@EnableCaching标签启动缓存:
模拟员工管理业务场景
实体层(entity)
(实体类一定要进行序列化 implements Serializable)
package com.dudu.redisspringboot.entity;

import java.io.Serializable;
import java.util.Date;

public class Emp implements Serializable{


    private Integer empno;
    private String name;
    private Date birthday;
    private Float salary;
    private String department;
    public Emp(){

     //必须要有默认构造函数

    }
    public Emp(Integer empno, String name, Date birthday, Float salary, String department) {


        this.empno = empno;
        this.name = name;
        this.birthday = birthday;
        this.salary = salary;
        this.department = department;
    }

    public Integer getEmpno() {


        return empno;
    }

    public void setEmpno(Integer empno) {


        this.empno = empno;
    }

    public String getName() {


        return name;
    }

    public void setName(String name) {


        this.name = name;
    }

    public Date getBirthday() {


        return birthday;
    }

    public void setBirthday(Date birthday) {


        this.birthday = birthday;
    }

    public Float getSalary() {


        return salary;
    }

    public void setSalary(Float salary) {


        this.salary = salary;
    }

    public String getDepartment() {


        return department;
    }

    public void setDepartment(String department) {


        this.department = department;
    }
}
业务层(service)
package com.dudu.redisspringboot.service;


import com.dudu.redisspringboot.entity.Emp;
import org.springframework.cache.annotation.CacheEvict;
import org.springframework.cache.annotation.CachePut;
import org.springframework.cache.annotation.Cacheable;
import org.springframework.stereotype.Service;
import java.util.ArrayList;
import java.util.Date;
import java.util.List;

@Service
public class EmpService {


}
增加相应业务(在EmpService类中添加下列方法):
- 业务一:通过Id查找员工信息
@Cacheable(value = "emp" , key = "#empId" )
 @Cacheable(value = "emp" , key = "#empId" )// ,condition = "#empId != 1000"
    public Emp findById(Integer empId) {


        System.out.println("执行了FindById方法:EmpId:" + empId);
        return new Emp(empId , "itlaoqi"  , new Date()  , 1000f ,"RESEARCH");
    }
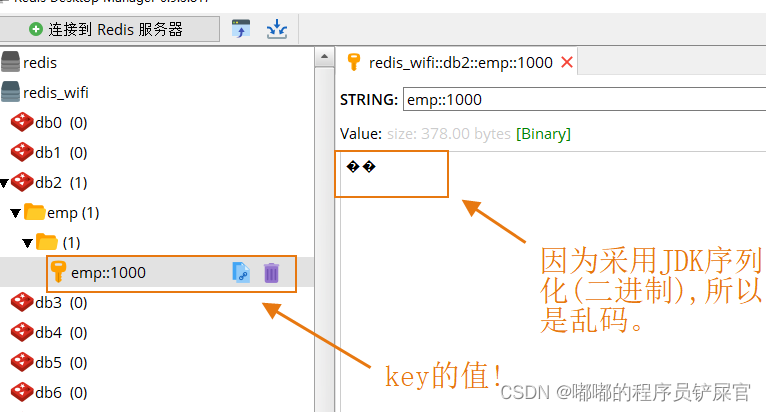
使用 @Cacheable(value = "emp" , key = "#empId" ) 开启缓存,执行findById方法前先从Redis中查找key( value的值::key的值 ,如果empId=1000执行上面的方法,则key=emp::1000)是否存在,如果存在则直接从redis中取出不执行方法中的代码,否则执行方法代码,并将返回值序列化保存到redis中。
测试类中编写测试方法并进行测试:
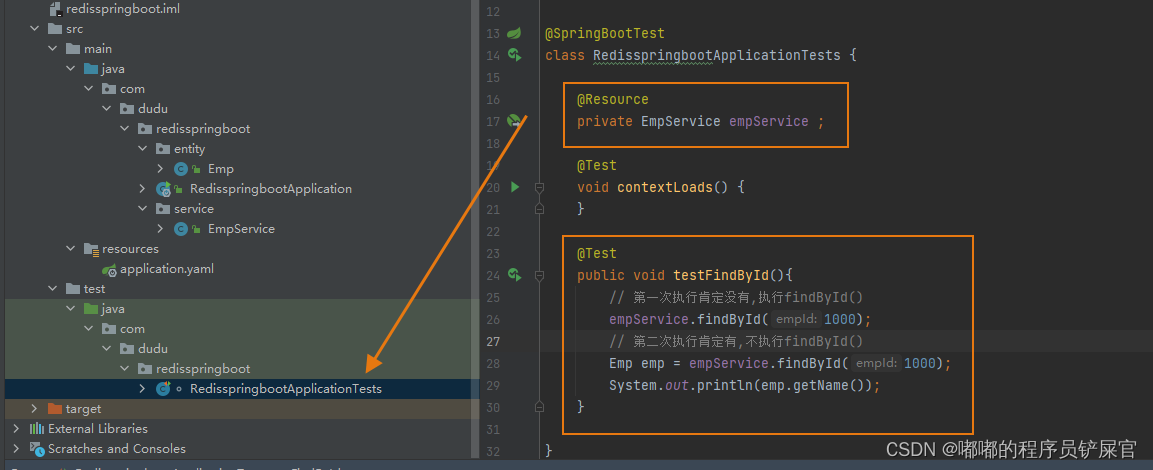
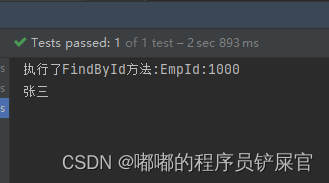
运行效果
( 测试方法中调用findById()二次,但是执行方法时只执行了一次,这是因为第二次是直接从Redis中取值,并没有执行findById() ):
Redis中的数据信息:
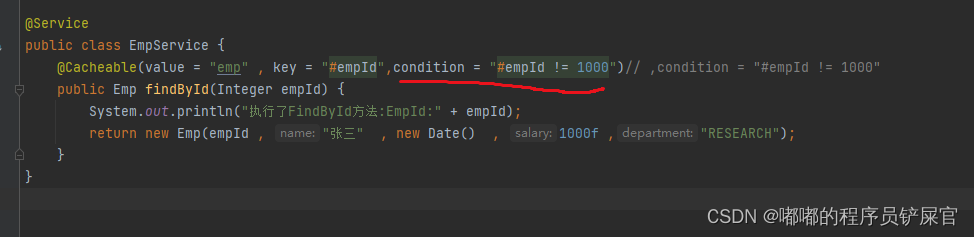
@Cacheable(value = "emp" , key = "#empId" ) 还可以加上condition参数用于添加条件:
( 添加的条件就是,当输入的id不为1000使用缓存 )
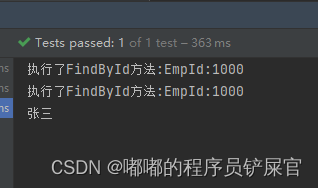
再次执行测试方法( 由于条件的原因,二次执行都没有直接从Redis中取数据,而是执行的findById()方法 ):
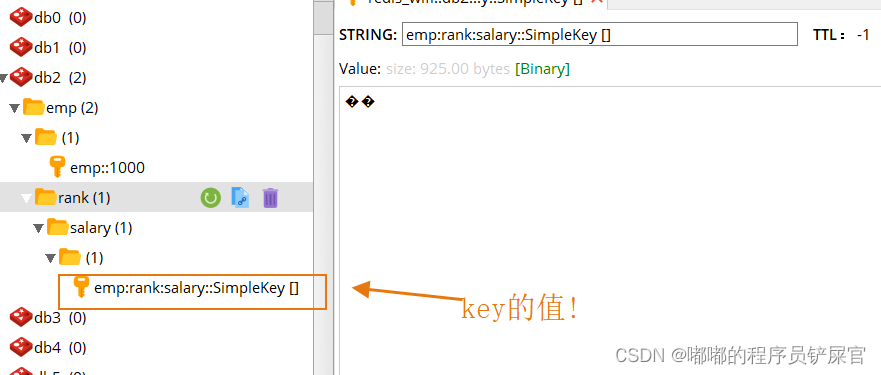
- 业务二:冒号分割
@Cacheable(value = "emp:rank:salary")
    @Cacheable(value = "emp:rank:salary")
    public List<Emp> getEmpRank() {


        List list = new ArrayList();
        for(int i = 0 ; i < 10 ; i++) {


            list.add(new Emp(i , "emp" +  i , new Date() , 5000 + i * 100f , "RESEARCH"));
        }
        return list;
    }
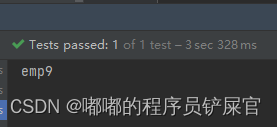
测试方法:
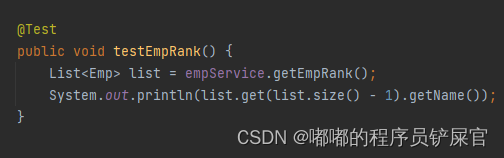
运行效果:
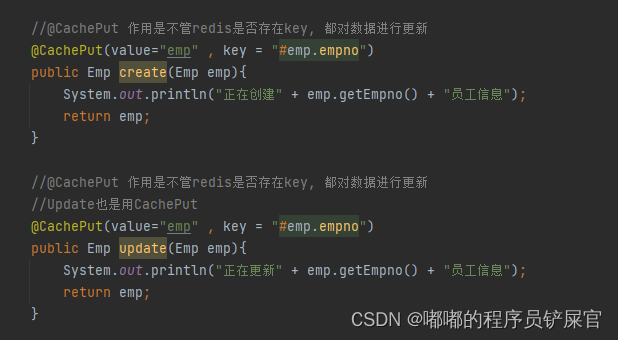
- 业务三:
@CachePut不管redis是否存在key, 都对数据进行更新
测试方法:
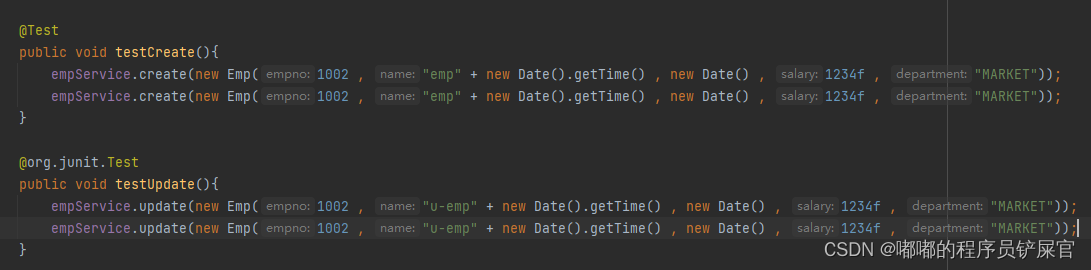
运行效果:

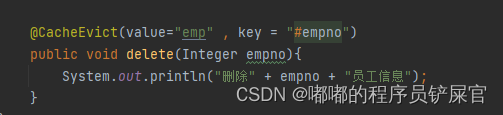
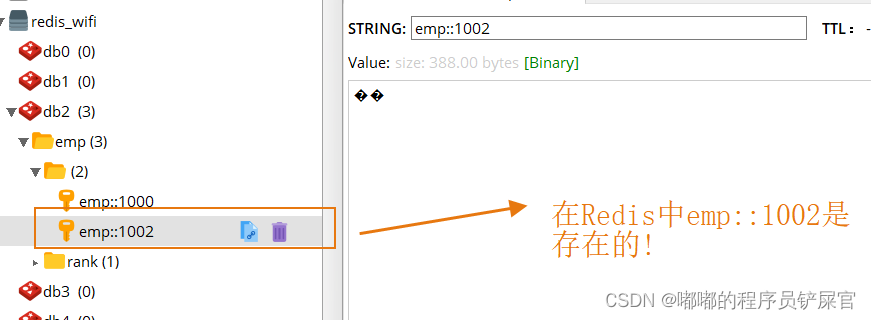
- 业务四:
@CacheEvict(value="emp" , key = "#empno")将符合添加的key给删除掉
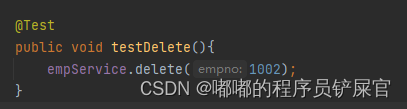
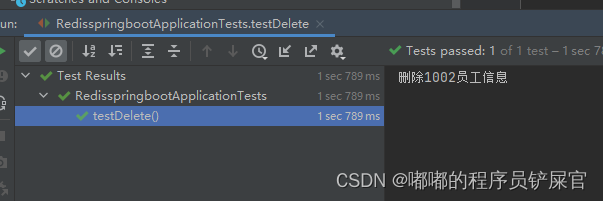
测试方法:
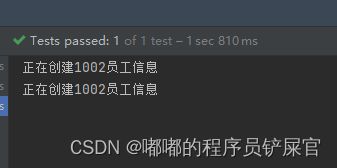
运行效果:
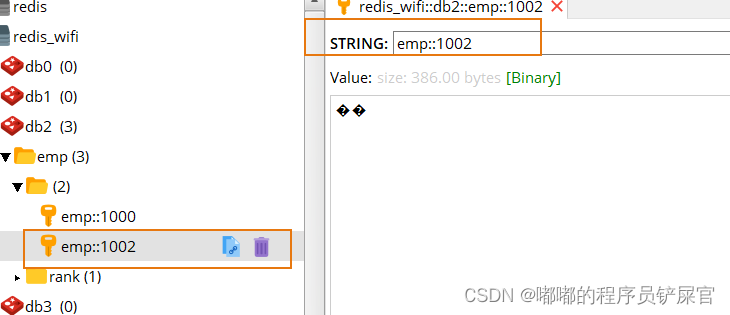
执行前
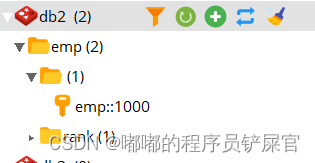
执行后:
( Redis中key=emp::1002被删除了 )
解决Redis中value乱码问题,更改序列化方式,换成jackson
( 前面已经导入了jackson的依赖,所以这里就不再导入! )
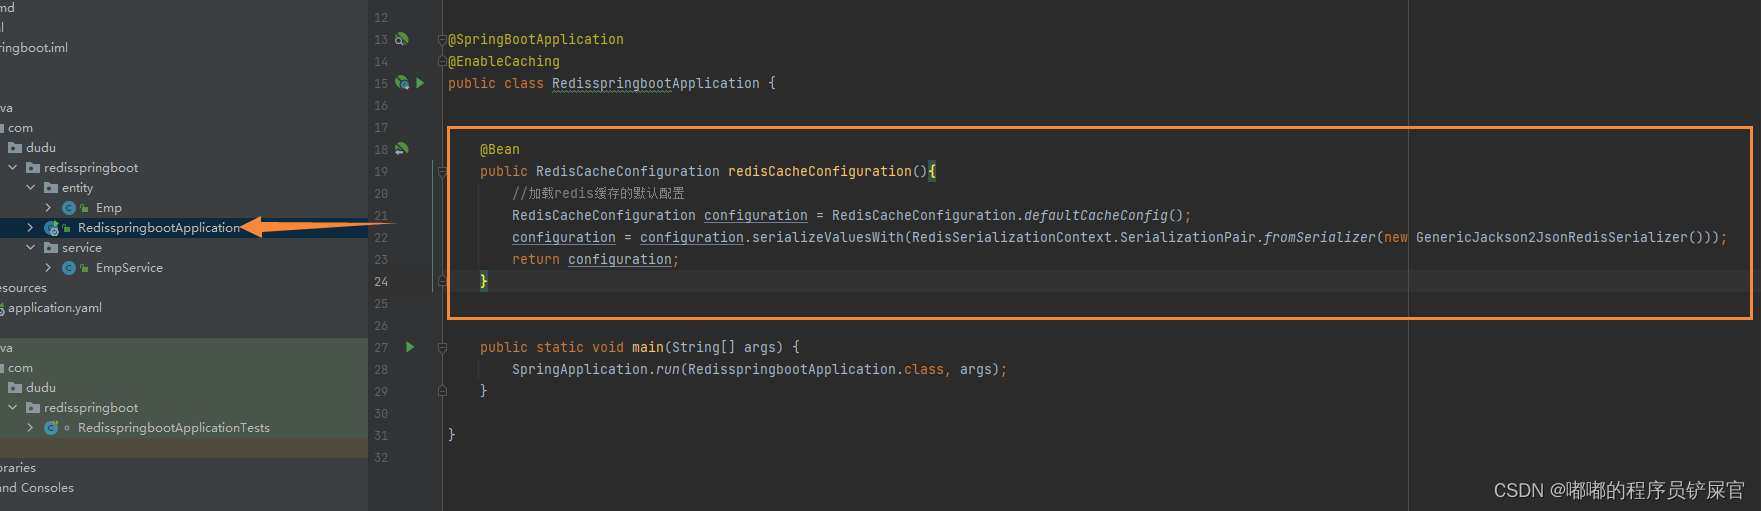
详细代码:
    @Bean
    public RedisCacheConfiguration redisCacheConfiguration(){


        //加载redis缓存的默认配置
        RedisCacheConfiguration configuration = RedisCacheConfiguration.defaultCacheConfig();
        configuration = configuration.serializeValuesWith(RedisSerializationContext.SerializationPair.fromSerializer(new GenericJackson2JsonRedisSerializer()));
        return configuration;
    }
在RDM中执行flushdb命令后再次运行所有测试方法:
在RDM中执行flushdb命令:
IDEA中执行所有测试方法后,RDM显示数据如下( 乱码问题解决 ):

3.源代码下载
微信公众号搜索程序员孤夜(或扫描下方二维码),后台回复 Redis1 ,即可获取源码,如果有什么问题,后台留言我看见了会第一时间就会回复你喔!