前言
最近项目中要用到二维码分享功能,需要封装一些自定义的参数通过二维码分享。查看官方文档,发现系统提供了生成二维码的功能,但是细看才发现官方提供的接口其实是生成小程序二维码,通过扫描二维码可以进入小程序指定的页面。显然官方的API无法满足我们的要求,接下来就将项目中离线生成带自定义参数的二维码的方法分享给大家。
实现
老规矩,先上图镇楼
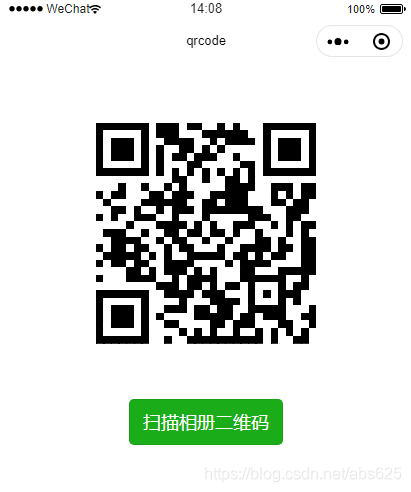
有人可能会说,你会不会放的是一张二维码图片?

接下来我们就不卖关子了,其实核心的就是一个js类库。然后里面封装好了生成二维码、导出二维码等方法。类库中通过canvas相关的API最终将二维码绘制在canvas上面。当然小程序里面本来是没有这个类库的,是从html生产二维码的一个库(qrcodejs)移植修改过来的,接下来我们就直接上代码了。
// wxml文件
<view class="page">
  <canvas style="width:{{qrcodeWidth}}px; height:{{qrcodeWidth}}px;margin-top:60px;" canvas-id='canvas' bindlongtap='save'></canvas>
  <button type="primary" style="margin-top:100rpx;" bindtap="goscan">扫描相册二维码</button>
</view>
//js文件
var QRCode = require('../../utils/qr-core.js')
var qrcode = null;
var that;
Page({
  data: {
    qrcodeWidth: 0
  },
  onLoad: function () {
    that = this
    //获取canvas对象
    const ctx = wx.createCanvasContext('canvas')
    const rate = wx.getSystemInfoSync().windowWidth / 750
    //二维码宽高
    var qrcodeWidth = rate * 400
    that.setData({
      qrcodeWidth: qrcodeWidth
    })

    qrcode = new QRCode('canvas', {
      usingIn: that,
      width: qrcodeWidth,
      height: qrcodeWidth,
      colorDark: "#000000",//前景颜色
      colorLight: "white",//背景颜色
      correctLevel: QRCode.CorrectLevel.H,
    })

    qrcode.makeCode('hello world!')
  },
  savereal() {
    //授权成功之后,保存二维码到相册
    console.log('savereal')
    qrcode.exportImage(function (path) {
      console.log('path : ' + path)
      wx.saveImageToPhotosAlbum({
        filePath: path,
        success: function (data) {
          wx.showToast({
            title: '保存成功,请去手机相册查看',
            icon: 'none'
          })
        },
        fail: function (err) {
          wx.showToast({
            title: '保存失败',
            icon: 'none'
          })
        }
      })
    }, this)
  },
  // 长按保存
  save: function () {
    console.log('save')
    wx.showActionSheet({
      itemList: ['保存图片'],
      success: function (res) {
        console.log(res.tapIndex)
        if (res.tapIndex == 0) {
          that.getAlbumScope()
        }
      }
    })
  },
  //获取访问相册授权信息
  getAlbumScope() {
    wx.getSetting({
      success(res) {
        if (!res.authSetting['scope.writePhotosAlbum']) {
          wx.authorize({
            scope: 'scope.writePhotosAlbum',
            success() {
              // 用户已经同意权限
              that.savereal()
              console.log('用户同意授权')
            },
            fail() {
              console.log('用户拒绝授权')
              wx.showModal({
                title: '提示',
                content: '需要访问您的相册将图片保存',
                showCancel: false,
                success: function (res) {
                  if (res.confirm) {
                    wx.openSetting({
                      success: function (data) {
                        if (data.authSetting["scope.writePhotosAlbum"] === true) {
                          that.savereal()
                        } else {
                          wx.showToast({
                            title: '获取授权失败',
                            icon: 'none',
                            duration: 1000
                          })
                        }
                      }
                    })
                  }
                }
              })
            }
          })
        } else {
          that.savereal()
        }
      }
    })
  },
  //调用微信二维码扫描功能并将返回结果弹出
  goscan(){
    wx.scanCode({
      success: (res) => {
        console.log(res)
        wx.showToast({
          title: res.result,
          icon: 'none',
          duration: 3000
        })
      },
      fail: (res) => {
        console.log(res)
      }
    })
  }
})
代码的逻辑很简单,js中已经做好了注释,如果需要生成二维码可以参考我文中的方法
由于生成二维码的js文件较大,就不在这里贴出代码了,直接放百度网盘 百度网盘链接 提取码: tphe
尾巴
如果你喜欢我的文章,欢迎给我点赞,评论,谢谢!
