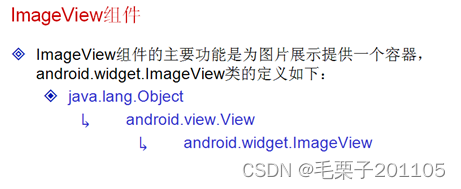
1.画像ビュー:ImageView
1.1 知識ポイント
(1) ImageView コンポーネントの使い方をマスターする。
(2) 写真の保存をマスターする。
1.2 具体内容
RadioGroup は RadioButton を保存するためのコンテナを提供し、ImageView は画像を配置するためのコンテナも提供すると前に述べましたが、Android プロジェクトでは、すべての画像は res/drawable フォルダに保存されます。
画像をDrawableフォルダーに配置すると、R.javaファイルに登録され、IDが生成されることは誰もが知っています。
  <ImageView
        android:id="@+id/img1"
        android:layout_width="wrap_content"
        android:layout_height="wrap_content"
        android:src="@drawable/psb"/>
    <ImageView
        android:id="@+id/img1"
        android:layout_width="wrap_content"
        android:layout_height="wrap_content"
        android:src="@drawable/psb"/>
	 <ImageView
        android:id="@+id/img2"
        android:layout_width="wrap_content"
        android:layout_height="wrap_content"
        android:src="@drawable/abc"/>
1.3 概要
すべての画像は、drawable-xx フォルダーに保存する必要があります。
2.画像ボタン:ImageButton
2.1 知識ポイント
(1) ImageButtonの使い方をマスターする。
2.2 具体内容
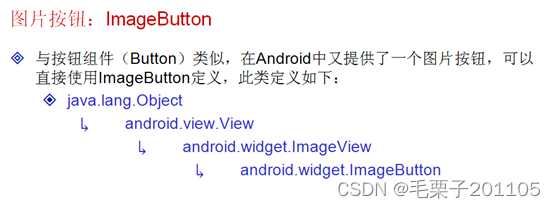
ImageButton の定義に関しては、特別なイメージ ビューであることがわかります。Button と同様に、特別なテキスト表示コンポーネントです。ImageButton は ImageView のサブクラスであり、イメージ ビューの機能を拡張することを意味し、 ImageView 定義の関数は ImageButton で使用できます。
<ImageButton
        android:layout_width="wrap_content"
        android:layout_height="wrap_content"
        android:src="@drawable/ic_launcher" />
2.3 概要
ImageButton はボタンのスタイルを画像形式で設定できます。
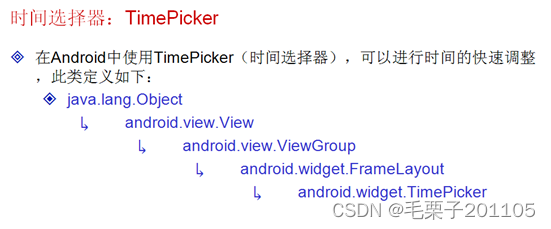
3. タイムピッカー: TimePicker
3.1 知識ポイント
(1) タイムセレクターの使い方をマスターする。
(2) 表示される時間はプログラムを通じて設定できます。
3.2 具体内容
例: 時間ピッカーを使用して時間を選択する
<TimePicker
        android:id="@+id/tp1"
        android:layout_width="wrap_content"
        android:layout_height="wrap_content" />
この種のタイムピッカーは、言語環境が異なると表示効果が異なります。これは、このコンポーネントが国際的なコンポーネントであることを意味します。デフォルトでは、時刻は 12 時間形式ですが、プログラムを通じて 24 時間形式に設定できます。
public class TimePickerActivity extends Activity {
	private TimePicker tp1 = null;
    @Override
    protected void onCreate(Bundle savedInstanceState) {
        super.onCreate(savedInstanceState);
        setContentView(R.layout.activity_time_picker);
        this.tp1 = (TimePicker) super.findViewById(R.id.tp1);
        this.tp1.setIs24HourView(true);//设置为24小时
        this.tp1.setCurrentHour(18);//设置小时
        this.tp1.setCurrentMinute(20);//设置分钟
        this.tp1.setEnabled(false);//设置不能调整
    }
3.3 概要
時間セレクターは時間表示を直接調整できます。
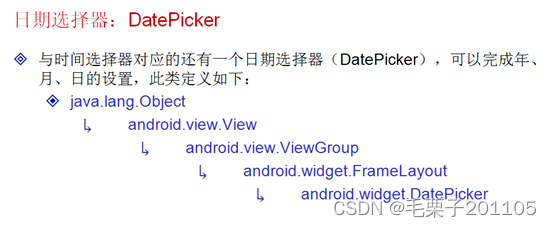
4. 日付ピッカー: DatePicker
4.1 知識ポイント
(1) 日付ピッカーの設定と使い方をマスターします。
4.2 具体内容
<DatePicker
        android:id="@+id/dp1"
        android:layout_width="wrap_content"
        android:layout_height="wrap_content"/>
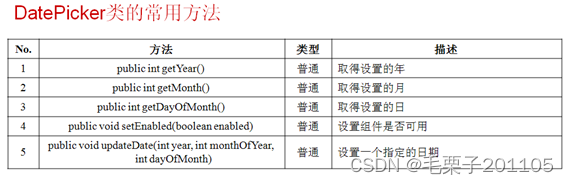
この日付ピッカーは年、月、日を表示します。他のロケールの場合、表示される内容は異なります。これは国際コンポーネントでもあります。上記のプログラムは現在の日付のみを表示します。表示される日付を設定することもできます。
public class DatePickerActivity extends Activity {
	private DatePicker dp1 = null;
    @Override
    protected void onCreate(Bundle savedInstanceState) {
        super.onCreate(savedInstanceState);
        super.setContentView(R.layout.activity_date_picker);
        this.dp1 = (DatePicker) super.findViewById(R.id.dp1);
        this.dp1.setEnabled(false);//设置不可编辑
        this.dp1.updateDate(2008, 7, 8);//设置显示的时间 在Java中,月是从0-11的。
    }
}
4.3 概要
(1) 日付セレクターで日付を設定できます。
(2) 設定により、さまざまな表示スタイルの構成を構成できます。