新しい動的 Web プロジェクトを作成します。

プロジェクト名を入力します。
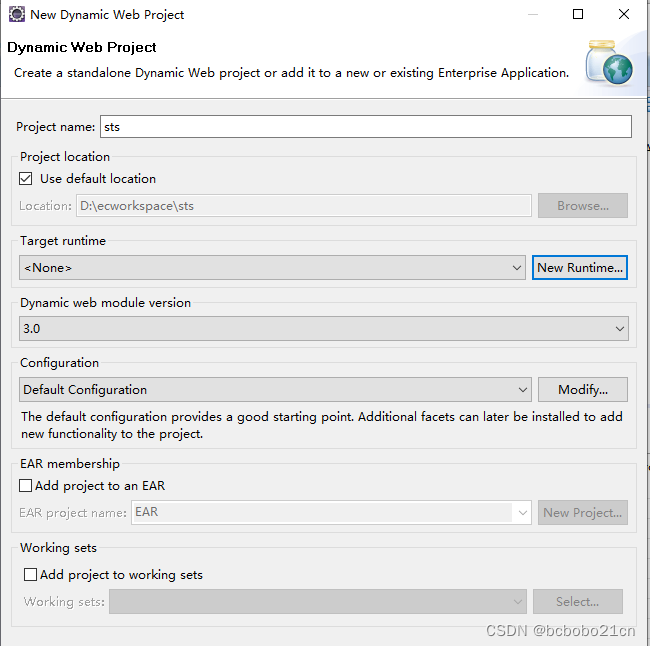
新しいランタイムの後、次を選択します。

Tomcat のインストール ディレクトリを選択します。
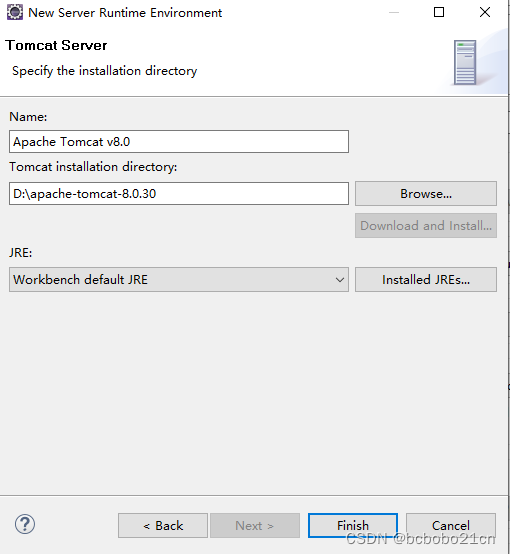
次に、次のように完了します。

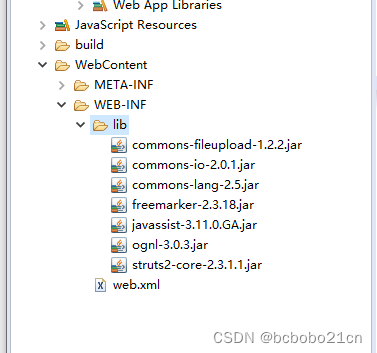
現在のディレクトリ構造は次のとおりです。事前に Java 環境を設定する必要があります。

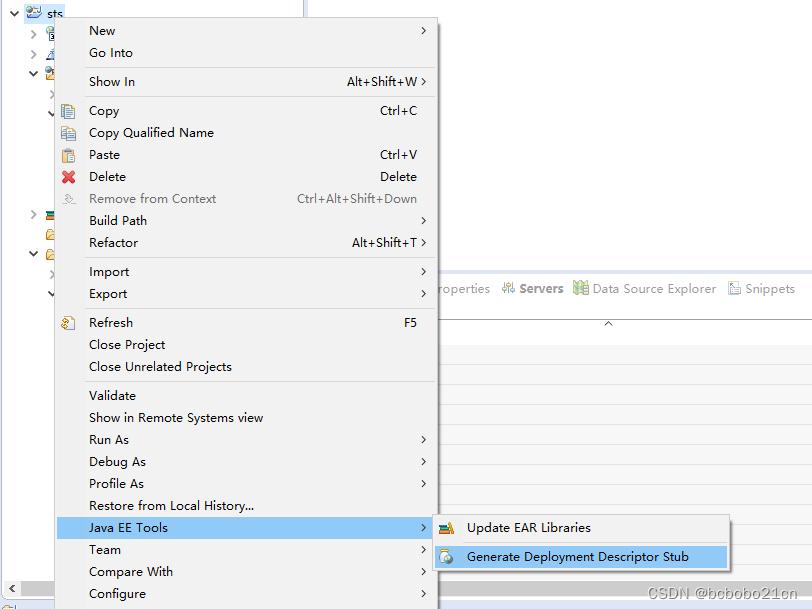
プロジェクトの作成時に [web.xml の生成] を選択しなかった場合は、プロジェクト フォルダーを右クリックし、次のメニューを選択して web.xml を生成します。
struts2 パッケージを lib フォルダーにコピーし、更新すると表示されます。
すべてのパッケージを選択し、右クリックして次のメニューを選択し、パッケージをプロジェクトに追加します。

srcフォルダーにstruts.xmlを作成し、

struts.xml、
<?xml version="1.0" encoding="UTF-8"?>
<!DOCTYPE struts PUBLIC
    "-//Apache Software Foundation//DTD Struts Configuration 2.5//EN"
    "http://struts.apache.org/dtds/struts-2.5.dtd">
<!-- START SNIPPET: xworkSample -->
<struts>
   <!-- 是否开启动态方法调用 -->
    <constant name="struts.enable.DynamicMethodInvocation" value="true" />
    <package name="default" namespace="/" extends="struts-default">
         <action name="login" class="com.example.struts2.LoginAction" method="login">
            <result name="success">/success.jsp</result>
            <result name="error">/error.jsp</result>
        </action>
    </package>
</struts>
srcフォルダーを右クリックし、新しいパッケージを作成します。
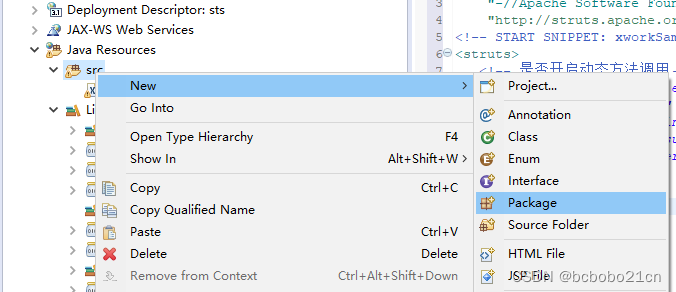
パッケージ名を入力し、
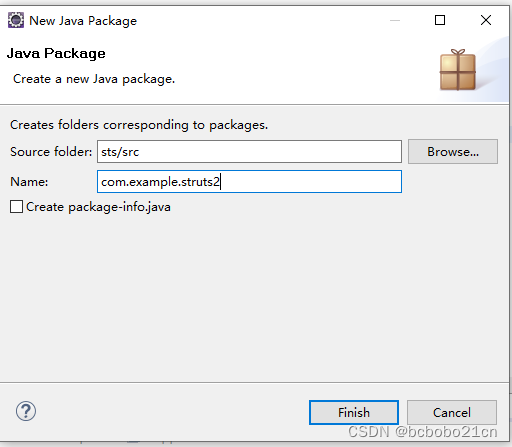
終了後は次のようになります。

新しく作成したパッケージを右クリックし、新しいクラスを作成します。

クラス名を入力します。

package com.example.struts2;

import javax.servlet.http.HttpServletRequest;
import org.apache.struts2.ServletActionContext;

public class LoginAction {

    HttpServletRequest req = ServletActionContext.getRequest();
    String username = req.getParameter("username");
    String password = req.getParameter("password");

    public String getUsername() {
        return username;
    }

    public void setUsername(String username) {
        this.username = username;
    }

    public String getPassword() {
        return password;
    }

    public void setPassword(String password) {
        this.password = password;
    }

    public String login(){
        if("xiaoBaby".equals(username)
                && "123456".equals(password)){
            return "result";
        }else{
            return "error";
        }
    }

}
次に、さらに 3 つの jsp を作成します。
インデックス.jsp、
<%@ page language="java" contentType="text/html;charset=UTF-8" pageEncoding="UTF-8"%>
<!DOCTYPE html PUBLIC "-//W3C//DTD HTML 4.01 Transitional//EN" "http://www.w3.org/TR/html4/loose.dtd">
<html>
<head>
<meta http-equiv="Content-Type" content="text/html;charset=UTF-8">
<title>Insert title here</title>
</head>
<body>
    <form action="login.action" method="post">
        用户名:<input type="text" name="username">
        密码:<input type="text" name="password">
        <input type="submit" value="提交">
    </form>
</body>
</html>
Success.jsp と error.jsp は簡略化されており、<body></body> の間に文字列を追加するだけです。
現時点でのプロジェクト構成は以下の通りです。

web.xml コードもあります。
<?xml version="1.0" encoding="UTF-8"?>
<web-app xmlns:xsi="http://www.w3.org/2001/XMLSchema-instance" xmlns="http://xmlns.jcp.org/xml/ns/javaee" xsi:schemaLocation="http://xmlns.jcp.org/xml/ns/javaee http://xmlns.jcp.org/xml/ns/javaee/web-app_3_1.xsd" version="3.1">
  <display-name>sts</display-name>

  <filter>
    <filter-name>struts2</filter-name>
    <filter-class>org.apache.struts2.dispatcher.filter.StrutsPrepareAndExecuteFilter</filter-class>

  </filter>
  <filter-mapping>
    <filter-name>struts2</filter-name>
    <url-pattern>/*</url-pattern>
  </filter-mapping>

  <welcome-file-list>
    <welcome-file>index.html</welcome-file>
    <welcome-file>index.htm</welcome-file>
    <welcome-file>index.jsp</welcome-file>
    <welcome-file>default.html</welcome-file>
    <welcome-file>default.htm</welcome-file>
    <welcome-file>default.jsp</welcome-file>
  </welcome-file-list>
</web-app>
次に、プロジェクト フォルダーを右クリックし、次のメニューを選択します。
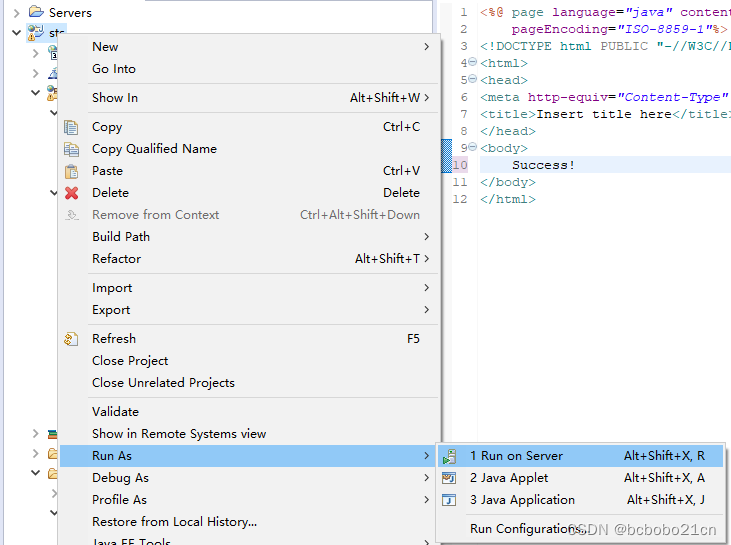
次のダイアログ ボックスが表示されます。[完了]。

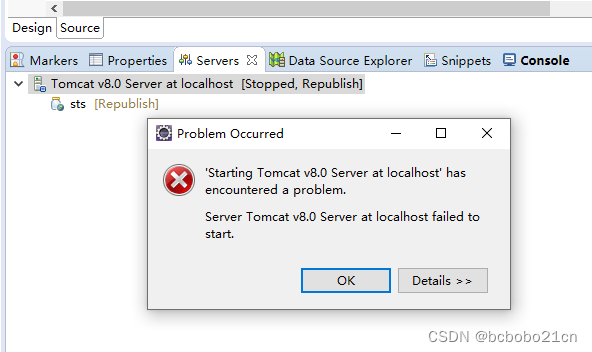
Index.jsp が出てこないのでコンソール出力を確認するとエラーが出ています。
java.lang.ClassNotFoundException: .apache.struts2.dispatcher.ng.filter.StrutsPrepareAndExecuteFilter、
web.xmlに入れたい
<filter-class>org.apache.struts2.dispatcher.filter.StrutsPrepareAndExecuteFilter</filter-class>
への変更
<filter-class>
org.apache.struts2.dispatcher.FilterDispatcher
</filter-class>
次に、再度実行すると、次のエラーが再度表示されます。続行する時間はあります。