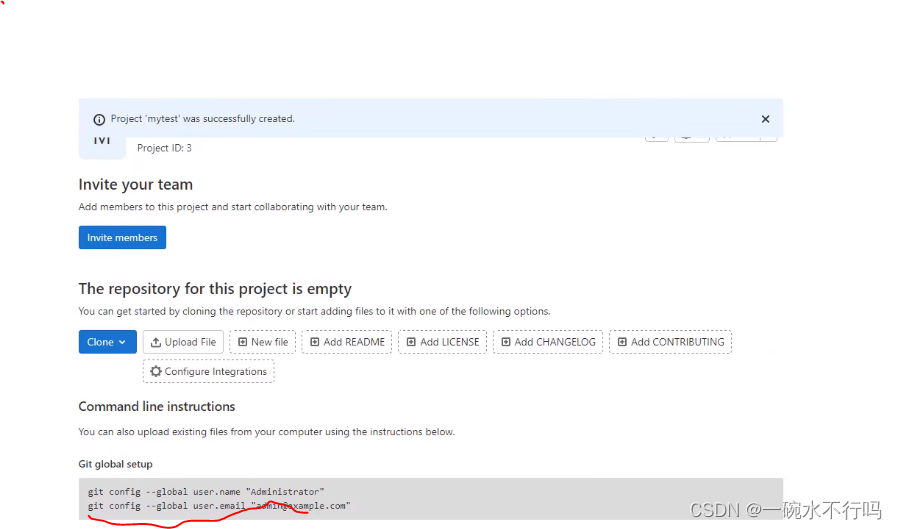
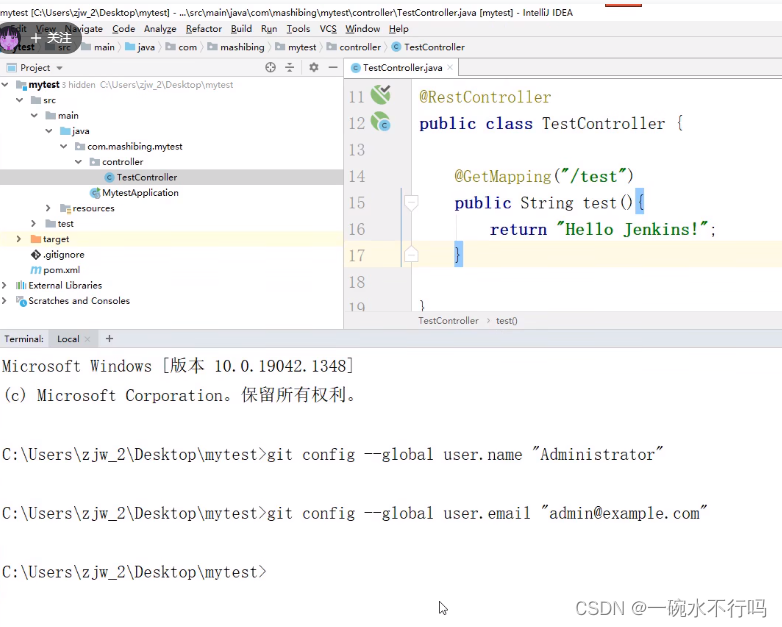
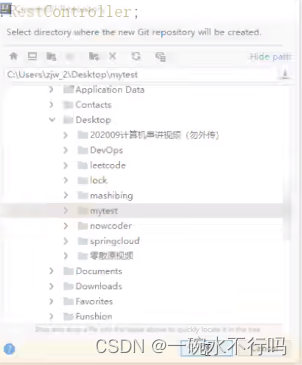
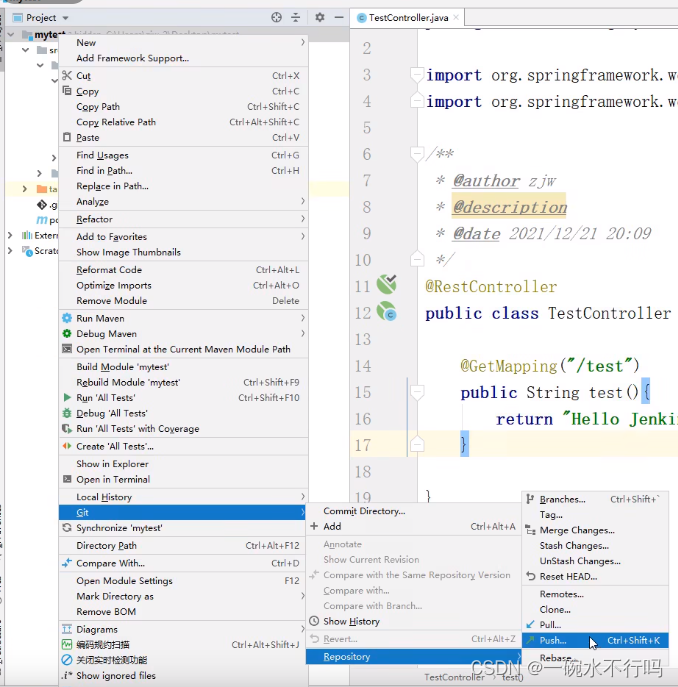
Operation screenshot
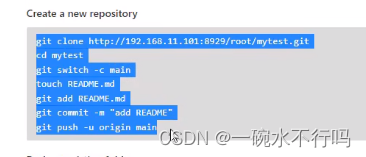
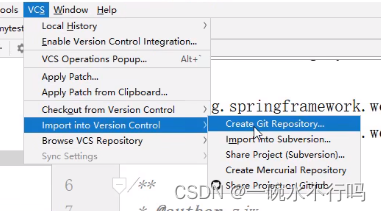
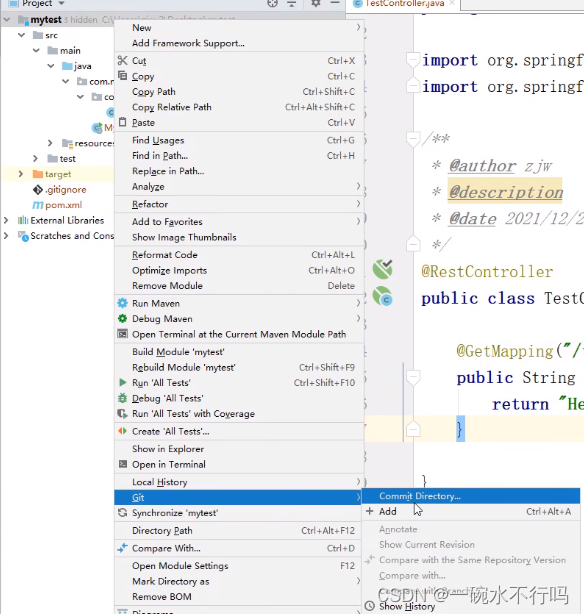
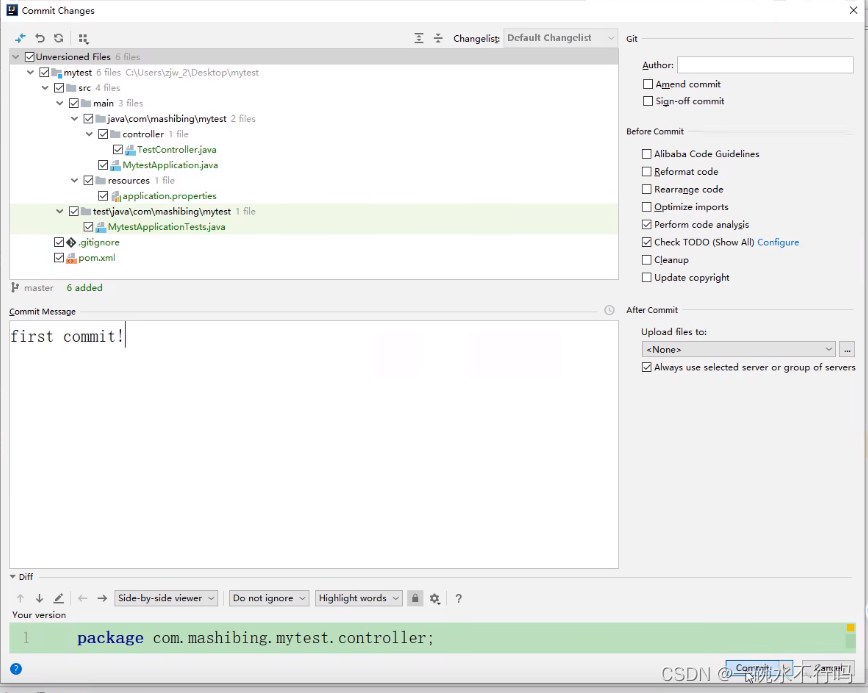
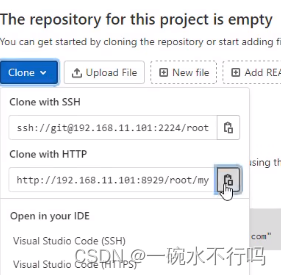
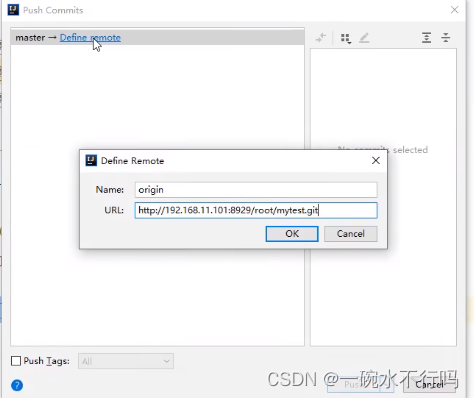
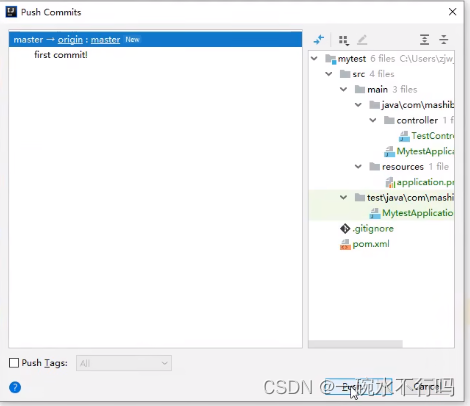
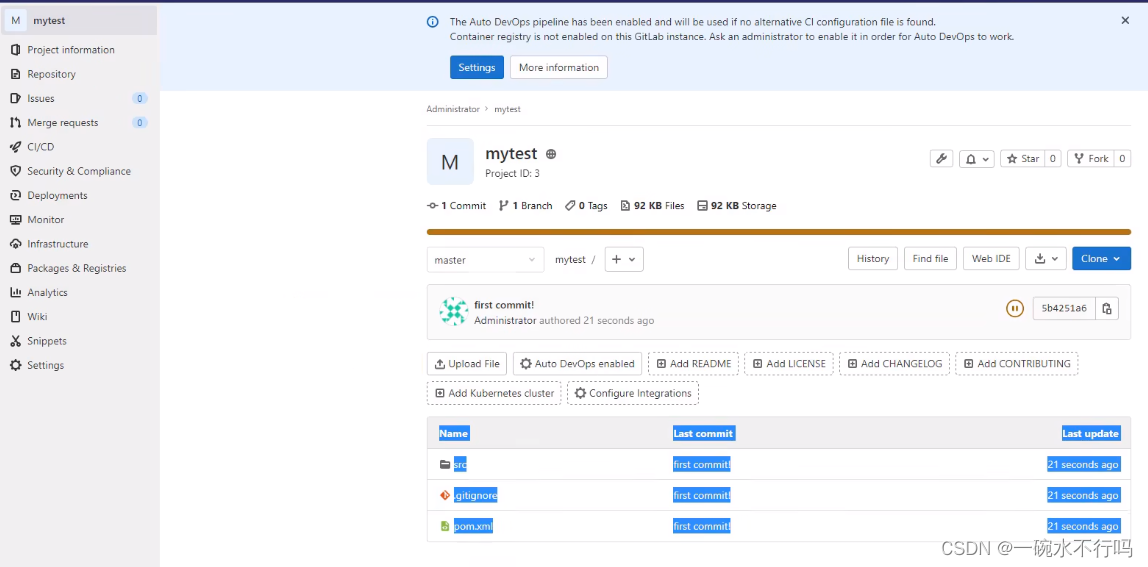
Push the code into gitlab
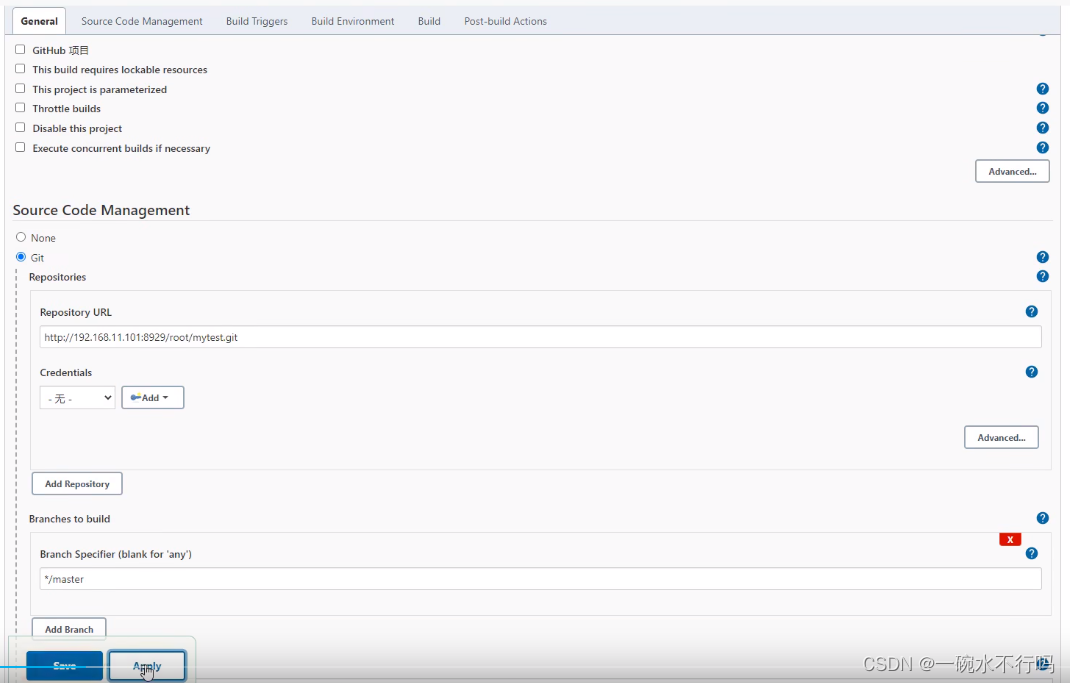
Jenkins pulls gitlab code
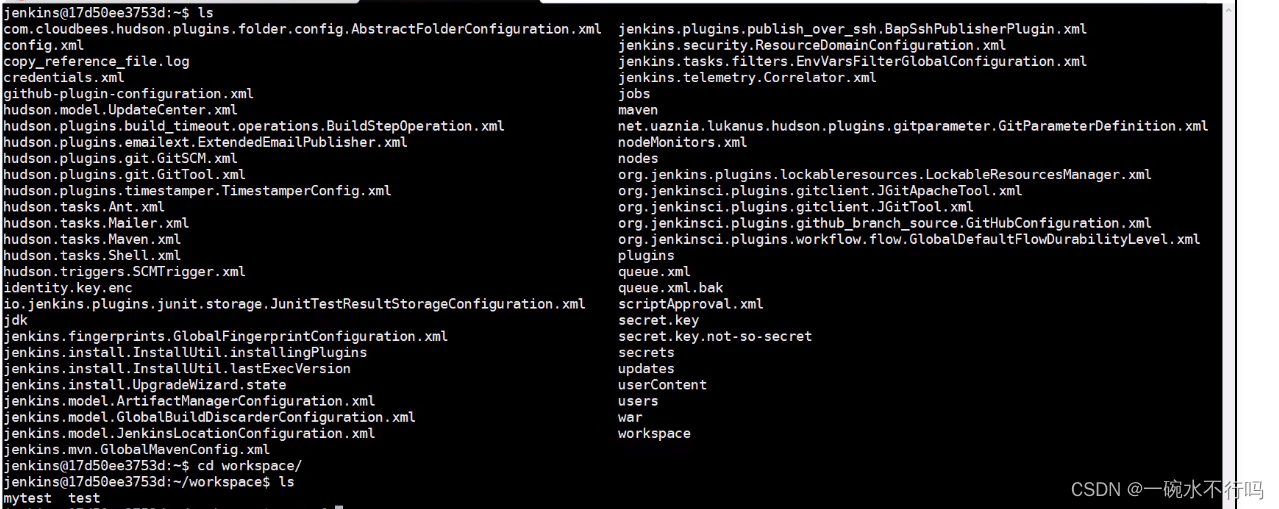
Code pulled by Jenkins within the container

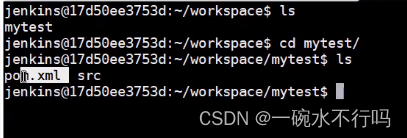
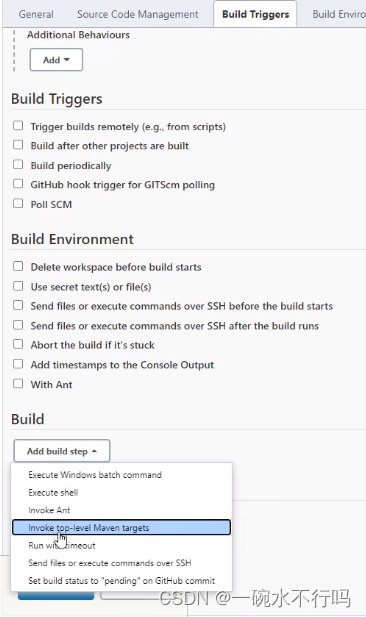
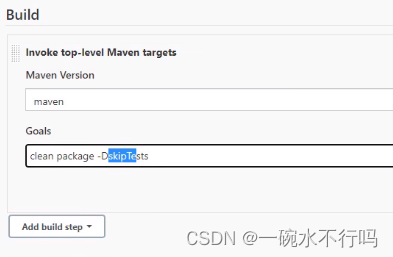
Use maven to build the xml and src in the above code into a jar package

It takes a long time to build for the first time, and the dependencies need to be downloaded. The following figure shows that the dependencies are downloaded and the build is successful.
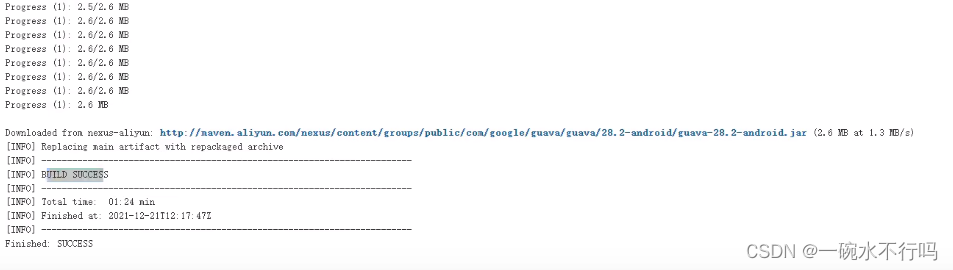
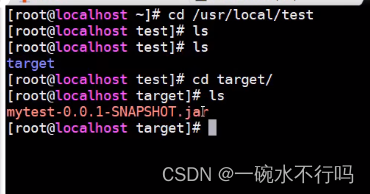
Go back to the Jenkins container and see the generated target directory with the built jar package below.

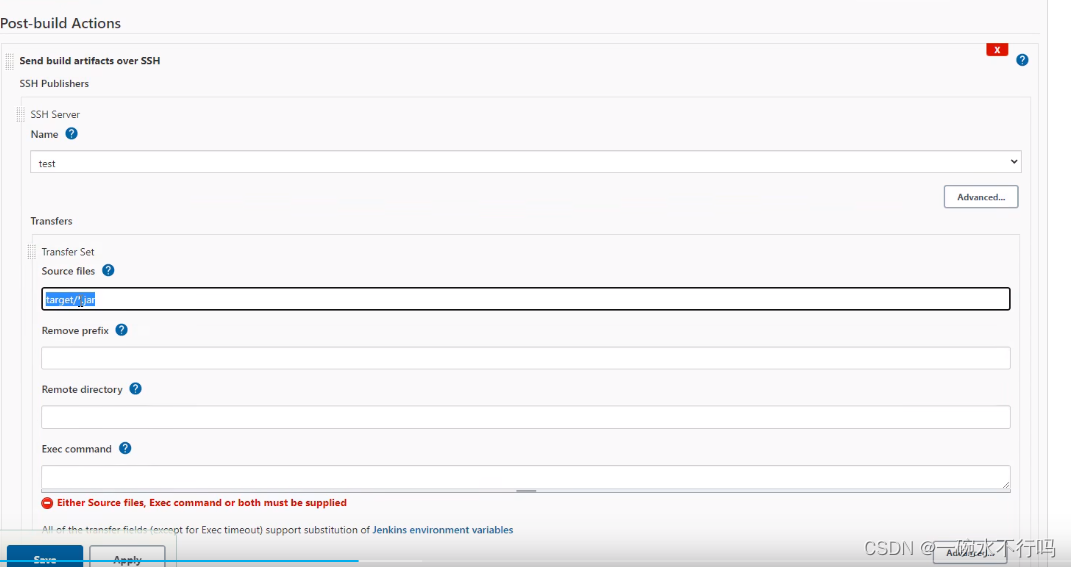
Push the built jar package to the server
A plug-in configured by Jenkins is used
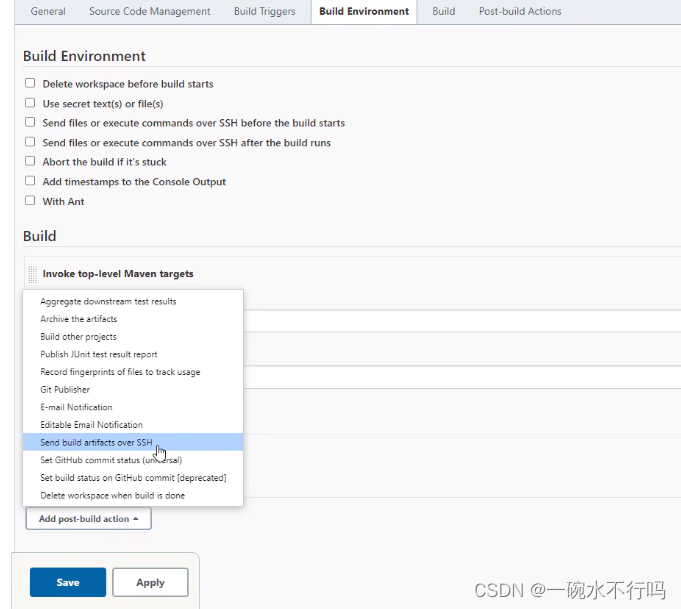
to push the jar package in the target directory to the server.
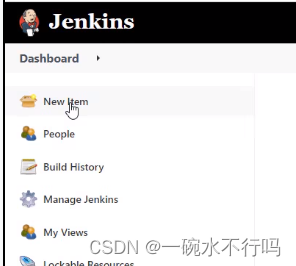
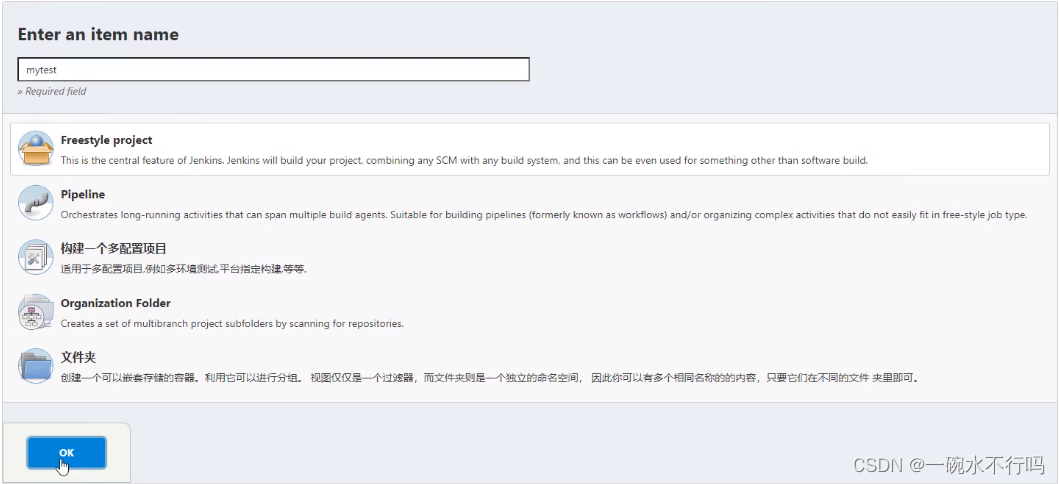
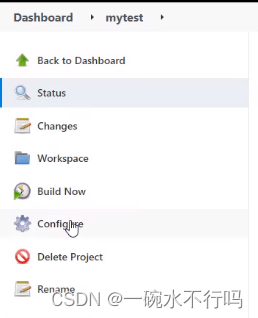
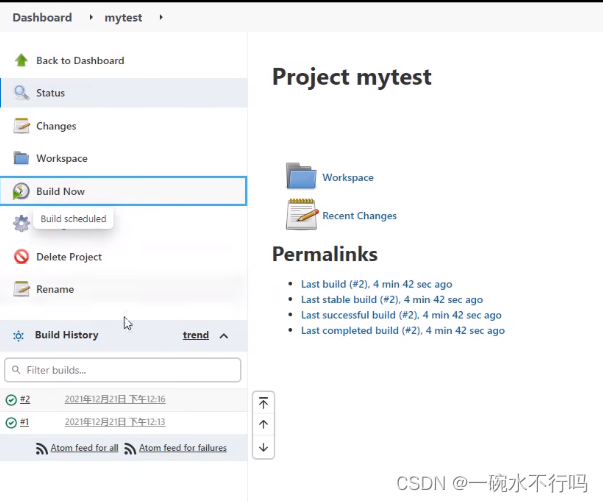
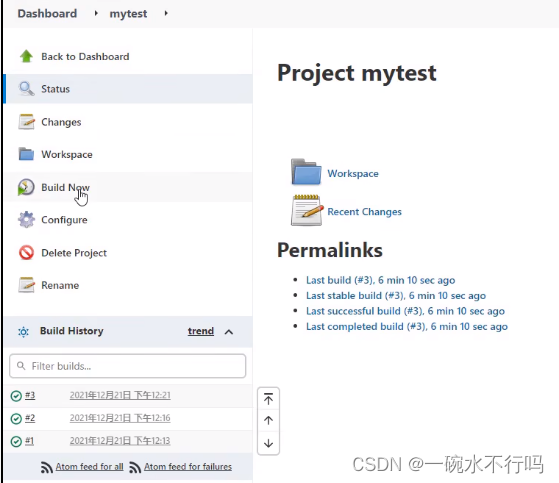
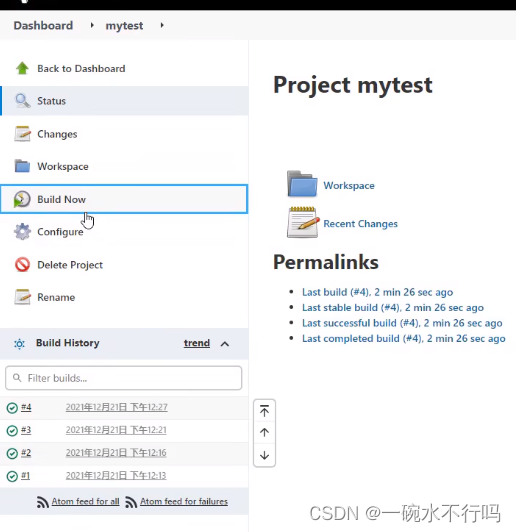
Enter the mytest project and click build now.
In this experiment, the server is the virtual machine where jenkins is installed. Enter the server directory to check whether the jar package is successfully pushed.
Use docker to run the jar package on the server
If you want to run it with docker, push the above jar package to the server to generate a customized image.
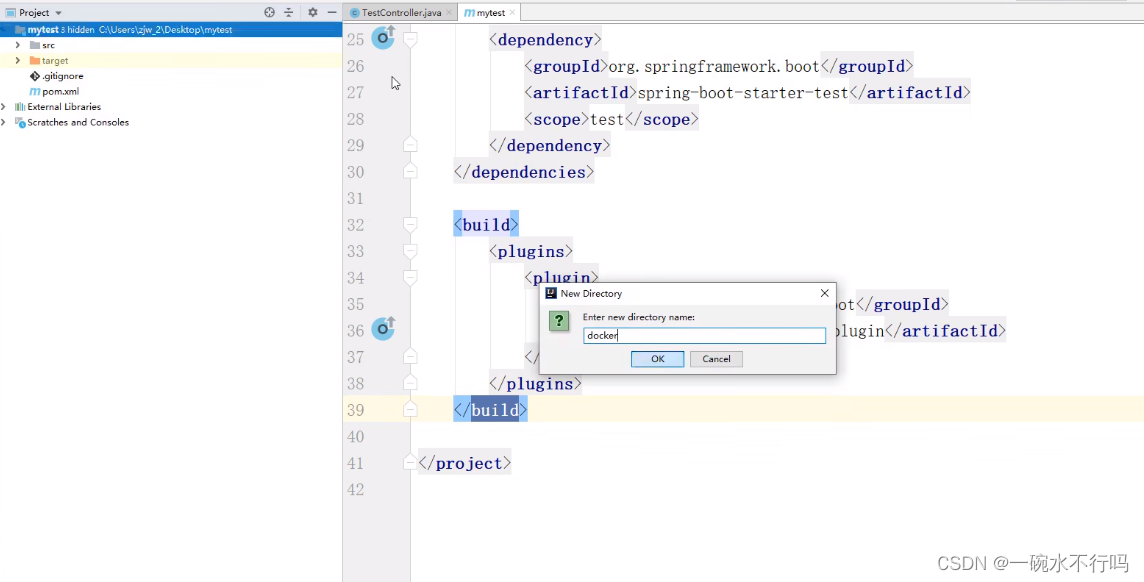
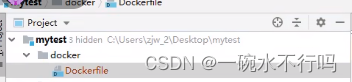
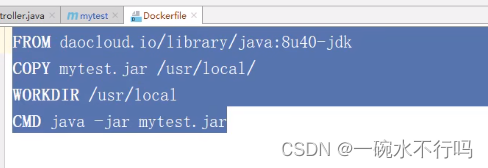
Create a new dockerfile
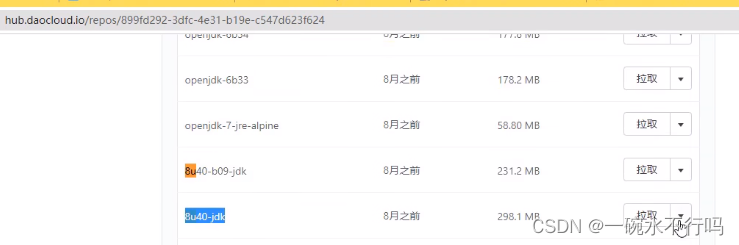
Search for a basic image of java on the Internet.
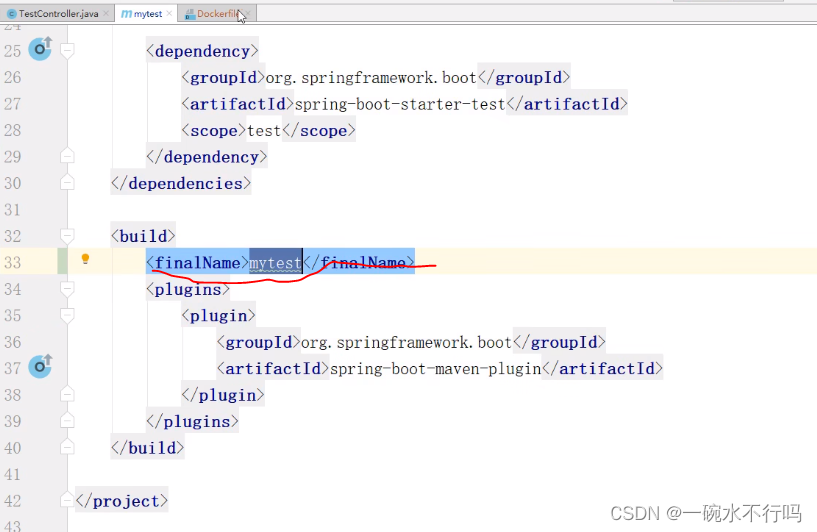
Edit the rename of the jar package.
Edit the dockerfile file to complete the construction of the custom image.
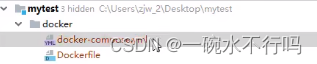
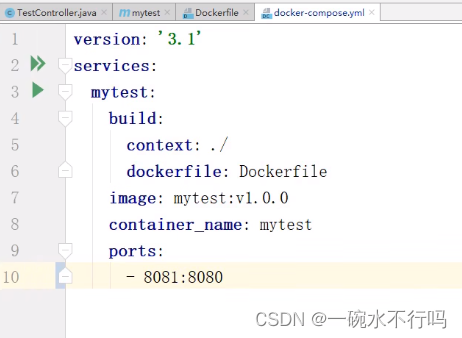
In order to facilitate the operation and management of the image, create a new docker-compose.yml file.
Pay attention to port conflicts.
After the above content is prepared, push all the contents of the entire project to the git
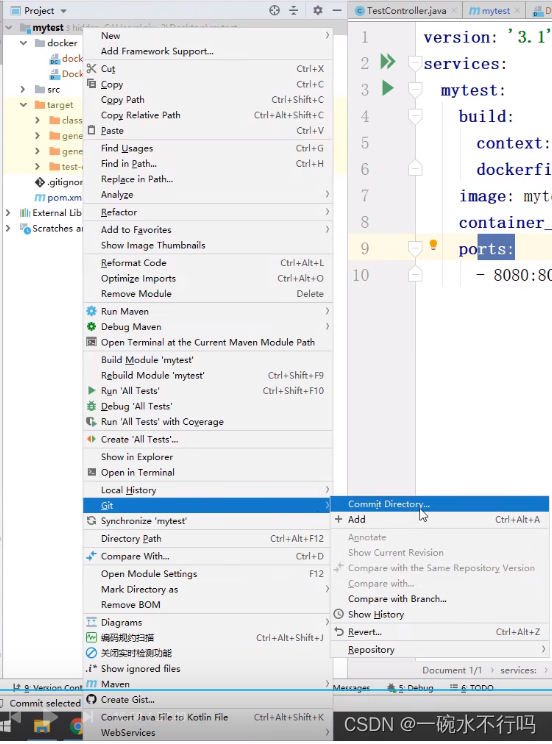
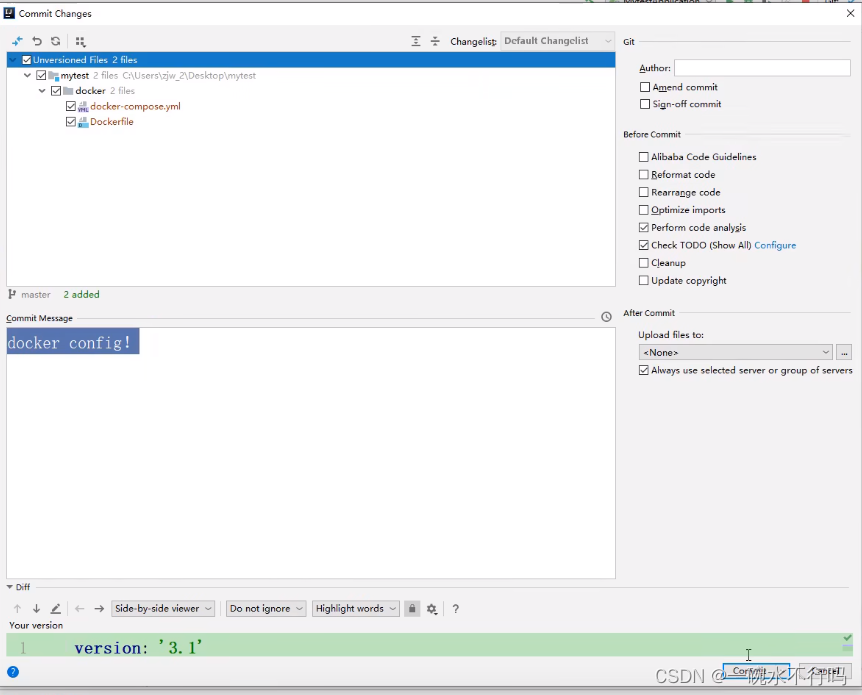
push operation

. Enter the Jenkins project and rebuild the project.
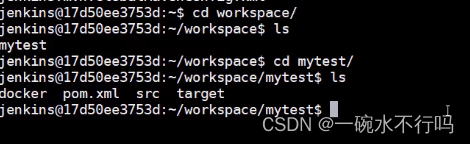
After the construction is completed, enter the Jenkins container to check that the docker folder in the project has been synchronized.
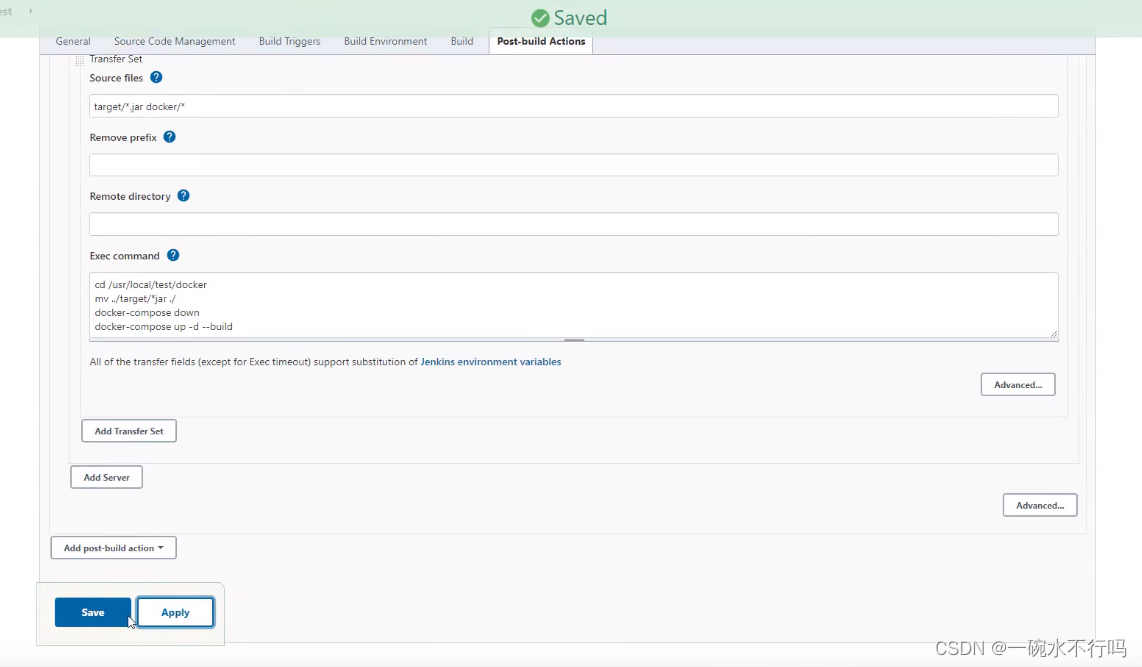
Implement docker automatic operation
The above is just to push the written docker file to the server. If you want to realize automatic deployment of docker, you need to enter the project on Jenkins and set the post-build command. Note that the first command is an absolute path.
Build again.
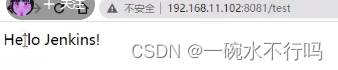
Enter the target server and check that docker runs successfully.

Project runs successfully
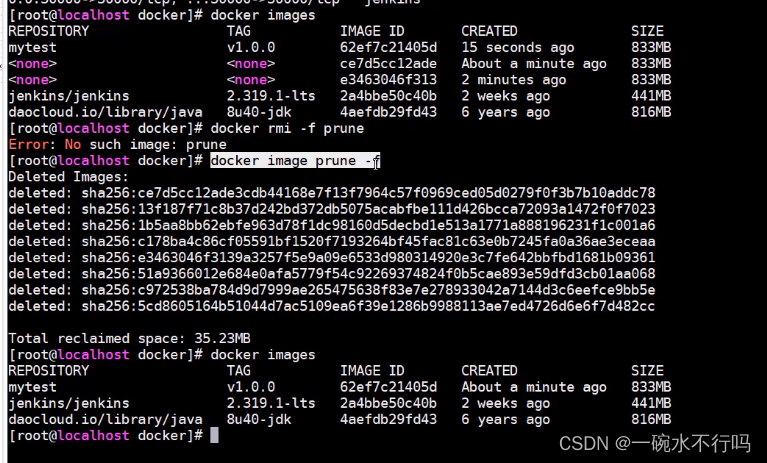
With the iteration and submission of the code, building a new version of the code will generate multiple old docker images named none, which can be deleted