Table des matières
0 information connexe
SynergyNet(github):https://github.com/choyingw/SynergyNet
Station B : https://www.bilibili.com/video/BV1Ph4y1k7LK/
1 Environnement Construction
J'utilise la plateforme AutoDL pour construire
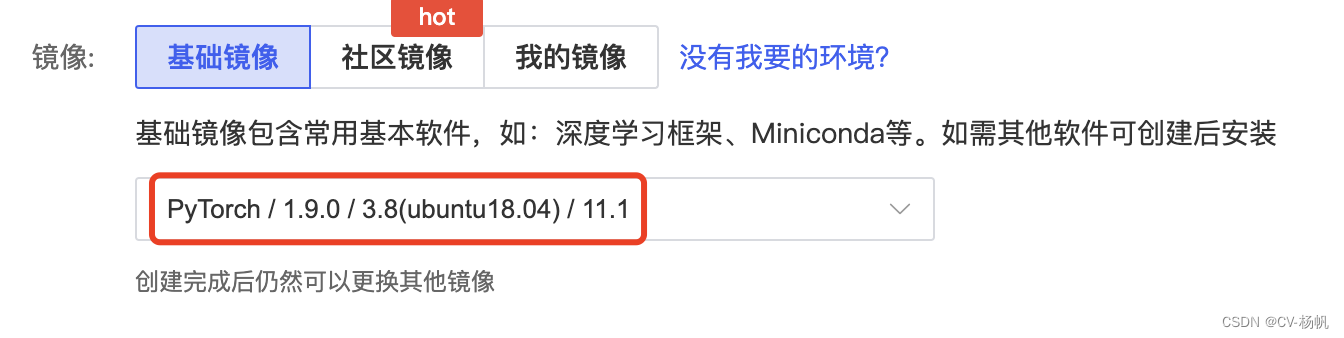
Sélectionnez Mirror
PyTorch 1.9.0
Python 3.8 (ubuntu18.04)
Cuda 11.1
Installez d'autres packages :
pip install opencv-python
pip install scipy
pip install matplotlib
pip install cython
2 Installez SynergyNet
git clone https://github.com/choyingw/SynergyNet
cd SynergyNet
Remarques : Si vous ne parvenez pas à télécharger, accédez à github pour télécharger le package compressé, puis téléchargez, décompressez et installez
Ou utilisez Code Cloud pour télécharger :
git clone https://gitee.com/YFwinston/SynergyNet
cd SynergyNet
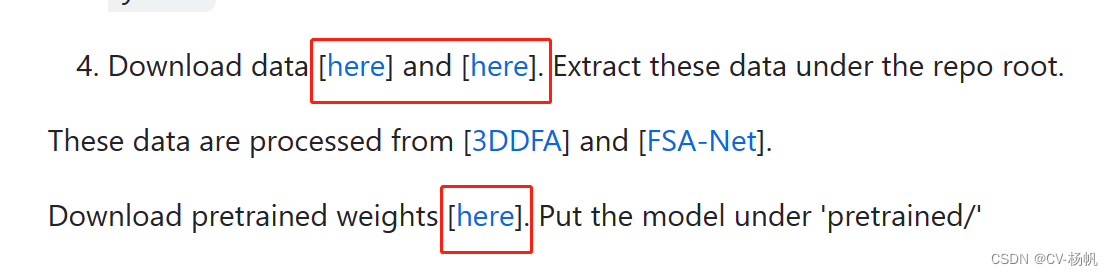
3 Téléchargez les fichiers associés
Les fichiers suivants doivent être téléchargés :
Si vous ne pouvez pas utiliser Google Drive, j'ai téléchargé les trois fichiers sur csdn, comme suit :
best.pth.tar : https://download.csdn.net/download/WhiffeYF/88175489
aflw2000-data.zip:https://download.csdn.net/download/WhiffeYF/88175374
3dmm-data.zip:https : //download.csdn.net/download/WhiffeYF/88175101
Téléchargez les fichiers aflw2000-data.zip et 3dmm-data.zip ci-dessus dans le dossier SynergyNet, puis décompressez-les.
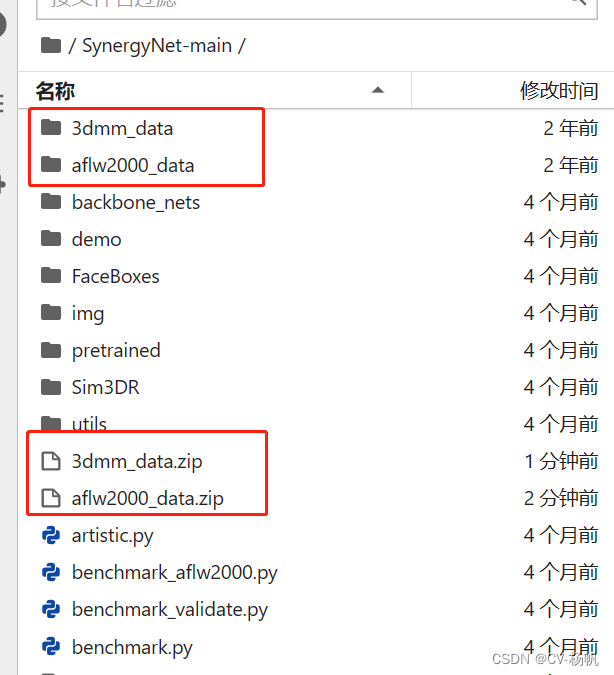
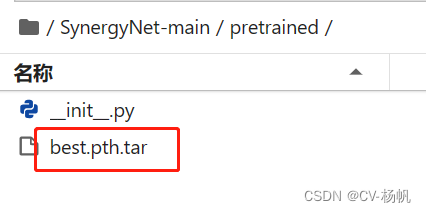
Téléchargez best.pth.tar dans le dossier SynergyNet/pretrained
4 compiler
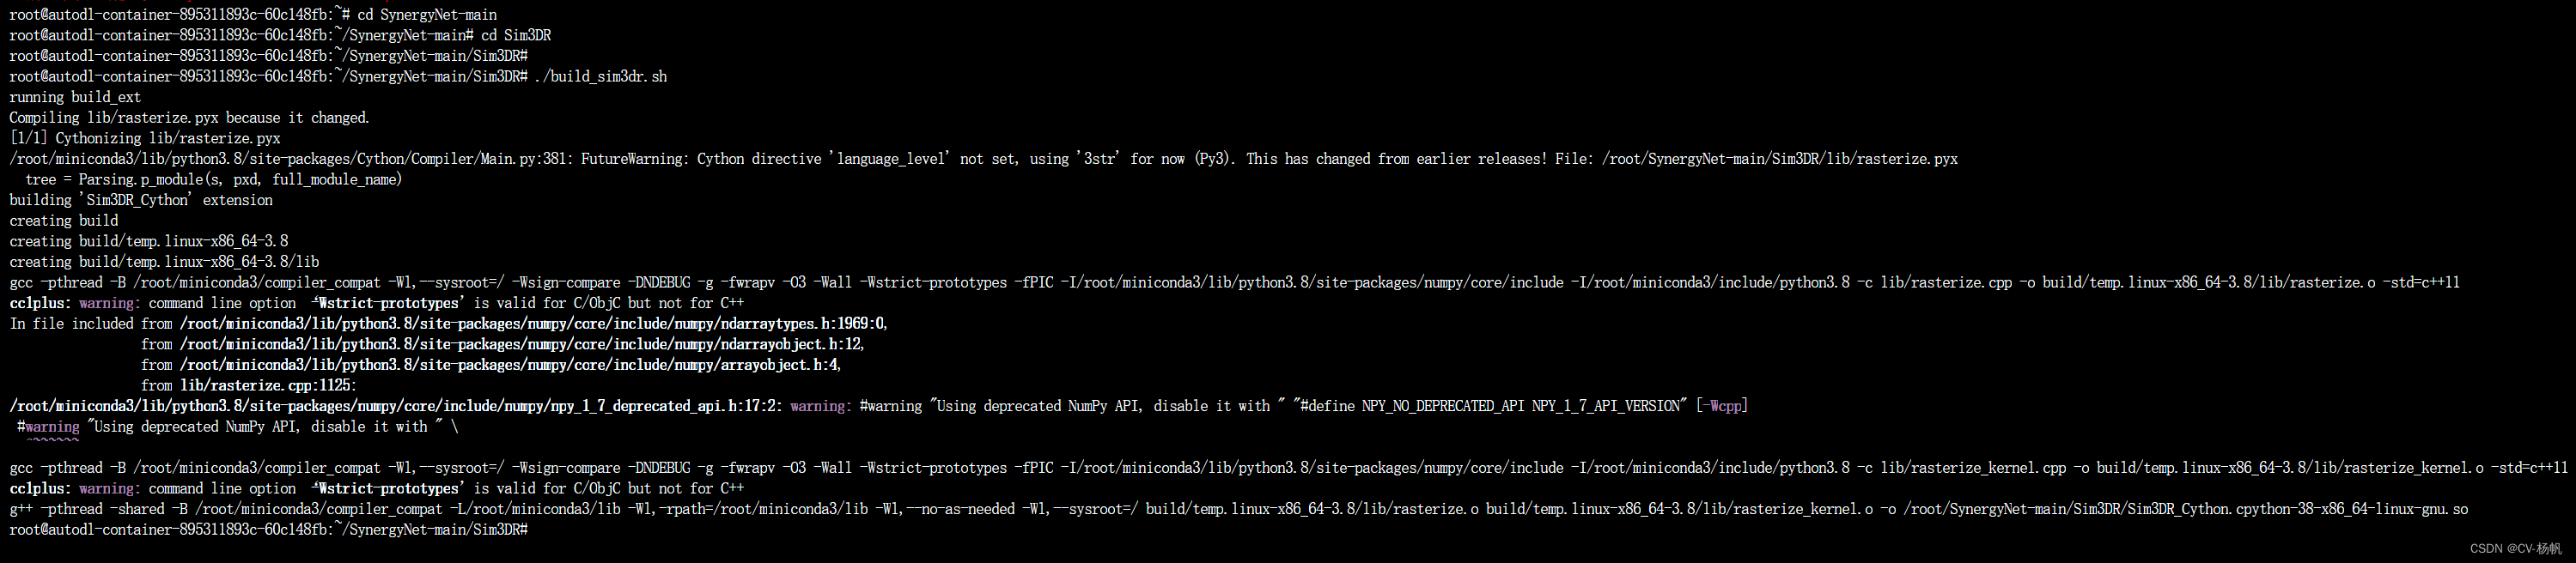
Compiler sous le répertoire SynergyNet
cd Sim3DR

./build_sim3dr.sh
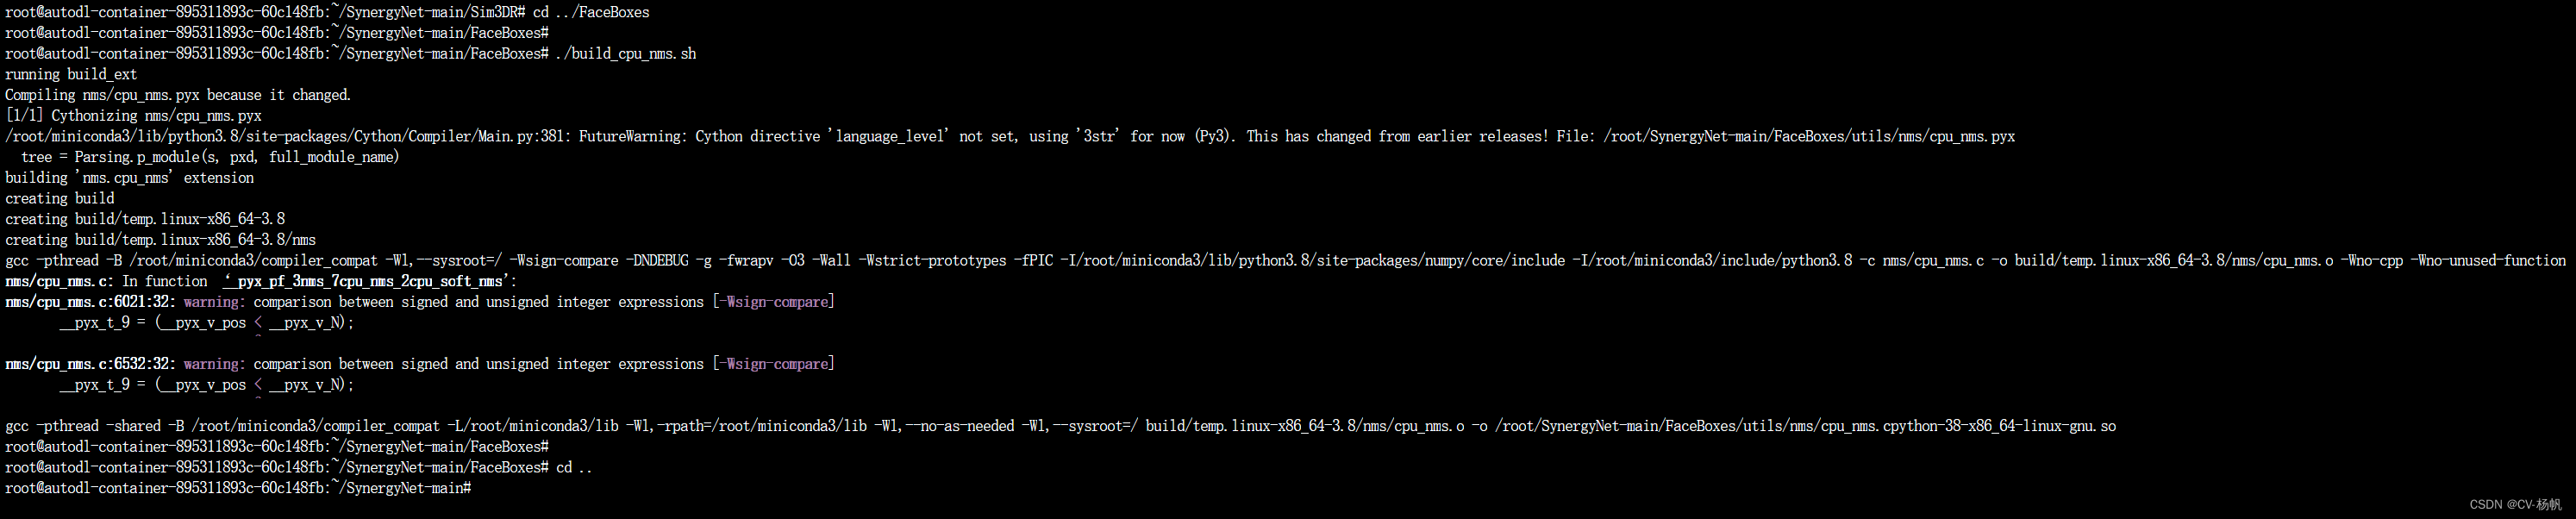
cd ../FaceBoxes

./build_cpu_nms.sh

cd ..
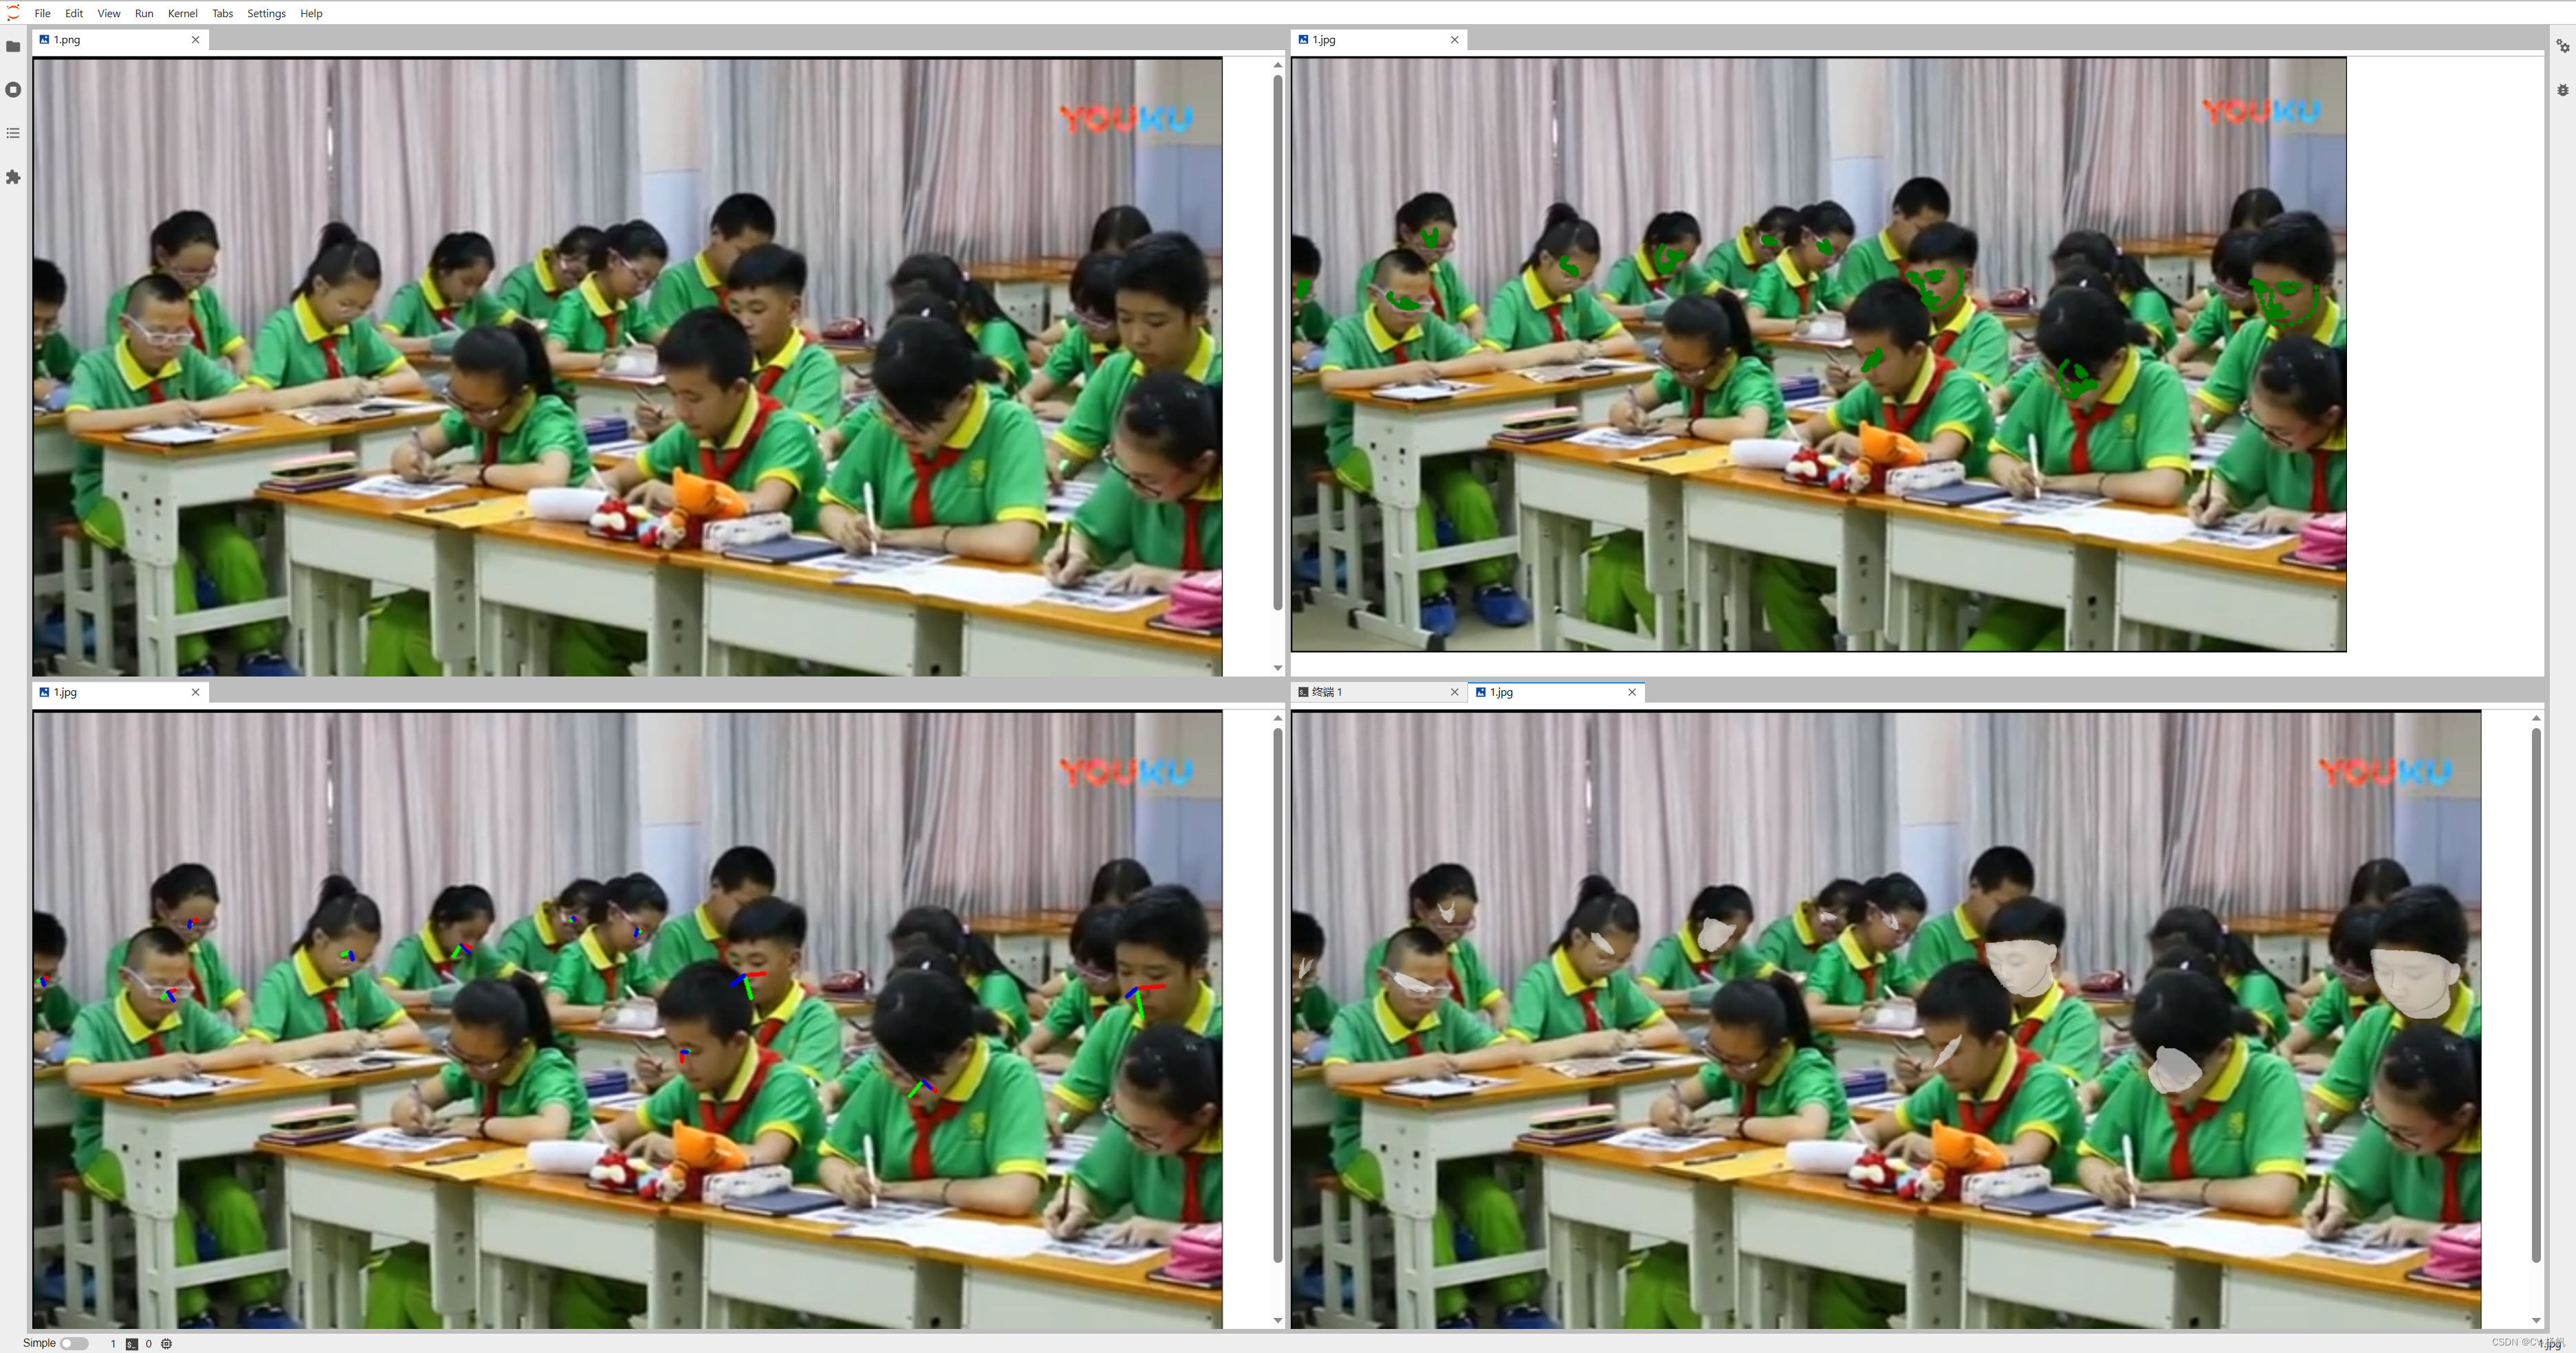
5 épreuves
Entrez dans l'annuaire SynergyNet
python singleImage.py -f img

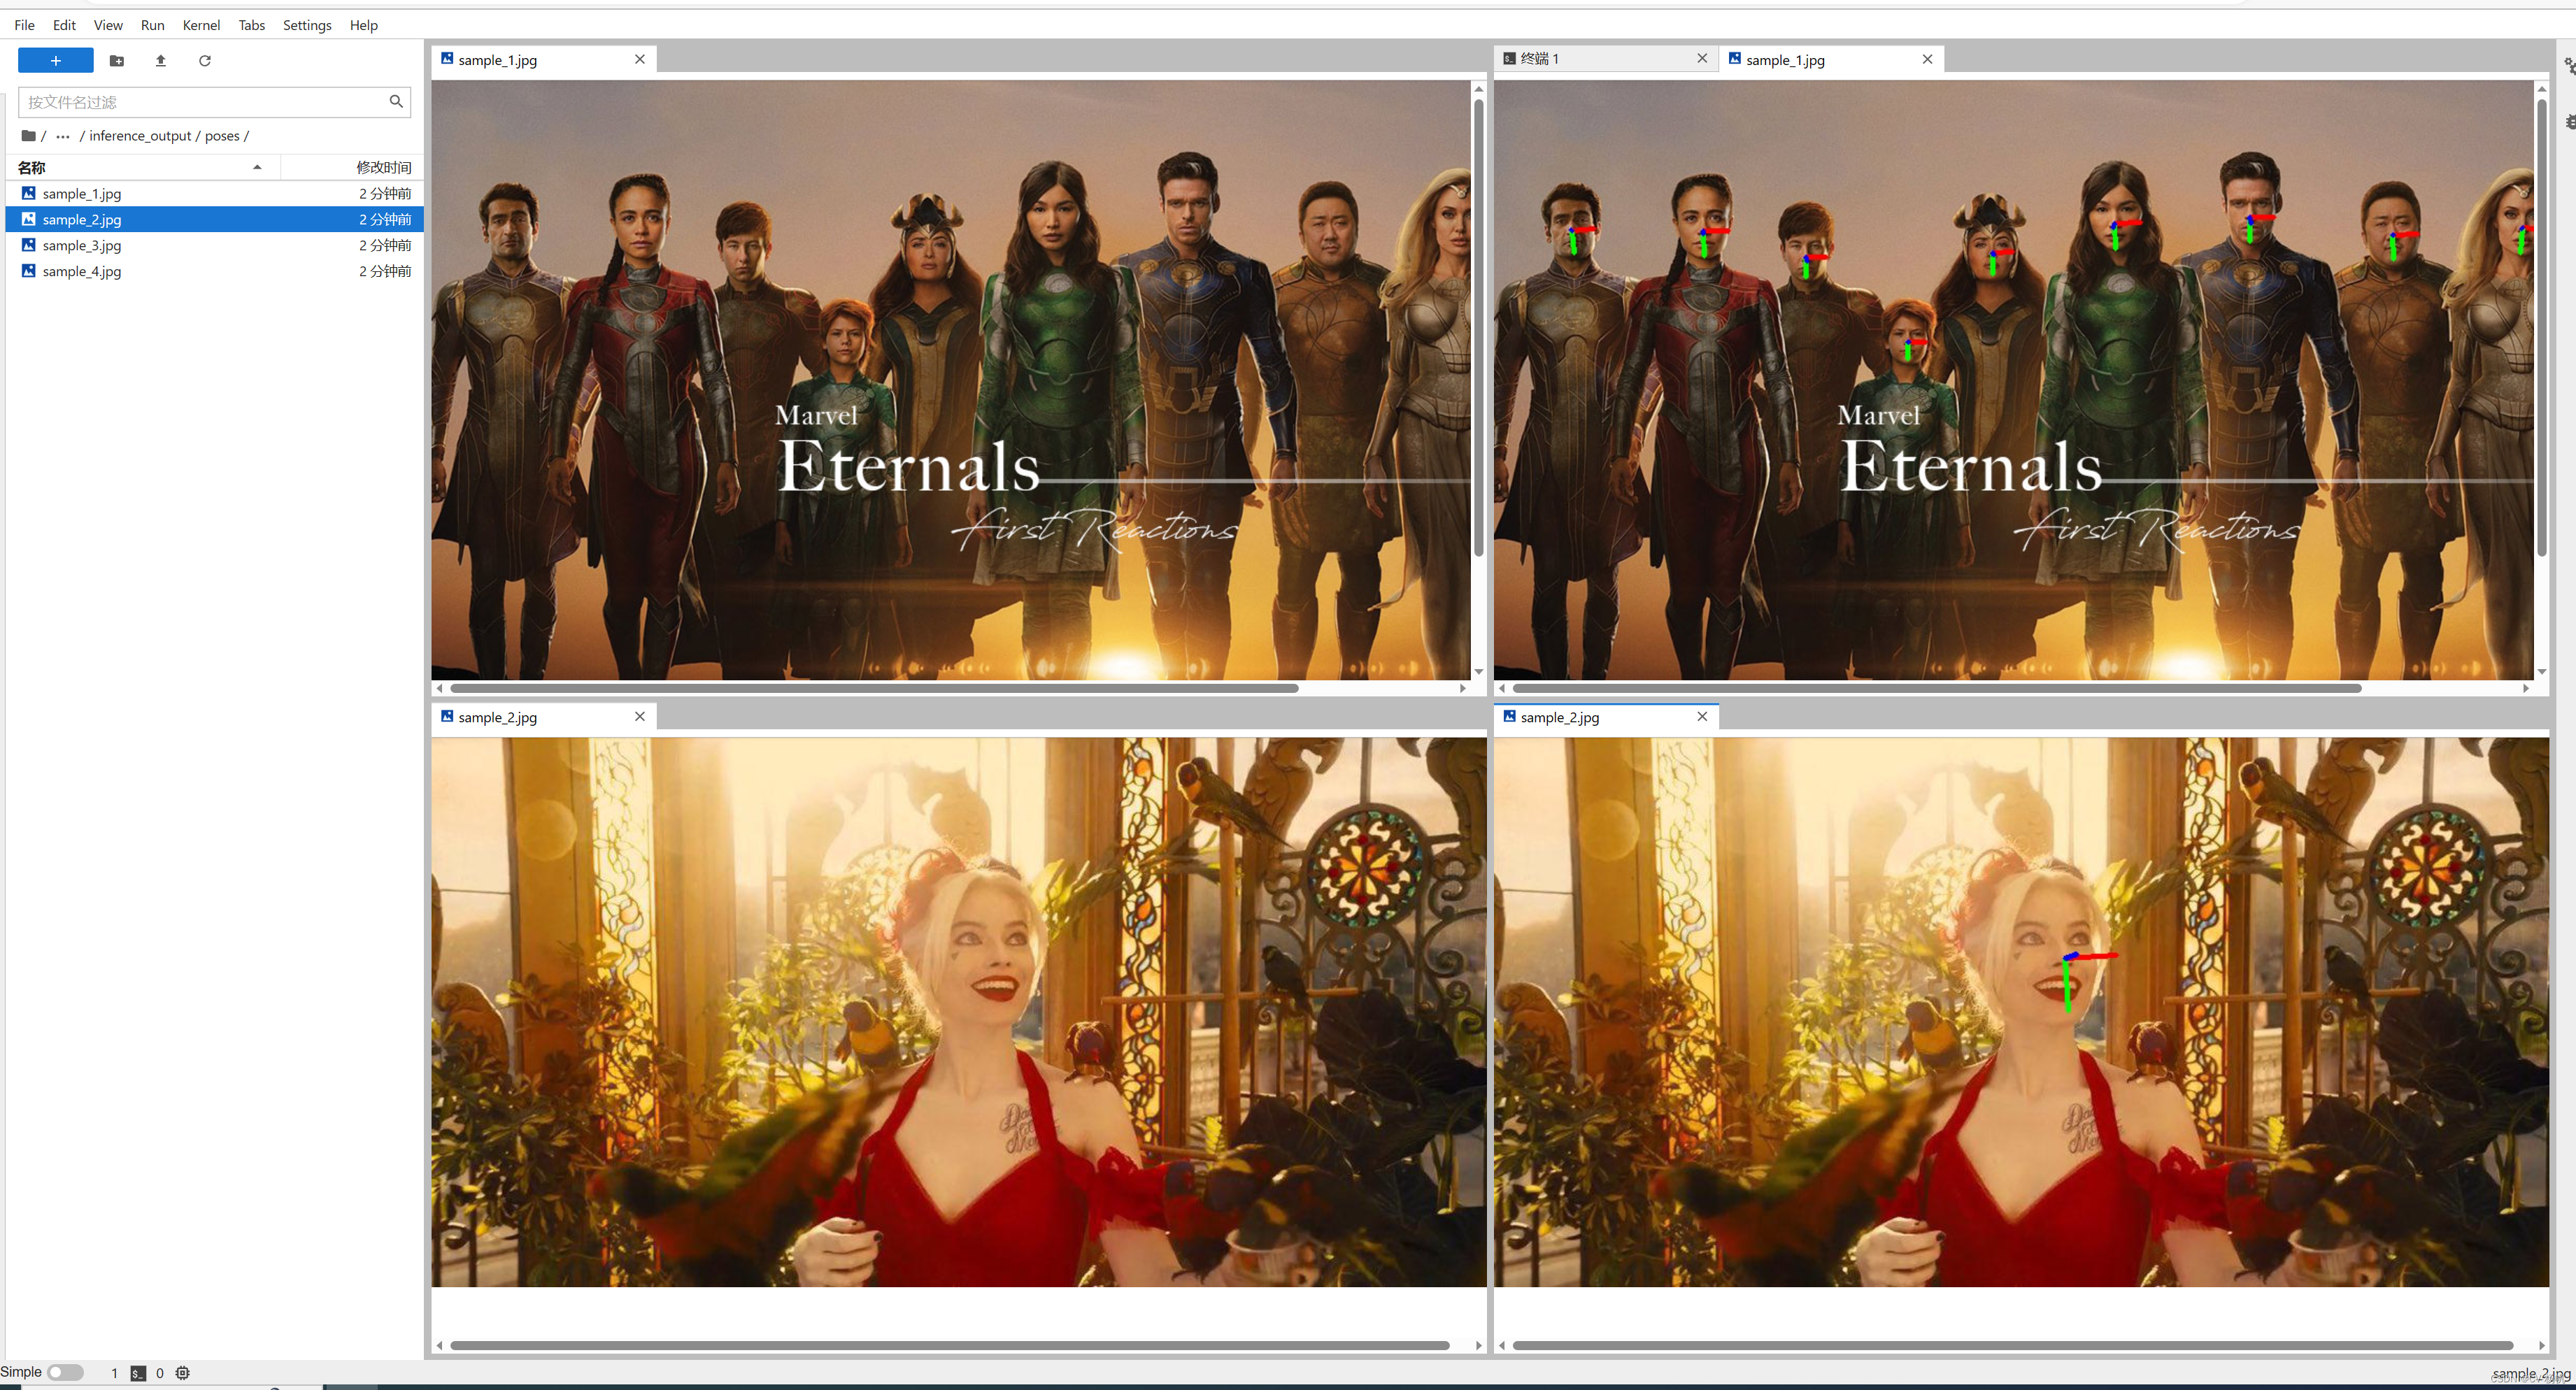
testez vos propres photos
python singleImage.py -f img/1.png