This highlight has never been carefully studied before, and it feels like a fog, but now I suddenly feel that this parameter is the savior of the model!
First explain what this Feng's highlight is:
Feng's lighting model is composed of three parts, one is ambient light, one is diffuse light, and the other is specular light. The main purpose of the Phong lighting model is to make lighting effects to affect the color of the surface of the object. The Feng model states that the calculation of specular light depends on the angle between the observer's observation direction and the reflected light vector, so the following will briefly introduce the concept of specular light. High intensity specular light tends to form a bright spot, the specular bright spot, on the surface it illuminates. The application of the two points of the mirror is actually like the existence of metal in the real world. The metal looks like a metallic luster, and there will be a bright spot. In fact, our specular light is to simulate this effect. Specular reflection can reflect reflected light along a specified path, and is often used to gather light and enhance brightness.
Phong lighting model - by rv0p111
I don't understand it, the picture below will understand

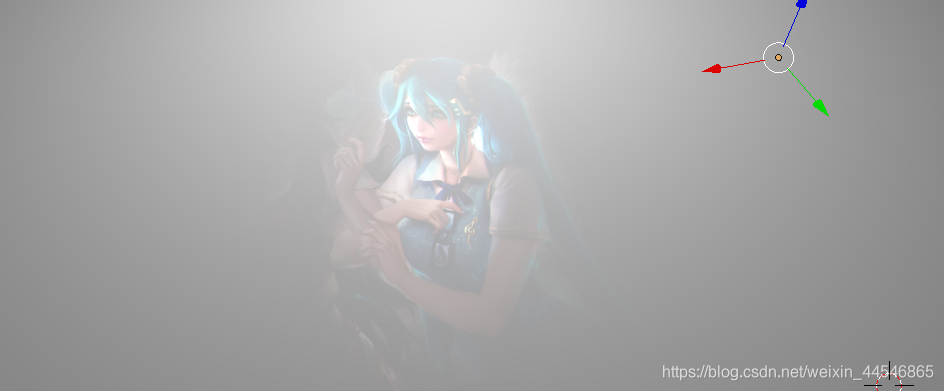
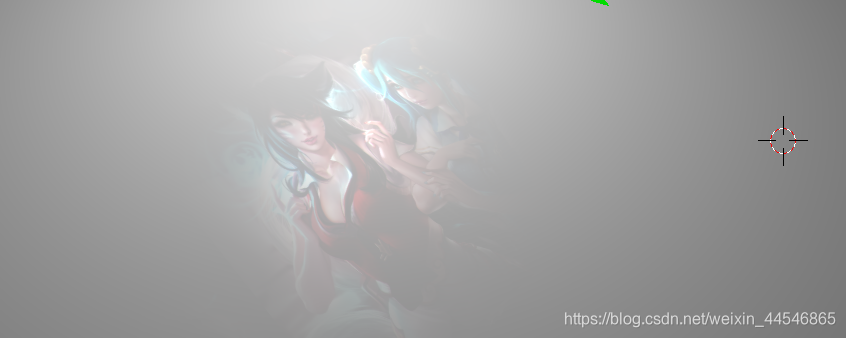
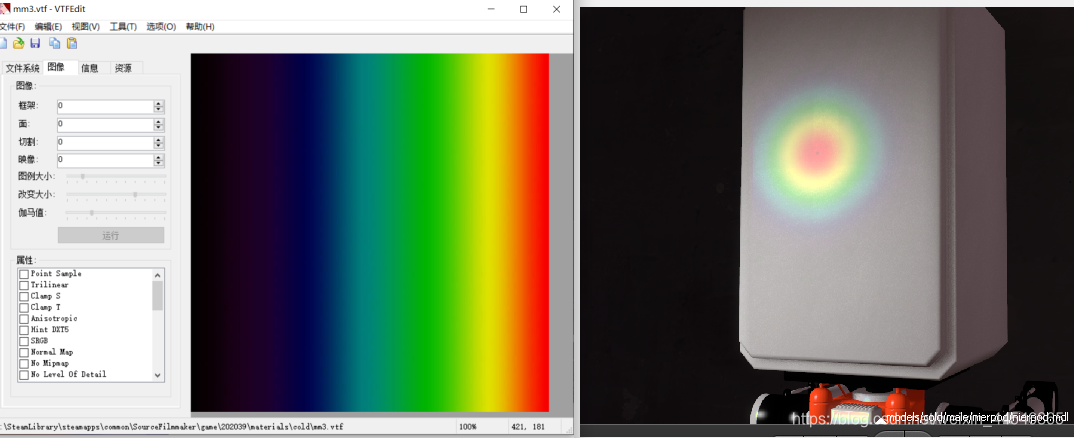
Do you see the halo in the middle? That is the highlight. This is the Feng's highlight effect in blend.
There are three parameters for the highlight: 1. Color-map. 2. Hardness. 3. Strength.
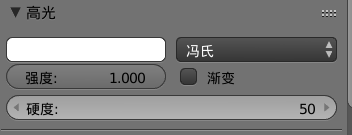
For easy viewing, I used a 279 blend engine, and you can clearly see the white on the top, the intensity in the middle, and the hardness on the bottom.
Let's talk about it separately:
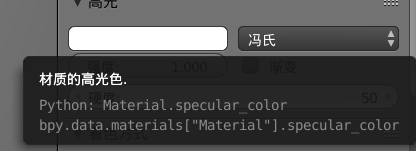
1. Texture-Color
This affects the color of the highlight.
If I change the color, the effect will be
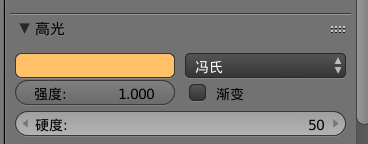

a little weird, right? If I add a texture, then the
projected highlight will be a texture, just like the anti-theft watermark.
change with your perspective
2. Strength
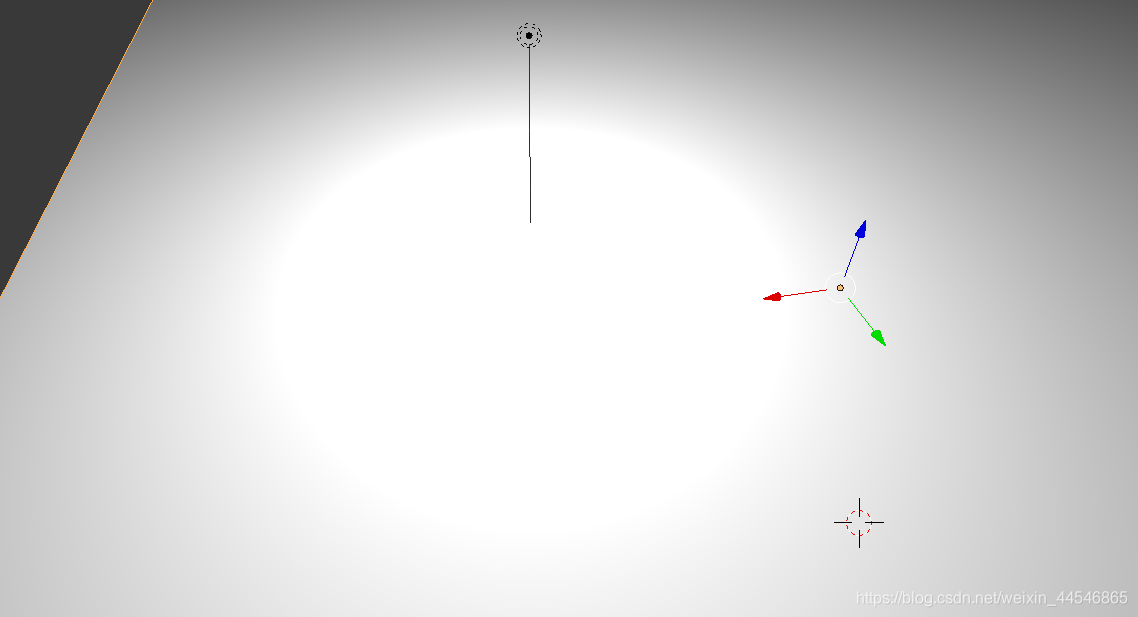
This is 1.0

0.5

0.1
 the intensity becomes smaller and lighter
3. Hardness
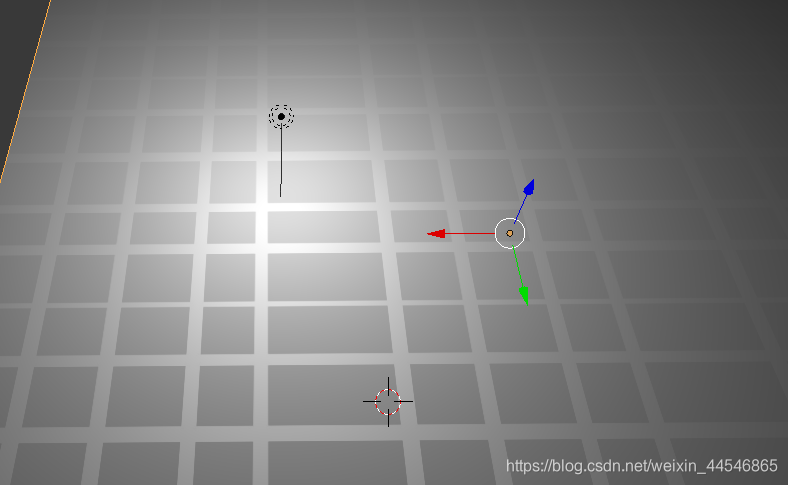
The hardness is generally defaulted to 50 (at this time, the strength is 1.0). If the hardness is

20

, you can see that the hardness becomes smaller, that is, the material becomes softer and the halo becomes larger.
If it is adjusted to 3 (1 is the minimum value),
the halo will become huge. If At this time, add a weaker strength, then the texture will be

The white light is not obvious, adding textures
, this is a digression.
Here is just a brief introduction to the knowledge points about Feng's highlight, let's get to the point! ! !
Fung highlights in SFM
Go to vmt first: useful parameters
 //冯氏高光
 $phong 1
  $basemapalphaphongmask//使用$ basetexture的Alpha通道,可以同步透明部分?
  $phongexponent "50"//硬度-int
  $phongboost "1.0"//亮度-float-0-1
  $phongalbedotint "1"//允许高光贴图有颜色属性附到反照率
  $phongexponenttexture "cold\mm"//高光贴图(硬度贴图)
  $phongfresnelranges "[0.05 0.5 1]"//菲涅尔
  //"$phongwarptexture"  "cold\mm3"//翘曲
Last comparison chart
Hardness:
illustrate
Here is a point to explain, although the brightness of $phongboost is 0-1.0, it can still take a value of more than 1.0 or even 10.0, and the shader still works normally! The greater the brightness, the more you will feel that radiance! Greasy feeling!
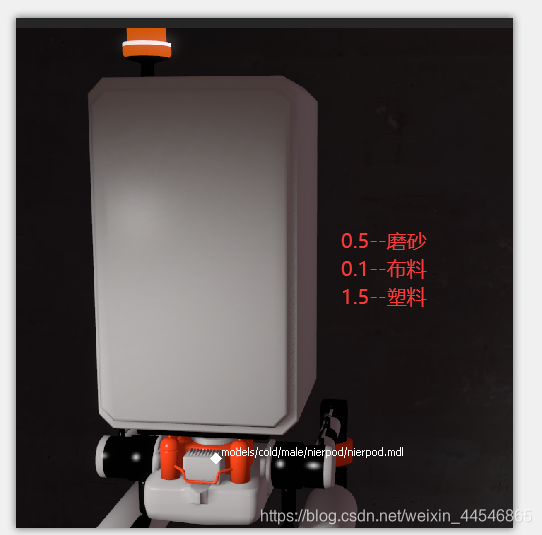
Then $phongexponent hardness can be an integer greater than or equal to 1. The smaller the hardness, the larger the halo of the highlight, and the larger the hardness, the smaller the halo of the highlight. Small hardness simulates frosting and cloth, and high hardness simulates metal and glass.
If you make a model with 1.5 hardness and 50 brightness, the effect will be very interesting
I can’t find the renderings for the time being. I originally wanted to upload a male character who eats chicken. That one has
greasy skin. It’s actually a counterexample.
2. Highlight map
let's talk
  $ phongalbedotint "1"
//允许高光贴图有颜色属性附到反照率
If this is not turned on, the color of the highlight map will not be applied to the model at all, which is equivalent to
 $phongexponenttexture "cold\mm"
 //高光贴图(硬度贴图)
This parameter is switched on
, so what is the highlight map used for?
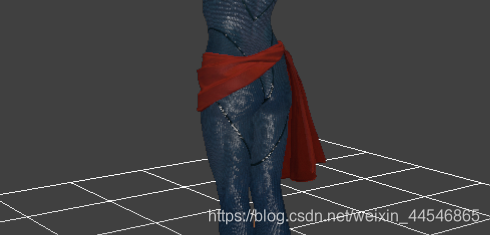
Still the picture above:
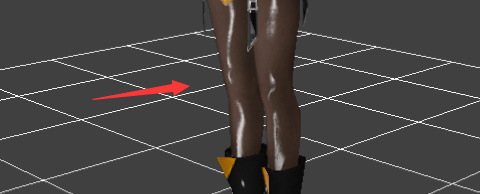
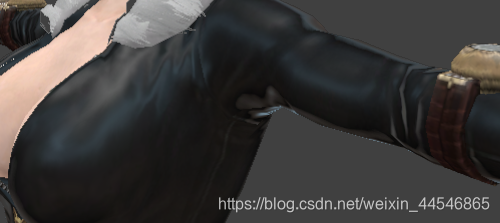
Do you see the small lines on the stockings? That is the effect of the specular map. This specular map is only used for specular reflections. If you don't light it up, you can't see these at all.
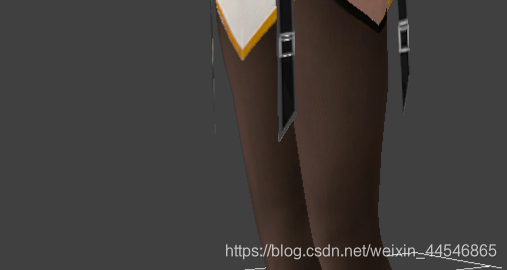
The specular map is equivalent to a detail texture under the specular light.
Here is a word: it is better to use the specular map and the normal map at the same time (a word: the $ ssbump parameter can automatically generate a normal map through the highlight map). The effect can be deepened.
If there is a lot of light in the environment at this time, the effect explodes!
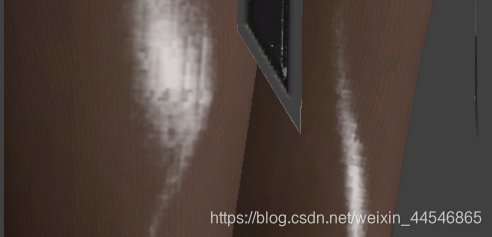
Oh, by the way, I would like to mention it by the way: You can see that the highlights of these stockings are very fine. Generally, the highlights are just one light, but this one is bright for a long strip. It is obvious that the Fresnel effect is used. More about Fresnel The description of the effect will also be discussed later!
I will open a separate article about making highlight maps, first appreciate the high-quality model~
outstanding case:
3. Warping parameters
This is very interesting, the official did not say much about this parameter!

Just such a mouthful, I did it myself for a while, and I understood that
I updated the vmt popular science post yesterday, and added a lightwarptexture parameter in it. The effect of that parameter is the effect of the basic albedo, which can be the basic The light of the texture changes, the texture is a one-dimensional color band, but the $phongwarptexture parameter uses a two-dimensional color band! And the effect is used for specular reflections!
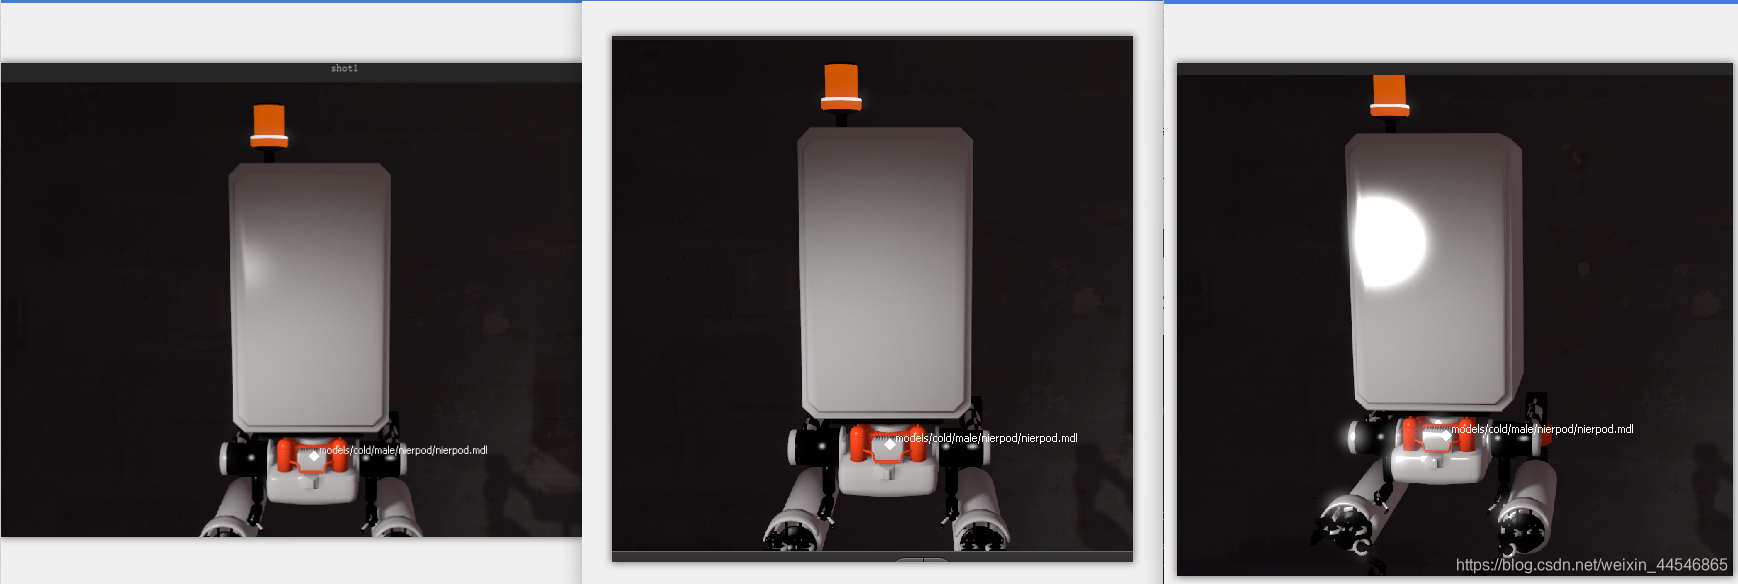
The effect I made by myself is as follows:
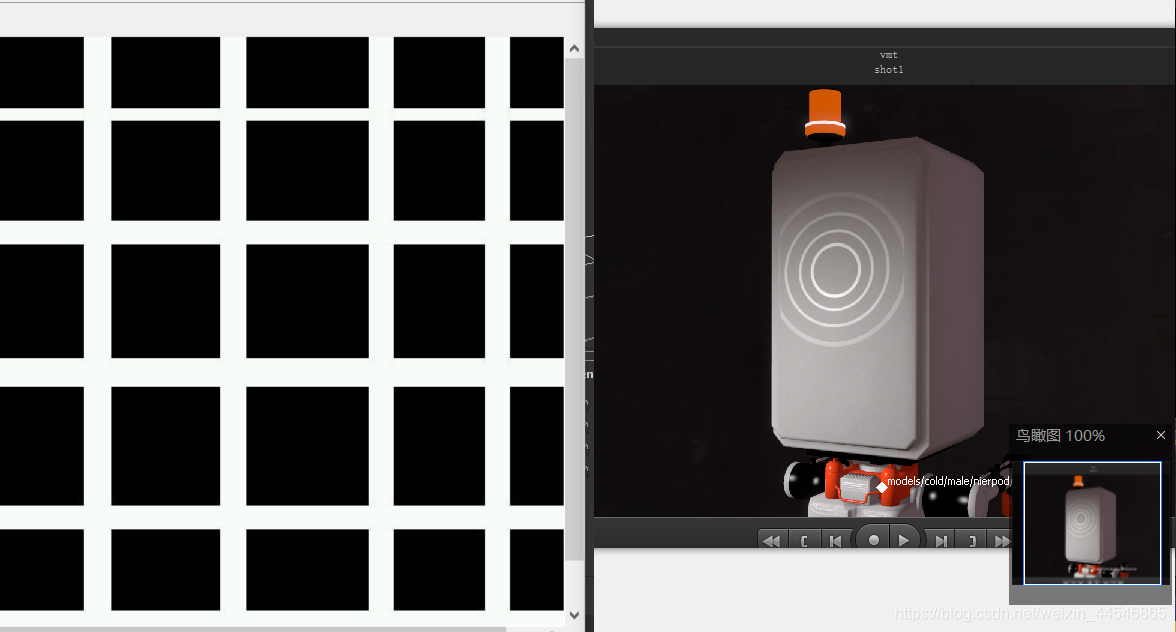
the left is the texture I used, and the right is the effect! You will find that the light intensity that should have been uniformly attenuated on the model has become concentric circles. The
reason is that the default warp map should be from left to right, from black to white gradient, but the texture I added Changes have taken place,
from left to right, black and white, black and white, back and forth, so the lighting has also changed, which can be understood as a series of coordinates from left to right, and the coordinates correspond to the corresponding effects of light intensity!
So, I tried color maps again:
and I discovered a new land.
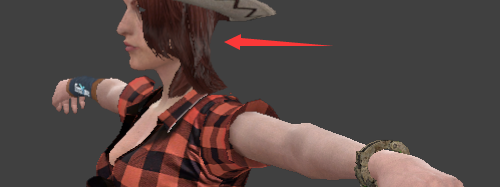
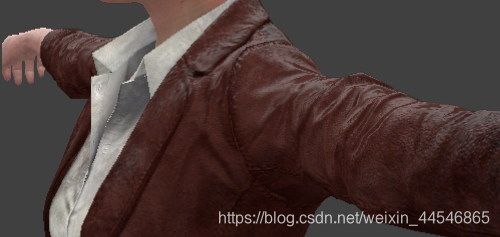
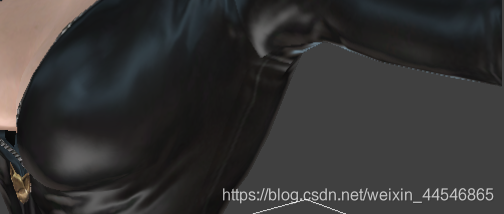
But in fact, this effect is not so useful, please see the effect of the catwoman leather clothing made by the boss of the workshop:
Did you find it? Let's not talk about the effect brought by the normal map + highlight, look at its reflection!
Isn't this what I've been looking for - simulating ambient light reflections? I had a distress before, as long as I use envmap, then phong highlights will say goodbye to you directly, the two are not compatible, then I want to add environmental information to the highlights, is it still possible?
The answer is of course, loud fart! Eat loud farts! SFM also reflects the environment, and also chases after your sister.
So the author cleverly used a warping parameter to simulate ambient light!
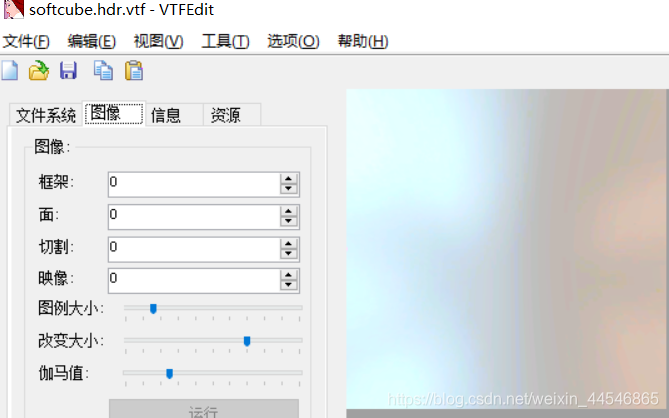
See the name, softcube
soft is a soft change, cube is the cube of the cube_map of envmap, which means a cube, that is, the environment box.
The author obviously wants to use this blue-yellow picture to simulate ambient light! The effect is also obvious!
(ps: In fact, I was wrong here. In fact, the author should use lightwarp, but the effects of these two warps are similar, almost the same. You can also put the warp texture on the phong, but there may be a small The problem is, for example, white light only reflects blue light or something, so it is recommended to use two warp parameters at the same time!)
References: valve developer forum