Appel téléphonique de studio Android, envoi de SMS, caméra, fonction de carte
Aperçu
Concevez une application pour réaliser les fonctions de passer des appels téléphoniques, d'envoyer des messages texte, des appareils photo et des cartes.
La fonction de numérotation téléphonique n'est pas introduite ici, vous pouvez vous référer à cet article:
Numérotation téléphonique pour le studio Android .
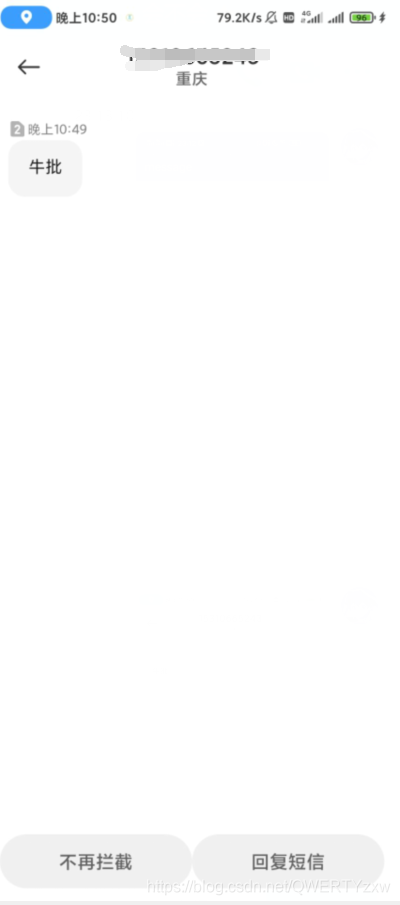
1. Envoi de SMS
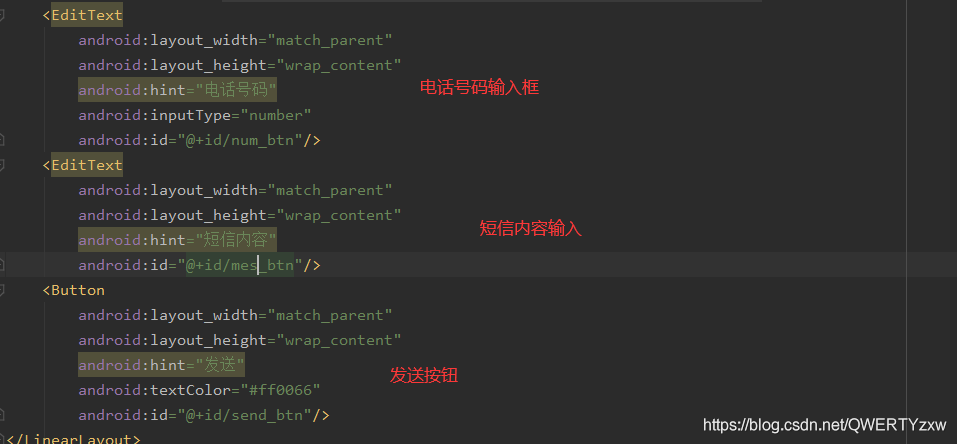
1. Disposition
fichier .xml
<EditText
        android:layout_width="match_parent"
        android:layout_height="wrap_content"
        android:hint="电话号码"
        android:inputType="number"
        android:id="@+id/num_btn"/>
    <EditText
        android:layout_width="match_parent"
        android:layout_height="wrap_content"
        android:hint="短信内容"
        android:id="@+id/mes_btn"/>
    <Button
        android:layout_width="match_parent"
        android:layout_height="wrap_content"
        android:hint="发送"
        android:textColor="#ff0066"
        android:id="@+id/send_btn"/>
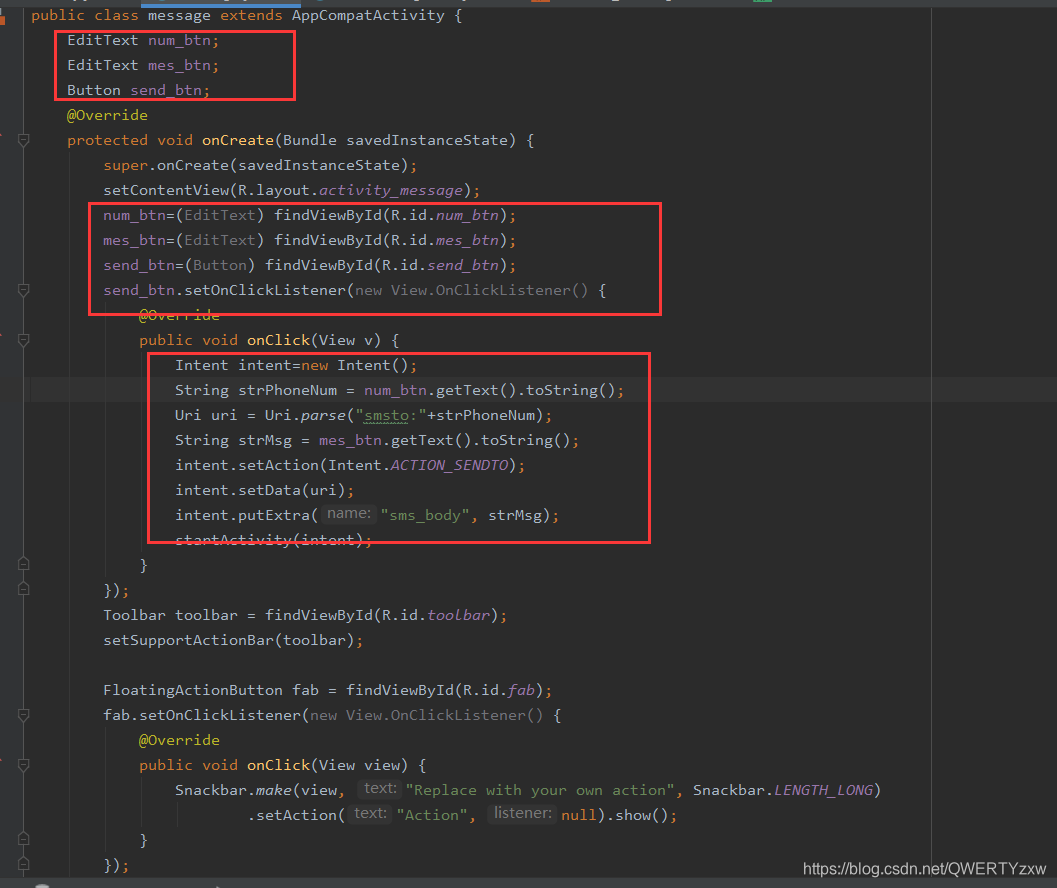
2. Code
fichier .java
public class message extends AppCompatActivity {


    EditText num_btn;
    EditText mes_btn;
    Button send_btn;
    @Override
    protected void onCreate(Bundle savedInstanceState) {


        super.onCreate(savedInstanceState);
        setContentView(R.layout.activity_message);
        num_btn=(EditText) findViewById(R.id.num_btn);
        mes_btn=(EditText) findViewById(R.id.mes_btn);
        send_btn=(Button) findViewById(R.id.send_btn);
        send_btn.setOnClickListener(new View.OnClickListener() {


            @Override
            public void onClick(View v) {


                Intent intent=new Intent();
                String strPhoneNum = num_btn.getText().toString();
                Uri uri = Uri.parse("smsto:"+strPhoneNum);
                String strMsg = mes_btn.getText().toString();
                intent.setAction(Intent.ACTION_SENDTO);
                intent.setData(uri);
                intent.putExtra("sms_body", strMsg);
                startActivity(intent);
            }
        });
        Toolbar toolbar = findViewById(R.id.toolbar);
        setSupportActionBar(toolbar);

        FloatingActionButton fab = findViewById(R.id.fab);
        fab.setOnClickListener(new View.OnClickListener() {


            @Override
            public void onClick(View view) {


                Snackbar.make(view, "Replace with your own action", Snackbar.LENGTH_LONG)
                        .setAction("Action", null).show();
            }
        });
    }
3. Démo
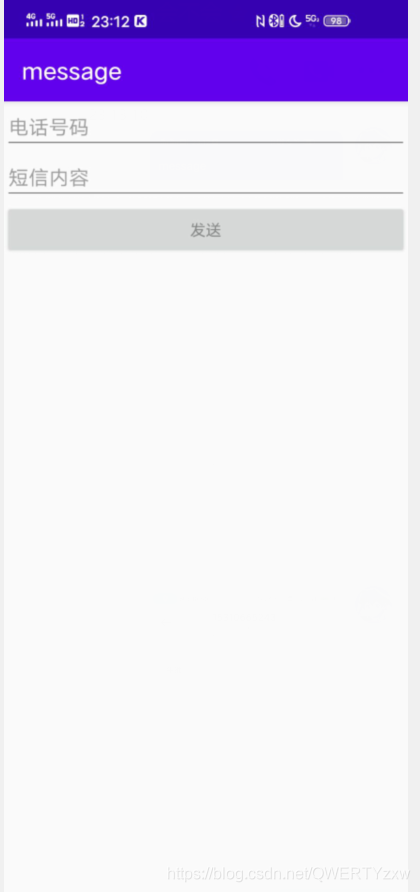
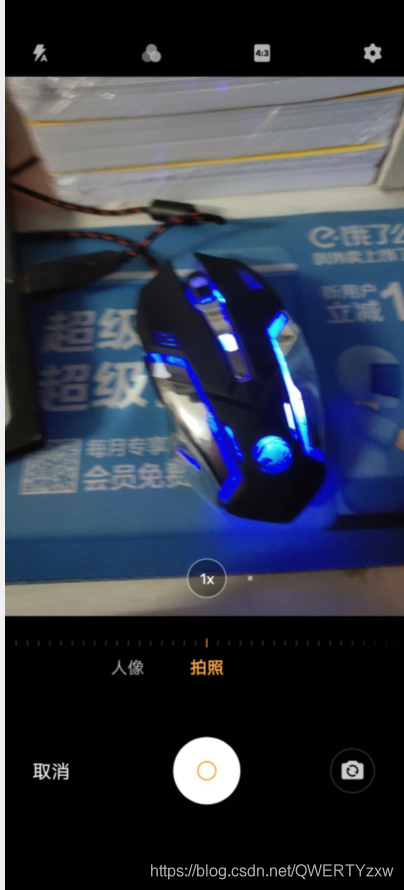
Deuxièmement, l'appareil photo est allumé
1. Code
La caméra système est appelée, il n'y a donc pas de disposition.
.Java
 case R.id.type3_btn:
                intent.setAction(MediaStore.ACTION_IMAGE_CAPTURE);
                break;
2. Démo
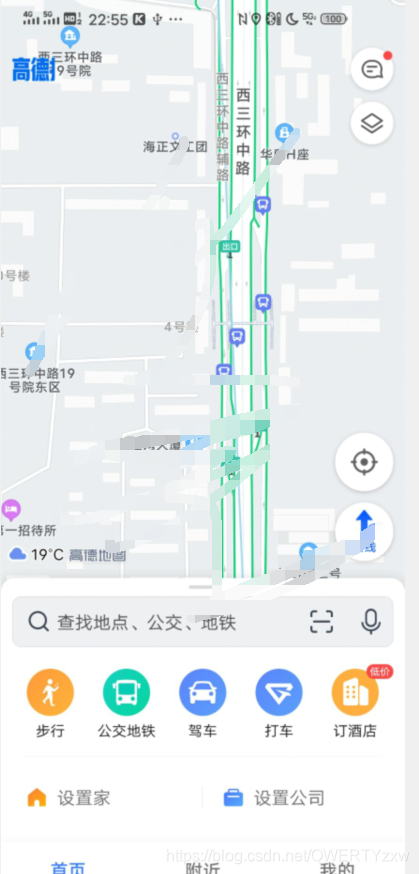
3. Carte
1. Code
case R.id.type4_btn:
                Uri uri = Uri.parse("geo:39.9,116.3");
                intent.setAction(Intent.ACTION_VIEW);
                intent.setData(uri);
                break;
2. Démo
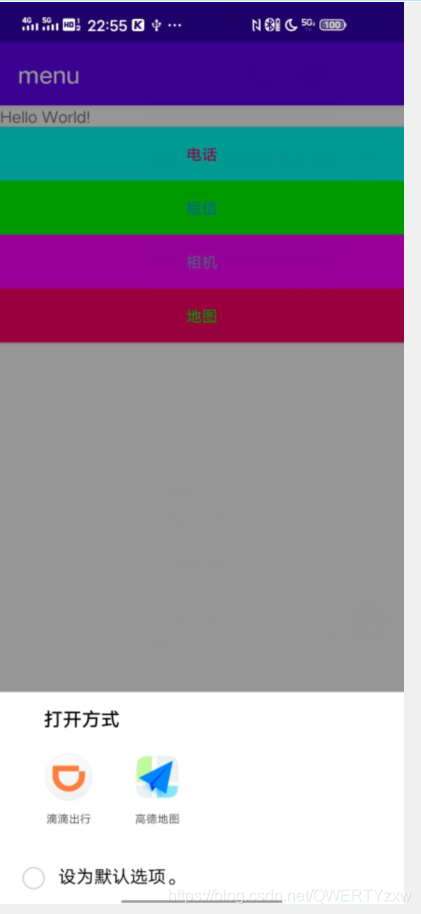
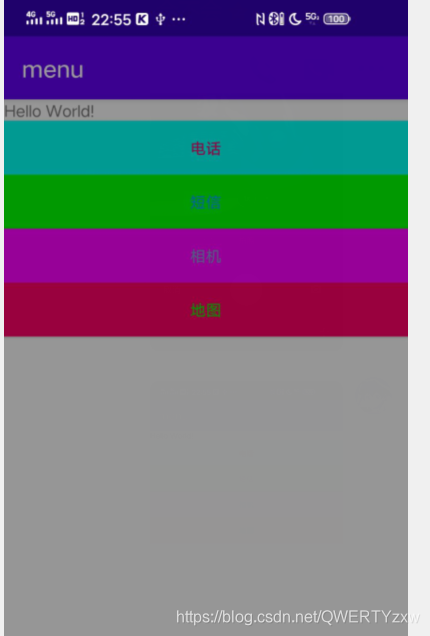
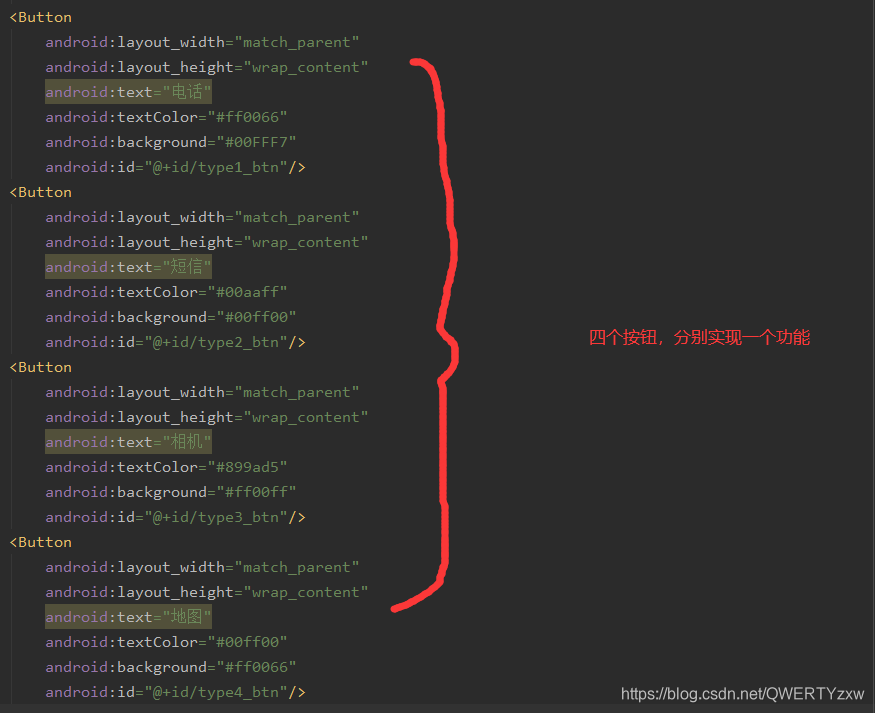
Quatrièmement, l'interface totale
1. Disposition
fichier .xml
<Button
        android:layout_width="match_parent"
        android:layout_height="wrap_content"
        android:text="电话"
        android:textColor="#ff0066"
        android:background="#00FFF7"
        android:id="@+id/type1_btn"/>
    <Button
        android:layout_width="match_parent"
        android:layout_height="wrap_content"
        android:text="短信"
        android:textColor="#00aaff"
        android:background="#00ff00"
        android:id="@+id/type2_btn"/>
    <Button
        android:layout_width="match_parent"
        android:layout_height="wrap_content"
        android:text="相机"
        android:textColor="#899ad5"
        android:background="#ff00ff"
        android:id="@+id/type3_btn"/>
    <Button
        android:layout_width="match_parent"
        android:layout_height="wrap_content"
        android:text="地图"
        android:textColor="#00ff00"
        android:background="#ff0066"
        android:id="@+id/type4_btn"/>
2. Code
.Java
public class MainActivity extends AppCompatActivity implements View.OnClickListener {


    Button type1_btn;
    Button type2_btn;
    Button type3_btn;
    Button type4_btn;
    @Override
    protected void onCreate(Bundle savedInstanceState) {


        super.onCreate(savedInstanceState);
        setContentView(R.layout.activity_main);
        type1_btn=(Button) findViewById(R.id.type1_btn);
        type2_btn=(Button) findViewById(R.id.type2_btn);
        type3_btn=(Button) findViewById(R.id.type3_btn);
        type4_btn=(Button) findViewById(R.id.type4_btn);
        type1_btn.setOnClickListener(this);
        type2_btn.setOnClickListener(this);
        type3_btn.setOnClickListener(this);
        type4_btn.setOnClickListener(this);
    }

    /**
     * Called when a view has been clicked.
     *
     * @param v The view that was clicked.
     */
    @Override
    public void onClick(View v) {


        Intent intent=new Intent();
        switch (v.getId()){


            case R.id.type1_btn:
                intent.setClassName("com.example.phone","com.example.phone.MainActivity");
                break;
            case R.id.type2_btn:
                intent.setClassName(this,"com.example.menu.message");
                break;
            case R.id.type3_btn:
                intent.setAction(MediaStore.ACTION_IMAGE_CAPTURE);
                break;
            case R.id.type4_btn:
                Uri uri = Uri.parse("geo:39.9,116.3");
                intent.setAction(Intent.ACTION_VIEW);
                intent.setData(uri);
                break;

        }
        startActivity(intent);
    }
}
3. Démonstration d'effet