annuaire
A. Projets d'intégration native iOS native React
-
Créer un nouveau dossier, comme RNProject, puis créer des sous-dossiers d'un /, copiez l'ensemble du projet dans un fichier iOS existant.
-
Créez un fichier dans RNProject package.json répertoire racine, comme suit:
{
  "name": "RNProject",
  "version": "1.0.0",
  "private": true,
  "scripts": {
    "start": "yarn react-native start"
  }
}
- Ouvrez un terminal, cd dans le répertoire racine du projet, exécutez la commande suivante React modules intégrés autochtones:
$ yarn add react-native
- Après une étape sur une boîte rouge en attente des avis, il a exprimé la nécessité de compter sur la version spécifiée réagir. Nous avons intégré la commande suivante pour réagir, notez le numéro de version des exigences doivent suivre strictement les instructions:
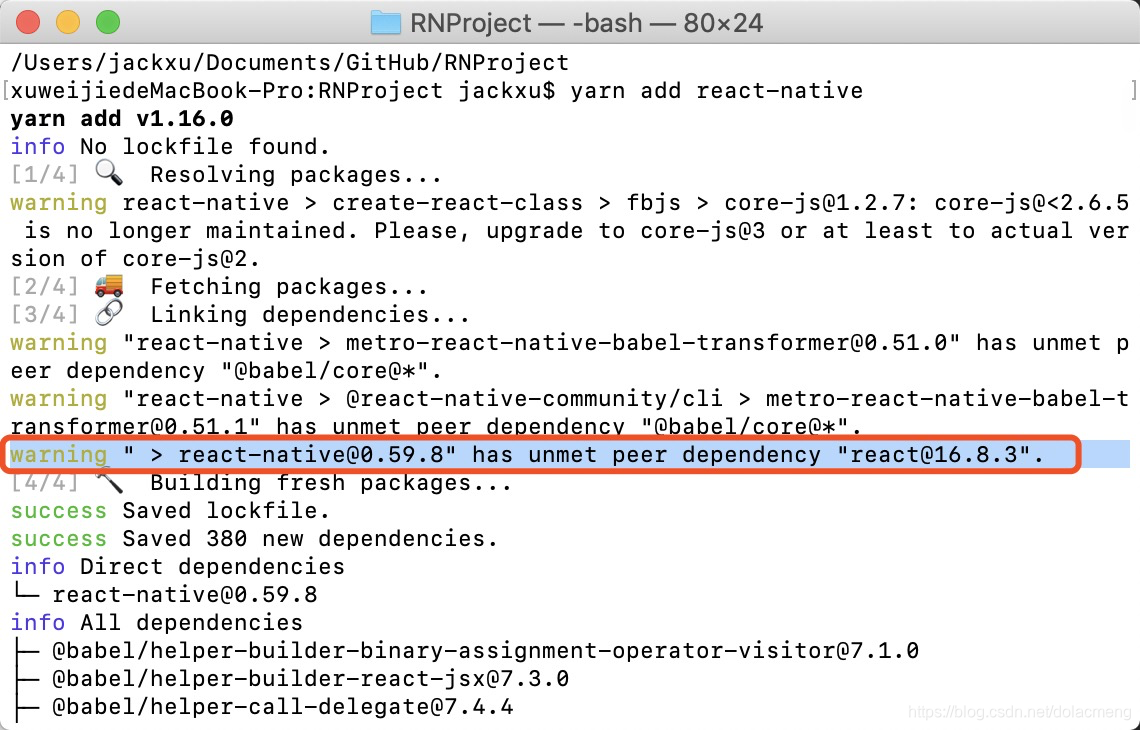
$ yarn add [email protected]
A cette époque, tous dépendent intégrés dans node_modules / répertoire, ne contrôle version git, ne doit pas télécharger tous les fichiers dans ce dossier, mais permettre à d'autres collaborateurs exécutent également la commande ci-dessus pour ajouter des dépendances. Il devrait en node_modules / répertoire enregistrement à .gitignore fichier.
- En cocoaPods REACT intégration native dans iOS projet. Par défaut, vous êtes déjà familier avec et cocoaPods installés. Dans le terminal, cd / Basse ios initialisation du répertoire cocoaPods:
$ pod init
PODFILE ouvrir le fichier, modifier les éléments suivants:
# The target name is most likely the name of your project.
target 'RNProject' do

  # Your 'node_modules' directory is probably in the root of your project,
  # but if not, adjust the `:path` accordingly
  pod 'React', :path => '../node_modules/react-native', :subspecs => [
    'Core',
    'CxxBridge', # Include this for RN >= 0.47
    'DevSupport', # Include this to enable In-App Devmenu if RN >= 0.43
    'RCTText',
    'RCTImage',
    'RCTNetwork',
    'RCTWebSocket', # Needed for debugging
    'RCTAnimation', # Needed for FlatList and animations running on native UI thread
    # Add any other subspecs you want to use in your project
  ]
  # Explicitly include Yoga if you are using RN >= 0.42.0
  pod 'yoga', :path => '../node_modules/react-native/ReactCommon/yoga'

  # Third party deps podspec link
  pod 'DoubleConversion', :podspec => '../node_modules/react-native/third-party-podspecs/DoubleConversion.podspec'
  pod 'glog', :podspec => '../node_modules/react-native/third-party-podspecs/glog.podspec'
  pod 'Folly', :podspec => '../node_modules/react-native/third-party-podspecs/Folly.podspec'

end
Note cible « RNProject » faire au nom du projet iOS, pas le nom du répertoire racine, mais ici dans mon répertoire racine et les iOS de projet sont RNProject.
Après avoir enregistré PODFILE, exécutez la commande suivante pour démarrer l'installation:
$ pod install
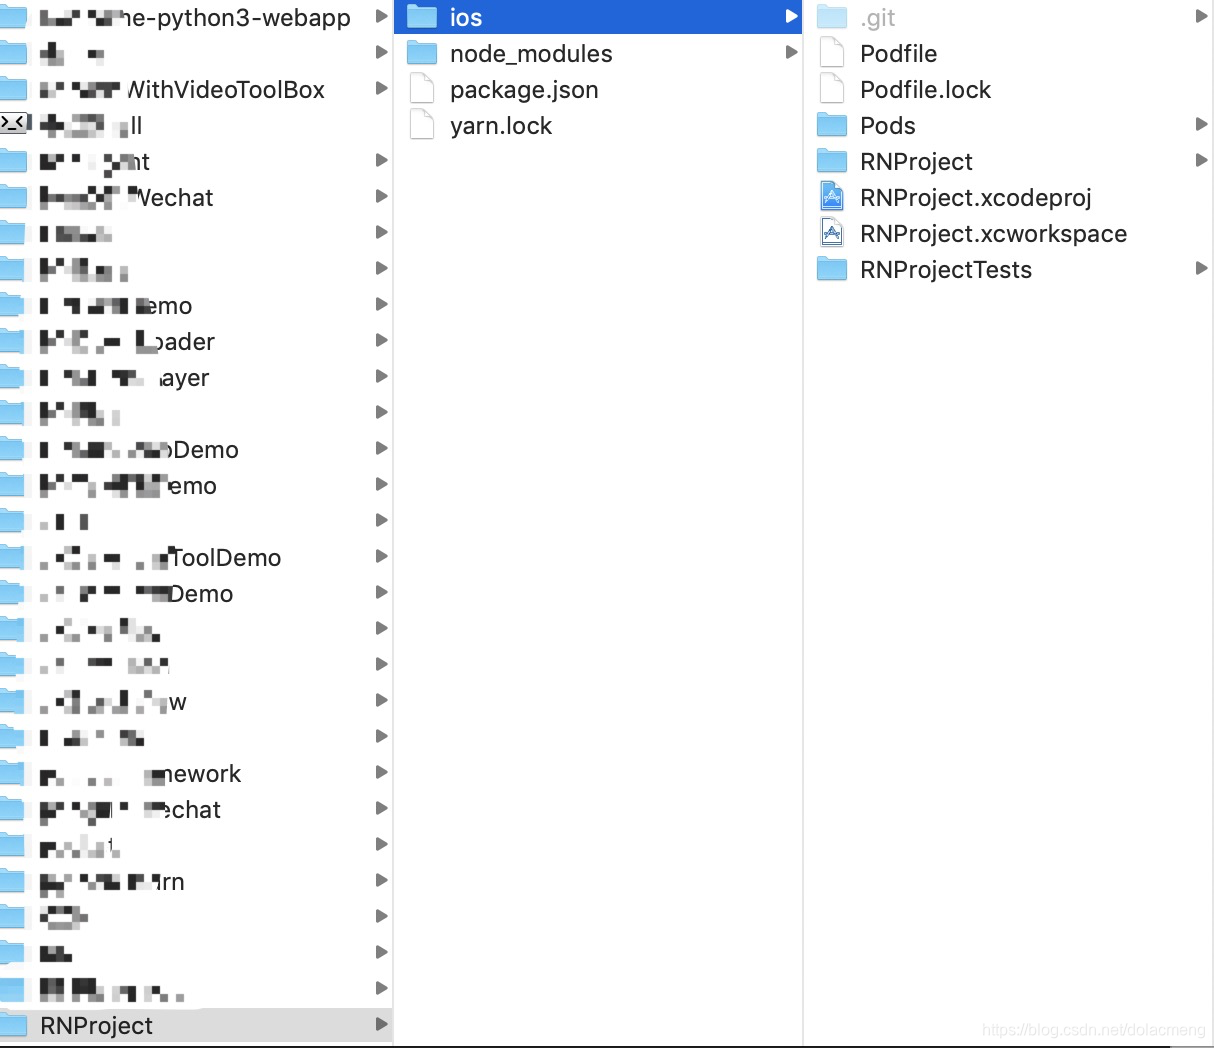
Jusqu'à présent, il a intégré avec succès le projet existant RN iOS, le fichier de projet est structuré comme suit:
II. Saut natif RN
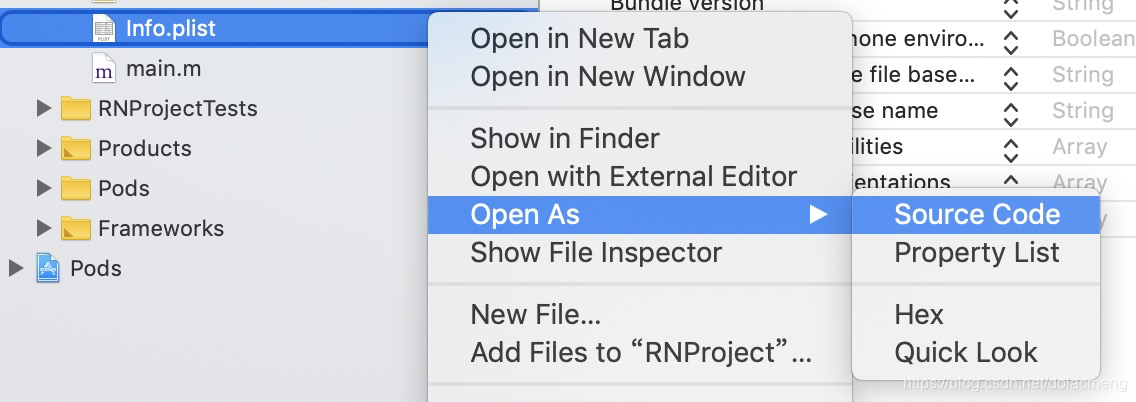
- Apple va bloquer l'accès au lien HTTP non sécurisé. Nous devons ajouter Info.plist du projet iOS:
<key>NSAppTransportSecurity</key>
<dict>
    <key>NSExceptionDomains</key>
    <dict>
        <key>localhost</key>
        <dict>
            <key>NSTemporaryExceptionAllowsInsecureHTTPLoads</key>
            <true/>
        </dict>
    </dict>
</dict>
- Création du fichier index.js dans le répertoire racine en tant que fichier React entrée natif sur iOS. Et entrez les informations suivantes:
import React from 'react';
import {AppRegistry, StyleSheet, Text, View} from 'react-native';

class Hello extends React.Component {
  render() {
  	var {name} = this.props
    return (
      <View style={{flex: 1,justifyContent: 'center',alignItems: 'center'}}>
      	<Text>Hello {name}!</Text>
      </View>
    );
  }
}

AppRegistry.registerComponent('Hello', () => Hello);
- Dans Xcode, créez un ViewController et entrez les informations suivantes:
#import "ViewController.h"
#import <React/RCTRootView.h>

@implementation ViewController

- (void)viewDidLoad {
    [super viewDidLoad];
    UIButton *button = [[UIButton alloc] initWithFrame:CGRectMake(0, 0, 200, 50)];
    button.center = self.view.center;
    [button setTitle:@"跳转RN" forState:0];
    [button setTitleColor:[UIColor greenColor] forState:0];
    [button addTarget:self action:@selector(clickButton:) forControlEvents:UIControlEventTouchUpInside];
    [self.view addSubview:button];
}

- (void)clickButton:(UIButton*)button{
    NSURL *jsCodeLocation = [NSURL URLWithString:@"http://localhost:8081/index.bundle?platform=ios"];

    RCTRootView *rootView =
    [[RCTRootView alloc] initWithBundleURL: jsCodeLocation
                                moduleName: @"Hello"
                         initialProperties: @{@"name":@"React Native"}
                             launchOptions: nil];
    UIViewController *vc = [[UIViewController alloc] init];
    vc.view = rootView;
    [self presentViewController:vc animated:YES completion:nil];
}

@end
- Démarrer RN Packager en utilisant la commande suivante dans le répertoire racine
npm start
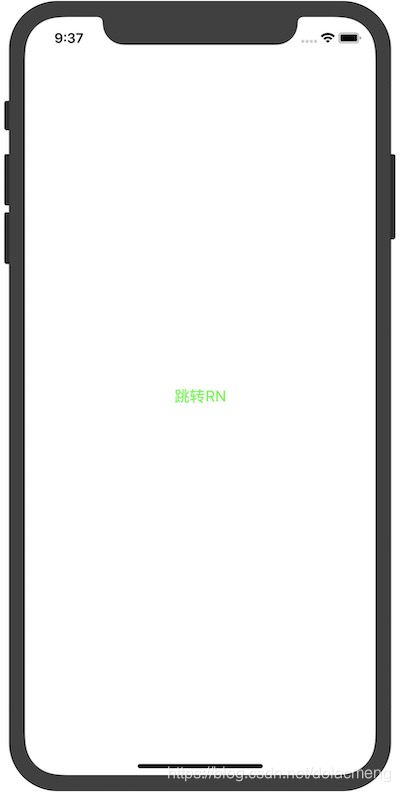
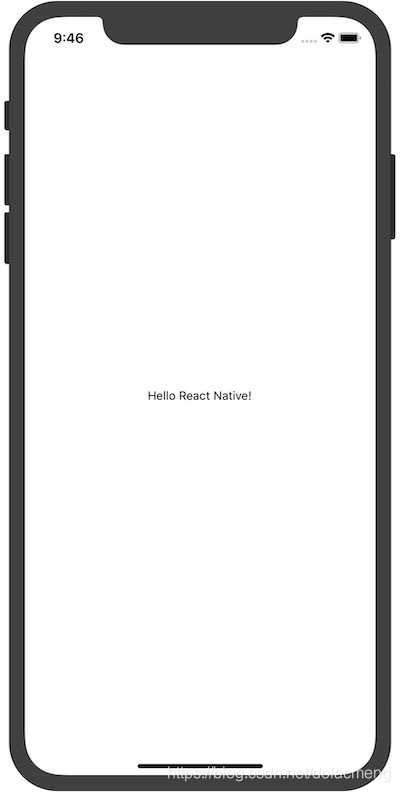
- Après avoir exécuté dans le projet Xcode, exécutez après avoir cliqué sur « Go RN », les deux sauteront pour afficher Bonjour React natif RN atteint! page:
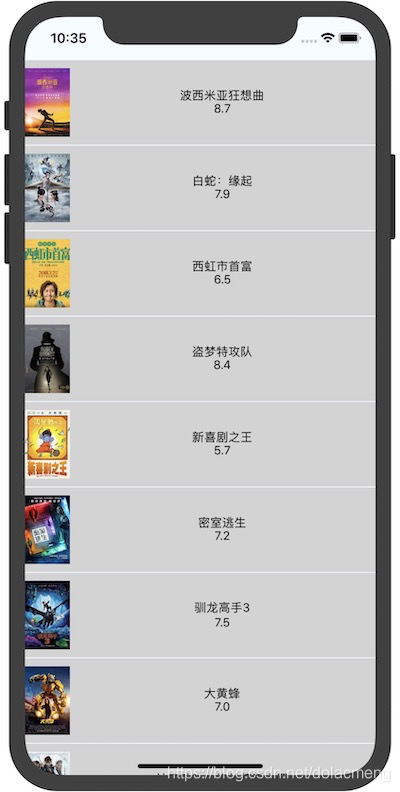
III. Affiche cresson liste des films populaires
Chaque page doit correspondre à un fichier js séparé, et afin d'empêcher la tenue grand projet après la structure de fichier clair, nous avons créé les répertoires et les fichiers suivants pour la liste de film populaire: ./ src / page / HotMovie.js, dans les HotMovie.js entrez les informations suivantes:
import React, {Component} from 'react';
import {StyleSheet, Image, Text, View, FlatList} from 'react-native';

var REQUEST_URL = "https://movie.douban.com/j/search_subjects?type=movie&tag=%E7%83%AD%E9%97%A8&sort=recommend&page_limit=20&page_start=0"

export default class HotMovie extends Component<Props> {

  constructor(props){
    super(props);
    this.state = {
      movies:null,
    }

    this.fetchData = this.fetchData.bind(this)
  }

  componentDidMount(){
    this.fetchData()
  }

  fetchData(){
    fetch(REQUEST_URL)
      .then((response) => response.json())
      .then((responseJson) => {
        this.setState({
          movies:responseJson.subjects
        });
      })
  }

  render() {
    if (!this.state.movies) {
      return this.renderLoadingView();
    }
    return (
      <FlatList
        data={this.state.movies}
        renderItem={this.renderMovie}
        style={styles.list}
        keyExtractor={item => item.id}
      />
    );
  }


  renderLoadingView(){
    return (
      <View style={styles.container}>
        <Text>
          正在加载...
        </Text>
      </View>
    )
  }


  renderMovie({item}){
    return(
      <View style={styles.item}>
        <Image source={{url:item.cover}} style={styles.thumbnail}/>
        <View style={styles.itemRight}>
          <Text>{item.title}</Text>
          <Text>{item.rate}</Text>
        </View>
      </View>
    )
  }


}

const styles = StyleSheet.create({
  container: {
    flex:1,
    flexDirection:'row',
    alignItems:'center',
    justifyContent: 'center',
    alignItems: 'center',
  },
  item:{
    marginTop:1,
    flexDirection:'row',
    alignItems:'center',
    justifyContent: 'center',
    height:100,
    backgroundColor:'lightgray'
  },
  thumbnail:{
    width:53,
    height:81,
    backgroundColor:'lightgray'
  },
  itemRight:{
    flex:1,
    height:100,
    justifyContent: 'center',
    alignItems:'center'
  },
  list: {
    paddingTop: 50,
    backgroundColor: "#F5FCFF"
  }
});
2, les index.js modifié comme suit:
import React from 'react';
import {AppRegistry, StyleSheet, Text, View} from 'react-native';
import HotMovie from './src/page/HotMovie';

AppRegistry.registerComponent('HotMovie', () => HotMovie);
3, l'événement click de bouton principal avec ce qui suit:
- (void)clickButton:(UIButton*)button{
    NSURL *jsCodeLocation = [NSURL URLWithString:@"http://localhost:8081/index.bundle?platform=ios"];

    RCTRootView *rootView =
    [[RCTRootView alloc] initWithBundleURL: jsCodeLocation
                                moduleName: @"HotMovie"
                         initialProperties: nil
                             launchOptions: nil];
    UIViewController *vc = [[UIViewController alloc] init];
    vc.view = rootView;
    [self presentViewController:vc animated:YES completion:nil];
}
3, la figure effet après l'opération:
IV. Changé navigation
Longueur LONGUES amis, avait ouvert une continué https://blog.csdn.net/dolacmeng/article/details/90414040
