Inyección de dependencia DI
1. Inyección de constructor
La forma en que Ioc crea objetos se ha inyectado con el constructor.
2. Establecer el método de inyección 【Puntos clave】
【Construcción ambiental】
1. Tipo complejo
2. Objeto de prueba real
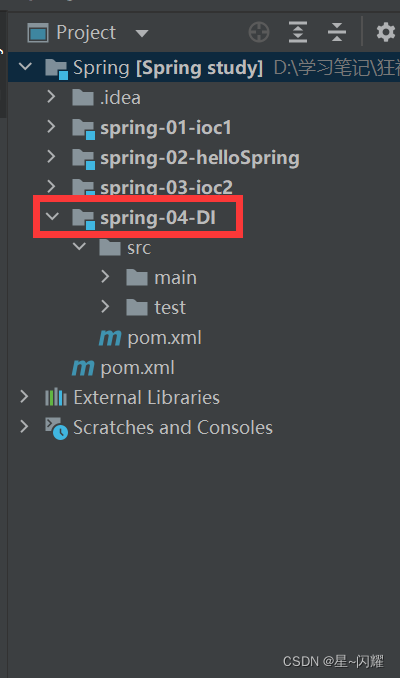
1. Nuevo módulo——primavera-04-DI
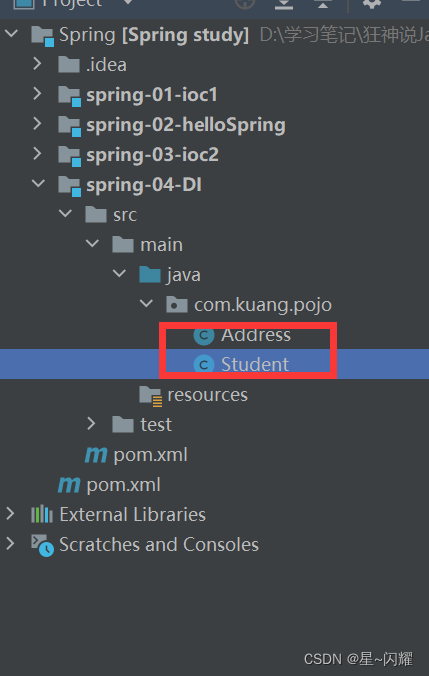
2. Crea una nueva clase de Dirección
package com.kuang.pojo;

public class Address {


    private String address;

    public String getAddress() {


        return address;
    }

    public void setAddress(String address) {


        this.address = address;
    }

    @Override
    public String toString() {


        return "Address{" +
                "address='" + address + '\'' +
                '}';
    }
}
3. Cree una nueva clase de estudiante (almacene varios tipos de datos)
package com.kuang.pojo;

import java.util.*;

public class Student {


    //基本数据类型:name
    private  String name;
    //引用数据类型:address
    private  Address address;

    private String[] books;
    private List<String> hobbys;
    private Map<String,String> card;
    private Set<String> games;
    //配置类:Properties,自定义学生信息
    private Properties info;
    private String wife;

    public String getName() {


        return name;
    }

    public void setName(String name) {


        this.name = name;
    }

    public Address getAddress() {


        return address;
    }

    public void setAddress(Address address) {


        this.address = address;
    }

    public String[] getBooks() {


        return books;
    }

    public void setBooks(String[] books) {


        this.books = books;
    }

    public List<String> getHobbys() {


        return hobbys;
    }

    public void setHobbys(List<String> hobbys) {


        this.hobbys = hobbys;
    }

    public Map<String, String> getCard() {


        return card;
    }

    public void setCard(Map<String, String> card) {


        this.card = card;
    }

    public Set<String> getGames() {


        return games;
    }

    public void setGames(Set<String> games) {


        this.games = games;
    }

    public Properties getInfo() {


        return info;
    }

    public void setInfo(Properties info) {


        this.info = info;
    }

    public String getWife() {


        return wife;
    }

    public void setWife(String wife) {


        this.wife = wife;
    }

    @Override
    public String toString() {


        return "Student{" +
                "name='" + name + '\'' +
                ", address=" + address.toString() +
                ", books=" + Arrays.toString(books) +
                ", hobbys=" + hobbys +
                ", card=" + card +
                ", games=" + games +
                ", info=" + info +
                ", wife='" + wife + '\'' +
                '}';
    }
}
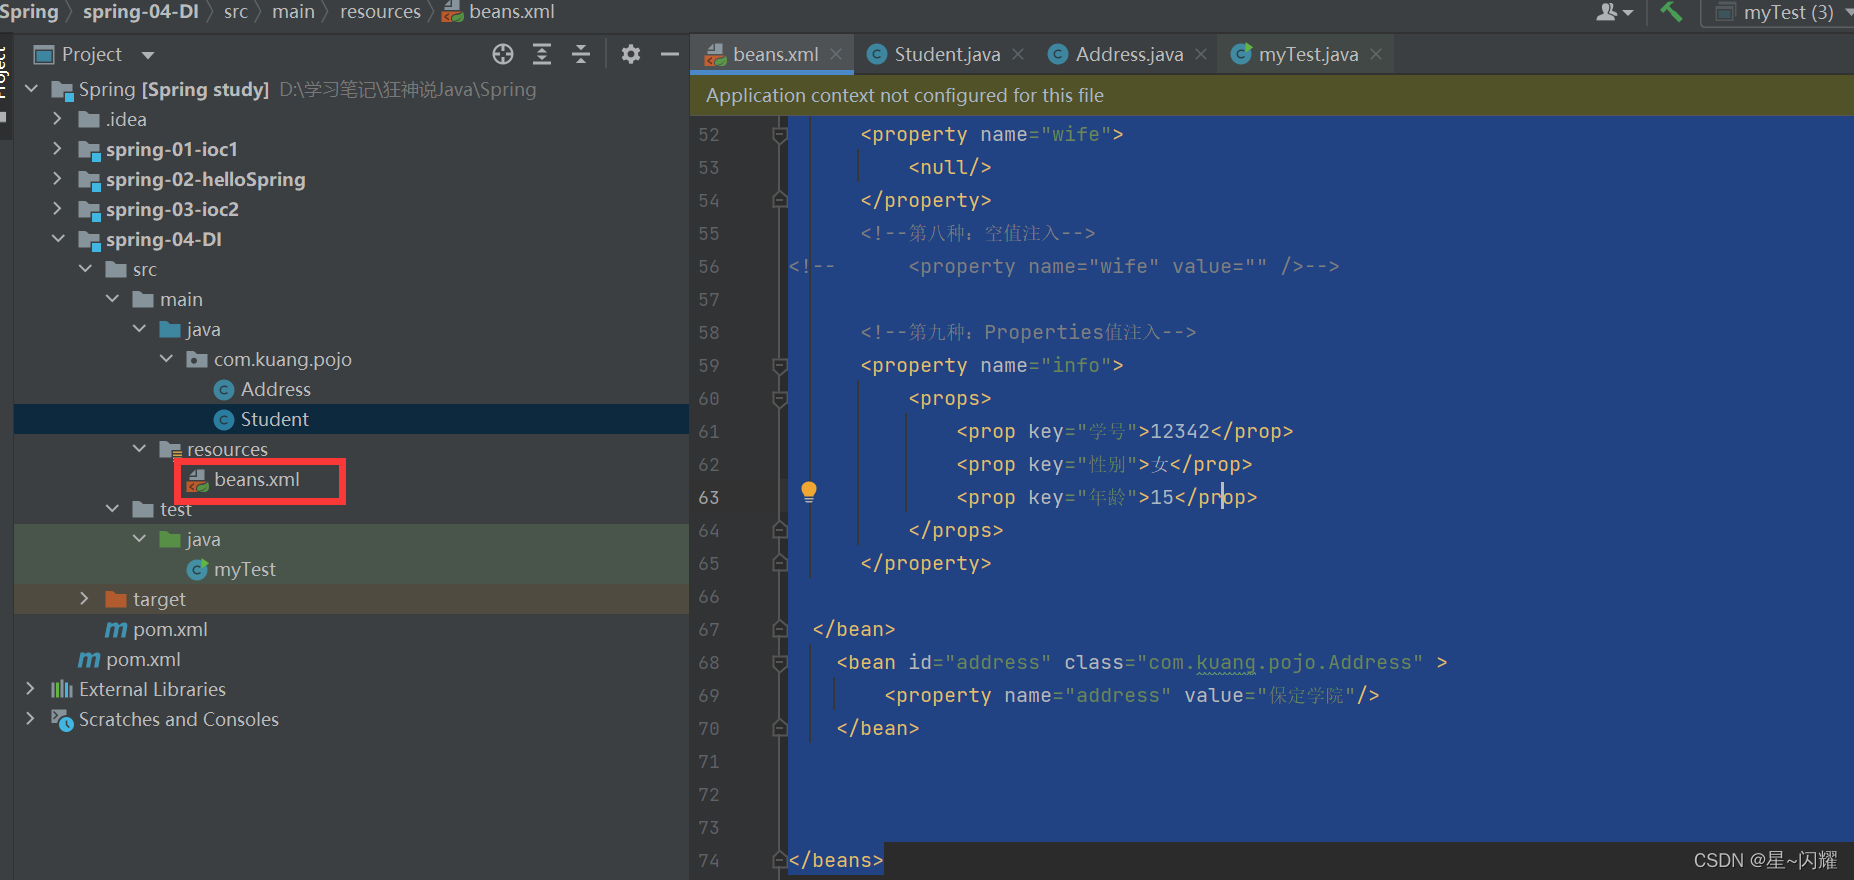
4. Cree un nuevo beans.xml en el recurso
<?xml version="1.0" encoding="UTF-8"?>
<beans xmlns="http://www.springframework.org/schema/beans"
       xmlns:xsi="http://www.w3.org/2001/XMLSchema-instance"
       xsi:schemaLocation="http://www.springframework.org/schema/beans
        https://www.springframework.org/schema/beans/spring-beans.xsd">

  <bean id="student" class="com.kuang.pojo.Student">
<!--     第一种: 普通值注入,使用value属性-->
      <property name="name" value="婉婉"/>
<!--     第二种:Bean注入,使用ref属性-->
      <property name="address" ref="address">

      </property>

      <!--第三种:数组注入-->
      <property name="books">
          <array>
              <value>红楼梦</value>
              <value>西游记</value>
              <value>水浒传</value>
              <value>三国演义</value>
          </array>
      </property>

      <!--第四种:list-->
      <property name="hobbys">
          <list>
              <value>听歌</value>
              <value>看电影</value>
          </list>
      </property>


      <!--第五种:给map类型注入值-->
      <property name="card">
          <map>
              <entry key="身份证" value="123342" />
              <entry key="手机号" value="1122422" />
              <entry key="银行卡" value="11111" />
          </map>
      </property>

      <!--第六种:给set类型注入值-->
      <property name="games">
          <set>
              <value>王者</value>              <value>王者</value>
              <value>吃鸡</value>
          </set>
      </property>

      <!--第七种:null值注入-->
      <property name="wife">
          <null/>
      </property>
      <!--第八种:空值注入-->
<!--      <property name="wife" value="" />-->

      <!--第九种:Properties值注入-->
      <property name="info">
          <props>
              <prop key="学号">12342</prop>
              <prop key="性别">女</prop>
              <prop key="年龄">15</prop>
          </props>
      </property>

  </bean>
    <bean id="address" class="com.kuang.pojo.Address" >
        <property name="address" value="保定学院"/>
    </bean>


</beans>
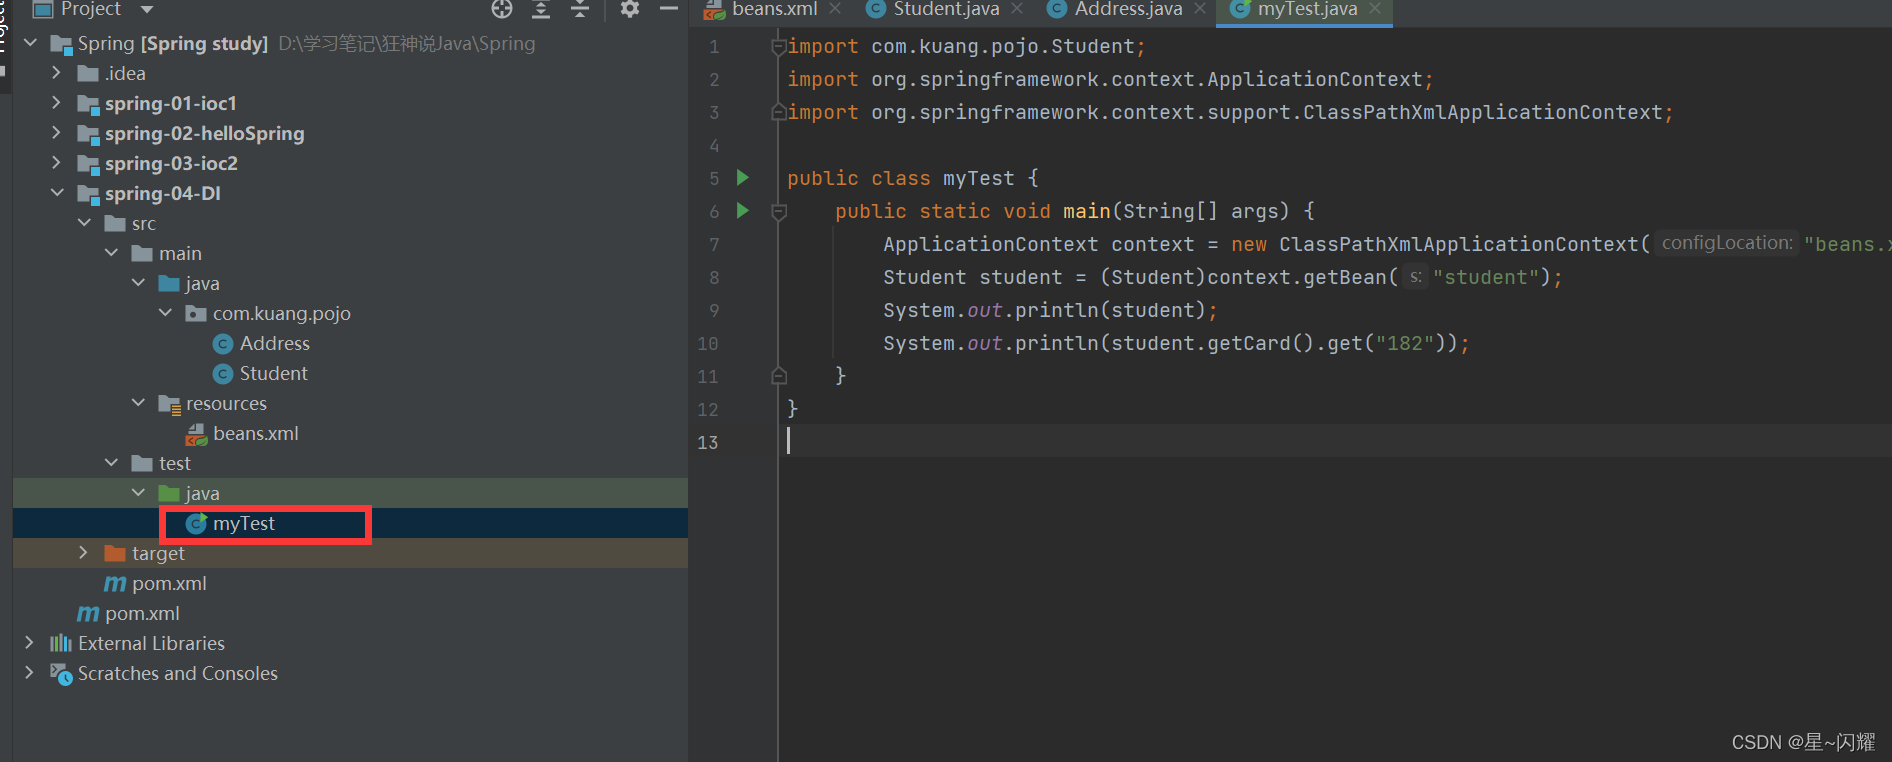
5. Crea una nueva clase de prueba
import com.kuang.pojo.Student;
import org.springframework.context.ApplicationContext;
import org.springframework.context.support.ClassPathXmlApplicationContext;

public class myTest {


    public static void main(String[] args) {


        ApplicationContext context = new ClassPathXmlApplicationContext("beans.xml");
        Student student = (Student)context.getBean("student");
        System.out.println(student);
        System.out.println(student.getCard().get("182"));
    }
}
Método de inyección de expansión: espacio de nombres p y espacio de nombres c
Podemos usar el espacio de nombres p y el espacio de nombres c para la inyección
Ubicación de la documentación oficial:
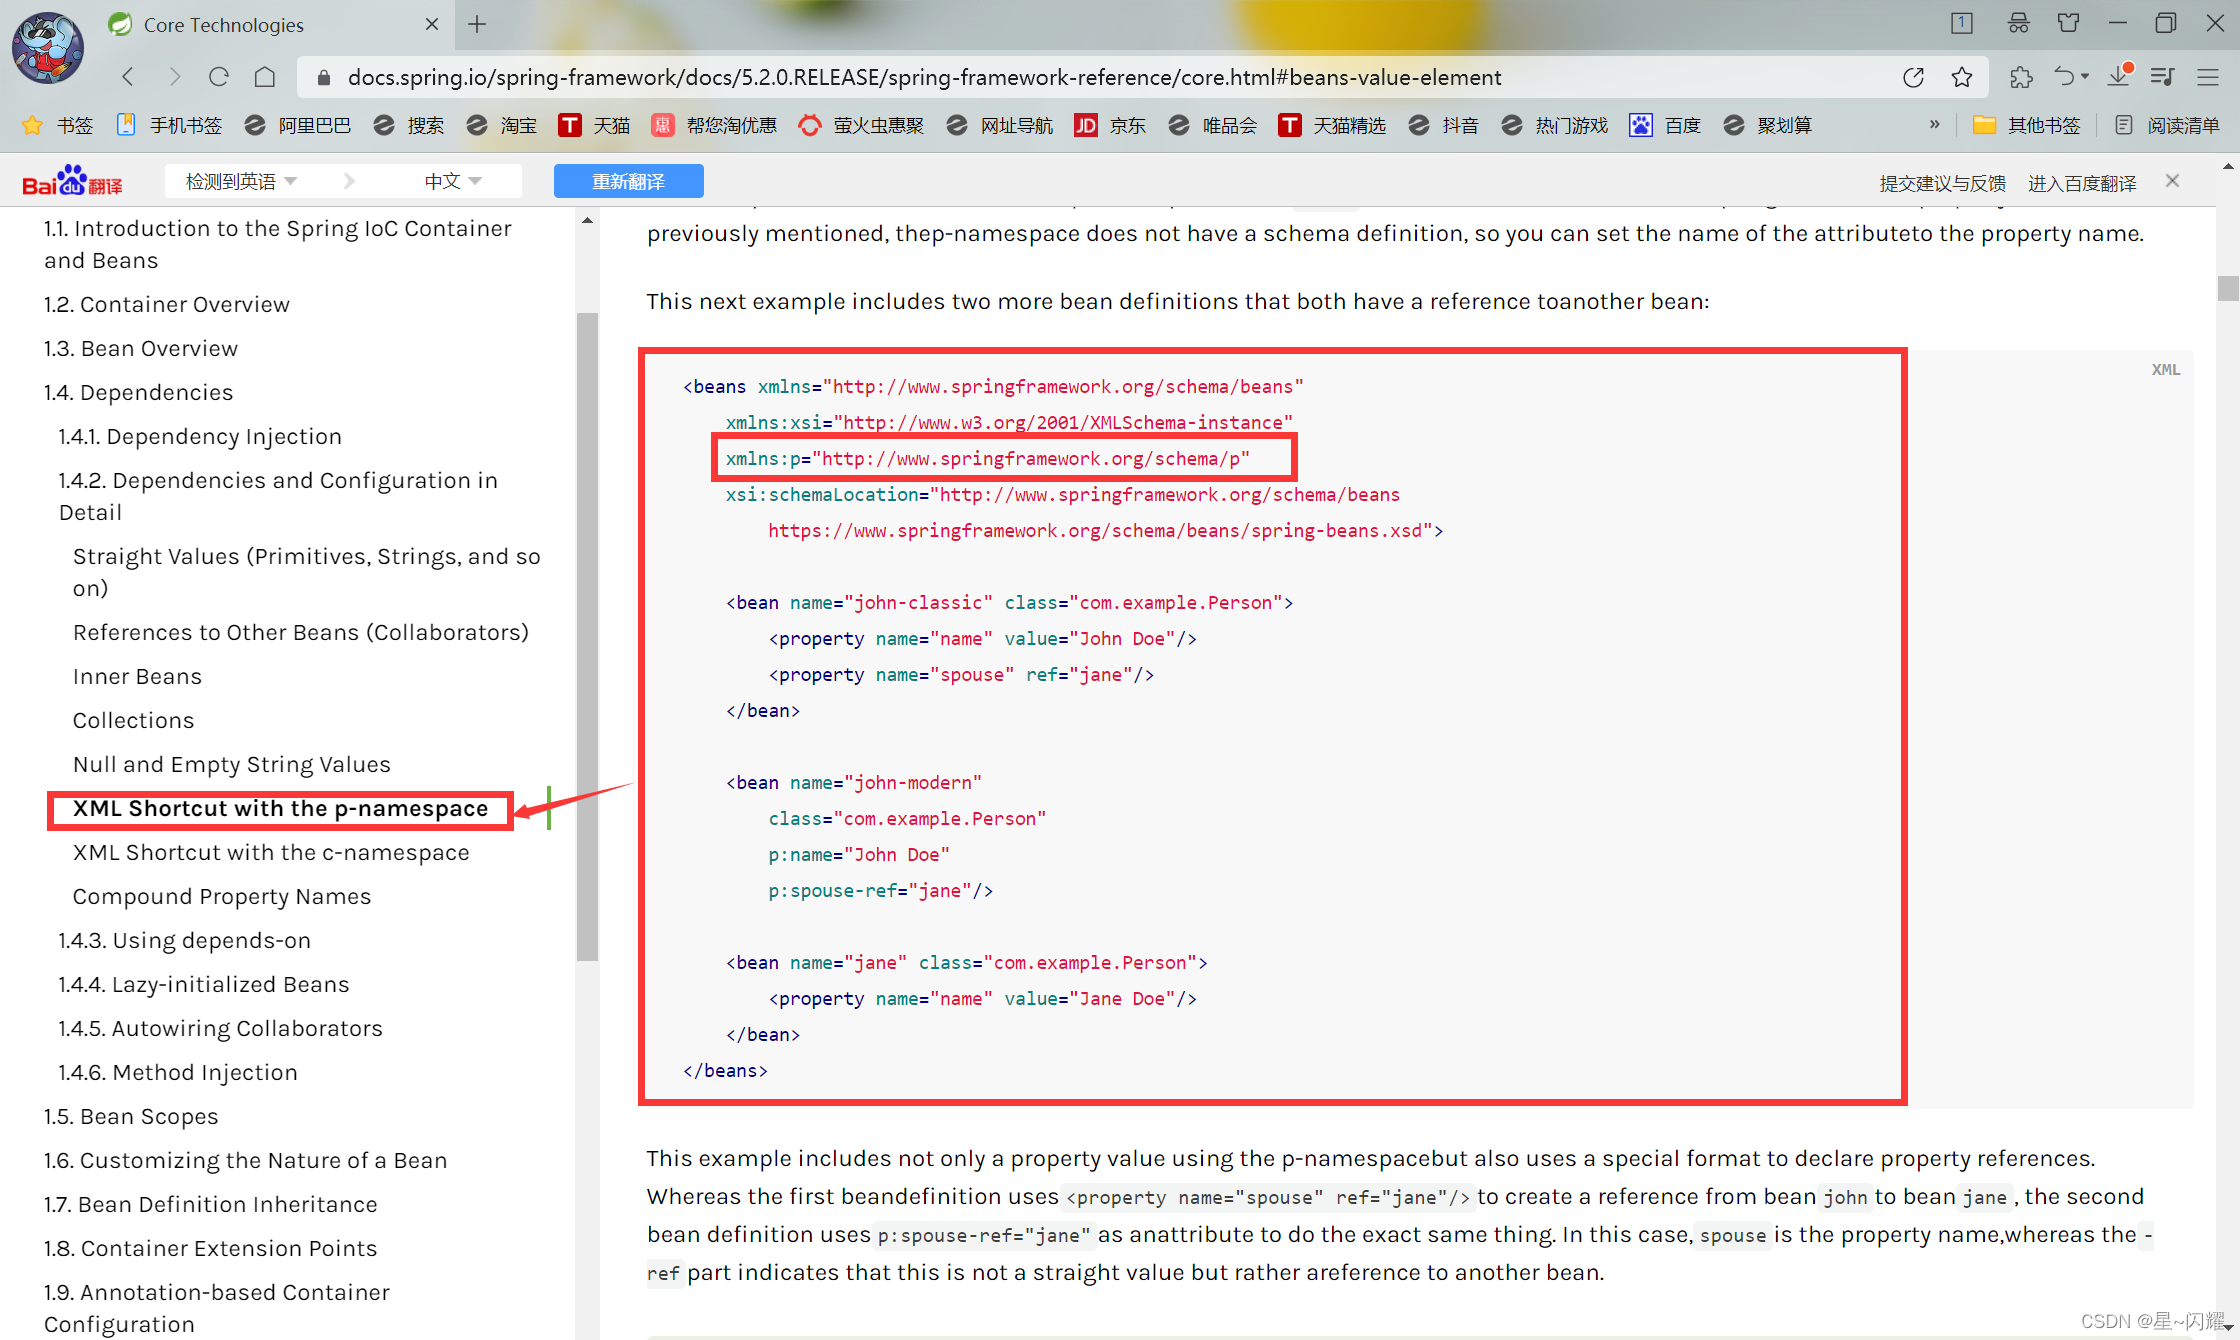
uso
<beans xmlns="http://www.springframework.org/schema/beans"
xmlns:xsi="http://www.w3.org/2001/XMLSchema-instance"
xmlns:p="http://www.springframework.org/schema/p"
xmlns:c="http://www.springframework.org/schema/c"
xsi:schemaLocation="http://www.springframework.org/schema/beans
https://www.springframework.org/schema/beans/spring-beans.xsd">
<!--p命名空间注入,可以直接注入属性值-->
<bean id="user" class="com.kuang.pojo.User" p:name="潇潇" p:age="12"></bean>
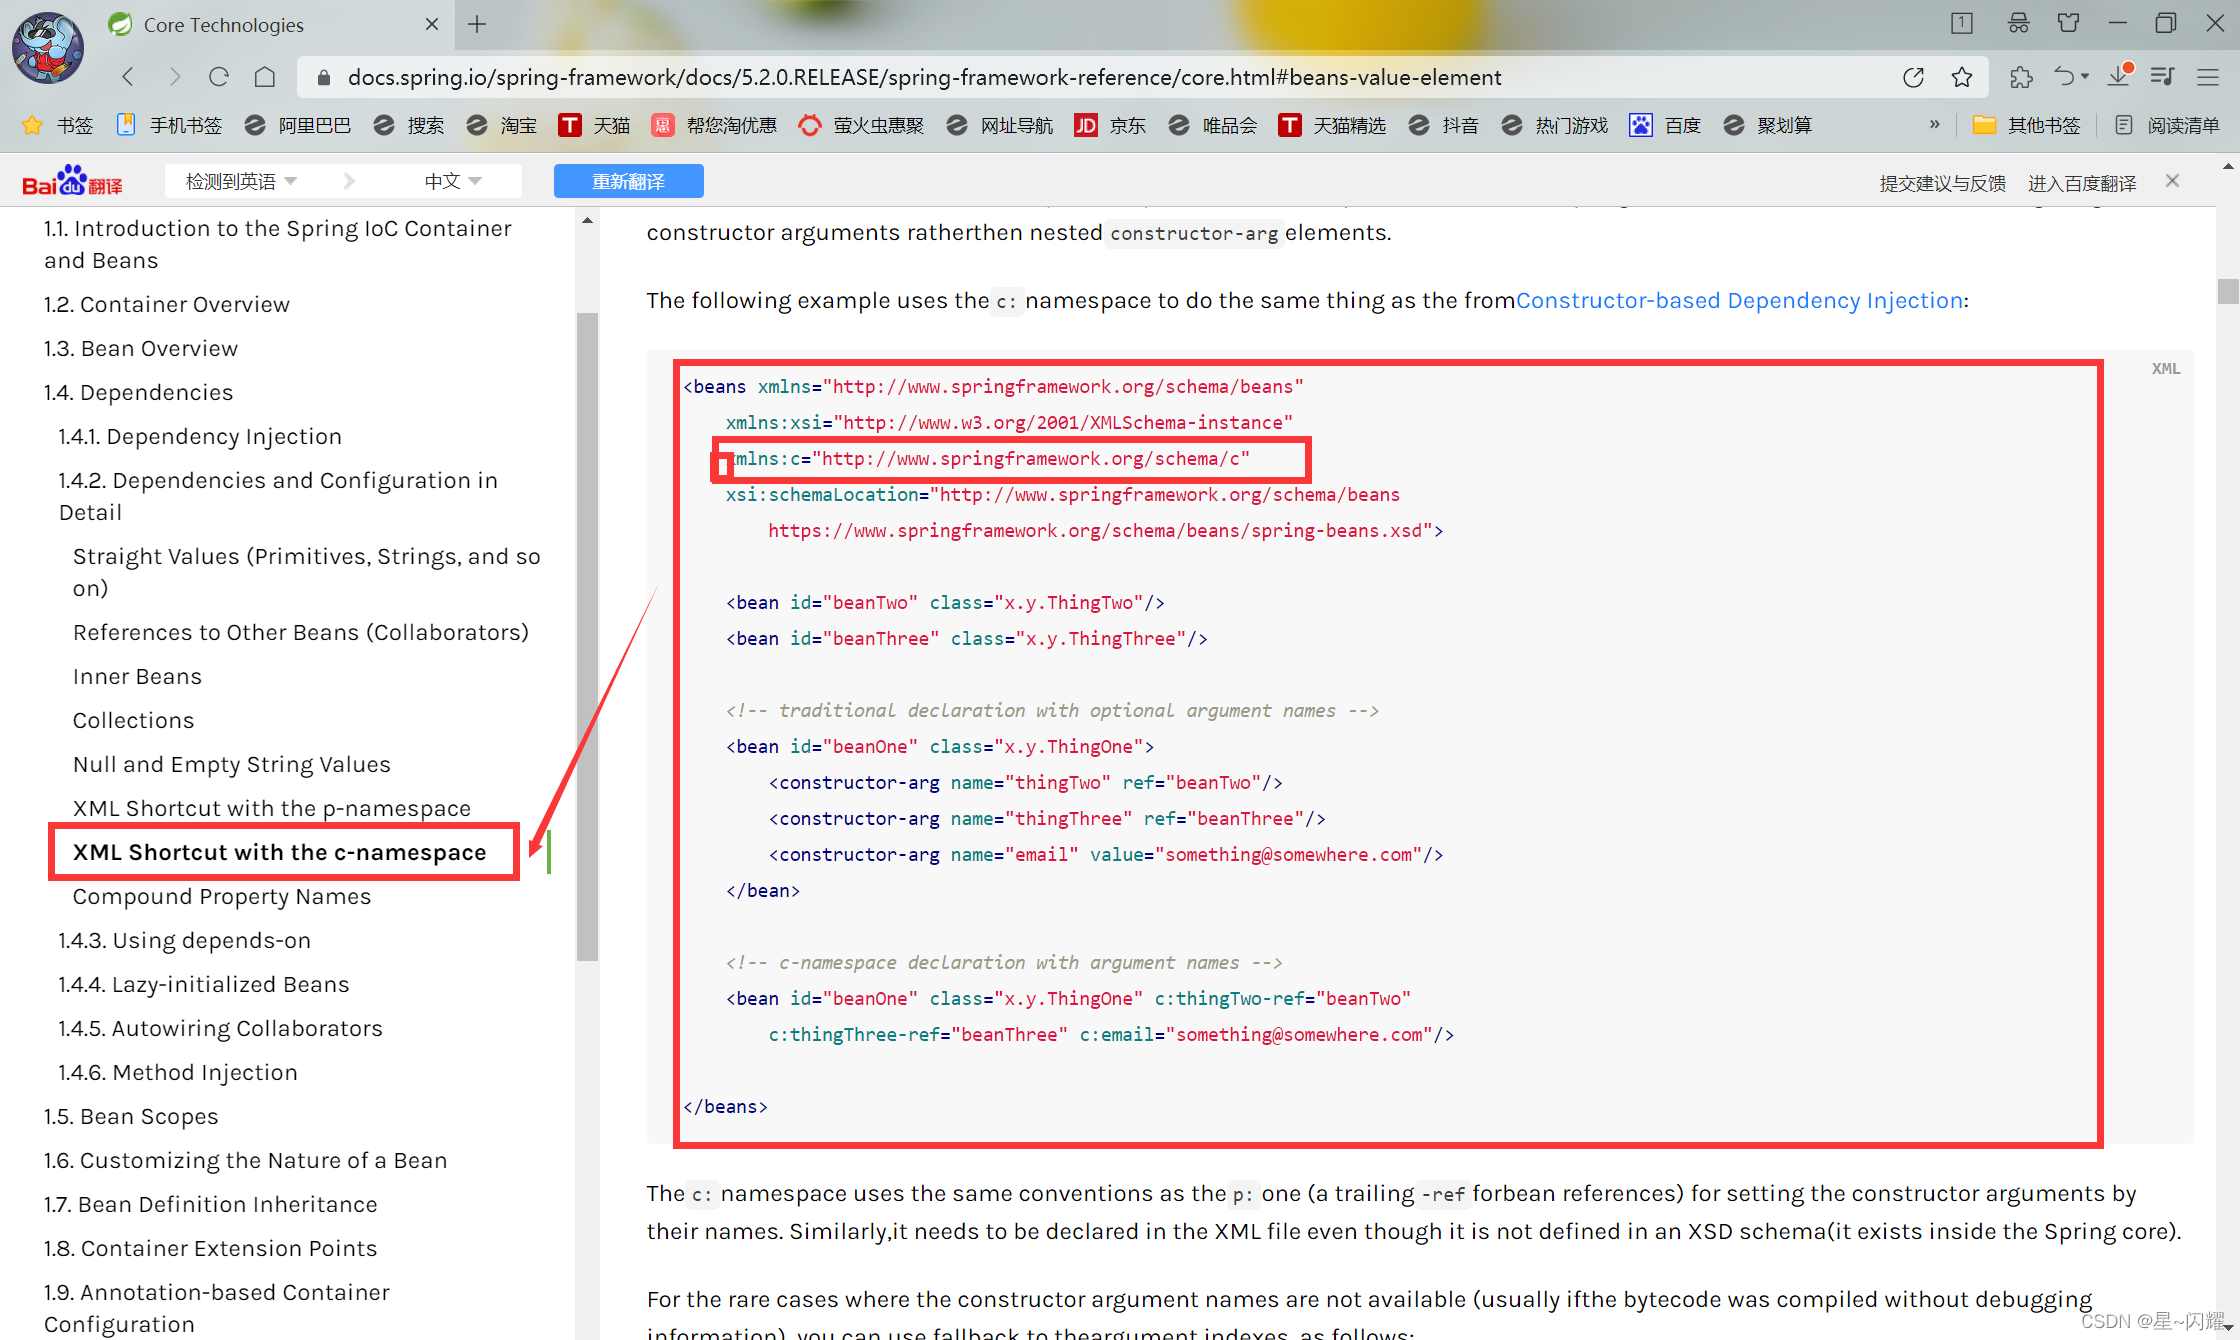
<!--c命名空间注入,通过构造器注入:constructs-->
<bean id="user2" class="com.kuang.pojo.User" c:name="婉婉" c:age="15"></bean>
</beans>
manual
1. Crear un objeto Usuario
package com.kuang.pojo;

public class User {


    private String name;
    private int age;

    public String getName() {


        return name;
    }

    public void setName(String name) {


        this.name = name;
    }

    public int getAge() {


        return age;
    }

    public void setAge(int age) {


        this.age = age;
    }

    public User(String name, int age) {


        this.name = name;
        this.age = age;
        System.out.println("名字:"+this.name+",年龄:"+this.age);
    }

    public User() {


    }

    @Override
    public String toString() {


        return "User{" +
                "name='" + name + '\'' +
                ", age=" + age +
                '}';
    }
}

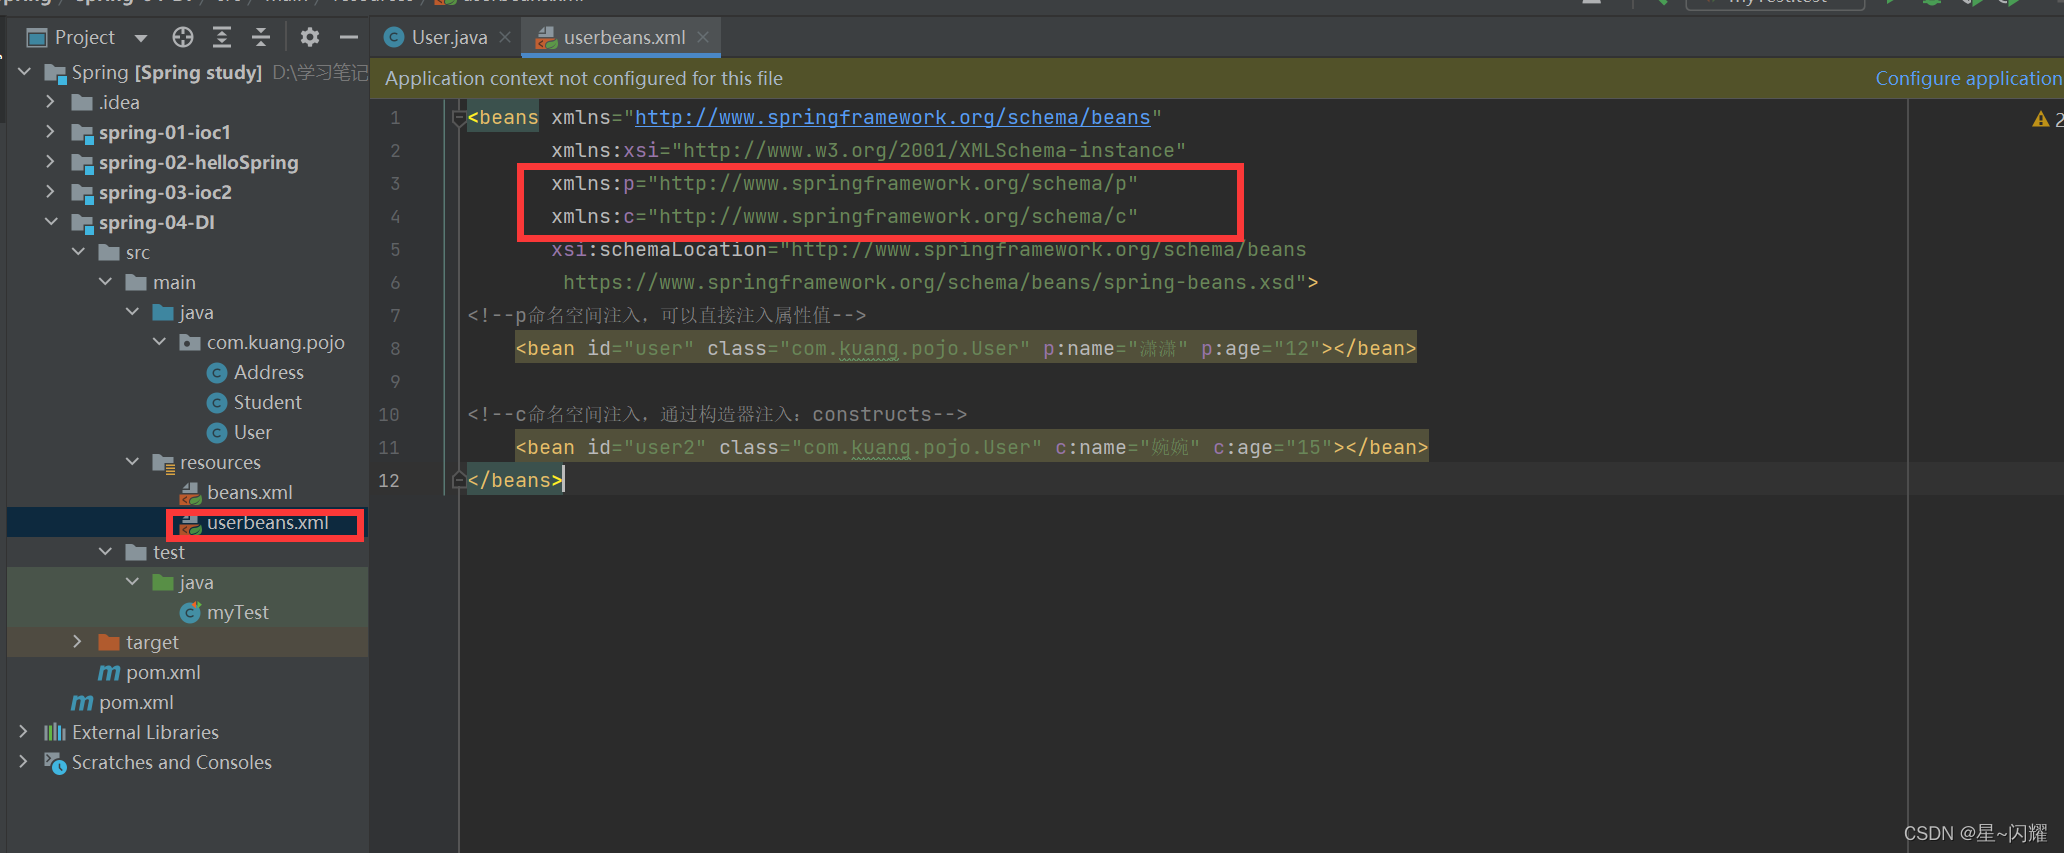
2. Cree el archivo de configuración userbeans.xml
<beans xmlns="http://www.springframework.org/schema/beans"
       xmlns:xsi="http://www.w3.org/2001/XMLSchema-instance"
       xmlns:p="http://www.springframework.org/schema/p"
       xmlns:c="http://www.springframework.org/schema/c"
       xsi:schemaLocation="http://www.springframework.org/schema/beans
        https://www.springframework.org/schema/beans/spring-beans.xsd">
<!--p命名空间注入,可以直接注入属性值-->
    <bean id="user" class="com.kuang.pojo.User" p:name="潇潇" p:age="12"></bean>

<!--c命名空间注入,通过构造器注入:constructs-->
    <bean id="user2" class="com.kuang.pojo.User" c:name="婉婉" c:age="15"></bean>
</beans>
3. prueba
import com.kuang.pojo.Student;
import com.kuang.pojo.User;
import org.junit.Test;
import org.springframework.context.ApplicationContext;
import org.springframework.context.support.ClassPathXmlApplicationContext;

public class myTest {


    @Test
    public void test(){


    //获取ApplicationContext:拿到Spring的容器
        ApplicationContext context1 = new ClassPathXmlApplicationContext("userbeans.xml");
//        User user = (User)context1.getBean("user");
        User user = context1.getBean("user",User.class);
        System.out.println(user);
        User user2 = context1.getBean("user2",User.class);
        System.out.println(user2);
    }
}
Use junit para probar el archivo pom.xml para introducir dependencias junit
 <dependency>
            <groupId>junit</groupId>
            <artifactId>junit</artifactId>
            <version>4.13.2</version>
            <scope>test</scope>
        </dependency>
punto importante:
La denominación p y el espacio de nombres c no se pueden usar directamente, es necesario importar restricciones xml
p restricción de nomenclatura
xmlns:p="http://www.springframework.org/schema/p"
c restricciones de nombres
xmlns:c="http://www.springframework.org/schema/c"