冰箱门检测宽度流程
前言:本人也是opencv小白,目前在公司做项目。本项目能够零基础入门,对于项目代码中碰到的函数,会专门在下方写一个文档对函数进行说明,以期能够快速上读懂代码,而不至于被大量的没见过的函数分散掉自己专注读代码的本来就脆弱的注意力。
总体思路:1.对图像进行预处理,将图像灰度化,缩放,旋转
2.图像增强,改善对比度
3.对图像进行阈值分割,选取ROI区域,同时设置掩膜模板,与ROI区域进行与操作,得到冰箱门边界的二值化图像
4.进行轮廓检测,同时通过minrectangle()函数寻找到冰箱门之间轮廓的最小矩形,返回一个Rect类,通过rect.width函数求出像素之间间距,再通过像素之间的距离与对应真实距离的对应关系,即可求出冰箱门之间的距离。
图像的原图像:原图像插入不进去(96M)这里插入的是截图,(因此后续代码中的结果可能与图像中不一致,因为原图像的像素和截图的像素肯定是不一样的)
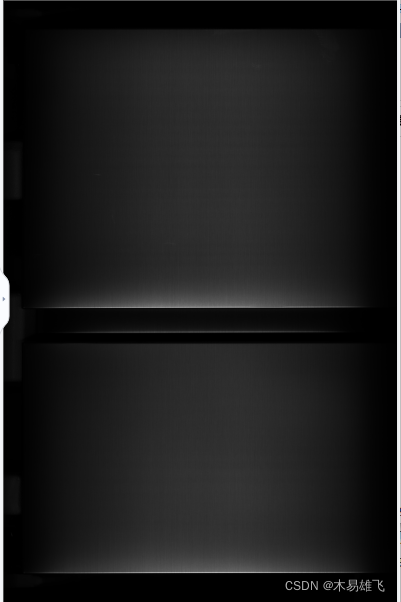
第一步:图像的预处理
这一步的操作是将图像原图像进行灰度化操作,缩放图像,仿射变换,使得图像处理更加快捷方便。
//第一步:进行灰度化操作,缩放图像,仿射变换
Mat preprocessing(Mat &img)
{
	//预处理函数,输入原图像,输出最后处理好的图像
	Mat smallimg, gray, rotation0, dst_processing;
	resize(img, smallimg, Size(img.rows / 10, img.cols / 10), 0, 0, INTER_AREA);
	cvtColor(smallimg, gray, COLOR_RGB2GRAY);
	//1.1旋转的代码
	Size dst_size(gray.rows , gray.cols);
	Point2f center(gray.rows / 2.0, gray.cols / 2.0);
	double angle = 90;
	rotation0 = getRotationMatrix2D(center, angle, 1);
	warpAffine(gray, dst_processing, rotation0, dst_size);
	return dst_processing;
}
输出结果:

第二步:图像增强
通过伽马变换的方式对图像进行图像增强,以增强图像的对比度
Mat enhancement(Mat &dst_processing)
{
	//对图像进行伽马变换
	Mat dst2;
	dst2.create(dst_processing.size(), dst_processing.type());
	int height = dst_processing.rows;
	int width = dst_processing.cols;
	for (int i = 0; i < height; i++)
		for (int j = 0; j < width; j++)
		{
			int gray = dst_processing.at< uchar>(i, j);       //为什么这里填入dst2程序就不会运行了
			dst2.at< uchar>(i, j) = pow(gray, 0.5);//将灰度值开方;
		}
	normalize(dst2, dst2, 0, 255, NORM_MINMAX);
	return dst2;
}
输出结果为:
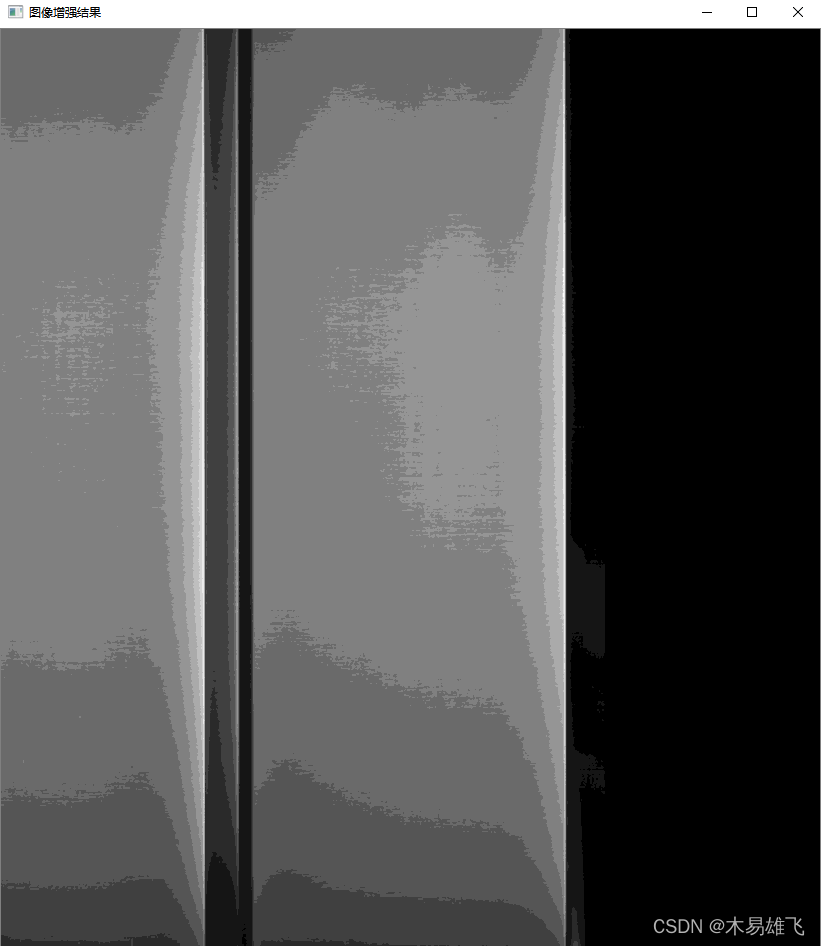
可以看出,这时图像对比度增强了,我们的目的就是检测两个边之间的距离
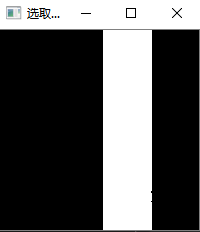
第三步:获取ROI
概述:对图像二值化处理并屏蔽中无关区域
二值化
//二值化
Mat img_threshold, rect_img_threshold;
	threshold(dst_processing,img_threshold,35,38,THRESH_BINARY);
选取ROI
//选取ROI
rect_img_threshold = img_threshold(Range(200,400), Range(100,300));
cout << rect_img_threshold.size << endl;
屏蔽无关区域
图像中间部分有无关部分,会影响后续轮廓检测,因此通过建立掩膜,对应区域设置全黑,其余地方设置全白,最后通过与ROI区域进行min比较运算,就可以去除中间区域
//区域屏蔽
Rect r1(110, 0, 30, 200);
Mat mask,img_masked, img_masked2;
mask = Mat(rect_img_threshold.size(),rect_img_threshold.type(),Scalar(255));
mask(r1) = Scalar(0);
min(rect_img_threshold, mask, img_masked);      //与图像进行最小化运算,将中间的部分去除
去除无关区域的图像,中间是黑色的,会使得轮廓提取,检测到这个区域之外的轮廓,因此,这里可以建立一个反二值化图像
threshold(img_masked, img_masked, 20, 255, THRESH_BINARY_INV); //反二值化,方便下一步提取轮廓
这一部分的整体代码如下
//第三步:二值化,选取区域,屏蔽区域,反二值化
Mat threshold_img(Mat &dst_processing)
{
	Mat img_threshold, rect_img_threshold;
	threshold(dst_processing,img_threshold,35,38,THRESH_BINARY);
	//2.2选取图像的区域
	rect_img_threshold = img_threshold(Range(200,400), Range(100,300));
	cout << rect_img_threshold.size << endl;
	//2.3区域屏蔽
	Rect r1(110, 0, 30, 200);
	Mat mask,img_masked, img_masked2;
	mask = Mat(rect_img_threshold.size(),rect_img_threshold.type(),Scalar(255));
	mask(r1) = Scalar(0);
	min(rect_img_threshold, mask, img_masked);      //与图像进行最小化运算,将中间的部分去除
	threshold(img_masked, img_masked, 20, 255, THRESH_BINARY_INV);   //反二值化,方便下一步提取轮廓
	return img_masked;
}
输出结果为:
第四步:求取冰箱门之间的距离
概述:检测上一步图像并且用一个最小或者最大的矩形去逼近轮廓(这要看客户需求),并且可以返回像素之间的宽度,再根据像素间距与真实值对应关系就可以求出对应的门的间距
彩色化
首先,为了让最后的轮廓更加清晰,轮廓边界线需要设置为彩色,所以需要将图像进行彩色化,我们自己封装一个将灰度化通道转化为三通道彩色图像的函数
//彩色化
Mat convertTo3Channels(const Mat& img_masked)
{


	//这个函数用于把图像转换到三通道上,这样绘制出来的轮廓才有颜色,才能够看清
	Mat three_channel = Mat::zeros(img_masked.rows, img_masked.cols, CV_8UC3);
	vector<Mat> channels;
	for (int i = 0; i < 3; i++)
	{


		channels.push_back(img_masked);
	}
	merge(channels, three_channel);
	return three_channel;
}
绘制轮廓
我们需要将第三步的图像进行轮廓检测并绘制出来
	//这个函数用于将检测图像的轮廓并且将它绘制出来
	Mat colorrize = convertTo3Channels(dst_threshold);
	vector<vector<Point>>contours;
	vector<Vec4i>hierarchy;
	findContours(dst_threshold, contours, hierarchy, 0, RETR_LIST, Point());
	for (int i = 0; i < contours.size(); i++)
	{


		drawContours(colorrize, contours, i, Scalar(0, 105, 255), 0,0);
		cout << hierarchy[i] << endl;
	}
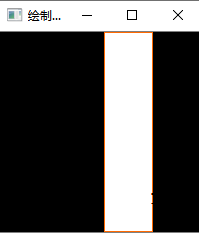
求冰箱门间距
寻找这个轮廓的最小外接矩形,并返回宽度
//返回矩形宽度即为冰箱之间的宽度
Rect rect1 = boundingRect(contours[0]);
cout << "图像对应像素之间与真实距离之间的关系是:a" << endl;
cout << rect1.width <<"* a" <<endl;
这部分的整体代码:
Mat determine_rectangle(Mat &dst_threshold)
{


	//这个函数用于将检测图像的轮廓并且将它绘制出来,最后返回检测出的矩形框的宽度
	Mat colorrize = convertTo3Channels(dst_threshold);
	vector<vector<Point>>contours;
	vector<Vec4i>hierarchy;
	findContours(dst_threshold, contours, hierarchy, 0, RETR_LIST, Point());
	for (int i = 0; i < contours.size(); i++)
	{


		drawContours(colorrize, contours, i, Scalar(0, 105, 255), 0,0);
		cout << hierarchy[i] << endl;
	}
	Rect rect1 = boundingRect(contours[0]);
	cout << "图像对应像素之间与真实距离之间的关系是:a" << endl;
	cout << rect1.width <<"* a" <<endl;
	imshow("绘制轮廓", colorrize);
	waitKey(0);
	return colorrize;
}
输出结果:

图像整体的代码:
#include <opencv2\opencv.hpp>
#include <iostream>


using namespace std;
using namespace cv;


//第一步
Mat preprocessing(Mat &img)
{


	//预处理函数,输入原图像,输出最后处理好的图像
	Mat smallimg, gray, rotation0, dst_processing;
	resize(img, smallimg, Size(img.rows / 10, img.cols / 10), 0, 0, INTER_AREA);
	cvtColor(smallimg, gray, COLOR_RGB2GRAY);
	//1.1旋转的代码
	Size dst_size(gray.rows , gray.cols);
	Point2f center(gray.rows / 2.0, gray.cols / 2.0);
	double angle = 90;
	rotation0 = getRotationMatrix2D(center, angle, 1);
	warpAffine(gray, dst_processing, rotation0, dst_size);
	return dst_processing;
}

//第二步
Mat enhancement(Mat &dst_processing)
{


	//对图像进行伽马变换
	Mat dst2;
	dst2.create(dst_processing.size(), dst_processing.type());
	int height = dst_processing.rows;
	int width = dst_processing.cols;
	for (int i = 0; i < height; i++)
		for (int j = 0; j < width; j++)
		{


			int gray = dst_processing.at< uchar>(i, j);       //为什么这里填入dst2程序就不会运行了
			dst2.at< uchar>(i, j) = pow(gray, 0.5);//将灰度值开方;
		}
	normalize(dst2, dst2, 0, 255, NORM_MINMAX);
	return dst2;
}

//第三步
Mat threshold_img(Mat &dst_processing)
{


	Mat img_threshold, rect_img_threshold;
	threshold(dst_processing,img_threshold,35,38,THRESH_BINARY);
	//2.2选取图像的区域
	rect_img_threshold = img_threshold(Range(200,400), Range(100,300));
	cout << rect_img_threshold.size << endl;
	//2.3区域屏蔽
	Rect r1(110, 0, 30, 200);
	Mat mask,img_masked, img_masked2;
	mask = Mat(rect_img_threshold.size(),rect_img_threshold.type(),Scalar(255));
	mask(r1) = Scalar(0);
	min(rect_img_threshold, mask, img_masked);      //与图像进行最小化运算,将中间的部分去除
	threshold(img_masked, img_masked, 20, 255, THRESH_BINARY_INV);   //反二值化,方便下一步提取轮廓
	return img_masked;
}
//第四步
Mat convertTo3Channels(const Mat& img_masked)
{


	//这个函数用于把图像转换到三通道上,这样绘制出来的轮廓才有颜色,才能够看清
	Mat three_channel = Mat::zeros(img_masked.rows, img_masked.cols, CV_8UC3);
	vector<Mat> channels;
	for (int i = 0; i < 3; i++)
	{


		channels.push_back(img_masked);
	}
	merge(channels, three_channel);
	return three_channel;
}
Mat determine_rectangle(Mat &dst_threshold)
{


	//这个函数用于将检测图像的轮廓并且将它绘制出来,最后返回检测出的矩形框的宽度
	Mat colorrize = convertTo3Channels(dst_threshold);
	vector<vector<Point>>contours;
	vector<Vec4i>hierarchy;
	findContours(dst_threshold, contours, hierarchy, 0, RETR_LIST, Point());
	for (int i = 0; i < contours.size(); i++)
	{


		drawContours(colorrize, contours, i, Scalar(0, 105, 255), 0,0);
		cout << hierarchy[i] << endl;
	}
	Rect rect1 = boundingRect(contours[0]);
	cout << "图像对应像素之间与真实距离之间的关系是:a" << endl;
	cout << rect1.width <<"* a" <<endl;
	imshow("绘制轮廓", colorrize);
	waitKey(0);
	return colorrize;
}


int main()
 {


 	Mat img = imread("img//samsung_front1.tif");
 	if (img.empty())
 	{


 		cout << "请确认图像文件名称是否正确" << endl;
 		return -1;
 	}
	cout << img.rows << "  " << img.cols << endl;
 	//1.对图像进行预处理,图像缩放,旋转,灰度化
	Mat dst_processing = preprocessing(img);
	//namedWindow("img_propcessing",WINDOW_NORMAL);
	cout << dst_processing.rows << endl;
	cout << dst_processing.cols << endl;
	imshow("process",dst_processing);

	//2.图像增强
	Mat dst_enhancement = enhancement(dst_processing);
	imshow("图像增强结果",dst_enhancement);

	//3.进行二值化并且截图,截图后通过掩膜计算去除了中间干扰线条,得到图像
	Mat dst_threshold = threshold_img(dst_processing);
	imshow("选取区域",dst_threshold);

	//4.对去除线条干扰的图像检测轮廓,并进行绘制
	Mat d4 = determine_rectangle(dst_threshold);
	imshow("绘制轮廓",d4);

	waitKey(0);
 	system("pause");
 	return 0;
 }
整个项目中碰到的问题:
代码重构时:1.预处理中对图像进行旋转时,会有图像的部分信息无法显示出来
解决方法:将旋转变换矩阵中dst_size改成全部显示
2.伽马变换时:for循环中只有修改dst_processing的值才可以进行变换,但是这里有点不理解:dst和dst_processing完全拷贝的同样的Mat类矩阵,为什么修饰dst的值,图像就会内存越界。
3.通过mask 图像进行区域屏蔽处理时:对rect类的参数顺序有点混所以会出现两个图像通道进行min操作时,因图像尺寸不一致导致的错误
4.得到逼近轮廓的最小矩形时,contours后面没有加[],导致程序中报错。
5.输出图像的尺寸时,rect.width中加了(),导致报错。
可以增加和改善的功能
1.图像二值化的时候,能够增加窗口滑动条,可以令用户自己滑动到不同的阈值区域,可以实时的查看不同的阈值对应的效果。
2.我们想在图像的增强的模板中,将门之间间距用线进行绘制,同时将对应距离表示在框上
整个过程中我们有的显示两个尺寸的图像,一个是经过预处理之后之后的图像,另外一个就是经过区域选择之后我们得到的图像,因此要计算图像的偏移量,将小图像中的轮廓的点的坐标加上小图像在大图像中的xy轴上的偏移量就得到大图像中的轮廓;然后在大图像中把新的轮廓点进行输出绘制就可以绘制出来。
3.检测冰箱的标识有没有漏字母什么的,这个可以通过模板匹配来实现
4.冰箱门齐不齐