- 在之前启动服务的时候,可以发现,是
先启动solr服务,再启动faq服务的, - 从百度AnyQ之四中可以知道,FAQ数据集部分是完全由solr去控制的,
- 所以anyq中,数据和模型(逻辑控制)这两个部分,非常松耦合。
所以这部分,考虑看一下逻辑部分
1. run_server
1.1 锁定文件
启动faq服务,其实是在./build/run_server部分,查看其文件类型,使用ls -l或者ll查看文件详细信息。

- 关于linux文件系统,如果有不清楚的,可以去看我另一个文章:linux中文件类型说明
- 其中
run_server是一个普通文件,而且是一个可执行文件,使用vi ./run_server打开是乱码,所以无法查看其执行逻辑。 - 考虑到这个
run_server位于build这个文件夹,而这个文件夹来自于cmake && make,故查看CMaKeLists.txt文件(cmake的执行入口),看到最后,发现以下内容:add_executable(demo_anyq_multi ${CMAKE_SOURCE_DIR}/demo/demo_anyq_multi.cpp) add_executable(demo_anyq ${CMAKE_SOURCE_DIR}/demo/demo_anyq.cpp) add_executable(run_server ${CMAKE_SOURCE_DIR}/demo/run_server.cpp) add_executable(annoy_index_build_tool ${CMAKE_SOURCE_DIR}/demo/annoy_index_build.cpp) add_executable(feature_dump_tool ${CMAKE_SOURCE_DIR}/demo/feature_dump.cpp) target_link_libraries(demo_anyq_multi ${LIBS_LIST}) target_link_libraries(demo_anyq ${LIBS_LIST}) target_link_libraries(run_server ${LIBS_LIST}) target_link_libraries(annoy_index_build_tool ${LIBS_LIST}) target_link_libraries(feature_dump_tool ${LIBS_LIST}) - 所以其实有对应的
cpp文件的,同时${LIBS_LIST}这个变量在CMaKeLists.txt文件中也有定义,是一些.a和.so文件, - 其中.a 是好多个.o合在一起,用于静态连接 ,即STATIC mode,多个.a可以链接生成一个exe的可执行文件。
- .so 是shared object,用于动态连接的,和windows的dll差不多,使用时才载入。
1.2 demo文件夹中的文件执行逻辑
首先查看run_server,代码如下:
#include <glog/logging.h>
#include "server/http_server.h"
#include "common/utils.h"
#include "common/plugin_header.h"

int main(int argc, char* argv[]) {


    google::InitGoogleLogging(argv[0]);
    FLAGS_stderrthreshold = google::INFO;
    anyq::HttpServer server;
    std::string anyq_brpc_conf = "./example/conf/anyq_brpc.conf";
    if (server.init(anyq_brpc_conf) != 0) {


        FATAL_LOG("server init failed");
        return -1;
    }

    if (server.always_run() != 0) {


        FATAL_LOG("server run failed");
        return -1;
    }
    return 0;
}
- 第一点,声明了
anyq::HttpServer server一个类的示例,这个类来源于server/http_server.h这个文件 - 第二点,指明配置文件的位置
"./example/conf/anyq_brpc.conf",将其传递给刚刚的server进行初始化。查看这个文件的内容,如下:
idle_timeout_sec : -1
max_concurrency : 8
port : 8999
server_conf_dir : "./example/conf/"
log_conf_file : "log.conf"
anyq_dict_conf_dir : "./example/conf/"
anyq_conf_dir: "./example/conf/"

preproc_plugin {


    name : "default_preproc"
    type : "AnyqPreprocessor"
}

postproc_plugin {


    name : "default_postproc"
    type : "AnyqPostprocessor"
}
- 继续去查看
server/http_server.h文件,其中主要内容就是在any的命名空间中定义HttpServer为一个public class。 - 其主要功能就是进行初始化,将刚刚传入的配置信息分别输入到对应的
server_conf_dir、log_conf_file、anyq_dict_conf_dir、anyq_conf_dir、server_config等更明确的配置项目中。 - 这个文件中还引入了
#include "server/http_service_impl.h"这个文件
- 继续去查看
#include "server/http_service_impl.h"这个文件。文件名称的含义就是:服务端实施,内容也非常具体了
namespace anyq {


class HttpServiceImpl : public anyq::HttpService {


public:
    HttpServiceImpl();
    ~HttpServiceImpl();
    int init(const ServerConfig& server_config);
    int destroy();
    int normalize_input(brpc::Controller* cntl, Json::Value& parameters);
    // 问答语义检索
    void anyq(google::protobuf::RpcController* cntl_base,
            const HttpRequest*,
            HttpResponse*,
            google::protobuf::Closure* done);

    // solr 数据操纵接口--增加数据
    void solr_insert(google::protobuf::RpcController* cntl_base,
            const HttpRequest*,
            HttpResponse*,
            google::protobuf::Closure* done);

    // solr 数据操纵接口--更新数据
    void solr_update(google::protobuf::RpcController* cntl_base,
            const HttpRequest*,
            HttpResponse*,
            google::protobuf::Closure* done);

    // solr 数据操纵接口--删除数据
    void solr_delete(google::protobuf::RpcController* cntl_base,
            const HttpRequest*,
            HttpResponse*,
            google::protobuf::Closure* done);

    // solr 数据操纵接口--清空索引库, 需要密码验证
    void solr_clear(google::protobuf::RpcController* cntl_base,
            const HttpRequest*,
            HttpResponse*,
            google::protobuf::Closure* done);

private:
    // 前处理,将server接收到的数据(get/post)处理成anyq的输入格式
    ReqPreprocInterface* _preproc_plugin;
    // 后处理,将anyq的输出结果定制输出
    ReqPostprocInterface* _postproc_plugin;
    DISALLOW_COPY_AND_ASSIGN(HttpServiceImpl);
};

} // namespace anyq
#endif  // BAIDU_NLP_ANYQ_HTTP_SERVICE_IMPL_H
- 这个文件引用的内容就更多了,其中有一个brpc,是之前通过github下载并编译的内容,参考BRPC详解(一)——概述

- 另外,还有这两个文件,没有找到,所以使用find命令去搜索
#include "http_service.pb.h" #include "anyq.pb.h" - 可以看到,找到了,但是位于inclue文件夹中,不和上面的
.h一样,虽然都位于include文件夹,但是默认的any这个repo的include文件夹中没有config这个文件夹,这个应该是编译过程或者什么时候另外产生的。查看CMaKeLists.txt文件夹,确实在其中看到了[root@567b3aed2b1c AnyQ-master]$ find . -name "http_service.pb.h" -print ./include/config/http_service.pb.h SET(PROTO_INC ${CMAKE_SOURCE_DIR}/include/config) # 30行 ${CMAKE_SOURCE_DIR}/include/config # 60行 - 随后,在
./include/config文件夹中,确实看到了那两个没有找到的头文件[root@567b3aed2b1c config]# ls anyq.pb.h http_service.pb.h - 以
anyq.pb.h文件为例,其文件内容如下:// Generated by the protocol buffer compiler. DO NOT EDIT! // source: anyq.proto #ifndef PROTOBUF_anyq_2eproto__INCLUDED #define PROTOBUF_anyq_2eproto__INCLUDED #include <string> #include <google/protobuf/stubs/common.h> #if GOOGLE_PROTOBUF_VERSION < 3001000 #error This file was generated by a newer version of protoc which is #error incompatible with your Protocol Buffer headers. Please update #error your headers. #endif #if 3001000 < GOOGLE_PROTOBUF_MIN_PROTOC_VERSION #error This file was generated by an older version of protoc which is #error incompatible with your Protocol Buffer headers. Please #error regenerate this file with a newer version of protoc. #endif #include <google/protobuf/arena.h> #include <google/protobuf/arenastring.h> #include <google/protobuf/generated_message_util.h> #include <google/protobuf/metadata.h> #include <google/protobuf/message.h> #include <google/protobuf/repeated_field.h> #include <google/protobuf/extension_set.h> #include <google/protobuf/unknown_field_set.h> // @@protoc_insertion_point(includes) namespace anyq { // Internal implementation detail -- do not call these. void protobuf_AddDesc_anyq_2eproto(); void protobuf_InitDefaults_anyq_2eproto(); void protobuf_AssignDesc_anyq_2eproto(); void protobuf_ShutdownFile_anyq_2eproto(); - 可以看到,前几行的重点提示,这个是由
protocol buffer compiler自动生成的,源文件是anyq.proto - 类似的,对于
http_service.pb.h来说,也是这样的。 - 这两个
proto文件,anyq这个repo是有的,不是编译之后产生的。 - 以
http_service.proto为例:有点看不懂。。。放弃package anyq; option cc_generic_services = true; message HttpRequest { }; message HttpResponse { }; service HttpService { rpc anyq(HttpRequest) returns (HttpResponse); rpc solr_insert(HttpRequest) returns (HttpResponse); rpc solr_update(HttpRequest) returns (HttpResponse); rpc solr_delete(HttpRequest) returns (HttpResponse); rpc solr_clear(HttpRequest) returns (HttpResponse); };
1.3 借用工具查看函数调用情况
相关内容参考另一篇文章:使用strace追踪程序调用情况,
整体过程大概总结如下:
(docker run的时候不添加一些参数,无法使用strace,故重新启动一个容器,仅用来进行strace的追踪)
# 加入--privileged参数,就可以使用strace了
$ docker run -itd --privileged --name anyq-trace -p 0.0.0.0:8876:8999 -p 0.0.0.0:8700:8900 anyq/base

$ docker exec -it anyq-trace /bin/bash

$ cd /home/AnyQ-master/build/

# 执行solr服务
$ sh solr_script/anyq_solr.sh solr_script/sample_docs
# 执行faq服务
$ ./run_server
# 验证一下是否正确

# 然后开始追踪
$ strace ./run_server
显示很多内容,例如:
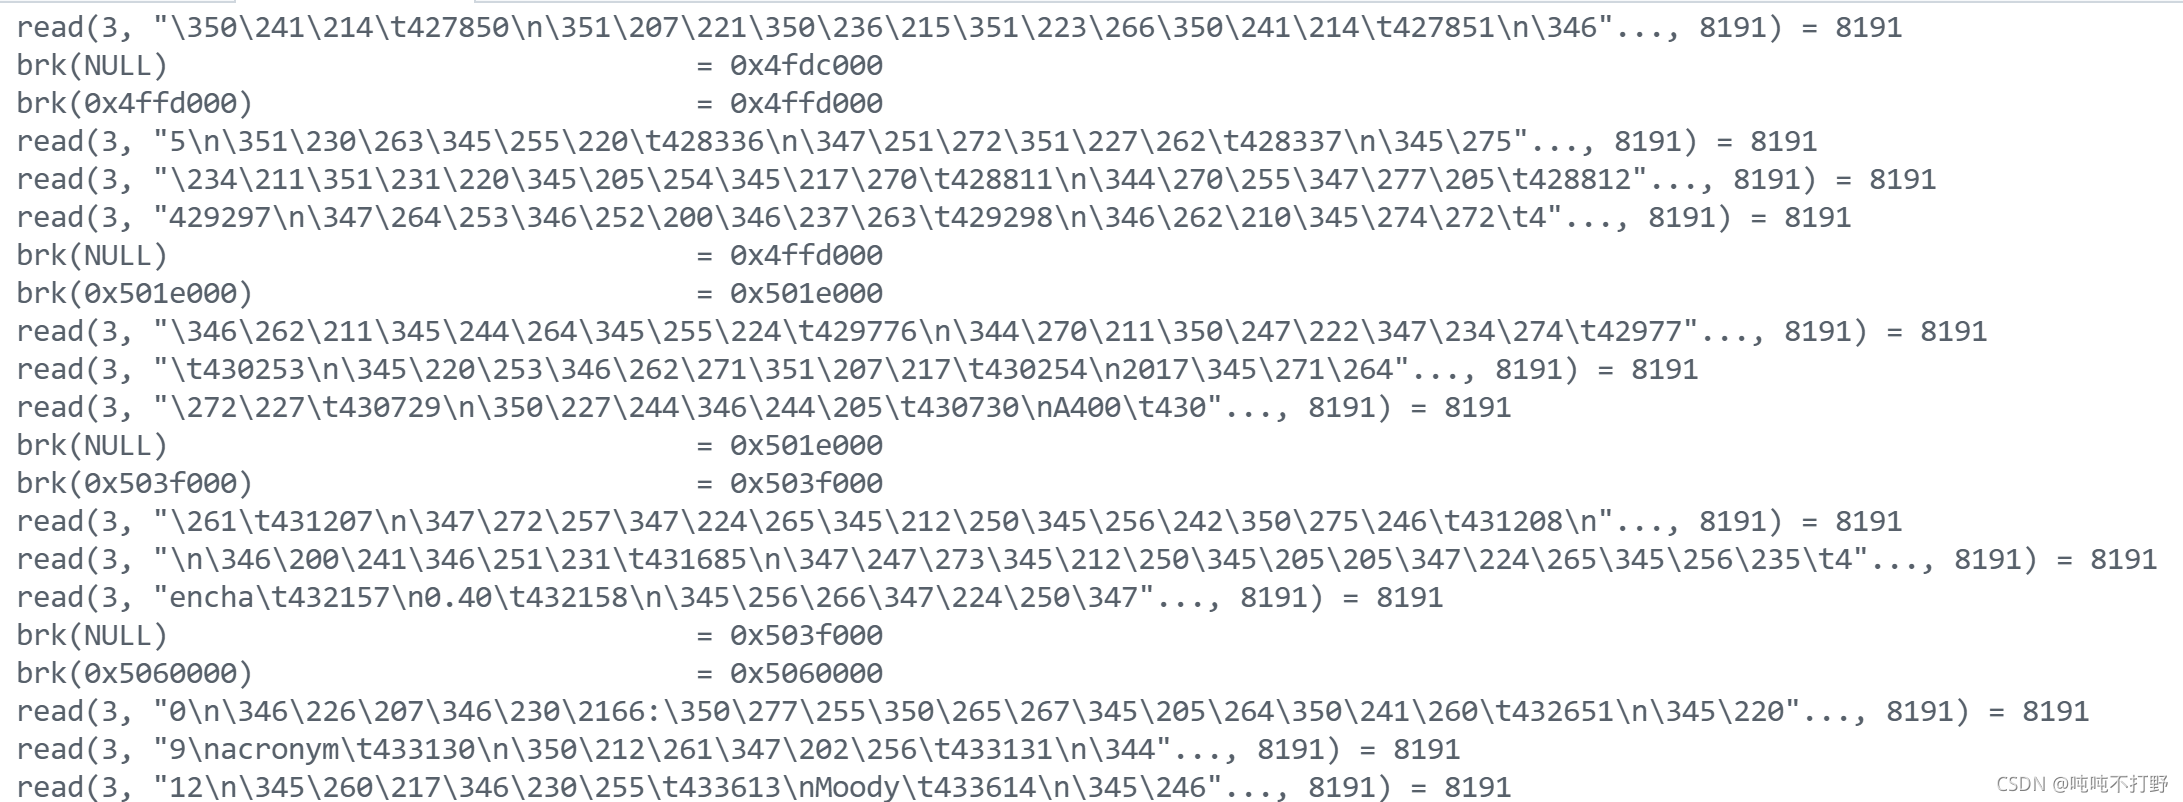
我所搜索到的工具似乎无法满足我的需求
1.4 继续研究CMaKeLists.txt文件
在CMaKeLists文件中,与run_server相关的有两行内容,如下
add_executable(run_server ${CMAKE_SOURCE_DIR}/demo/run_server.cpp)
target_link_libraries(run_server ${LIBS_LIST})
# 这个就是将后面的待执行文件,
参考:
可知,这里的add_executable的作用是通过指定的源文件列表构建出可执行目标文件。
还是去查看执行.run_server后打印出的log信息
2. 执行时打印的log信息
-
./example/conf/./rank_weights这个文件的内容如下:jaccard_sim 0.2 fluid_simnet_feature 0.8 -
./wordseg_utf8文件夹中包含
确实是一些词典,比如:strong_punc.dic中包含的内容是一些标点符号,如下:! 。 ! ; ;word.dic中包含有26个英语字母大小写,数字,标点符号等。
-
./simnet中有一个term2id.dict词典,其内容形式如下赫尔曼·黑塞 1 weifeng 2 苗山 3 棍子 4 水平角 5 粘米粉 6 电脑投影仪 7 中国光大国际有限公司 8 爱程旅游网 9 知字 10 亿亩 11 耳鼻喉科 12 卫生计生局 13 集水器 14 内管 15 LUXURY 16 废钢破碎机 17 潍坊市人民医院 18 思南公馆 19 复华 20 雅思考试网 21 -
关于
term_retrieval.cpp:77] RAW: create solr q builder equal_solr_q_1 success这部分输出信息,定位到term_retrieval.cpp文件中,进一步定位到plugin_factory.h。其中有一句注释:// 根据组件类型生成一个组件实例, 自己创建的实例自己销毁,工厂不负责,这里的组件其实就是配置项,所以去查看所有的配置项。 -
整理
/build/example/conf文件中所有conf文件内如下:
analysis.confname: "analysis_conf" analysis_method { name: "method_wordseg" type: "AnalysisWordseg" using_dict_name: "lac" }anyq_brpc.conf
idle_timeout_sec : -1
max_concurrency : 8
port : 8999
server_conf_dir : "./example/conf/"
log_conf_file : "log.conf"
anyq_dict_conf_dir : "./example/conf/"
anyq_conf_dir: "./example/conf/"

preproc_plugin {


    name : "default_preproc"
    type : "AnyqPreprocessor"
}

postproc_plugin {


    name : "default_postproc"
    type : "AnyqPostprocessor"
}
anyq.conf
analysis_config: "analysis.conf"
retrieval_config: "retrieval.conf"
rank_config: "rank.conf"
dict.conf
name: "example_dict_conf" dict_config { name: "rank_weights" type: "String2FloatAdapter" path: "./rank_weights" } dict_config { name: "lac" type: "WordsegAdapter" path: "./wordseg_utf8" } dict_config{ name: "fluid_simnet" type: "PaddleSimAdapter" path: "./simnet" } -
rank.conf文件中,可以看到,最终只需要一个top-one作为最终的结果,其中,
threshold:0.5,仔细查看语义匹配阶段的输出,其输出的内容不只是概率最大的n个,而是概率大于0.5的都进行了输出。rank.conf
name : "test_rank"

top_result: 1

matching_config {


    name : "wordseg_process"
    type : "WordsegProcessor"
    using_dict_name: "lac"
    output_num : 0
    rough : false
}

matching_config {


    name: "fluid_simnet_feature"
    type: "PaddleSimilarity"
    using_dict_name: "fluid_simnet"
    output_num : 1
    rough : false
    query_feed_name: "left"
    cand_feed_name: "right"
    score_fetch_name: "cos_sim_0.tmp"
}

matching_config {


    name : "jaccard_sim"
    type : "JaccardSimilarity"
    output_num : 1
    rough : false
}
rank_predictor {


    type: "PredictLinearModel"
    using_dict_name: "rank_weights"
}
threshold : 0.5
-
粗排阶段,数据检索,返回15个包含query中term的question,是在
retrieval.conf配置文件中进行规定的。同时,可以看到,使用的engine_name : "collection1"也是在这里进行指定。这就是为什么
百度AnyQ之四——solr添加数据试验中即便替换了mask_core的数据,但是检索依然是从collection1中进行的原因。
retrieval.confretrieval_plugin { name : "term_recall_1" type : "TermRetrievalPlugin" search_host : "127.0.0.1" search_port : 8900 engine_name : "collection1" solr_result_fl : "id,question,answer" solr_q : { type : "EqualSolrQBuilder" name : "equal_solr_q_1" solr_field : "question" source_name : "question" } num_result : 15 }