directorio
proyectos de integración nativa de iOS A. Reaccionar nativo
-
Crear una nueva carpeta, como RNProject, y luego crear un sub-carpetas / ios, copiar todo el proyecto en un archivo IOS existente.
-
Crear un archivo en el directorio raíz package.json RNProject, de la siguiente manera:
{
  "name": "RNProject",
  "version": "1.0.0",
  "private": true,
  "scripts": {
    "start": "yarn react-native start"
  }
}
- Abrir un terminal, entra en el directorio raíz del proyecto, ejecute el siguiente comando Reaccionar módulos integrados nativos:
$ yarn add react-native
- Después de un paso en una espera alertas rojas caja, se expresó la necesidad de depender de la versión especificada reaccionar. Hemos integrado el siguiente comando para reaccionar, anote el número de versión de los requisitos tiene que seguir estrictamente las instrucciones:
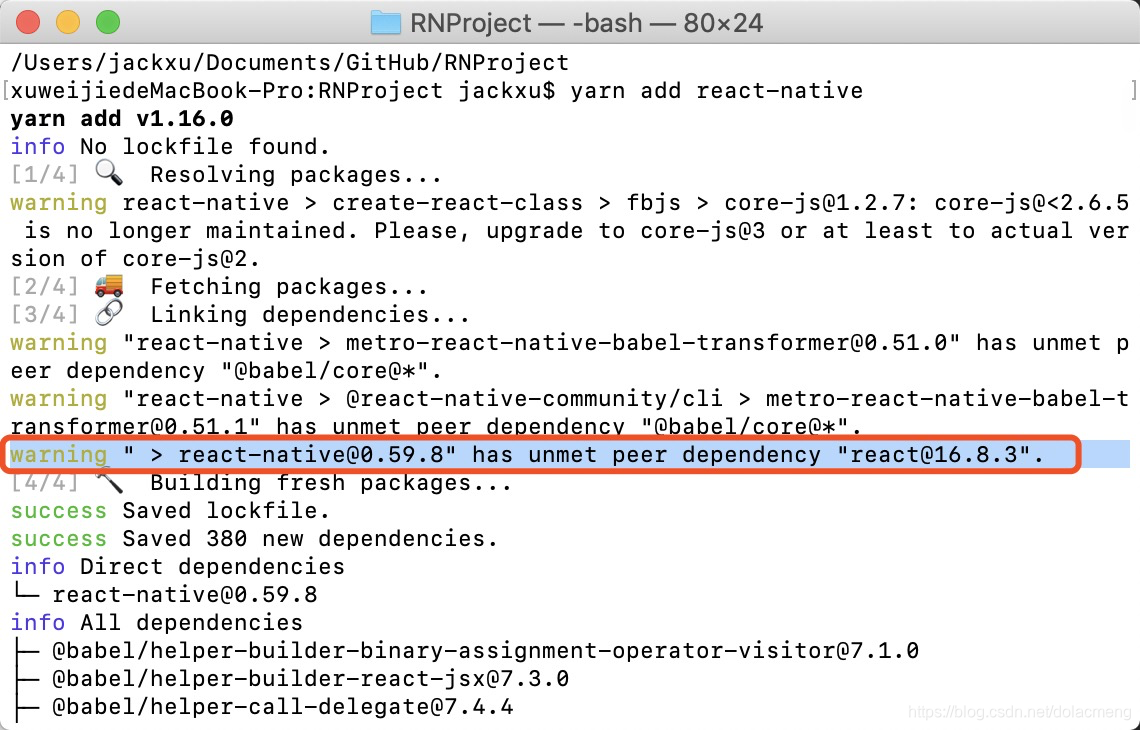
$ yarn add [email protected]
En este momento, todos dependen integrado bajo node_modules / directorio, hacer control de versiones Git, no debe cargar todos los archivos de esta carpeta, pero permitir que otros colaboradores también ejecutan el comando anterior para agregar dependencias. Por lo tanto es conveniente registrar node_modules / directorio para .gitignore archivo.
- Por cocoaPods la Reaccionar La integración nativa en iOS proyecto. Por defecto ya está familiarizado con y cocoaPods instalados. En la terminal, cd a / a disminuir ios cocoaPods directorio de inicialización:
$ pod init
PODFILE abrir el archivo, editar lo siguiente:
# The target name is most likely the name of your project.
target 'RNProject' do

  # Your 'node_modules' directory is probably in the root of your project,
  # but if not, adjust the `:path` accordingly
  pod 'React', :path => '../node_modules/react-native', :subspecs => [
    'Core',
    'CxxBridge', # Include this for RN >= 0.47
    'DevSupport', # Include this to enable In-App Devmenu if RN >= 0.43
    'RCTText',
    'RCTImage',
    'RCTNetwork',
    'RCTWebSocket', # Needed for debugging
    'RCTAnimation', # Needed for FlatList and animations running on native UI thread
    # Add any other subspecs you want to use in your project
  ]
  # Explicitly include Yoga if you are using RN >= 0.42.0
  pod 'yoga', :path => '../node_modules/react-native/ReactCommon/yoga'

  # Third party deps podspec link
  pod 'DoubleConversion', :podspec => '../node_modules/react-native/third-party-podspecs/DoubleConversion.podspec'
  pod 'glog', :podspec => '../node_modules/react-native/third-party-podspecs/glog.podspec'
  pod 'Folly', :podspec => '../node_modules/react-native/third-party-podspecs/Folly.podspec'

end
Nota de destino 'RNProject' se puede hacer en el nombre del proyecto de iOS, no el nombre del directorio raíz, pero aquí en mi directorio raíz y nombres de los proyectos de iOS son RNProject.
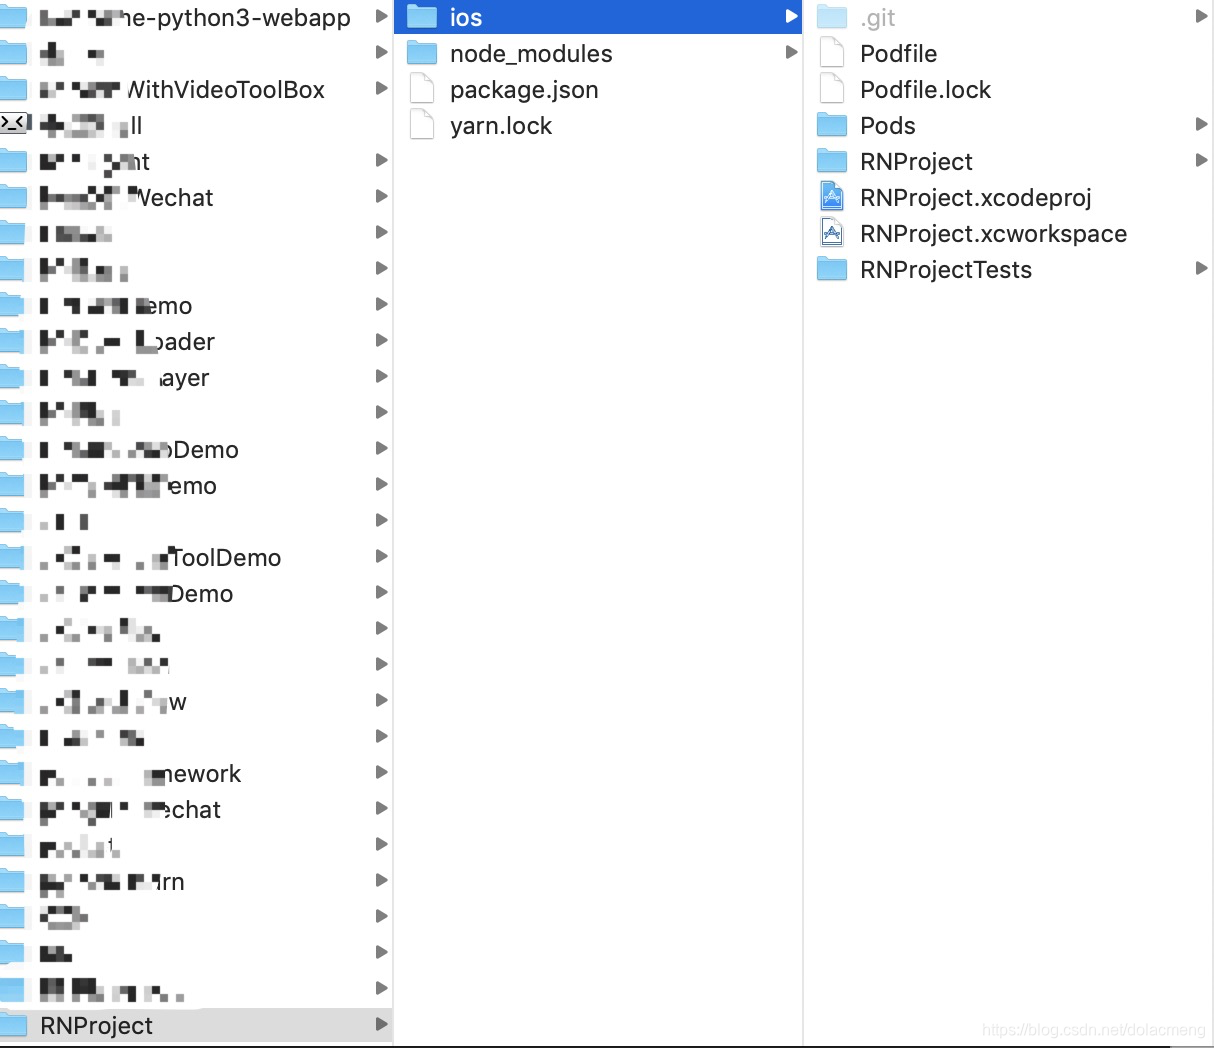
Después de guardar PODFILE, ejecute el siguiente comando para iniciar la instalación:
$ pod install
Hasta el momento, se ha integrado con éxito el proyecto RN IOS existente, el archivo de proyecto está estructurado de la siguiente manera:
II. Página nativo RN salto
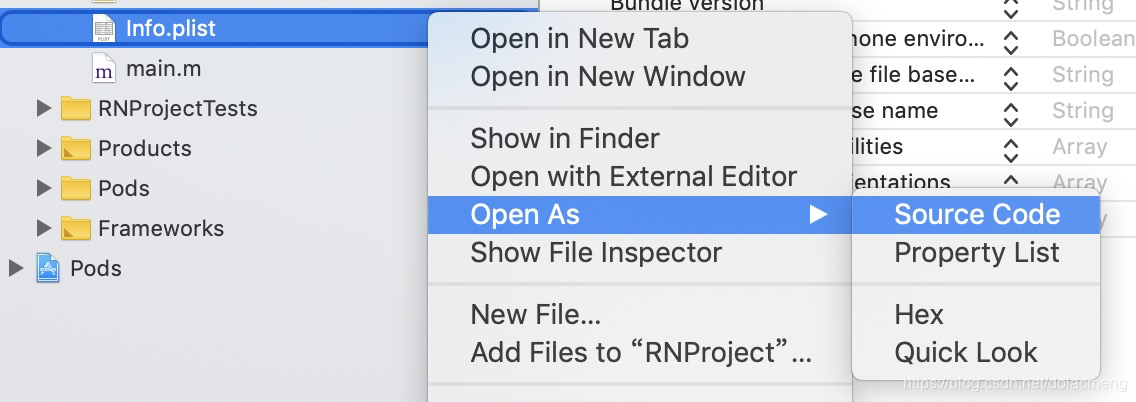
- Apple va a bloquear el acceso a enlace HTTP inseguro. Tenemos que añadir Info.plist del proyecto IOS:
<key>NSAppTransportSecurity</key>
<dict>
    <key>NSExceptionDomains</key>
    <dict>
        <key>localhost</key>
        <dict>
            <key>NSTemporaryExceptionAllowsInsecureHTTPLoads</key>
            <true/>
        </dict>
    </dict>
</dict>
- La creación de archivos index.js en el directorio raíz como un archivo de entrada Reaccionar nativo en el IOS. E introducir el siguiente:
import React from 'react';
import {AppRegistry, StyleSheet, Text, View} from 'react-native';

class Hello extends React.Component {
  render() {
  	var {name} = this.props
    return (
      <View style={{flex: 1,justifyContent: 'center',alignItems: 'center'}}>
      	<Text>Hello {name}!</Text>
      </View>
    );
  }
}

AppRegistry.registerComponent('Hello', () => Hello);
- En Xcode, crear un ViewController, e introduzca la siguiente:
#import "ViewController.h"
#import <React/RCTRootView.h>

@implementation ViewController

- (void)viewDidLoad {
    [super viewDidLoad];
    UIButton *button = [[UIButton alloc] initWithFrame:CGRectMake(0, 0, 200, 50)];
    button.center = self.view.center;
    [button setTitle:@"跳转RN" forState:0];
    [button setTitleColor:[UIColor greenColor] forState:0];
    [button addTarget:self action:@selector(clickButton:) forControlEvents:UIControlEventTouchUpInside];
    [self.view addSubview:button];
}

- (void)clickButton:(UIButton*)button{
    NSURL *jsCodeLocation = [NSURL URLWithString:@"http://localhost:8081/index.bundle?platform=ios"];

    RCTRootView *rootView =
    [[RCTRootView alloc] initWithBundleURL: jsCodeLocation
                                moduleName: @"Hello"
                         initialProperties: @{@"name":@"React Native"}
                             launchOptions: nil];
    UIViewController *vc = [[UIViewController alloc] init];
    vc.view = rootView;
    [self presentViewController:vc animated:YES completion:nil];
}

@end
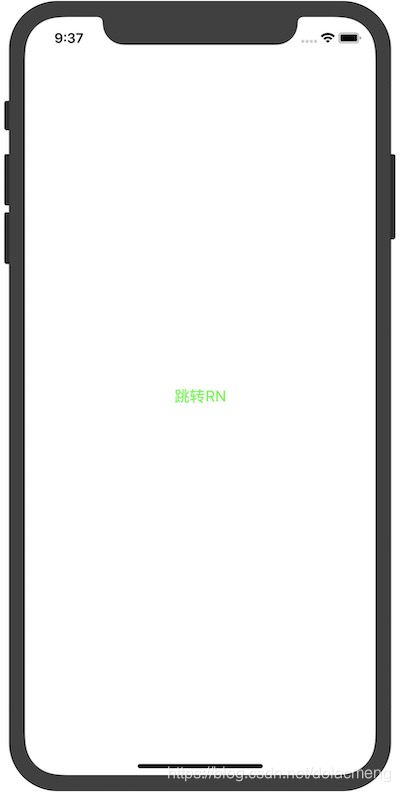
- Inicio RN empaquetador con el siguiente comando en el directorio raíz
npm start
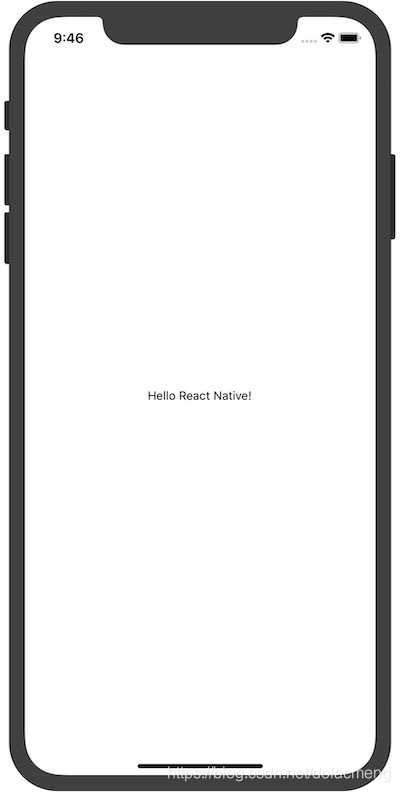
- Después de ejecutar en el proyecto de Xcode, ejecutar después de hacer clic "Go RN", tanto saltará a mostrar Hola Reaccionar nativo RN logra! página:
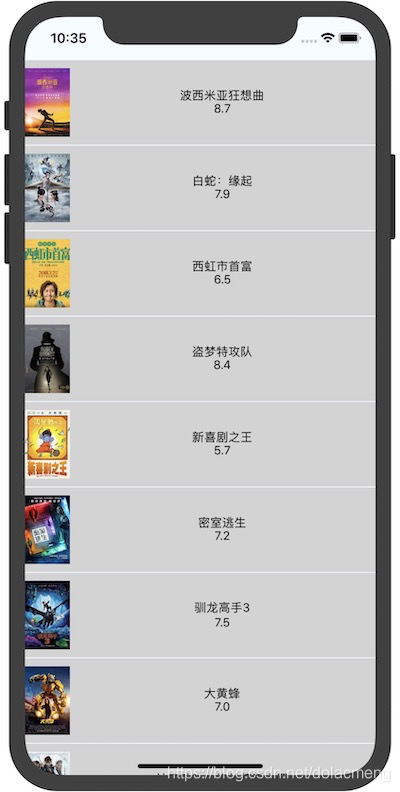
berros Se muestra la lista de películas populares III.
Cada página debe corresponder a un archivo js separado, y con el fin de evitar que el gran proyecto después de la celebración de la estructura de archivos clara, hemos creado los siguientes directorios y archivos de la lista de películas populares: ./ src / página / HotMovie.js, en los HotMovie.js escriba la siguiente:
import React, {Component} from 'react';
import {StyleSheet, Image, Text, View, FlatList} from 'react-native';

var REQUEST_URL = "https://movie.douban.com/j/search_subjects?type=movie&tag=%E7%83%AD%E9%97%A8&sort=recommend&page_limit=20&page_start=0"

export default class HotMovie extends Component<Props> {

  constructor(props){
    super(props);
    this.state = {
      movies:null,
    }

    this.fetchData = this.fetchData.bind(this)
  }

  componentDidMount(){
    this.fetchData()
  }

  fetchData(){
    fetch(REQUEST_URL)
      .then((response) => response.json())
      .then((responseJson) => {
        this.setState({
          movies:responseJson.subjects
        });
      })
  }

  render() {
    if (!this.state.movies) {
      return this.renderLoadingView();
    }
    return (
      <FlatList
        data={this.state.movies}
        renderItem={this.renderMovie}
        style={styles.list}
        keyExtractor={item => item.id}
      />
    );
  }


  renderLoadingView(){
    return (
      <View style={styles.container}>
        <Text>
          正在加载...
        </Text>
      </View>
    )
  }


  renderMovie({item}){
    return(
      <View style={styles.item}>
        <Image source={{url:item.cover}} style={styles.thumbnail}/>
        <View style={styles.itemRight}>
          <Text>{item.title}</Text>
          <Text>{item.rate}</Text>
        </View>
      </View>
    )
  }


}

const styles = StyleSheet.create({
  container: {
    flex:1,
    flexDirection:'row',
    alignItems:'center',
    justifyContent: 'center',
    alignItems: 'center',
  },
  item:{
    marginTop:1,
    flexDirection:'row',
    alignItems:'center',
    justifyContent: 'center',
    height:100,
    backgroundColor:'lightgray'
  },
  thumbnail:{
    width:53,
    height:81,
    backgroundColor:'lightgray'
  },
  itemRight:{
    flex:1,
    height:100,
    justifyContent: 'center',
    alignItems:'center'
  },
  list: {
    paddingTop: 50,
    backgroundColor: "#F5FCFF"
  }
});
2, los index.js modificado como sigue:
import React from 'react';
import {AppRegistry, StyleSheet, Text, View} from 'react-native';
import HotMovie from './src/page/HotMovie';

AppRegistry.registerComponent('HotMovie', () => HotMovie);
3, el evento de clic de botón primario con el siguiente:
- (void)clickButton:(UIButton*)button{
    NSURL *jsCodeLocation = [NSURL URLWithString:@"http://localhost:8081/index.bundle?platform=ios"];

    RCTRootView *rootView =
    [[RCTRootView alloc] initWithBundleURL: jsCodeLocation
                                moduleName: @"HotMovie"
                         initialProperties: nil
                             launchOptions: nil];
    UIViewController *vc = [[UIViewController alloc] init];
    vc.view = rootView;
    [self presentViewController:vc animated:YES completion:nil];
}
3, el efecto de la figura después de la operación:
IV. Se cambió de navegación
Longitud poco largo amigos, se abrió con un continuaron https://blog.csdn.net/dolacmeng/article/details/90414040
