First, set up the environment
1, specify the version installed django
pip install django==1.8.2
2. Create a project
django- ADMIN startproject commpany

one more commpany directory under #
$ Tree commpany /
commpany /
├── commpany
│   ├── __init__.py
│   ├── settings.py
│   ├── urls.py
│   └── wsgi.py
└── manage.py
At this point created a commpany project. Again create a module's department as a project application.
3. Create Application
cd commpany /
python2 manage.py startapp department

# Project architecture
$ tree
.
├── commpany # and the same name as the project name
│ ├── __init__.py # empty file
│ ├── settings.py # global configuration file
│ ├── urls.py # global routing configuration
│   └── wsgi.py     #
├── department # application modules
│   ├── __init__.py
│ ├── admin.py # Admin
│   ├── apps.py
│ ├── migrations # model module to perform the migration
│   │   └── __init__.py
│ ├── models.py # model processing module
│   ├── tests.py
│ └── views.py # view module
└── manage.py
Second, the model design
1, the model needs to interact with a database, first configure settings.py, modify the database configuration.
DATABASES = {
    'default': {
        'ENGINE': 'django.db.backends.mysql',
        'HOST':'127.0.0.1',
        'PORT':'3306',
        'USER':'root',
        'PASSWORD':'root',
        'NAME': 'company',
    }
}
2, department.moduls.py document design model
# Create your models here.
# Define a class division, department correspondence table, class inheritance models
class department(models.Model):
    # Department name, Char type, length 20
    d_name = models.CharField(max_length=20)
    # Number of department staff, int type, length 10
    d_num = models.IntegerField()

    def __str__(self):
        return self.d_name.encode('utf-8')

# Define a staff table
class staffInfo(models.Model):
    s_name = models.CharField(max_length=20)
    s_gender = models.BooleanField()
    s_detailInfo = models.TextField()
    s_department = models.ForeignKey(department)

    def __str__(self):
        return self.s_name.encode('utf-8')
3, prior to generating the registration application information table settings in the configuration file.
INSTALLED_APPS = [
    'django.contrib.admin',
    'django.contrib.auth',
    'django.contrib.contenttypes',
    'django.contrib.sessions',
    'django.contrib.messages',
    'django.contrib.staticfiles',
    'department',                   # 添加应用名称
]
4, generates the data table, the name of the database before performing settings.py to confirm the presence of the mysql configuration.
# Generate migration file
python manage.py makemigrations

# Perform the migration
python2 manage.py migrate
Note: need to use mysql pymysql module, pip install pymysql both. Mysql then import module __init__.py project.
import pymysql

pymysql.install_as_MySQLdb()
Times execute a warning does not affect the results of the migration.
department.department.d_num: (fields.W122) 'max_length' is ignored when used with IntegerField
    HINT: Remove 'max_length' from field
Length constraint is removed d_num = models.IntegerField (max_length = 10) in both.
5, check mysql.
mysql> use company;
Reading table information for completion of table and column names
You can turn off this feature to get a quicker startup with -A

Database changed
mysql> show tables;
+----------------------------+
| Tables_in_company          |
+----------------------------+
| auth_group                 |
| auth_group_permissions     |
| auth_permission            |
| auth_user                  |
| auth_user_groups           |
| auth_user_user_permissions |
| department_department      |
| department_staffinfo       |
| django_admin_log           |
| django_content_type        |
| django_migrations          |
| django_session             |
+----------------------------+
12 rows in set (0.00 sec)
It can be found in the actual table name and moduls are different.
6, run the project.
$ Python2 manage.py runserver [can specify the port number]
Performing system checks...

System check identified no issues (0 silenced).
March 16, 2020 - 05:29:27
Django version 1.11.27, using settings 'commpany.settings'
Starting development server at http://127.0.0.1:8000/
Quit the server with CONTROL-C.
7, browser access 127.0.0.1:8000

Third, background management
With the table, we have entered, add data, there is no front page, you can CRUD operations on the table through the back office systems.
1. First, add a background management of the account.
$ python2 manage.py  createsuperuser

# If prompted, enter information.
Username (leave blank to use 'steven'): admin
Email address: admin@163.com
Password:
Password (again):
Superuser created successfully.
2, run the project, browser access Admin http://127.0.0.1:8000/admin .
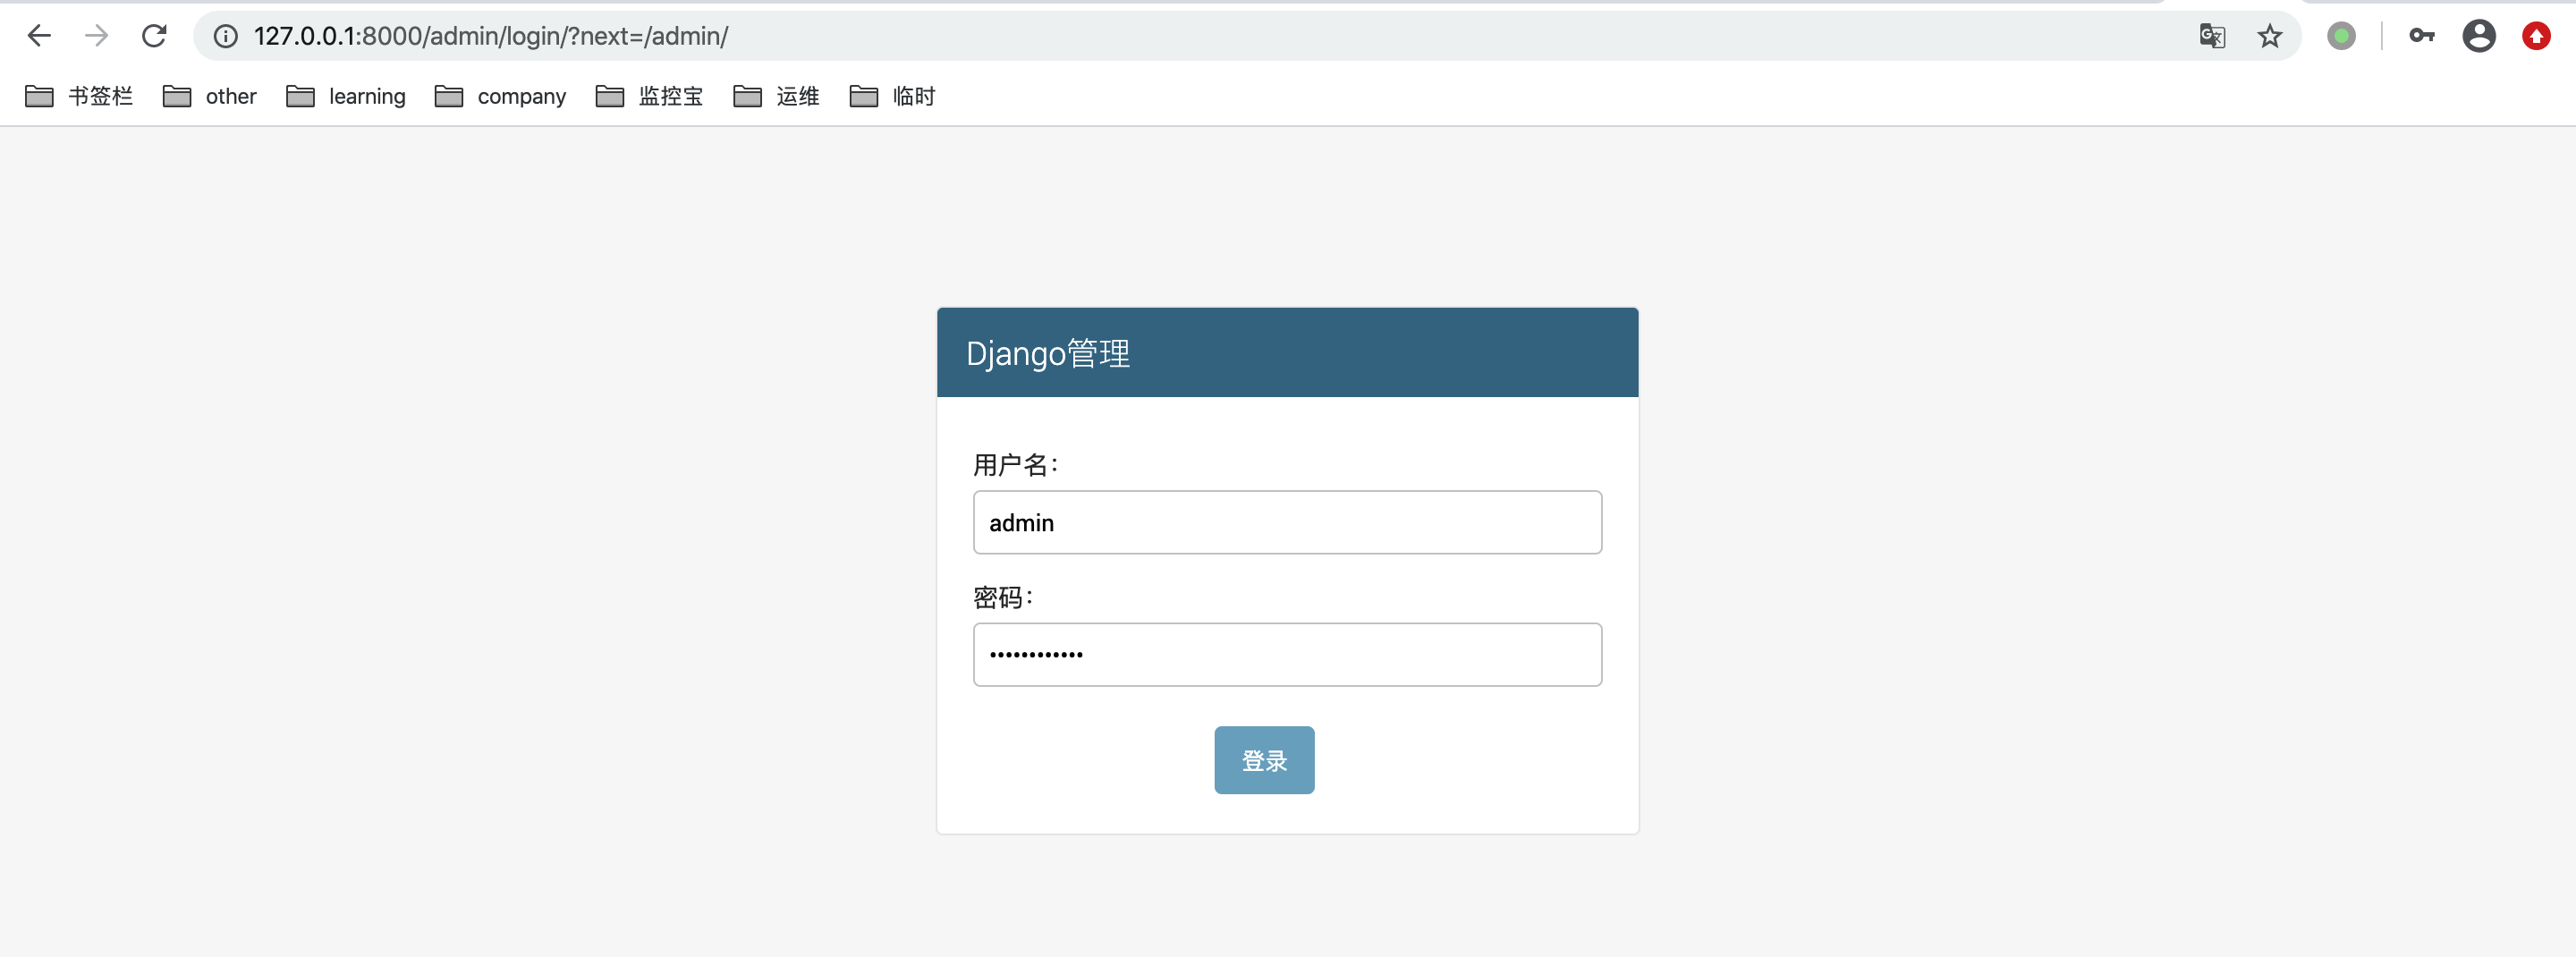
3, page finished
modify settings.py:
setting.py
LANGUAGE_CODE = 'zh-Hans'

TIME_ZONE = 'Asia/Shanghai'
At this point, do not add the model class to admin management background
4, booktest / admin.py registered model.
from models import *
admin.site.register(department)
admin.site.register(staffInfo)
Refresh your browser, appear Department management.

Some additions and deletions may be at the front end to the database.
Fourth, the custom management interface.
1, Staff info you want to show more content, add a class in admin.py in.
class StaffInfoAdmin(admin.ModelAdmin):
    list_display = ["s_name","s_detailInfo"]

admin.site.register(department)
admin.site.register(staffInfo,StaffInfoAdmin)