jira installation environment
- Linux environment Linux7.4
- JDK1.8
- jira version 7.2
- mysql :mariadb
- Download:
Centos7 mirror and mounting the JDK
https://pan.baidu.com/s/1SdWCAlRJNwsXNwbwx3vT3w
extraction code: 04ew
JIRA: HTTPS: //pan.baidu.com/s/1sX3diT_fZzzZwZ0psjZIPg
extraction code: oecq
This is the installation package jira and break package
installation steps
Step 1: Install Database mariadb
-
Run the installation command to install Mariadb, before turn off the firewall, to avoid the operation of the rear impact.
systemctl stop firewalld.serviceyum -y install mariadb mariadb-server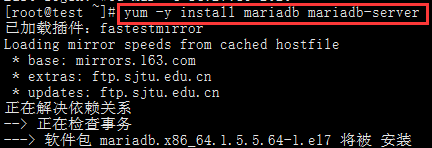
-
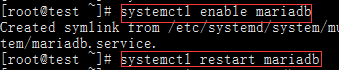
After a successful installation, we start the database

-
Set boot from Kai, restart the database
-
Related Mariadb simple configuration using mysql_secure_installation command is executed
mysql_secure_installation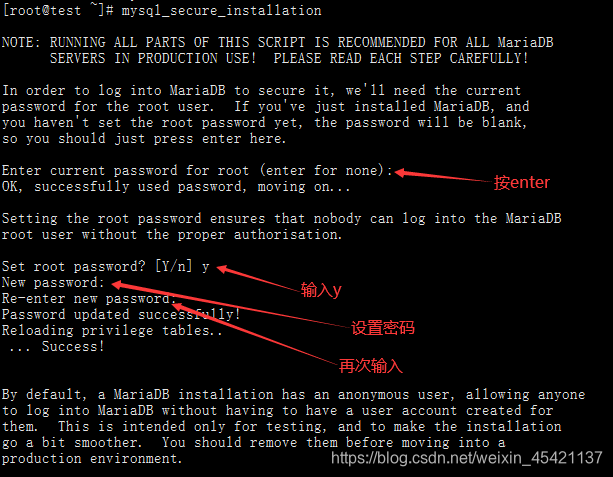

-
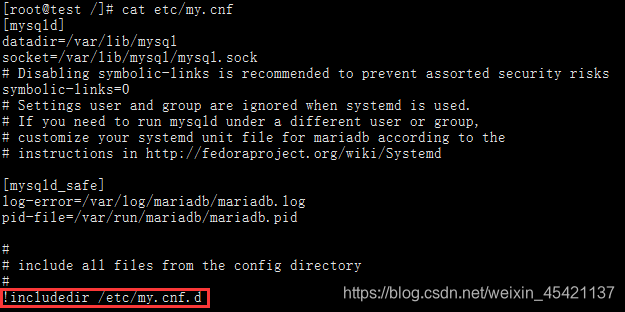
配置Mariadb的字符集
查看/etc/my.cnf文件内容,其中包含一句!includedir /etc/my.cnf.d说明在该配置文件中引入/etc/my.cnf.d 目录下的配置文件。
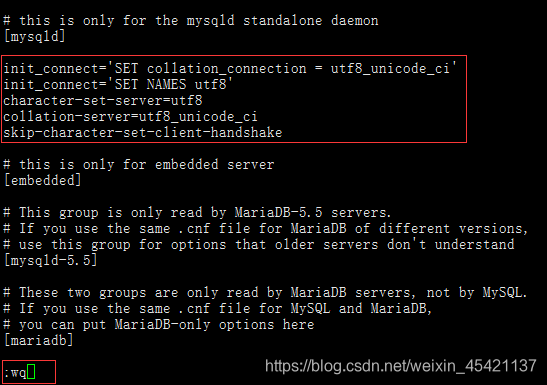
1)使用vi 命令编辑/etc/my.cnf.dserver.cnf文件,在[mysqld]标签下添加
init_connect=‘SET collation_connection = utf8_unicode_ci’
init_connect=‘SET NAMES utf8’
character-set-server=utf8
collation-server=utf8_unicode_ci
skip-character-set-client-handshake
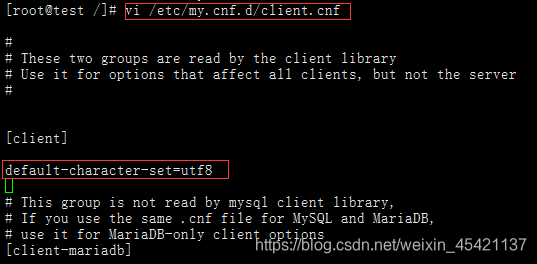
2)在文件/etc/my.cnf.d/client.cnf 的[client]中添加以下内容
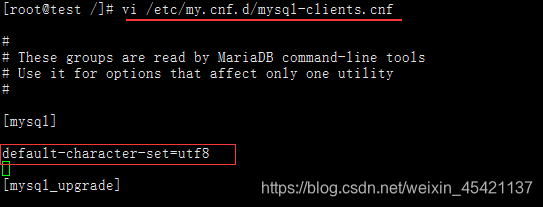
3)在文件/etc/my.cnf.d/mysql-clients.cnf下添加
-
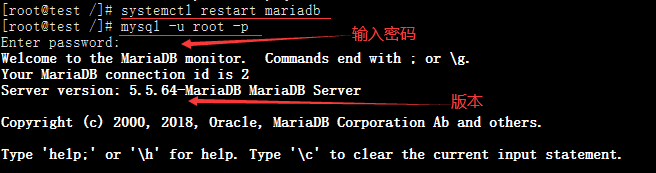
全部配置完成后重启Mariadb,登录数据库
-
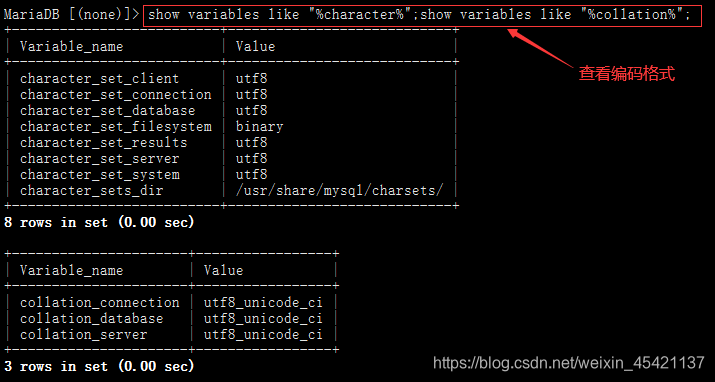
查看数据库的字符集
show variables like "%character%";show variables like "%collection%";
8. 设置允许远程连接并且可以授权
grant all privileges on *.* to 'root'@'%' identified by 'password' with grant option;
创建数据库jira,后面安装jira会用到
create database jira default character set utf8 collate utf8_bin;
第二步:安装JDK
这里我创建了/opt/jdk/ 和 /opt/software/jir/ 两个目录,我把jdk压缩包放在了/opt/jdk/下。
-
解压缩jdk文件
tar -xzvf jdk-8u11-linux-x64.tar.gz -
编辑全局变量
vi /etc/profile -
在文本最后一行插入以下内容:
#java enviroment
export JAVA_HOME=/opt/jdk/jdk1.8.0_11
export CLASSPATH=.:${JAVA_HOME}/jre/lib/tr.jar:${JAVA_HOME}/lib/dt.jar:${JAVA_HOME}/lib/tools.jar
export PATH=$PATH:${JAVA_HOME}/bin
这里注意一下,Centos6使用的是JAVA_HOME,而Centos7使用的是{JAVA_HOME} -
保存退出,让环境变量生效并检查是否安装成功
source /etc/profile
-
安装JDK成功。
第三步:安装jira
首先将文件:atlassian-jira-software-7.2.2-x64.bin放在*/opt/software*下,并修改文件权限,不然没法执行。
1.修改权限 chmod a+x atlassian-jira-software-7.2.2-x64.bin

2.执行文件 ./atlassian-jira-software-7.2.2-x64.bin
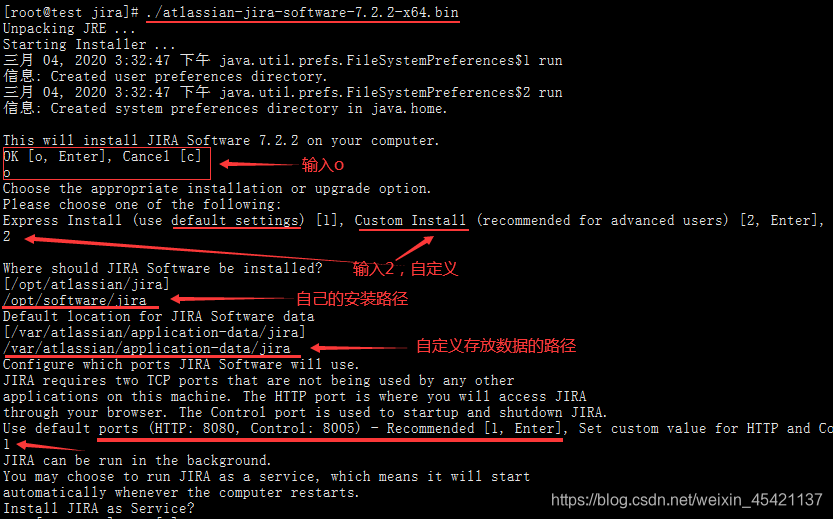
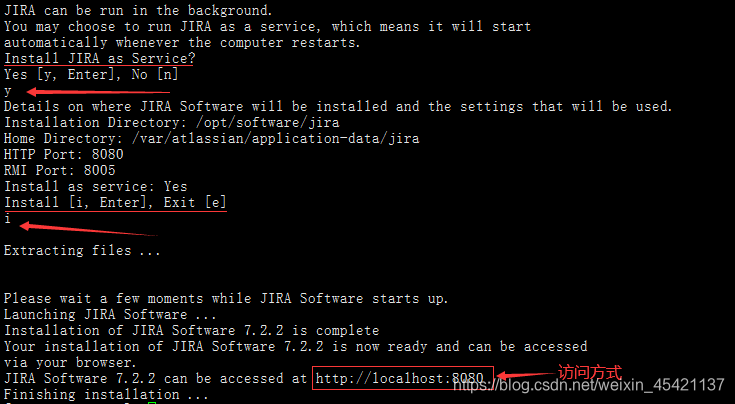
通过上图,我们可以很明显的看出jira安装到了/opt/software/jira 和/var/atlassian/application-data/jira目录下,并且jira监听的端口是8080.
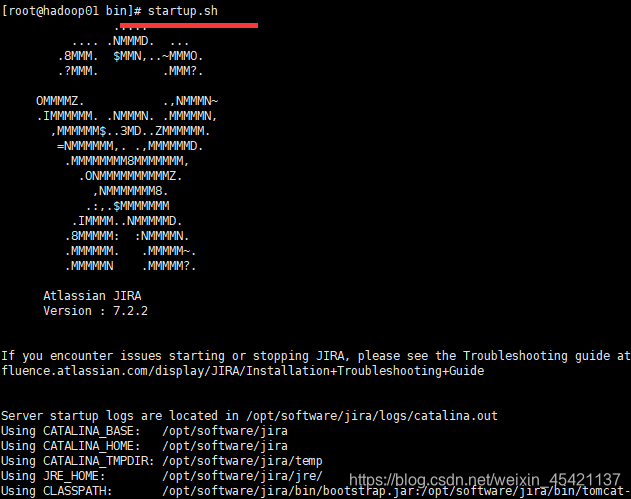
3. 启动jira
sh /opt/software/jira/bin/startup.sh

4. 然后把破解包里面的atlassian-extras-3.1.2.jar和mysql-connector-java-5.1.42.jar两个文件复制到/opt/software/jira/atlassian-jira/WEB-INF/lib/目录下。其中atlassian-extras-3.1.2.jar是用来替换原来的atlassian-extras-3.1.2.jar文件,用作破解jira系统的。而mysql-connector-java-5.1.42.jar是用来连接mysql数据库的驱动软件包。现在关闭jira后再次启动,然后我们再来访问地址
5. 设置数据库,类型mysql,配置主机、用户名、密码,然后再测试连接,通过后Next:
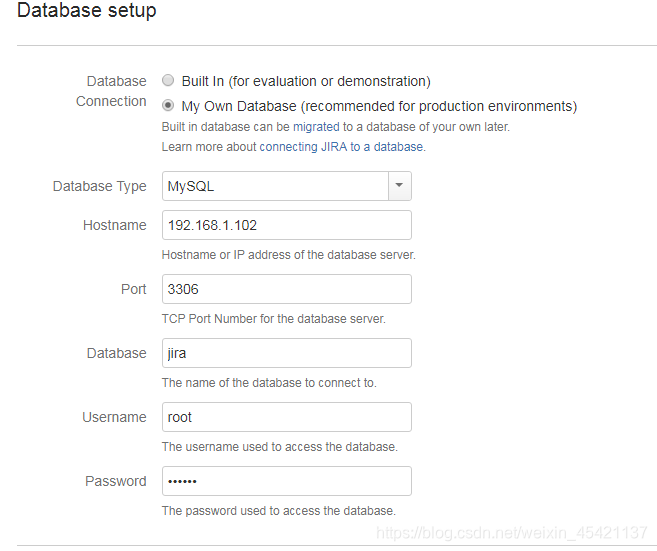
-
点击右下角的 NEXT 后稍等一下,如果出现下面的情况:
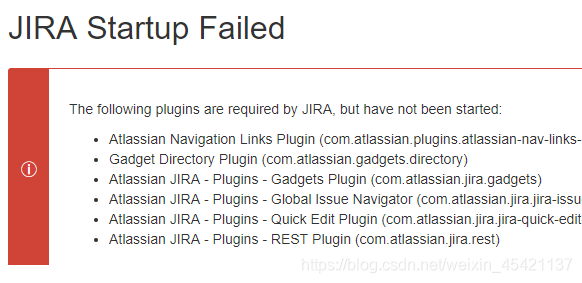
-
解决办法
这是因为插件com.atlassian.jira.ext.rpc已被禁用。在刚才创建的那个jira数据库中,use jira;然后输入update pluginstate set pluginenabled =‘true’ and pluginkey =‘com.atlassian.jira.ext.rpc’
然后重新启动jira,进入8080网址就好了;
-
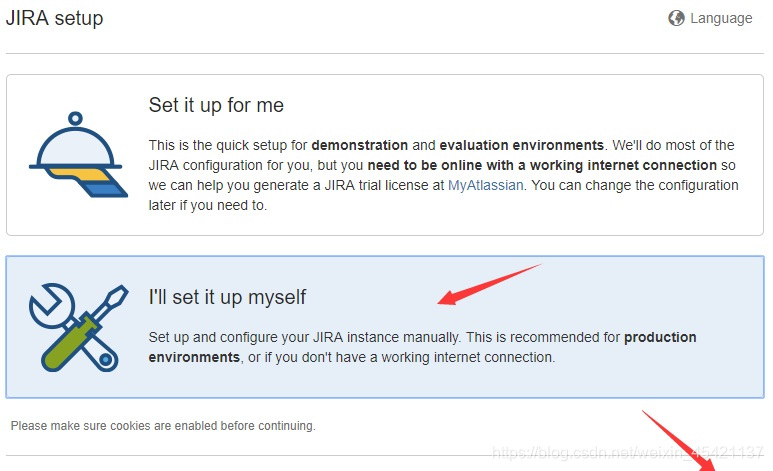
After configuration is set to follow the prompts on the line.

Note: The figure Mode, I use here is Private private mode, in this mode, the user needs created by the administrator created. And in the Public Public mode, users can register themselves.
The following pages are required to enter jira's license:
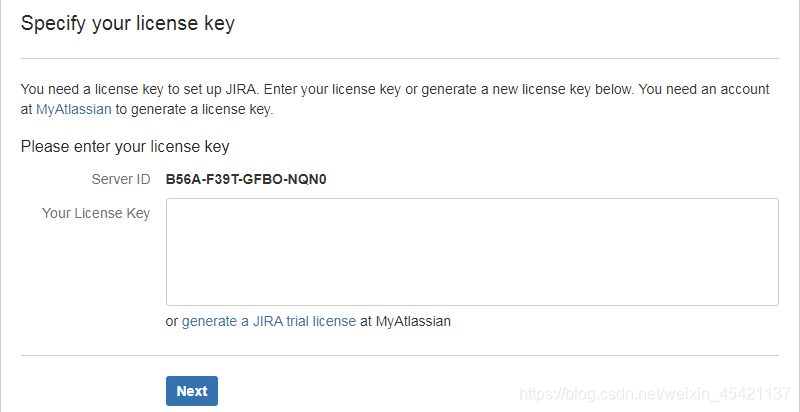
need to generate key clicks on the chart license key box below blue font. Without this account, please sign up for an own account in order to generate the page.

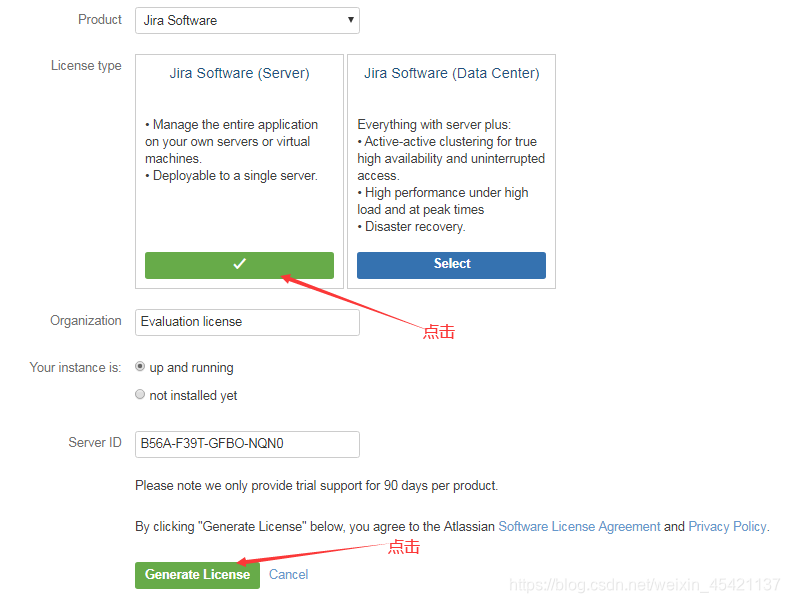
Because there is no official license, so it is necessary jira official website login (register) an account, then use the license this account to apply for a possible trial, as follows:
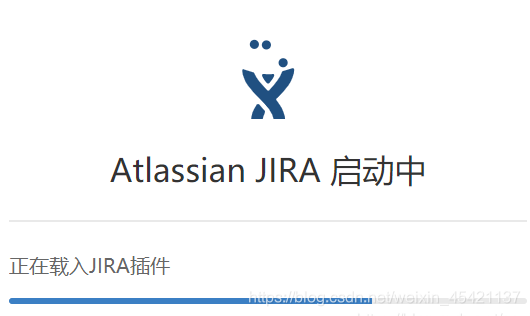
after a few moments
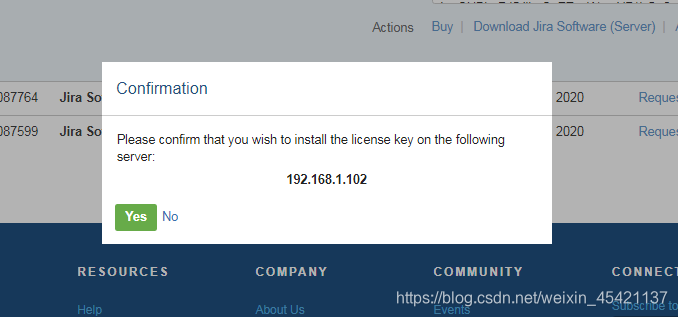
Why Yes
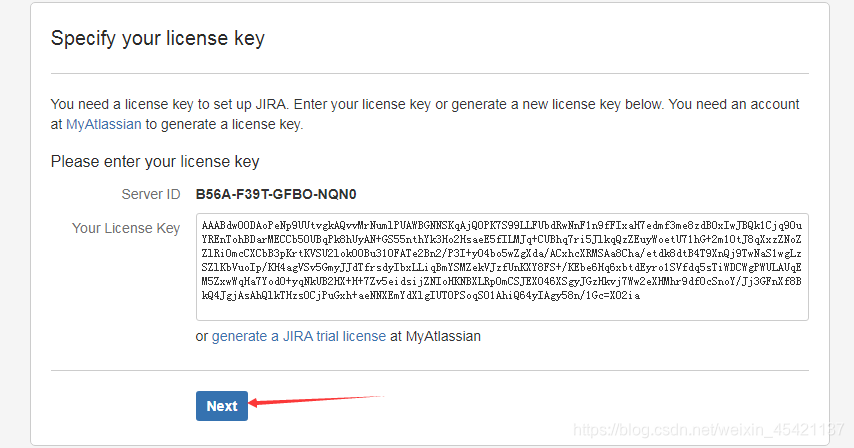

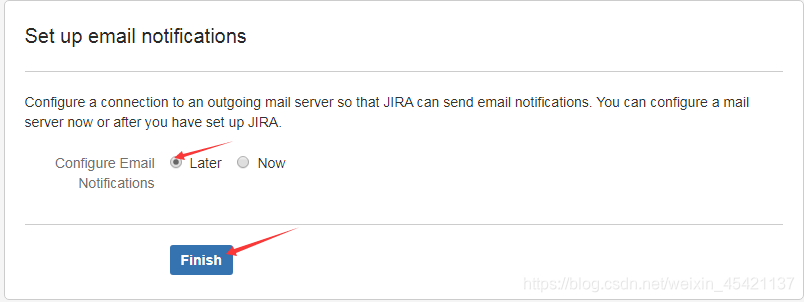
below is the choice of language, because there is no download Chinese package selection the default English, select the language follow the prompts after the operation step by step, to the welcome screen.


This, jira has been successfully installed.
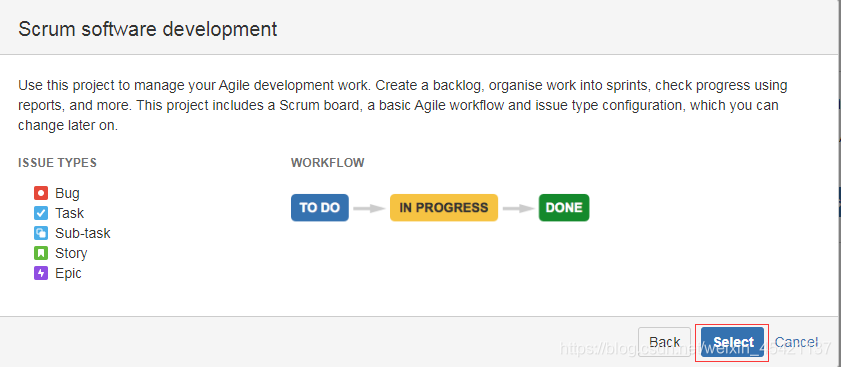
Then you can begin to create your first project jira friends:
Then select the first Next:
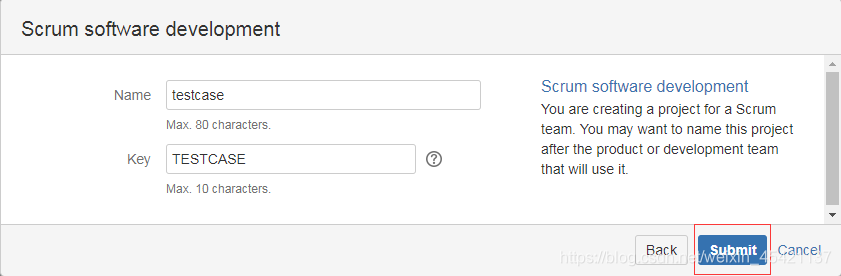
Click Submit, to complete the creation of the project.
Enter the main interface

