This article describes how to use PyQt5 aims to create a simple video player
ps: Some users might encounter can only play avi video format, and the problem (DirectShowPlayerService :: doRender: Unresolved error code 0x8040266 (IDisspatch error # 102)) mp4 formats can not be played, which will need to download a decoder, reference this blog .
Version 1: The easiest player
QT own player direct selection and assembly to ~
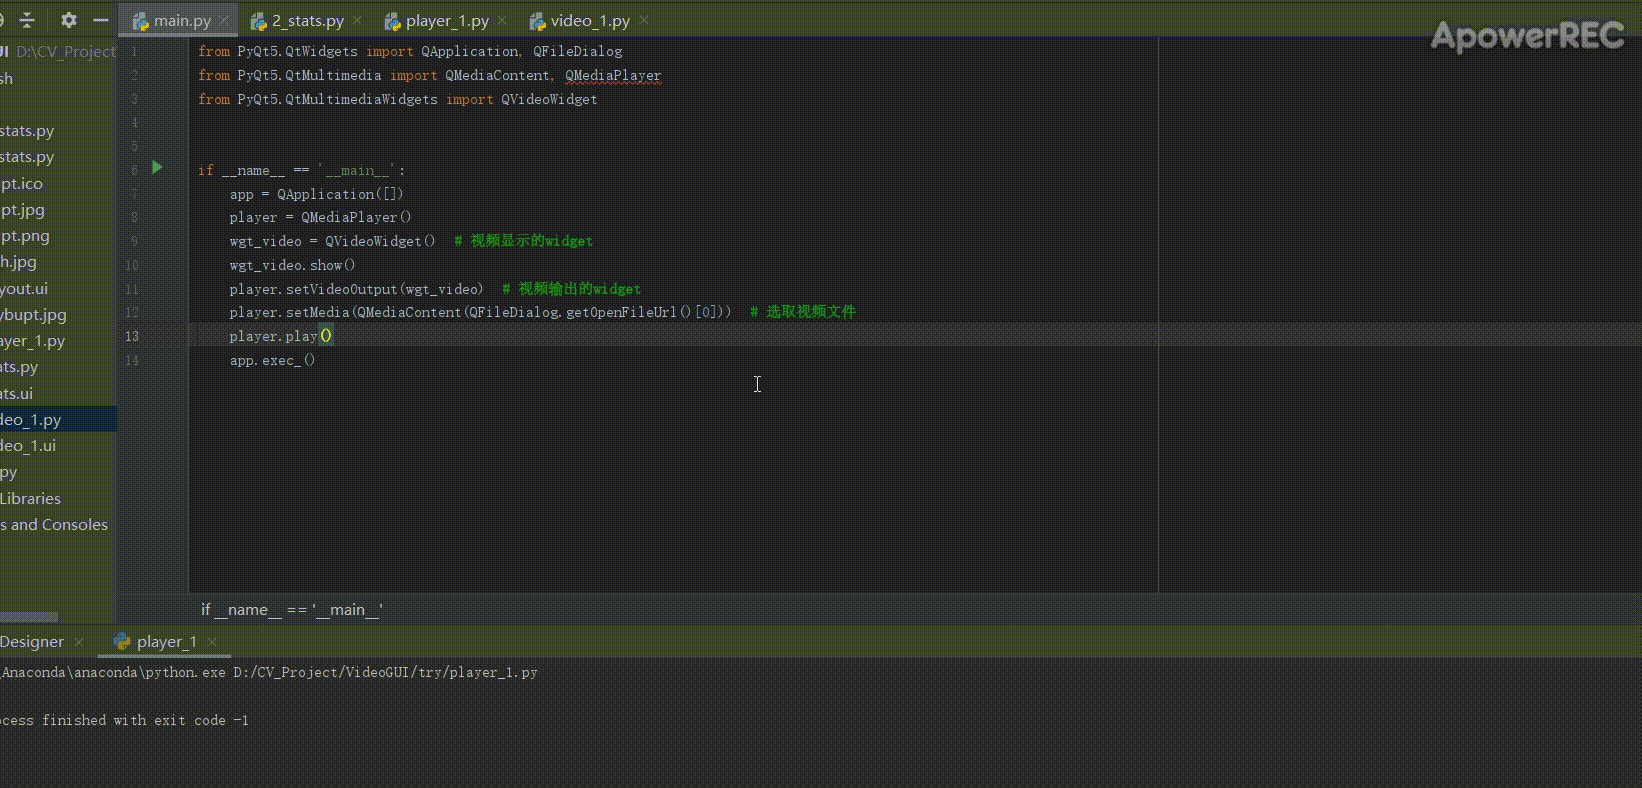
from PyQt5.QtWidgets import QApplication, QFileDialog
from PyQt5.QtMultimedia import QMediaContent, QMediaPlayer
from PyQt5.QtMultimediaWidgets import QVideoWidget

if __name__ == '__main__':
    app = QApplication([])
    player = QMediaPlayer()
    wgt_video = QVideoWidget()  # 视频显示的widget
    wgt_video.show()
    player.setVideoOutput(wgt_video)  # 视频输出的widget
    player.setMedia(QMediaContent(QFileDialog.getOpenFileUrl()[0]))  # 选取视频文件
    player.play()
    app.exec_()
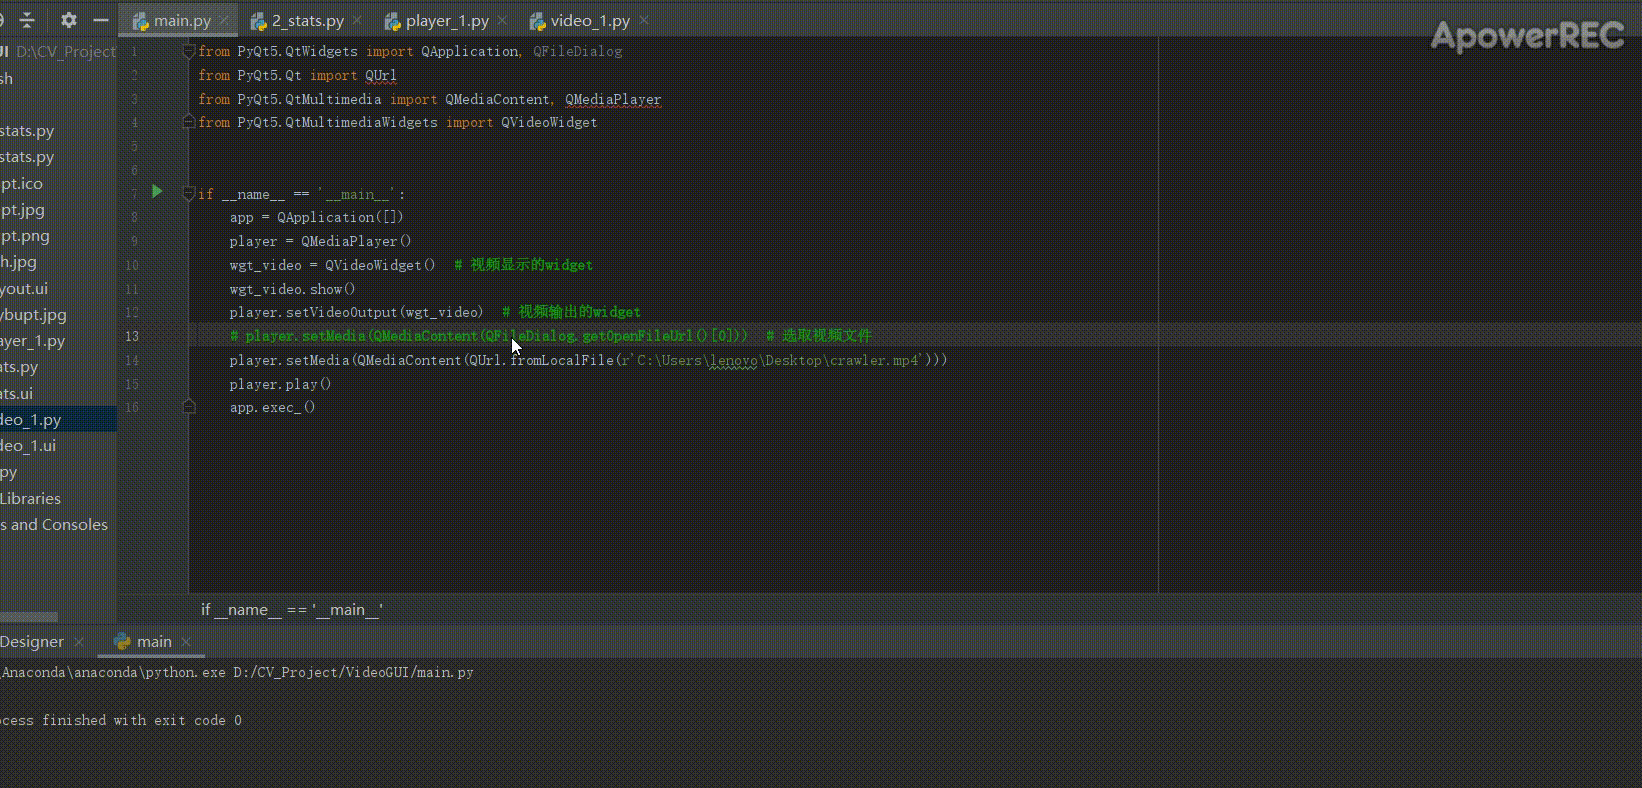
Of course, you can also specify the video directly in the program directory, just click the following statement can be replaced:
from PyQt5.Qt import QUrl

# player.setMedia(QMediaContent(QFileDialog.getOpenFileUrl()[0]))  # 选取视频文件
player.setMedia(QMediaContent(QUrl.fromLocalFile(r'C:\Users\lenovo\Desktop\crawler.mp4')))
Version 2: self-made player interface
Here we use Qt Designer to add a simple player interface provides a button to select the video ~
First, we need to design our simple interface layout in Qt Designer:
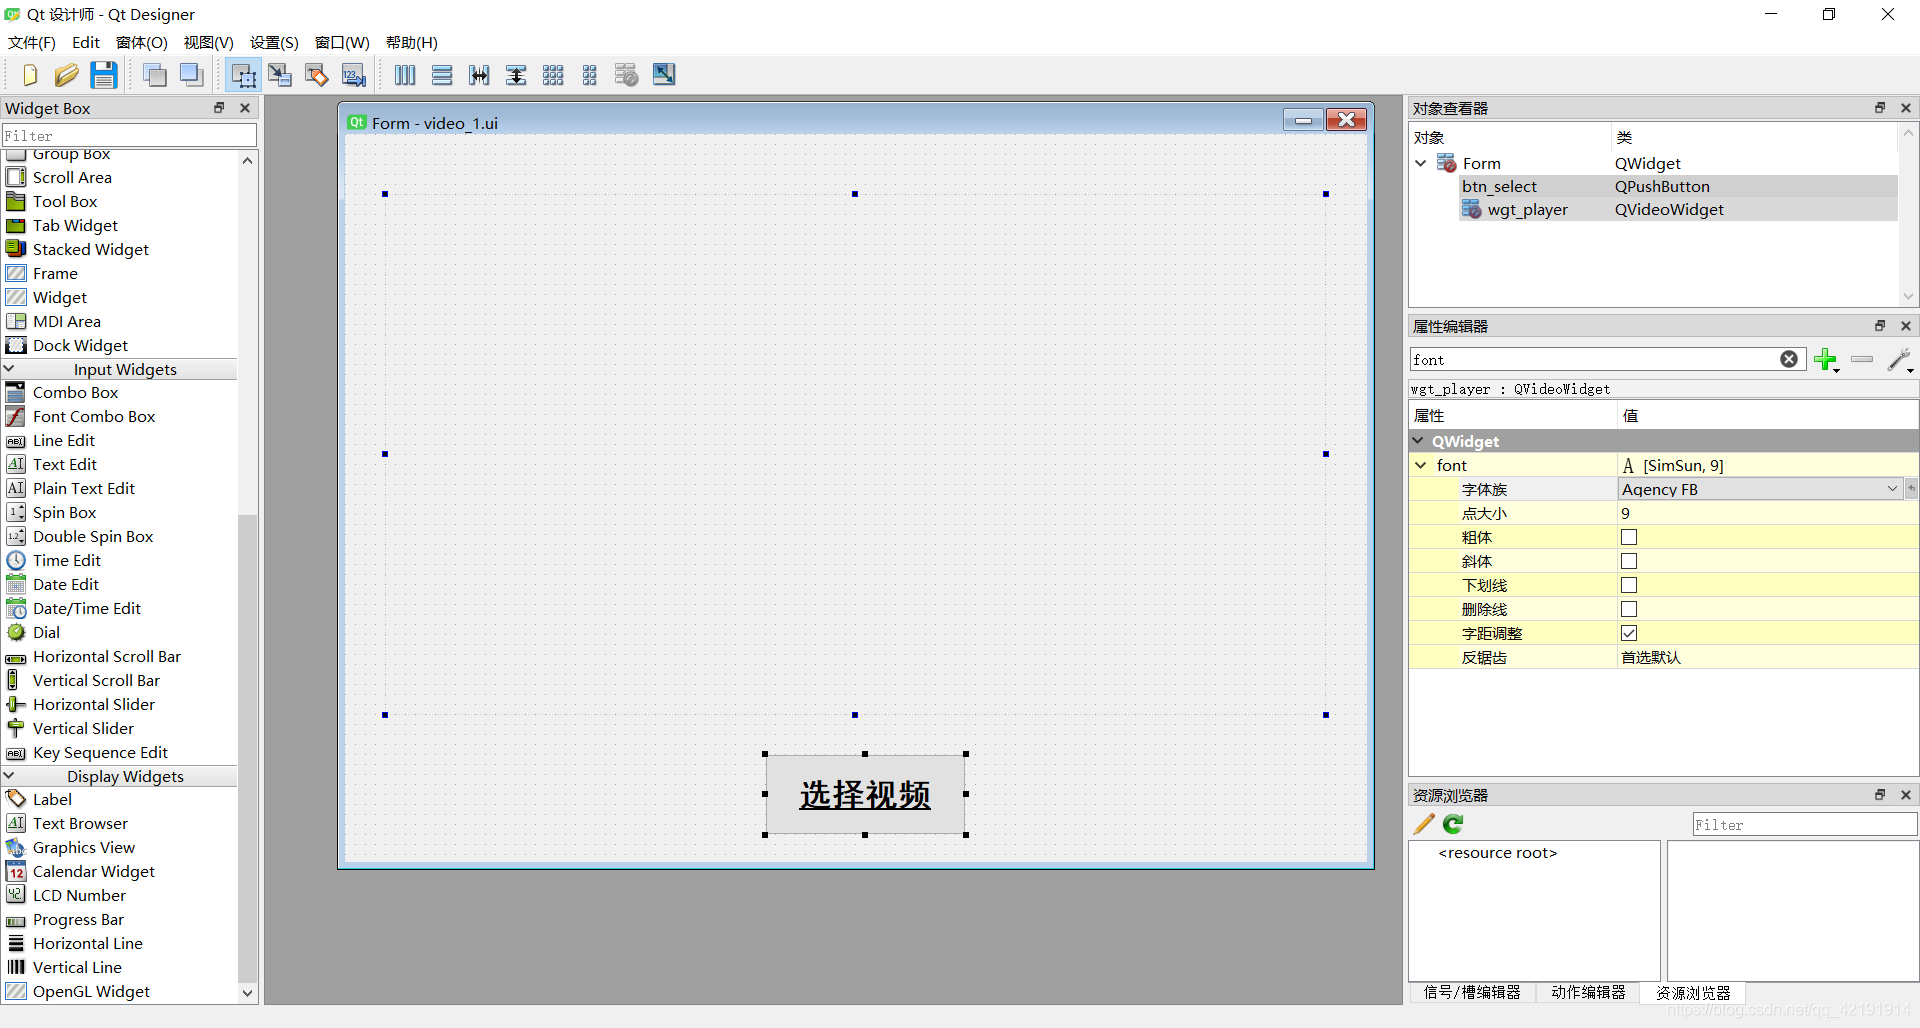
Note here that the video player used Widget in the left toolbox does not directly give, you need to add their own, can refer to here , you can also refer to the following GIF demo. (Widget upgrade settings there to enhance the class name QVideoWidget, the header file is PyQt5.QtMultimediaWidgets)
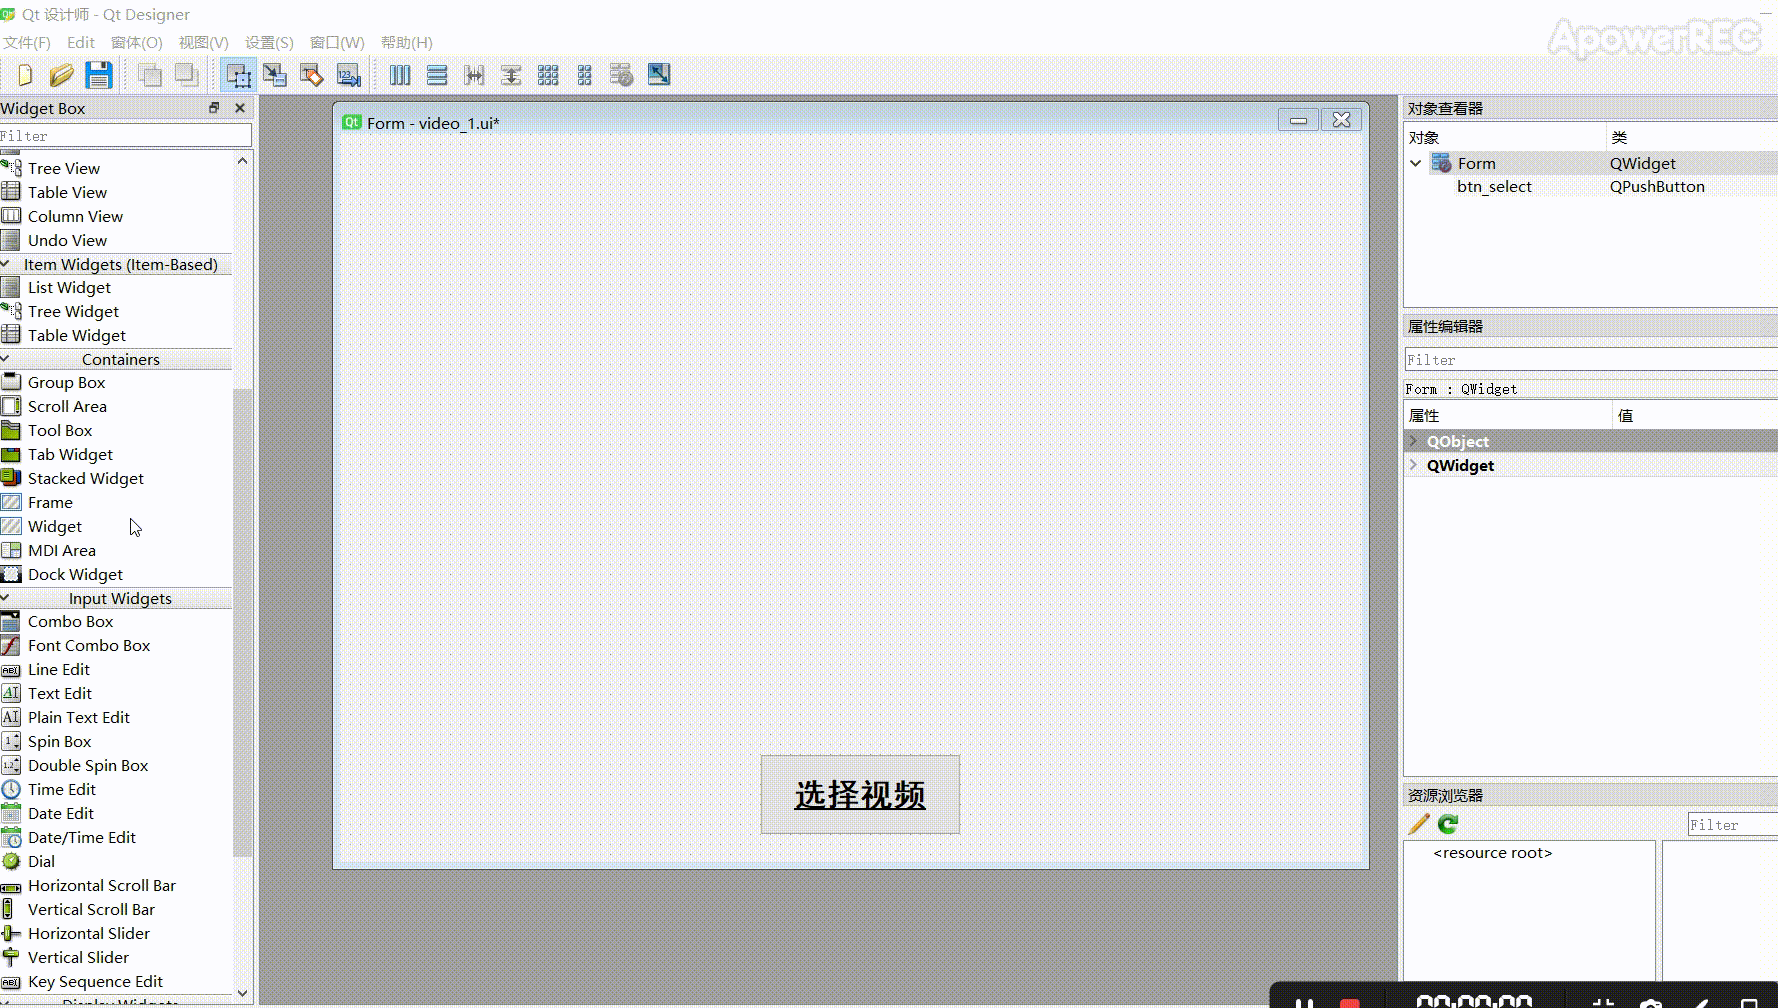
Source is given below, and wgt_player btn_select attention is given the name of the designer from the two controls, 'video_1.ui' file is stored above designer ~
from PyQt5.QtMultimedia import QMediaContent, QMediaPlayer
from PyQt5.QtWidgets import QFileDialog, QApplication
from PyQt5 import uic

class videoPlayer:
    def __init__(self):
        self.ui = uic.loadUi('video_1.ui')  # 加载designer设计的ui程序
        self.player = QMediaPlayer()
        self.player.setVideoOutput(self.ui.wgt_player)
        self.ui.btn_select.clicked.connect(self.openVideoFile)
    # 打开视频文件并播放
    def openVideoFile(self):
        self.player.setMedia(QMediaContent(QFileDialog.getOpenFileUrl()[0]))
        self.player.play()


if __name__ == "__main__":
    app = QApplication([])
    myPlayer = videoPlayer()
    myPlayer.ui.show()
    app.exec()
Version 3: adding progress controls
Here to tell us the player to join the progress of controls, can the video "Play / Pause", "progress bar display and control", "remaining time display," and so ~
Designer designed as follows:

to achieve the effect as follows: (play / pause button video playback is paused, the progress of the progress bar may change the video, and there is remaining time display)
which relates simply using the signal / slot number control signal, the source code is as follows:
from PyQt5.QtMultimedia import QMediaContent, QMediaPlayer
from PyQt5.QtWidgets import QFileDialog, QApplication
from PyQt5 import uic
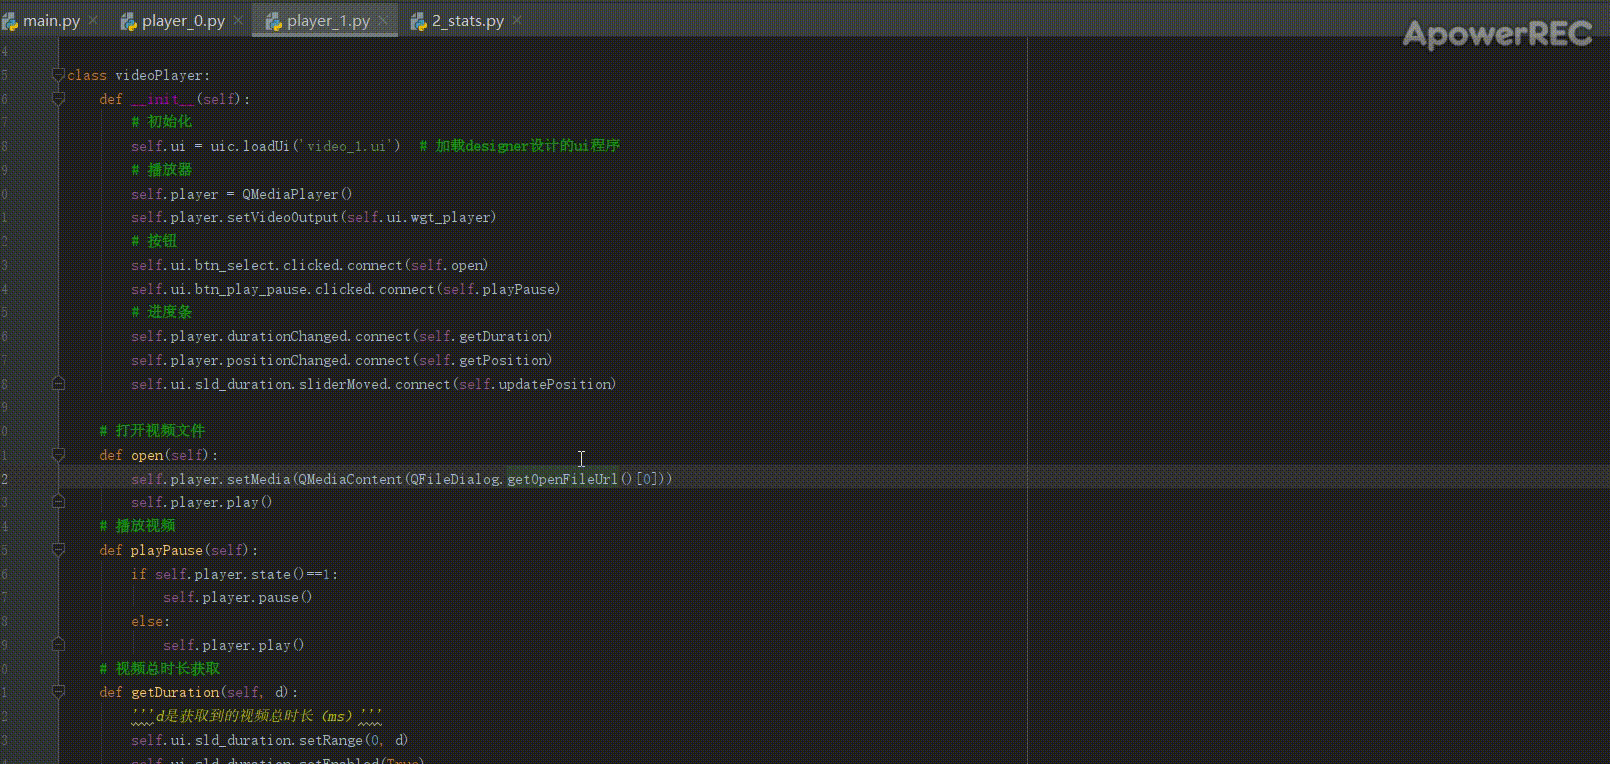
class videoPlayer:
def __init__(self):
# 初始化
self.ui = uic.loadUi('video_1.ui') # 加载designer设计的ui程序
# 播放器
self.player = QMediaPlayer()
self.player.setVideoOutput(self.ui.wgt_player)
# 按钮
self.ui.btn_select.clicked.connect(self.open)
self.ui.btn_play_pause.clicked.connect(self.playPause)
# 进度条
self.player.durationChanged.connect(self.getDuration)
self.player.positionChanged.connect(self.getPosition)
self.ui.sld_duration.sliderMoved.connect(self.updatePosition)
# 打开视频文件
def open(self):
self.player.setMedia(QMediaContent(QFileDialog.getOpenFileUrl()[0]))
self.player.play()
# 播放视频
def playPause(self):
if self.player.state()==1:
self.player.pause()
else:
self.player.play()
# 视频总时长获取
def getDuration(self, d):
'''d是获取到的视频总时长(ms)'''
self.ui.sld_duration.setRange(0, d)
self.ui.sld_duration.setEnabled(True)
self.displayTime(d)
# 视频实时位置获取
def getPosition(self, p):
self.ui.sld_duration.setValue(p)
self.displayTime(self.ui.sld_duration.maximum()-p)
# 显示剩余时间
def displayTime(self, ms):
minutes = int(ms/60000)
seconds = int((ms-minutes*60000)/1000)
self.ui.lab_duration.setText('{}:{}'.format(minutes, seconds))
# 用进度条更新视频位置
def updatePosition(self, v):
self.player.setPosition(v)
self.displayTime(self.ui.sld_duration.maximum()-v)
if __name__ == "__main__":
app = QApplication([])
myPlayer = videoPlayer()
myPlayer.ui.show()
app.exec()
Version 4: Design
After completing the basic functions, following some face-saving projects, such as: setting window icon and title, set button icons, layout, set background
