Article Directory
A, Mysql master copy from
1. Why do master-slave replication?
In business complex systems, there is such a scenario, there is a need to lock table sql statement, result in temporary service can not be used to read, then it affect the operation of the business, using the master-slave replication, so that the main library is responsible for writing, from the library responsible for reading, so that, even if the main library scene appeared lock table by reading from the library can guarantee the normal operation of the business. Extended architecture. Increasing the volume of business, I / O access frequency is too high, stand-alone can not meet, then do store multiple libraries, reduce the frequency of disk I / O access and improve single machine I / O performance.
2, mysql master-slave replication principle
When a connection from the master server, it notifies the position of the last successful update read from the master server in the log. Since then, the server receives any updates from happening, and then blocked the main server and waits for notification of new updates.
The Lord is copied from the base of the main library records all changes to the database record binlog (binary log, update the master repository to save the event log binary files). binlog all modify the database structure or contents of a file stored in the database configuration within the expiration time. If the expiration time is 10d, then recently database 10d is the change log.
mysql master replication from a replication process is asynchronous, the master sends an update event to the library from the library, reads the updated records from the database, and perform the update record, such that the content from the library consistent with the primary database.
-
In the main library , as long as there is an update event occurs, it will be sequentially written to the binlog which, after the connection to the master library, from the library to take over from the master copy operation Kula data source.
binlog output thread whenever there is a connection from the library to the main library, main library will create a thread and then sent to the binlog contents from the library. For each event to be sent to the sql database, binlog its output thread will be locked. Once the event is finished reading the thread, the lock is released, the event is sent to the full from the time the library, even if the lock will be released in. -
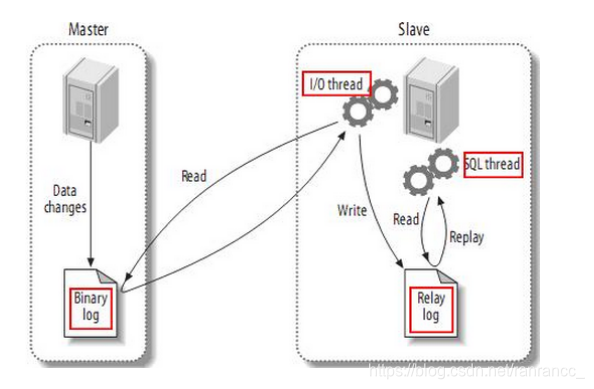
In the library there, when the copy start, it will create two threads are processed from the library:
From library I / O thread when START SLAVE statements from the library started after the start I / O thread from the library, the library and connected to the main thread requests the master database update records inside binlog transmitted to the library.
Update read from the main library library I / O output binlog thread and thread sends updates to the local copy of the file, including relay log file.From SQL thread library to start the SQL thread from the library, from the library to read this thread I / O thread writes relay log (relay logs) and perform the update event.
Know, for each of the master copy from the connection, there are three threads. Each has more than a connection to the main library to create a binlog output thread from the library, from every library has its own I / O threads and SQL thread from the main library to library. By starting from a library of two separate threads, so that the copying is performed, the read and write was isolated from the library. Therefore, even if responsible for executing thread running slow, is responsible for reading the update statement threads and will not become slow. For example, if there is a period of time did not run from the library, when it started here, in spite of its SQL thread executes more slowly, its I / O thread can quickly read all binlog contents from the main library. As a result, even if not all read before the statement is executed from the library in SQL thread to stop running, I / O thread is also at least completely read all of the content, and safely backed up in the library from the local relay log , ready to execute a statement at the time from the start of a library.
3, asynchronous replication
That is the default MySQL replication is asynchronous, the main library after the completion of the transaction execution submitted by the client will immediately return the results to the client, and does not care whether it has received treatment from the library, so there will be a problem, the main library If you crash out, the transaction at this time on the main library has been submitted may not be transferred from the library, if at this time, will enhance the main force, may lead to the data on the new primary database is incomplete.
Second, based on the position of asynchronous replication
lab environment
lab environment
| IP host name | service |
|---|---|
| Virtual machine server1 172.25.7.1 | master node database |
| Virtual Machine server2 172.25.7.2 | slave node database |
| Physical machine 172.25.7.250 | End test |
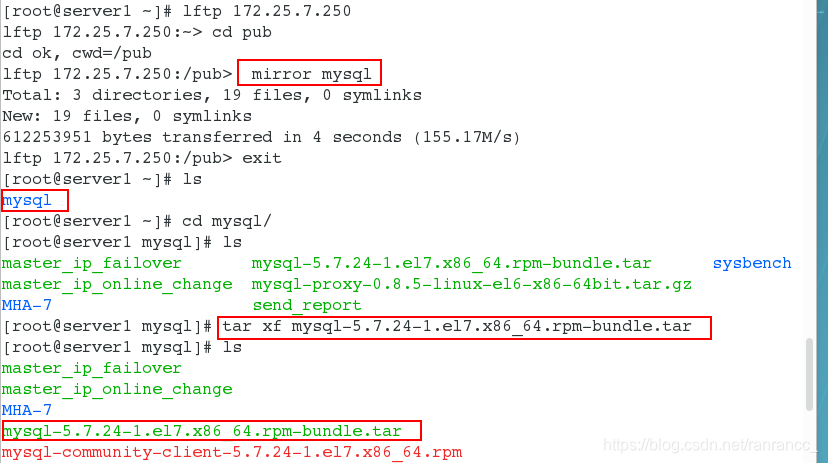
1、On server1 and server2Download mysql rpm package, extract:
tar xf mysql-5.7.24-1.el7.x86_64.rpm-bundle.tar
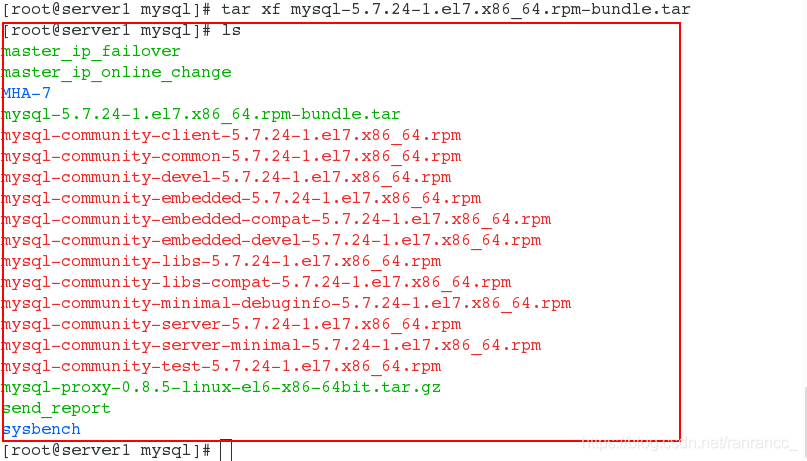
2, package installation requires
yum install -y mysql-community-client-5.7.24-1.el7.x86_64.rpm mysql-community-common-5.7.24-1.el7.x86_64.rpm mysql-community-libs-5.7.24-1.el7.x86_64.rpm mysql-community-libs-compat-5.7.24-1.el7.x86_64.rpm mysql-community-server-5.7.24-1.el7.x86_64.rpm

server2上同样的操作: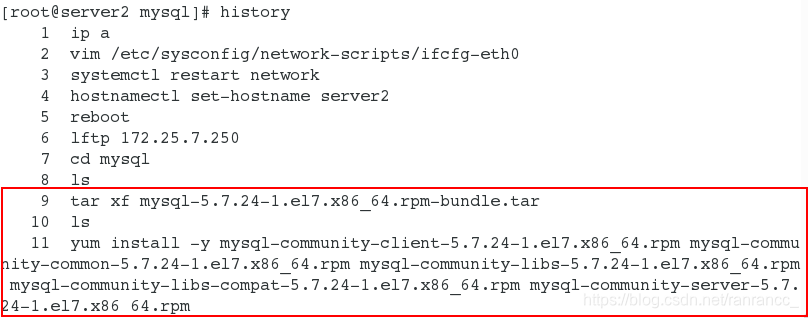
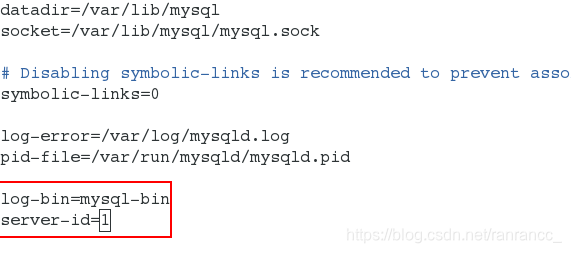
3、修改配置文件,开始配置主节点(server1)数据库 vim /etc/my.cnf
在文件末尾写:
log-bin=mysql-bin
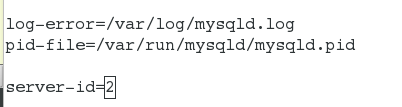
server-id=1(每个节点的序号是唯一的)

4、master节点(server1 )的数据库初始化
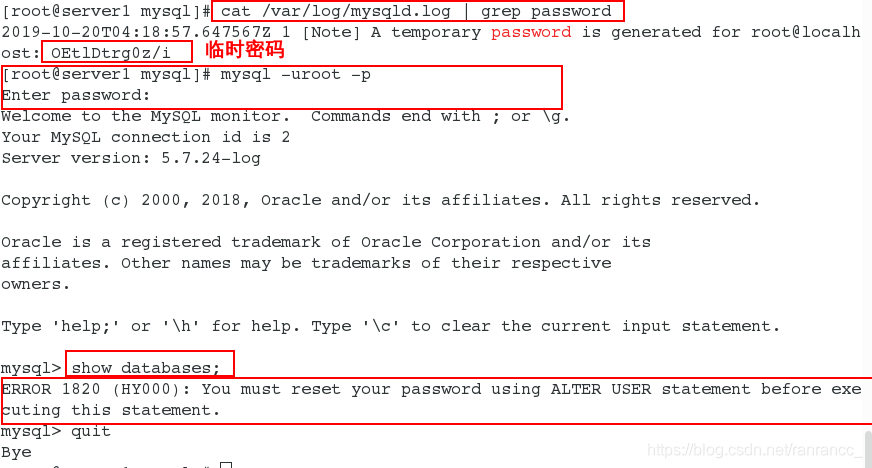
1)开启服务之后会生成一个临时密码,使用临时密码进行数据库安全初始化,复制密码:cat /var/log/mysqld.log | grep password
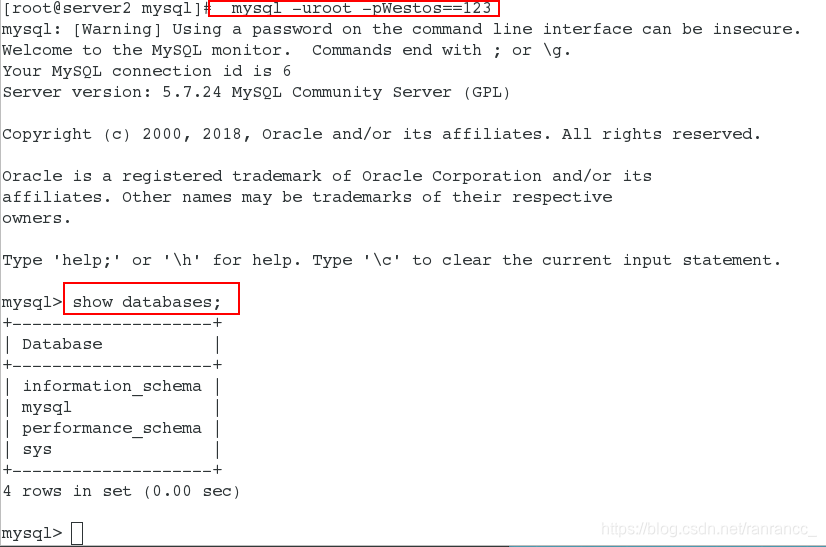
2)mysql -uroot -p 粘贴密码,登录成功
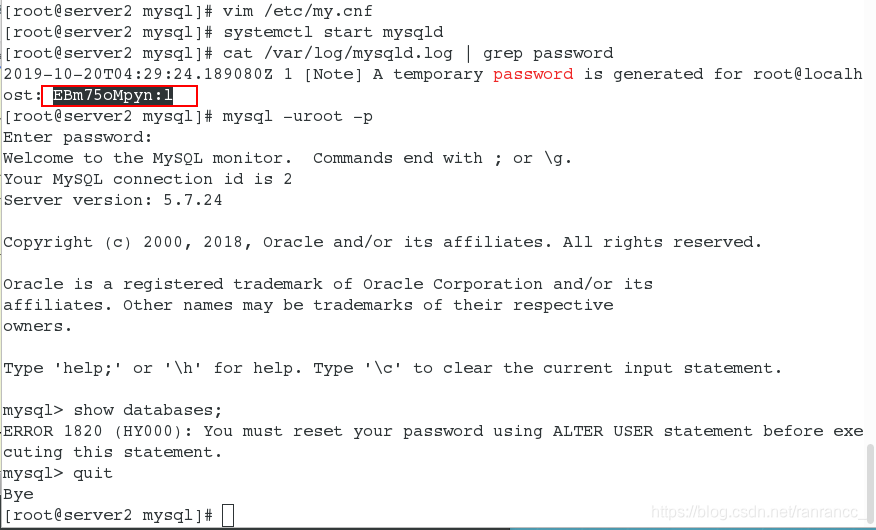
3)show databases;发现必须进行初始化
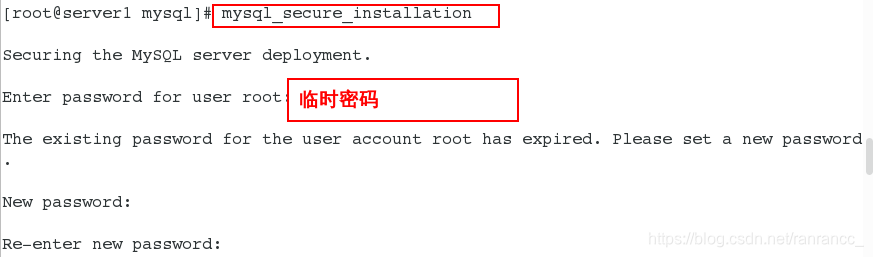
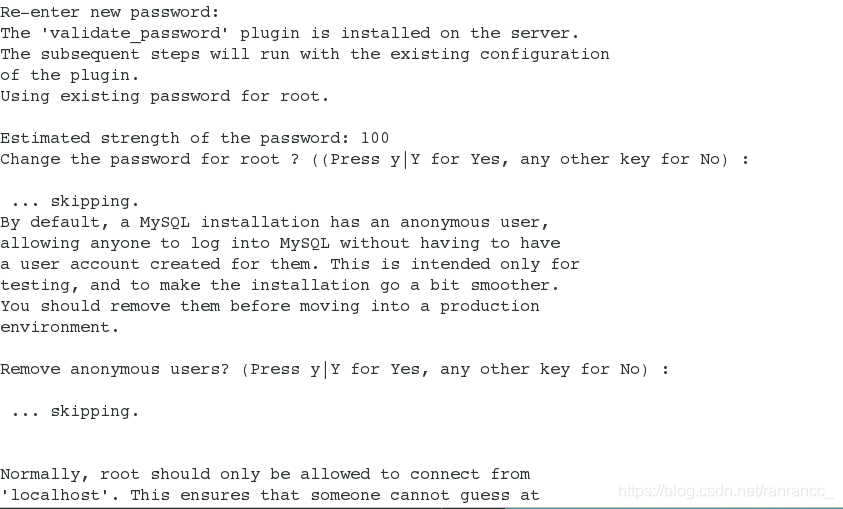
4)安全初始化:mysql_secure_installation
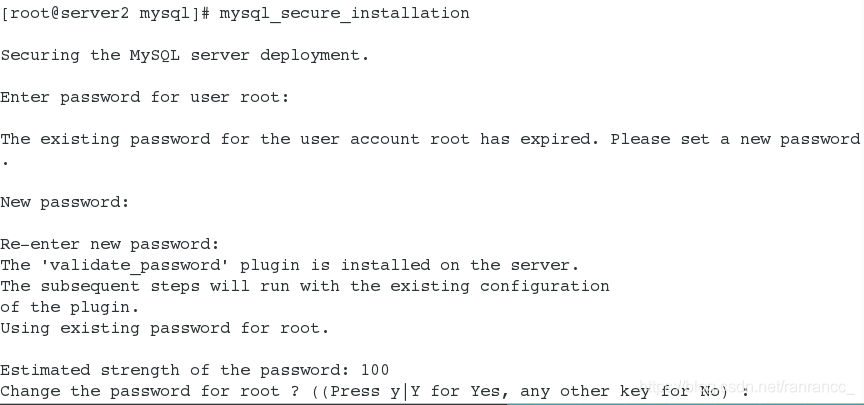
- 安全初始化登陆的时候使用的是临时密码,接下来要自己设置数据库的密码,这个密码必须有特殊字符,英文字母的大小写还有数字
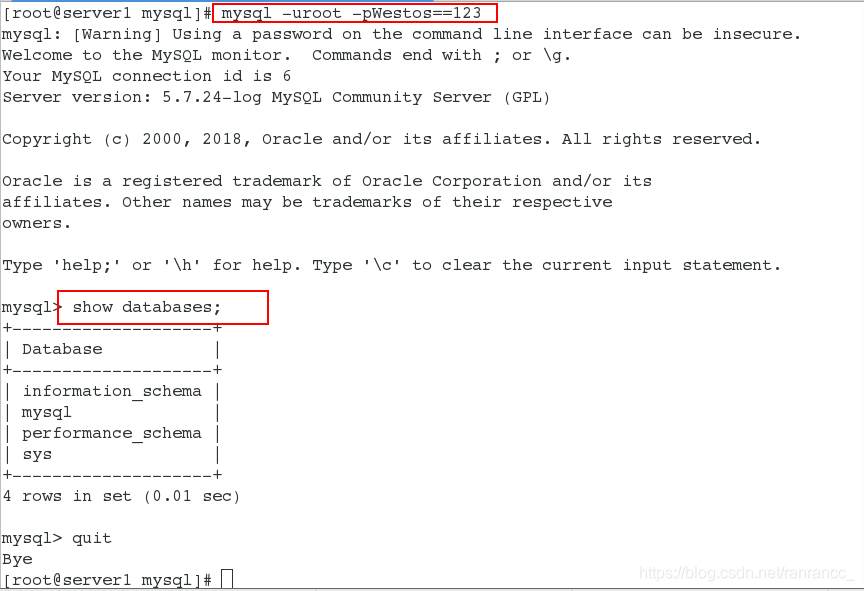
5)使用自己设置的密码登录数据库:mysql -uroot -pWestos123==
5、slave节点(server2 )的数据库初始化
1)vim /etc/my.cnf

2)复制密码:cat /var/log/mysqld.log | grep password
3)安全初始化:mysql_secure_installation
4)使用自己设置的密码登录slave数据库:mysql -uroot -pWestos123==
6、在 master 上,创建并授权用来做复制的用户
在Master的数据库中建立一个备份帐户:每个slave使用标准的MySQL用户名和密码连接master。进行复制操作的用户会授予REPLICATION SLAVE权限。用户名的密码都会存储在文本文件master.info中
mysql> grant replication slave on *.* to repl@'172.25.7.%' identified by 'Westos==123';
## 创建用户,可以使用此用户远程登录数据库;授权为可以复制master节点数据的slave节点
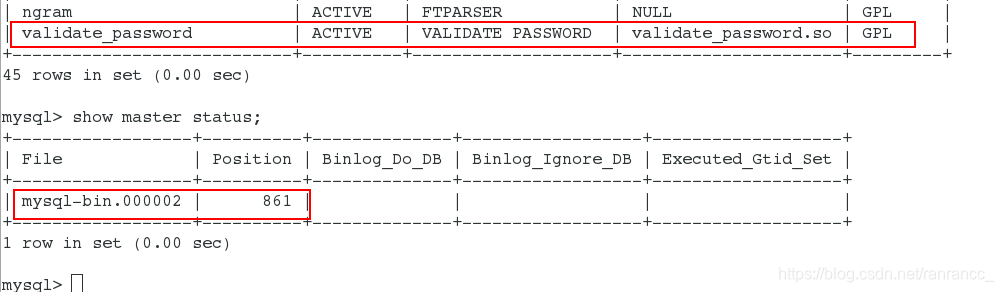
mysql> show plugins;
##查看插件,因为有密码插件,所以密码必须设置为复杂的
mysql> show master status;
##查看master状态
| 参数 | 解释 |
|---|---|
| REPLICATION | 表示复制的权限 |
| * .* | 表示对所有库的所有表都授权 |
| repl | 用户名 |
| ‘172.25.7.%’ | 授权172.25.7网段的所有数据库节点都可以同步(复制) |

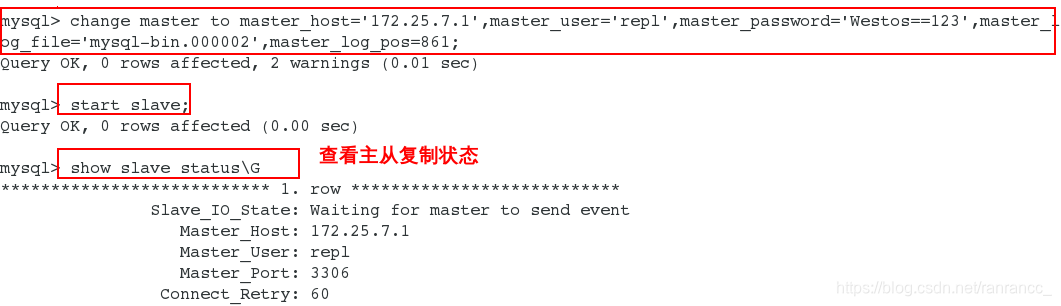
7、在 slave(server2)上配置master信息
mysql> change master to master_host='172.25.7.1',
##在这个slave节点上面设置管理它的master节点主机信息
->master_user='repl',
##用户
->master_password='Westos==123',
##密码
->master_log_file='mysql-bin.000002',
##基于position的主从复制的重要信息
->master_log_pos=861;
##
mysql> start slave; ##开启本节点的slave
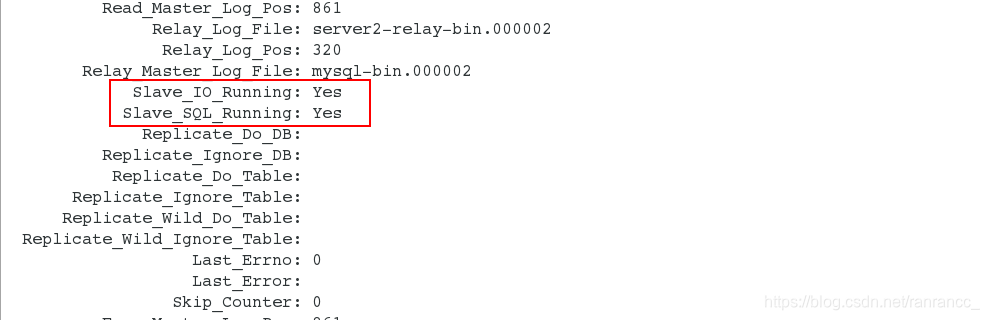
mysql> show slave status\G ##查看主从复制状态
##这两个参数是Yes,表示成功 。Slave_IO_Running: Yes Slave_SQL_Running: Yes
- 对于slave节点来说,io线程和sql线程是最重要的两个线程。只有当io线程和sql线程都开启的时候,slave节点才可以正常复制master节点的数据
8、测试主从同步是否生效
- 注意:写操作只能在master节点上做,因为master节点不会去同步slave节点的内容
在master创建新数据
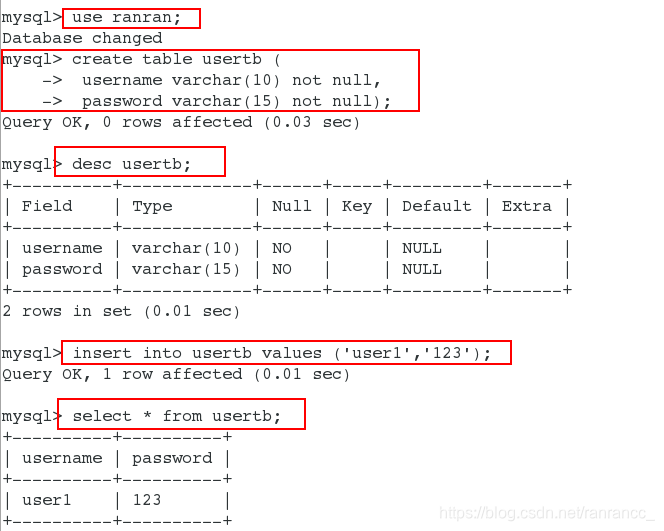
mysql> create database ranran;	       ##在server2上发现也能看到westos库
mysql> use ranran
mysql> create table usertb (
    -> username varchar(10) not null,
    -> password varchar(15) not null);	 ##建表

mysql> desc usertb;	                     ##查看表信息
mysql> insert into usertb values ('user1','123');	##插入数据
mysql> select * from usertb;	##查看
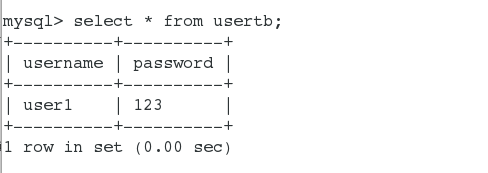
在slave查看select * from ranran.usertb;
三、基于GTID的异步复制
1、 DTID的含义
- Global Transaction Identifier,全局事务标识
- 一个GTID在一个服务器上只执行一次,避免重复执行导致数据混乱或者主从不一致。
- GTID用来代替传统复制方法,不再使用MASTER_LOG_FILE+MASTER_LOG_POS开启复制。而是使用MASTER_AUTO_POSTION=1的方式开始复制。
- 基于gtid的主从复制原理:每个mysql数据库上都有一个唯一uuid,每个事务生成一个id。gtid由上面两者组合: uuid+事务id
2、优势
- 更简单的搭建主从复制。
- 比传统的复制更加安全。在传统的复制里面,当发生故障,需要主从切换,需要找到binlog和pos点,然后将主节点指向新的主节点,相对来说比较麻烦,也容易出错。在MySQL 5.6里面,不用再找binlog和pos点,我们只需要知道主节点的ip,端口,以及账号密码就行,因为复制是自动的,MySQL会通过内部机制GTID自动找点同步。
- GTID是连续的没有空洞的,保证数据的一致性,零丢失
- 主从提升更加简单容易。从服务器连接到主服务器之后,把自己执行过的GTID(Executed_Gtid_Set)<SQL线程> 、获取到的GTID(Retrieved_Gtid_Set)<IO线程>发给主服务器,主服务器把从服务器缺少的GTID及对应的transactions发过去补全即可。当主服务器挂掉的时候,找出同步最成功的那台从服务器,直接把它提升为主即可。如果硬要指定某一台不是最新的从服务器提升为主, 先change到同步最成功的那台从服务器, 等把GTID全部补全了,就可以把它提升为主了
3、GTID工作原理
- 当一个事务在主库端执行并提交时,产生GTID,一同记录到binlog日志中。
- binlog传输到slave,并存储到slave的relaylog后,读取这个GTID的这个值设置gtid_next变量,即告诉Slave,下一个要执行的GTID值。
- sql线程从relay log中获取GTID,然后对比slave端的binlog是否有该GTID。
- 如果有记录,说明该GTID的事务已经执行,slave会忽略。
- 如果没有记录,slave就会执行该GTID事务,并记录该GTID到自身的binlog,在读取执行事务前会先检查其他session持有该GTID,确保不被重复执行。
- 在解析过程中会判断是否有主键,如果没有就用二级索引,如果没有就用全部扫描。
4、基于GTID的主从复制
此实验是基于position的主从复制的基础上做的
1、在server1上,配置主节点
1)修改配置文件加入开启gtid的信息,vim /etc/my.cnf
gtid_mode=ON
enforce-gtid-consistency=true

此时登录数据库: mysql -uroot -pWestos123==
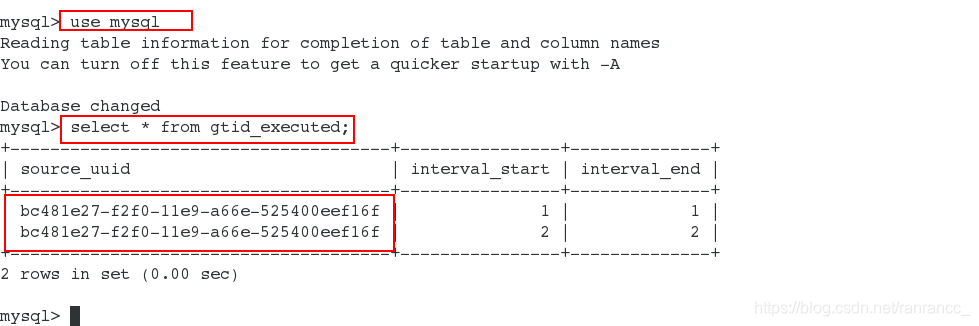
mysql>use mysql;
mysql>select * from gtid_executed;
发现gtid_executed是空的,
2)在/var/lib/mysql路径下,mysqlbinlog mysql-bin.000002 可以看到之前的全部操作。
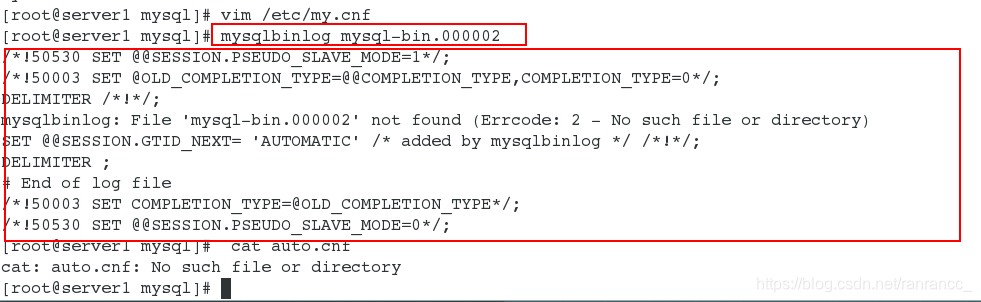
3)在/var/lib/mysql路径下 ,cat auto.cnf 查看此节点的uuid

4)重启数据库:systemctl restart mysqld
2、在server2上,配置slave
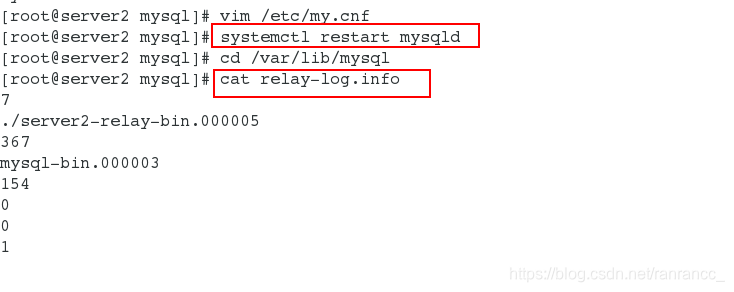
1)vim /etc/my.cnf,加入:开启gtid的信息

2)systemctl restart mysqld
3)在/var/lib/mysql路径下,cat relay-log.info
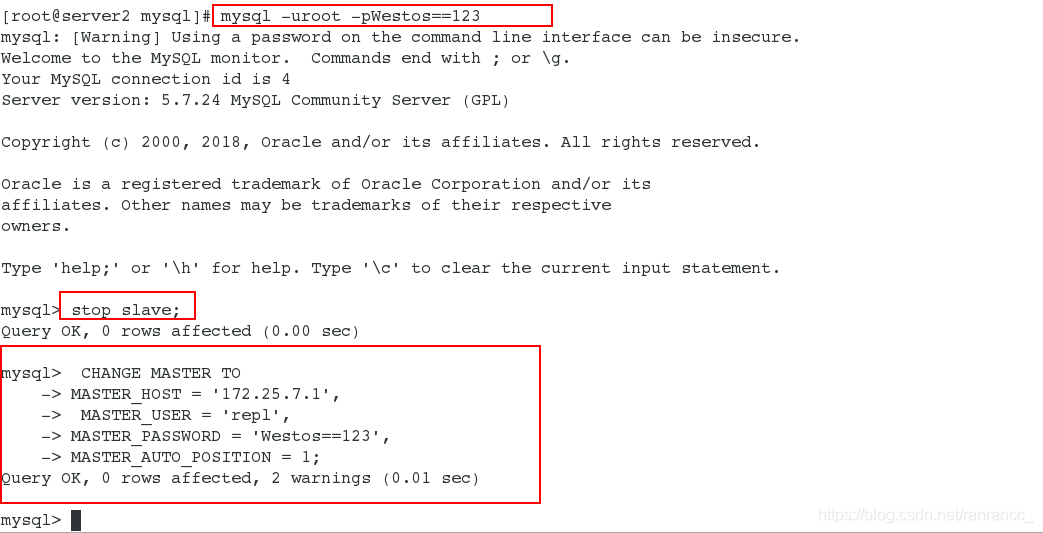
4)此时登录数据库: mysql -uroot -pWestos123==
mysql> stop slave; ##先停止复制
mysql> CHANGE MASTER TO ##修改master信息
-> MASTER_HOST = '172.25.7.1',
-> MASTER_USER = 'repl',
-> MASTER_PASSWORD = 'Westos==123',
-> MASTER_AUTO_POSITION = 1; ##启用gtid,它是自动的
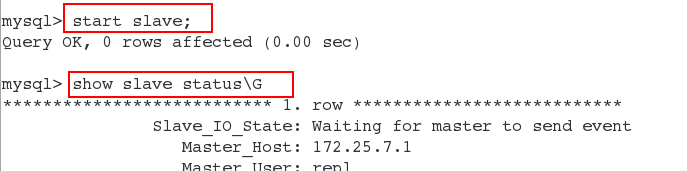
mysql> start slave;
mysql> show slave status\G ##查看状态,可以看到下面两个参数是空的
Retrieved_Gtid_Set:
Executed_Gtid_Set:

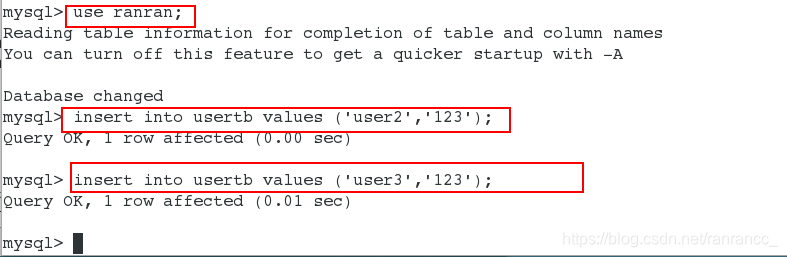
3、在server1上插入数据
mysql>use ranran
mysql> insert into usertb values ('user2','123');
mysql> insert into usertb values ('user3','123');
4、在server2上面查看状态和同步的数据
发现这两个参数 Retrieved_Gtid_Set: /Executed_Gtid_Set: 变了,从1位置开始复制的
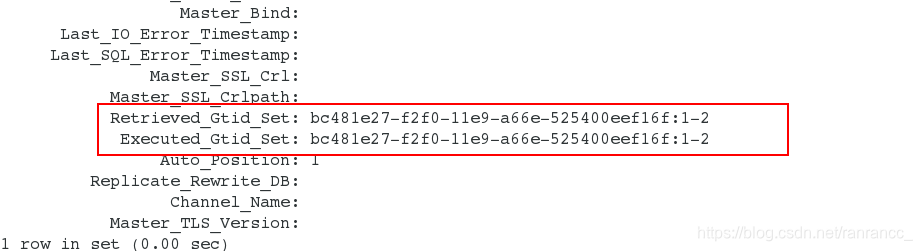
再查看gtid模式复制的起始和结束位置
此时查看表,即可看到插入内容。
