Description: using the 7.3.0 version of the presentation
Note 1: in this way, then do not have to upload the license file, make sure to remember
Note 2: This is the first way to use configuration, if security is turned on and set the account password, this does not apply
#!/bin/bash

echo "创建工作目录"
/usr/bin/mkdir -p /opt/work

BASE_HOME=/opt/work

echo "切换到/opt/work目录下"
/usr/bin/cd ${BASE_HOME}

echo "根据输入版本不同创建相应的目录,例如:7.3.0"
read type
echo "您输入的版本是${type}"

TYPE_HOME=/opt/work/${type}

TAG="v${type}"

/usr/bin/mkdir -p ${TYPE_HOME}/{build/src,install,src}

echo "安装wget,git"
yum -y install wget git

echo "下载es ${type}安装包"
wget https://artifacts.elastic.co/downloads/elasticsearch/elasticsearch-${type}-linux-x86_64.tar.gz -P ${TYPE_HOME}/install

echo "解压安装包到指定目录"
tar -zxv -f ${TYPE_HOME}/install/elasticsearch-${type}-linux-x86_64.tar.gz -C ${TYPE_HOME}/install

echo "下载指定版本的es源码,使用国内码云地址"
echo "官方github地址:https://github.com/elastic/elasticsearch"
echo "国内码云地址:https://gitee.com/mirrors/elasticsearch"

cd ${TYPE_HOME}/src
git clone -b ${TAG} https://gitee.com/mirrors/elasticsearch


cd ${TYPE_HOME}/build

# lib module
ln -s ../install/elasticsearch-${type}/lib .
ln -s ../install/elasticsearch-${type}/modules .

# License.java
find ../src -name "License.java" | xargs -r -I {} cp {} .
sed -i 's#this.type = type;#this.type = "platinum";#g' License.java
sed -i 's#validate();#// validate();#g' License.java

# 编译
javac -cp "`ls lib/elasticsearch-${type}.jar`:`ls lib/elasticsearch-x-content-${type}.jar`:`ls lib/lucene-core-*.jar`:`ls modules/x-pack-core/x-pack-core-${type}.jar`" License.java

# x-pack-core-7.5.0.jar
cd ${TYPE_HOME}/build/src
find ../../install -name "x-pack-core-${type}.jar" | xargs -r -I {} cp {} .
jar xvf x-pack-core-${type}.jar
rm -f x-pack-core-${type}.jar
\cp -f ../License*.class org/elasticsearch/license/
jar cvf x-pack-core-${type}.jar .

echo "切换到存放破解jar包文件的路径下"
cd ${TYPE_HOME}/build/src

echo "如下步骤需要手动操作"

echo "覆盖原有的x-pack-core-${type}.jar文件"


# 配置elasticsearch.yml
# xpack.security.enabled: true
# xpack.security.transport.ssl.enabled: true

echo "配置重启elasticsearch"

echo "初始化elasticsearch密码"
echo "bin/elasticsearch-setup-passwords auto"

echo "配置重启kibana"

# elasticsearch.username: kibana
# elasticsearch.password: password
After replacing the jar package, es configuration file open security, and then start es, es then to set up the account and password, and then modify kibana configuration, access account and password used on es Add, and then access the browser
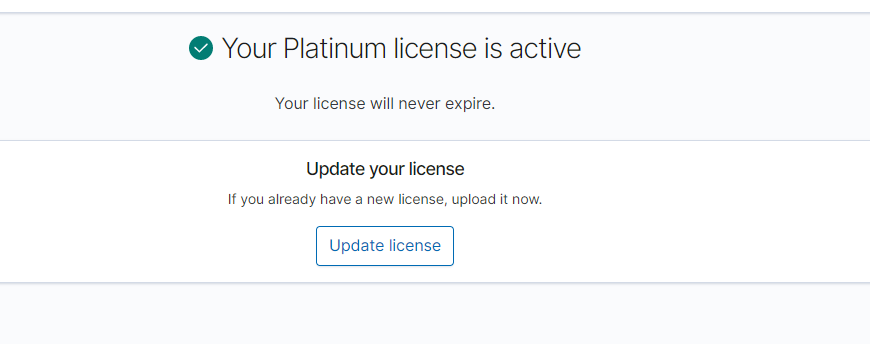
kibana web interface to view;
Command Line View
