Upload files and related information of your choice.
In the HTML document <input type = "file"> tag appears every time, a FileUpload object is created.
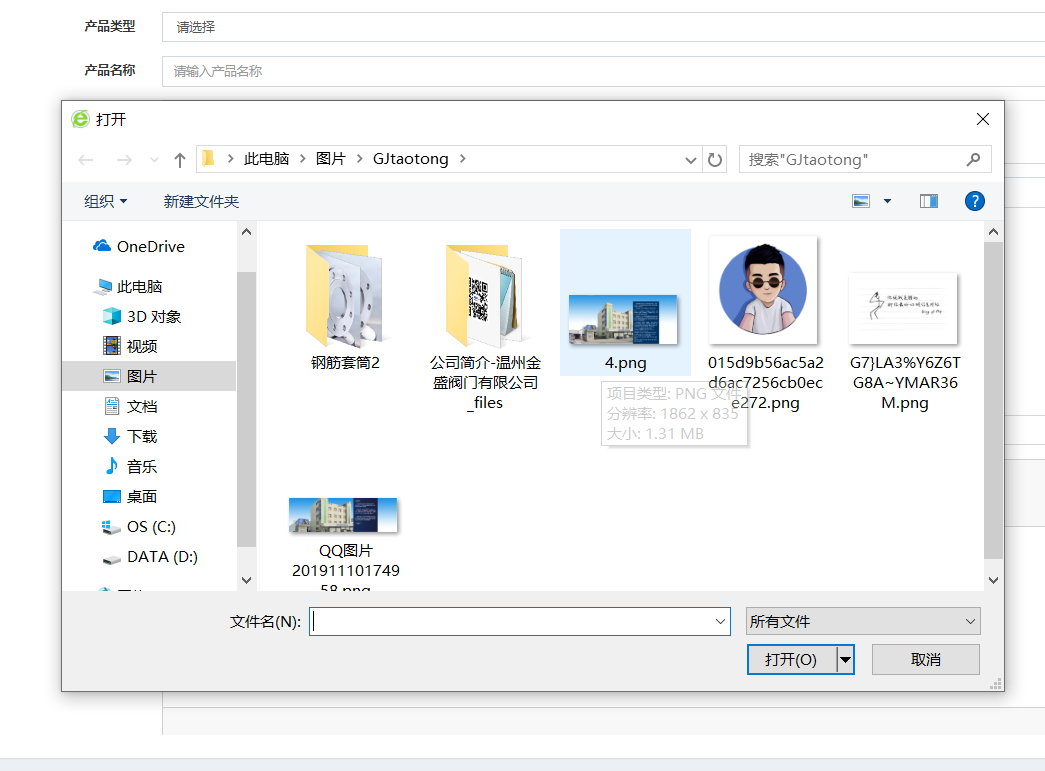
This element contains a text input field to enter a file name, there is a button used to open a file selection dialog to graphically select the file.
Value attribute of the element holds the name of the file specified by the user, but when a file-upload contains elements of the form is submitted, the browser will send the contents of the selected file to the server rather than just send the file name.
<div class="form-group">
                                        <label class="col-sm-2 control-label">上传图片</label>

                                        <div class="col-sm-10">
                                            <div id="upimg" style="width: 300px; height: 200px; background-color: aquamarine; text-align: center; line-height: 200px;" onclick="UpLode()">
                                                <span><i class="glyphicon glyphicon-open"></i>上传图片</span>
                                            </div>

                                        </div>
                                    </div>
In writing a hidden Input file upload button to add a hidden code that display: none
<input id="FImg" onchange="GetFile()" type="file" style="display: none" />
Finally, you can write JS method
UpLode function () {
         // trigger Fil click event
        $ ( " #FImg " ) .trigger ( " the Click " );
    }
Note; trigger () method triggers the specified event type of the selected element.
Presentation is finished

Luther then click on the box to trigger a hidden file upload box to display
Method on the Upload box with the usual upload pictures to use after pictures show
Upload a picture after picture show detailed links https://www.cnblogs.com/yutang-wangweisong/p/12076510.html