Foreign key (Foreign Key)
If today there are many positions a table above information
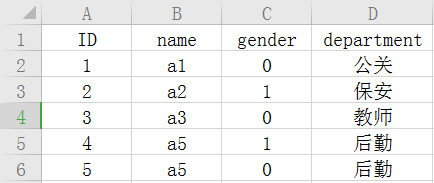
We can go to the two tables associate by way of using foreign keys
This advantage can save space, say your job title today is very long, it is necessary to write the name of the duplicate positions in a table, it is a waste of space; in addition to constraints also play a role.
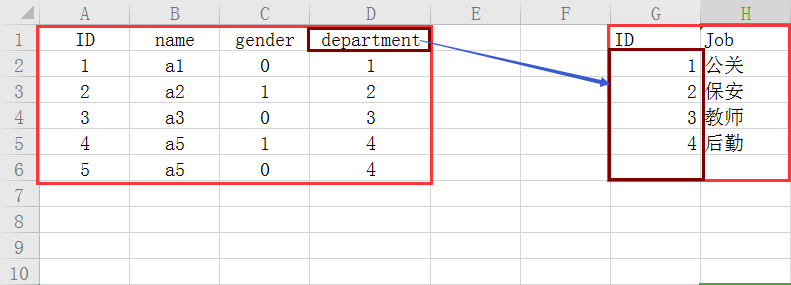
Like department is a foreign key.
Execute the code:
create table t1(
    uid bigint auto_increment primary key,
    name varchar(32),
    department_id int,
    gender int,
    constraint fk_user_depar foreign key ("department_id",) references department("id")
    )engine=innodb default charset=utf8;

create table t2(
    id bigint auto_increment primary key,
    job char(15),
)engine=innodb default charset=utf8;
? What is the role of the primary key when using the primary key?
Preservation of the integrity of the data, a table can have only one primary key, a master key can be synthesized by a multi-column primary key and a primary key is not empty
Create  Table T1 (
    UID BIGINT AUTO_INCREMENT,
    name VARCHAR ( 32 ),
    DEPARTMENT_ID int ,
    Gender int ,
     Primary  Key (UID, Gender) # The two synthesized as a primary key
     constraint fk_user_depar Foreign  Key ( "DEPARTMENT_ID",) References Department ( "ID ")
    ) Engine = InnoDB default charset = UTF8;
ps: the name of the foreign key can not be repeated.
Into a plurality of rows and plurality of columns corresponding to the primary key of another table:
create table t1(
    uid bigint auto_increment,
    name varchar(32),
    department_id int,
    gender int,
    primary key(department_id,gender)                    #将两列合成为一个主键
    constraint fk_user_depar foreign key ("department_id","gender") references department("id","num_gender")
    )engine=innodb default charset=utf8;

create table t2(
    id bigint auto_increment primary key,
    job char(15),
    num_gender bigint,
)engine=innodb default charset=utf8;
Auto-increment starting value
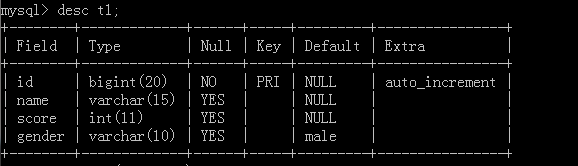
desc table name;
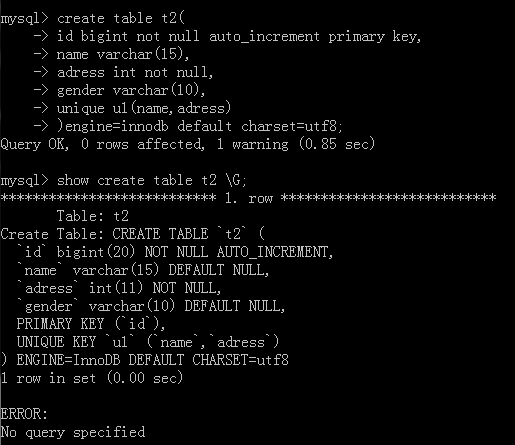
show create table 表名:
Assuming that the original table:

Execute command statement
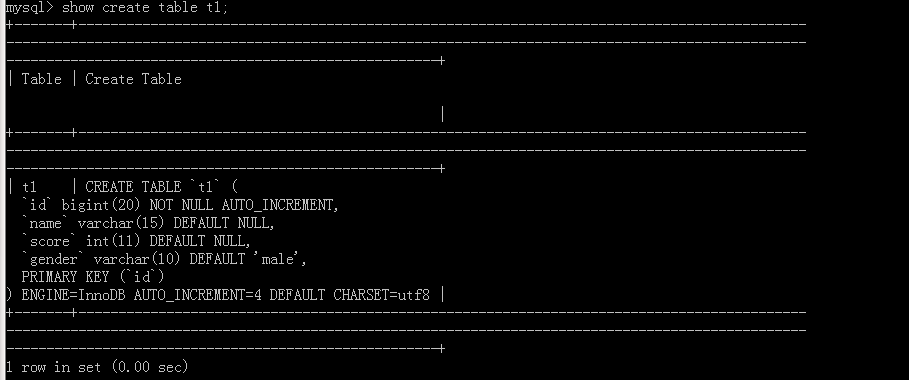
Appended to the command \ G
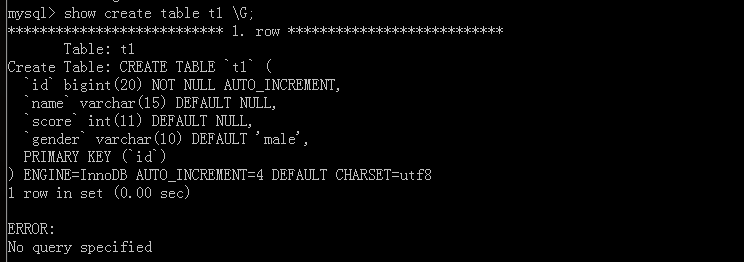
This is what we can see to write SQL statements, but no 'AUTO_INCREMENT = 4', because the original table has three data, shown here from the next value is 4.
We go to add two strokes from value-added data to see here is how to become.

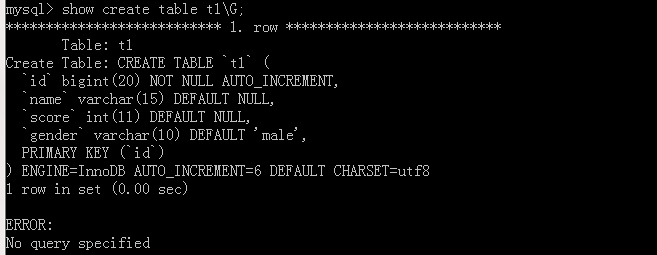
If you go from the modified value, to be used alter table table name AUTO_CREMENT = value;

Auto-increment step size
Mysql self-energizing step is not good, because it is based on a session-level, single sign-on is a session
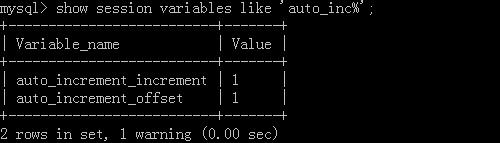
<1> based on the session level:
Statement: show session variables like 'auto_inc%' view of global variables
Setting step: set session auto_increment_increment = value;
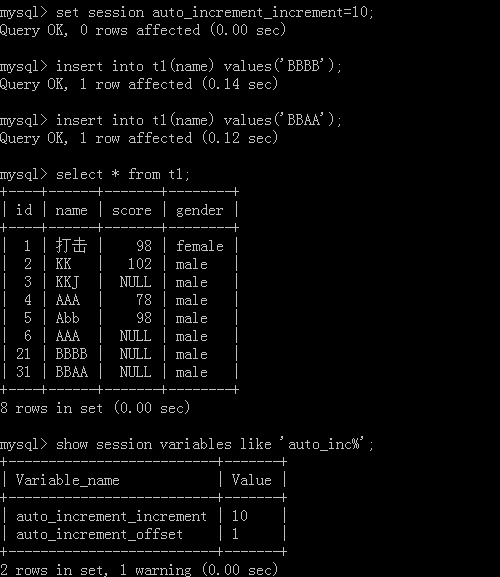
Note that each session of the steps are independent, except to go global with the global variable to each session of unity
Modify the starting value for the current session:
set session auto_increment_offset=值;
<2> based on a global level:
It allows step when the person logging have been modified to become a unified value
set global auto_increment_increment=200;
查看全局变量:
show global variables like 'auto_inc%';
修改全局的起始值:
set global auto_increment_offset=值;
唯一索引
唯一索引的作用就是能够加速查找和起到一个约束的作用
外键的变种
<1>一对多
例如:用户和部门的关系

<2>一对一
例如:用户表和博客表
需要用Foreign key和唯一索引去约束

如果想要制作一张员工表对应他们的权限关系,但只有高管才能去拥有权限去查看员工资料
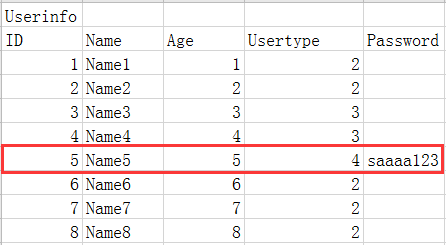
这里的Usertype是外键它所对应的是另外一张员工的职位表,但其实只有Usertype中的4是有权限去查看员工的资料的,所以其他员工的密码这一栏会造成资源的浪费,那这里我们可以用另外一种方式去优化:

<3>多对多
一张表表示:
例如:百合网的相亲记录表
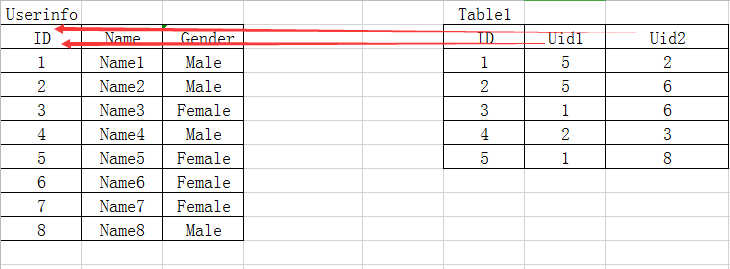
这里一共有两个外键Uid1、Uid2共同指向ID
两张表表示:
例如主机和用户的关系表,一个用户能够掌控什么类型的主机

主要去表示的好处能够让我们很清楚的看到一个用户掌握了几台主机且这台主机被什么用户给掌管的,User和HostID它要具有唯一性。
SQL语句数据行的一些补充
<1>.增
假设有一张表

通过语法:insert into 表名(第一列数据名,第二列数据名...) values(对应的第一列值一,对应的第二列值一...),(对应的第一列值二,对应的第二列值二...),...;用这种方式可以插入多次的值。

查看一下新增的数据:
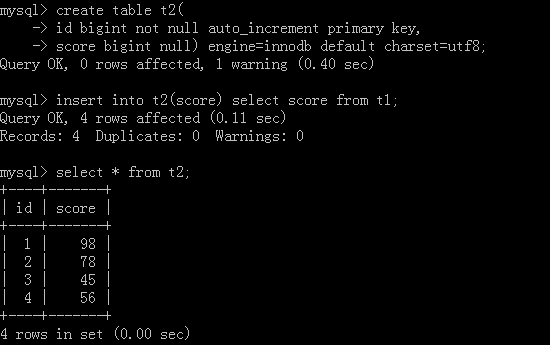
同样的我们也可从一个表中提取数据到另外一张表中
原表就是上面新增完数据的表,然后我们再去创建一个新的表:
<2>.删
分为无条件的情况和有条件的情况
无条件:
delete from 表名;
有条件:
1.delete from 表名 where ID != 2;
2.delete from 表名 where ID = 2;
3.delete from 表名 where ID > 2;                  #也可以是小于、大于等于、小于等于
4.delete from 表名 where ID < 2 and name = 'name1';
5.delete from 表名 where ID >= 2 or name = 'name1;
<3>.改
1.改一条
update 表名 set name = 'name1' where id > 2 and name = 'AAA';
2.改多条
update 表名 set name = 'name1',age = 20 where id > 2 or name = 'AAA';
<4>.查
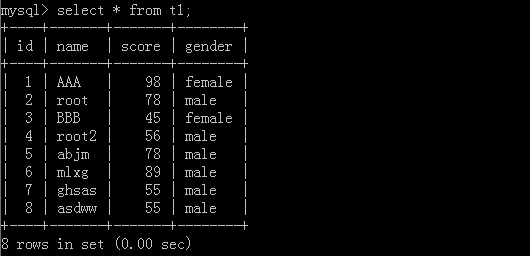
1.select * from 表名;
2.select id,name from 表名;
3.select id,name from 表名 where id > 10 or name = 'name1';
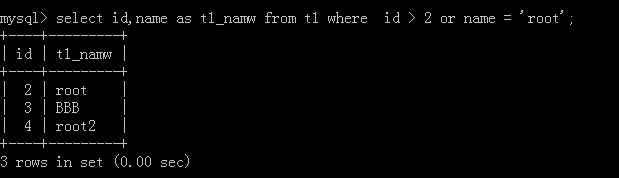
4.select id,name as 新名称 from 表名 where id > 10 or name ='nam1';
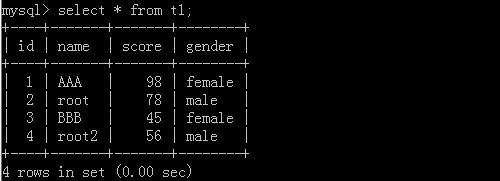
原表格:
执行后:
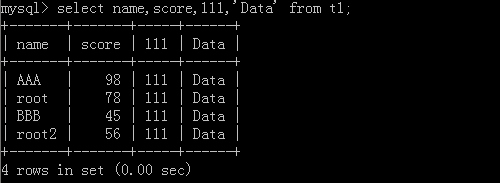
5.select name,age,'数据' from 表名;
原表格:
执行后:
其他:
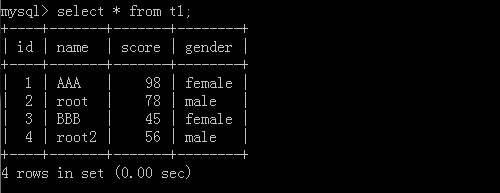
原表:

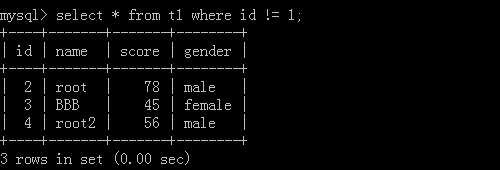
1.select * from t1 where id != 1;
执行结果:
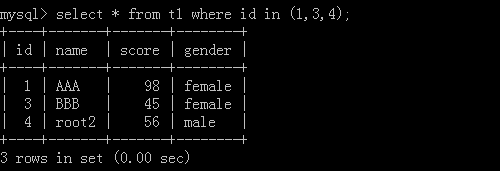
2.select * from t2 where id in (1,3,4);
执行结果:
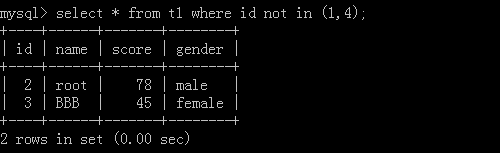
3.select * from t1 where id not in (1,4);
执行结果:
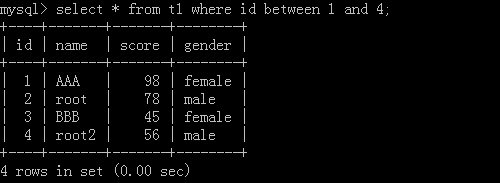
4.select * from t1 where id between 1 and 4; --->[1,4]
执行结果:
5. select * from t1 where id in (select score from t2);
t2表:
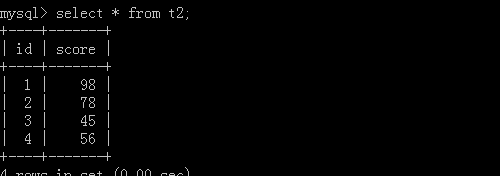
执行结果:

通配符:
'%':例如a%,a的后面可以去取任意个数的字符
'_':例如a_,a的后面只能取一个任意字符
1.select * from t1 where name like 'ro%';
执行结果:

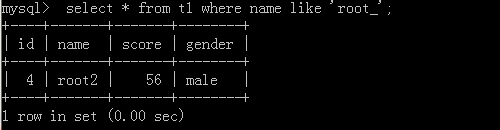
2.select * from t1 where name like 'root_';
执行结果:
限制:
比如说你去通过百度、谷歌查资料,它后面会给你分页,一次看十条二十条,这样不会让电脑资源不够导致崩溃。
原表格:
1.select * from t1 limit 6;
执行结果:

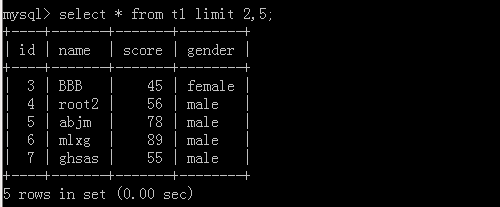
2.select * from t1 limit 2,5;
这里的2代表起始位址,5代表一共查几笔资料
执行结果:
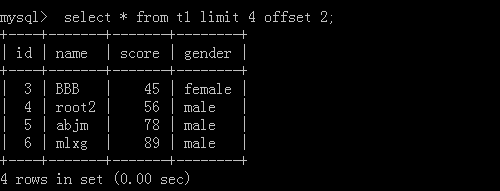
3.select * from t1 limit 10 offset 20;
这里表示从20开始,往后查10条数据
执行结果:
如果要查找后面10笔数据就要先把整笔数据进行翻转再去查这10笔即可
排序:
从大到小查:
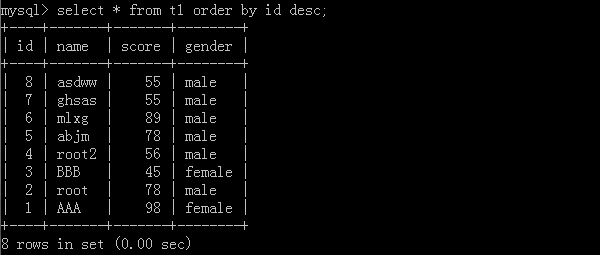
1.select * from t1 order by id desc;
利用id去进行从大到小排列数据,执行结果:
从大到小查:
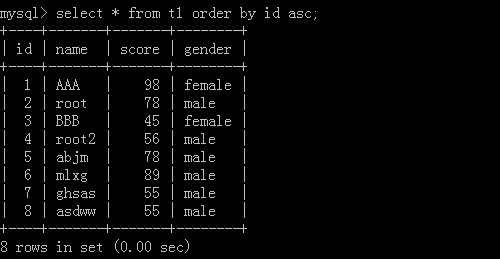
2.select * from t1 order by id asc;
利用id去进行从小到大排列数据,执行结果:
查后5笔数据:

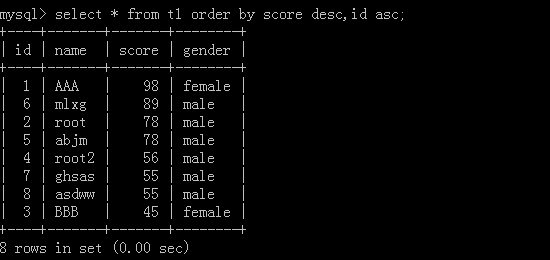
多列排序:
按排列优先顺序去排,先把score按从大到小的方式排列,如果有score相同再去按它的id从小到大的方式排列
组合:
以员工和部门作为例子,先创建部门表:

再创建一个员工表:

添加员工信息和部门信息:


查看添加好的员工信息表和部门信息表:

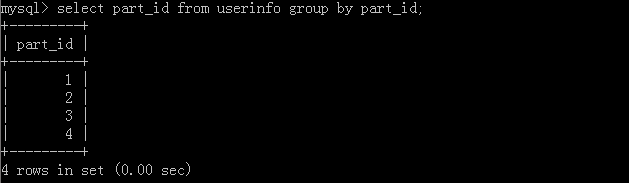
1.select part_id from userinfo group by part_id;
执行结果:
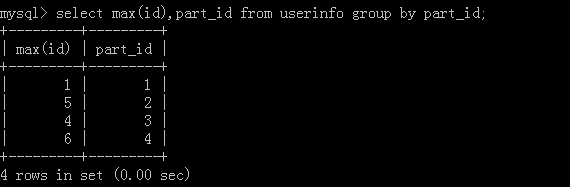
2.select max(id),part_id from userinfo group by part_id;
执行结果:
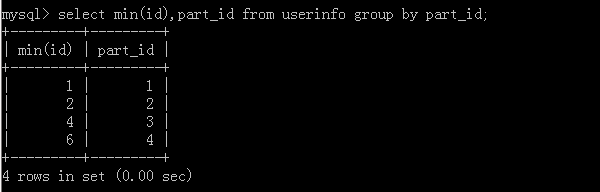
3.select min(id),part_id from userinfo group by part_id;
执行结果:
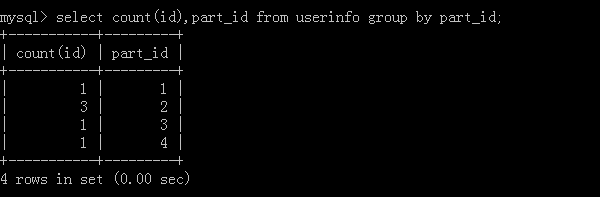
4.select count(id),part_id from userinfo group by part_id;
执行结果:
5.select sum(id),part_id from userinfo group by part_id;
执行结果:

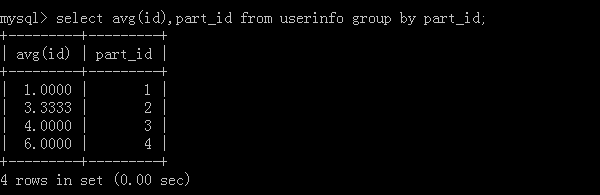
6.select avg(id),part_id from userinfo group by part_id;
执行结果:
7.select count(id),part_id from userinfo group by part_id having count(id) > 1;
如果对于聚合函数结果进行二次筛选时就必须要用到having关键字,执行结果:

8.select count(id),part_id from userinfo where id = 1 or id < 4 group by part_id having count(id) > 1;
执行结果:

连表操作:
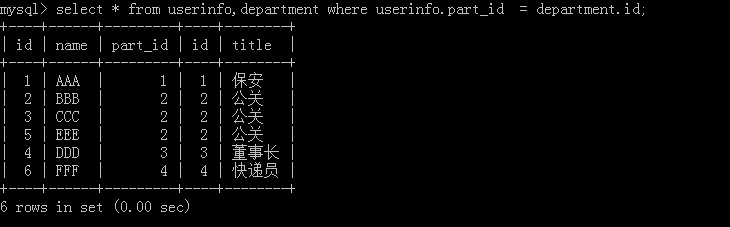
1.select * from userinfo,department where userinfo,part_id = department_id;
把两张表进行一个连接操作,如果后面不加条件就会出现混乱。执行结果:
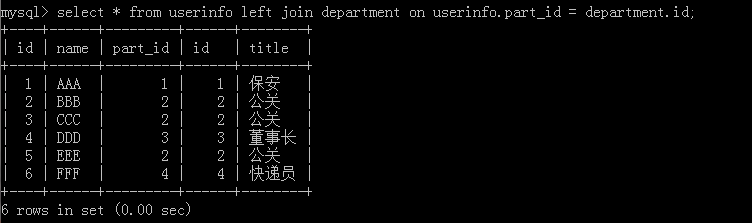
2.select * from userinfo left join department on userinfo.part_id = department.id;
这种方法按以前SQL版本效能上会有差异,但现在其实没有太大的相差,但推荐使用这一个去进行表的连接。特点:左边的表userinfo会全部显示。执行结果:
3.select * from userinfo right join department on userinfo.part_id =department.id;
特点:右边表department的数据会全部显示
4.select * from userinfo inner join department where userinfo.part_id = department.id;
如果一个表连另外一张表的数据时,出现NULL时,就会把整行数据给隐藏掉