1. Use the putty to configure remote server connection, the login server.

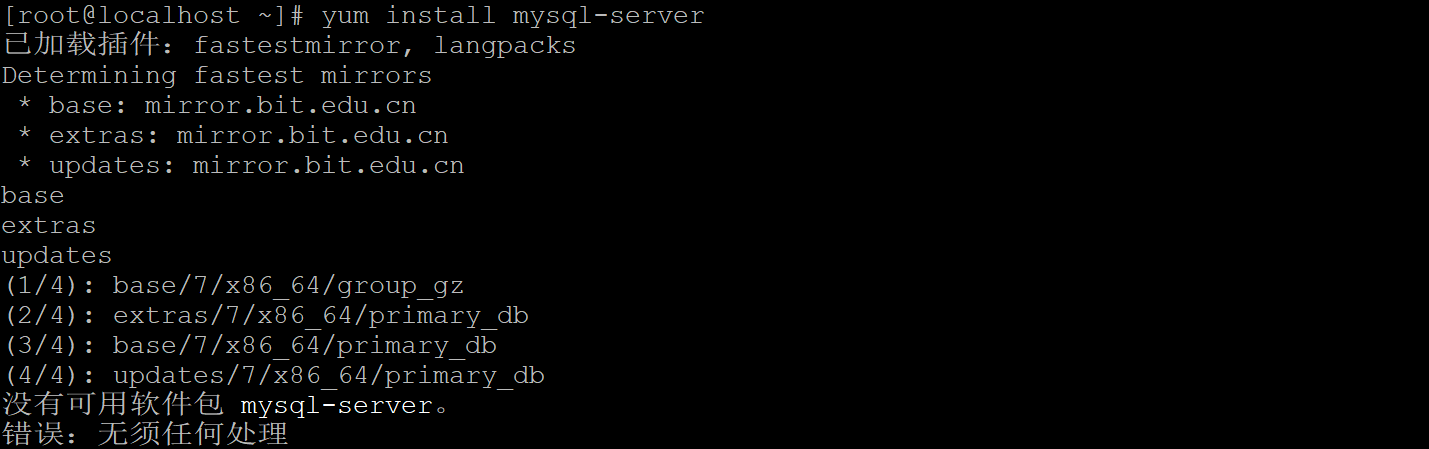
Without specifying download package using yum install mysql-server Tip packet is not specified, such as:
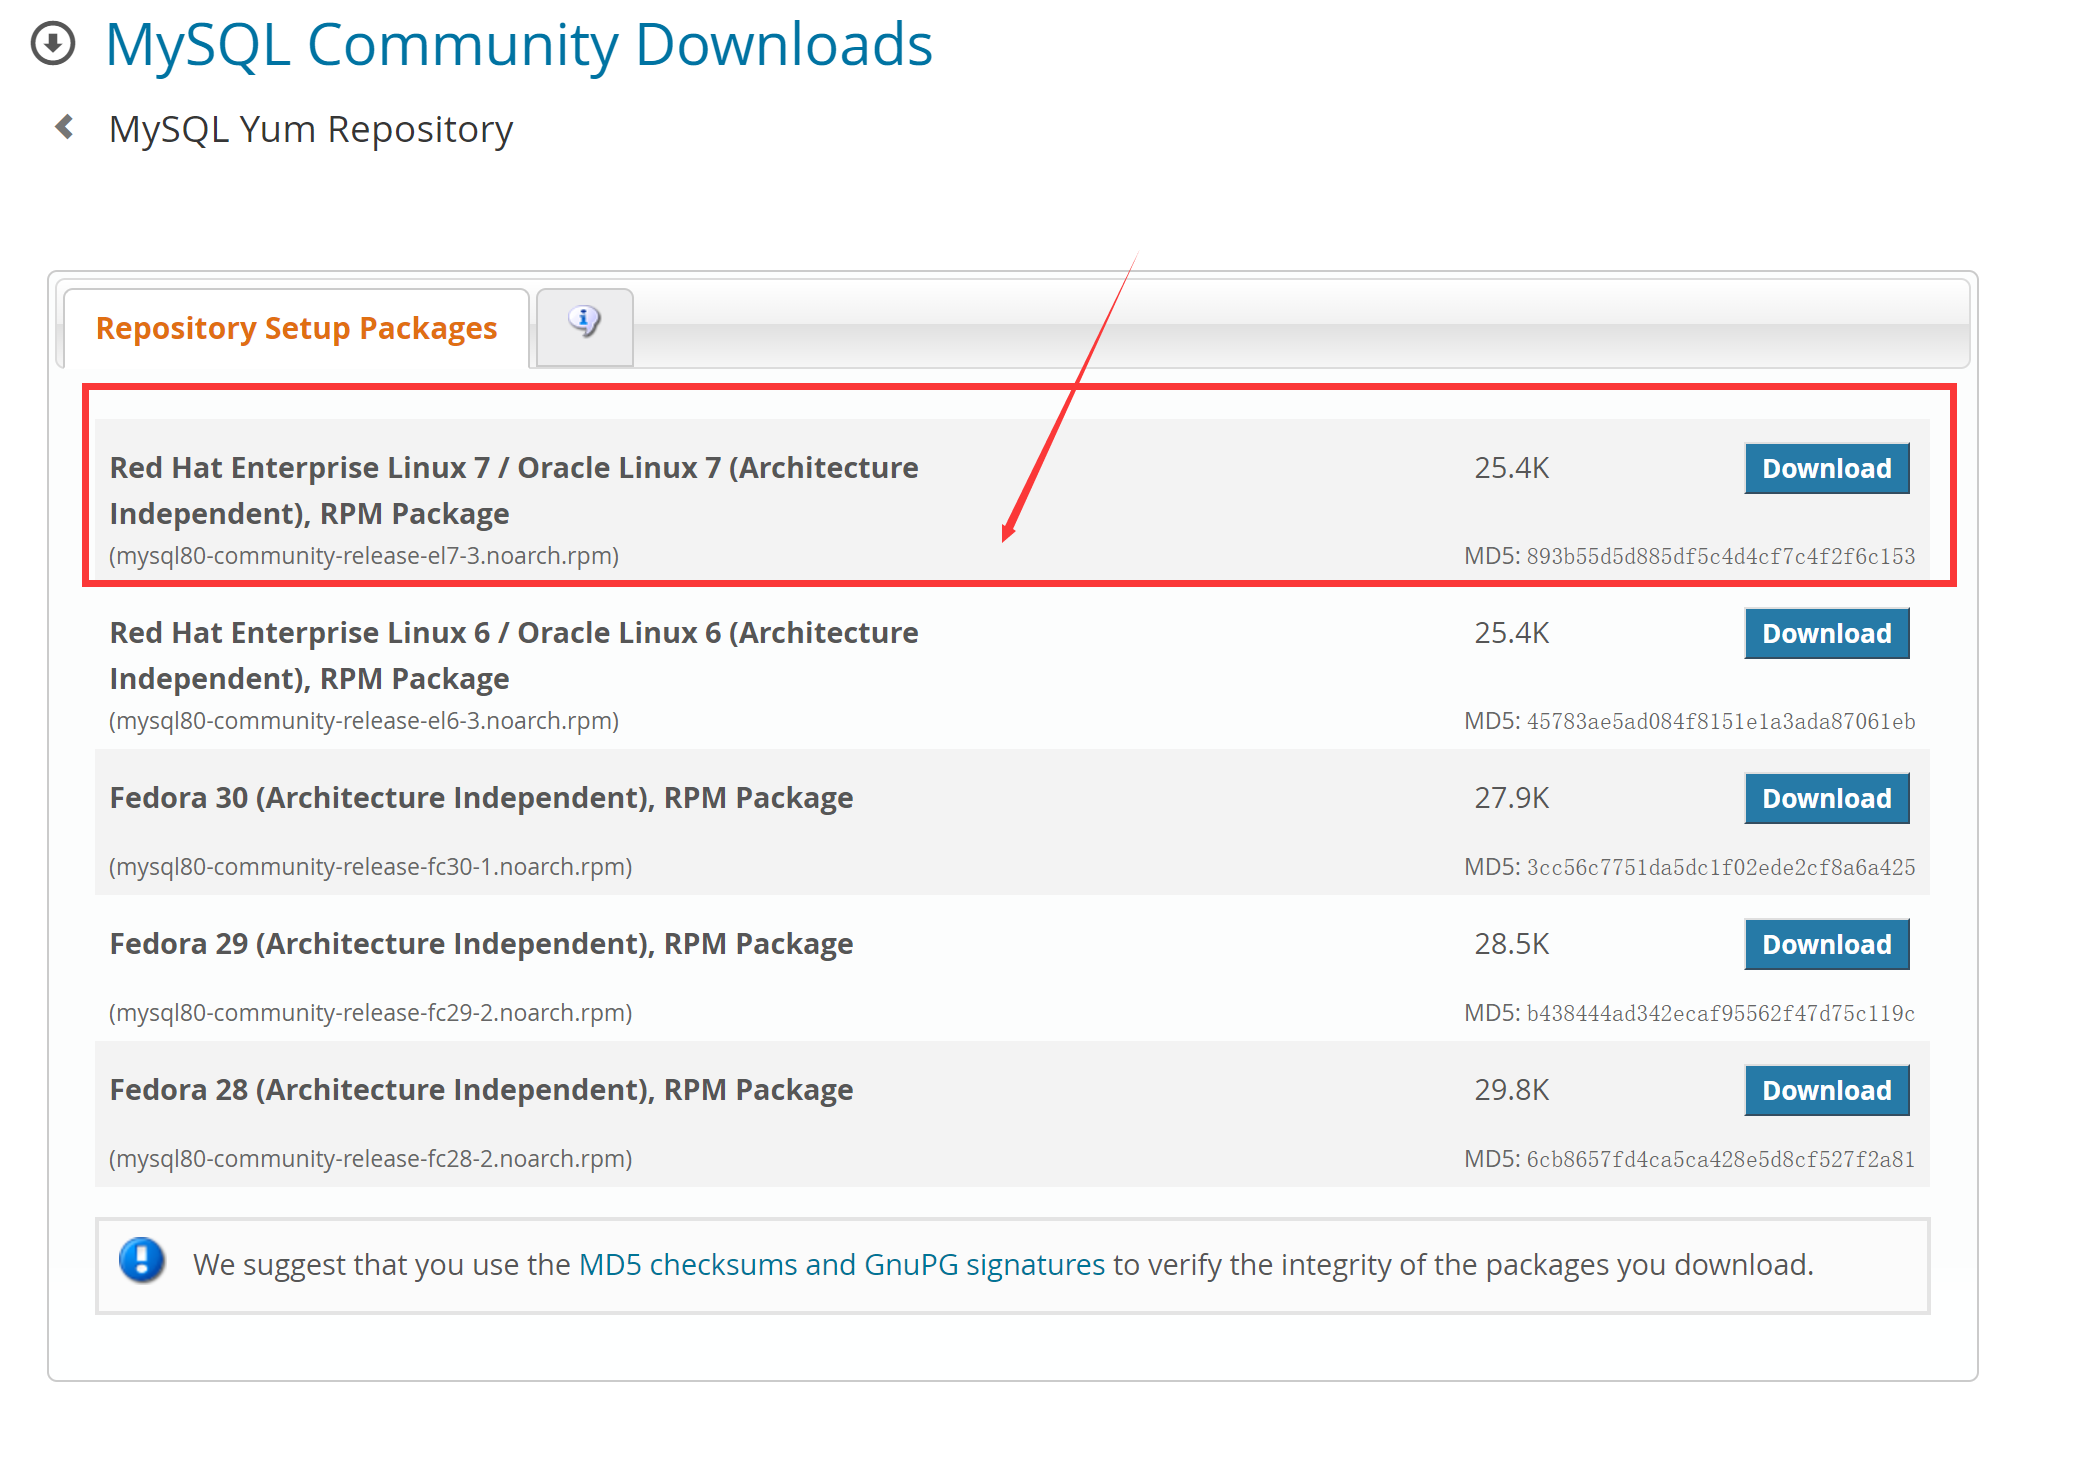
2. Because Oracle's acquisition of Mysql and Mysql to be a closed-source development, so before downloading yum command can not get to the download package, the way we use rpm to install, then we need to download the community version of Mysql install from the official website package.
Address: https: //dev.mysql.com/downloads/repo/yum/
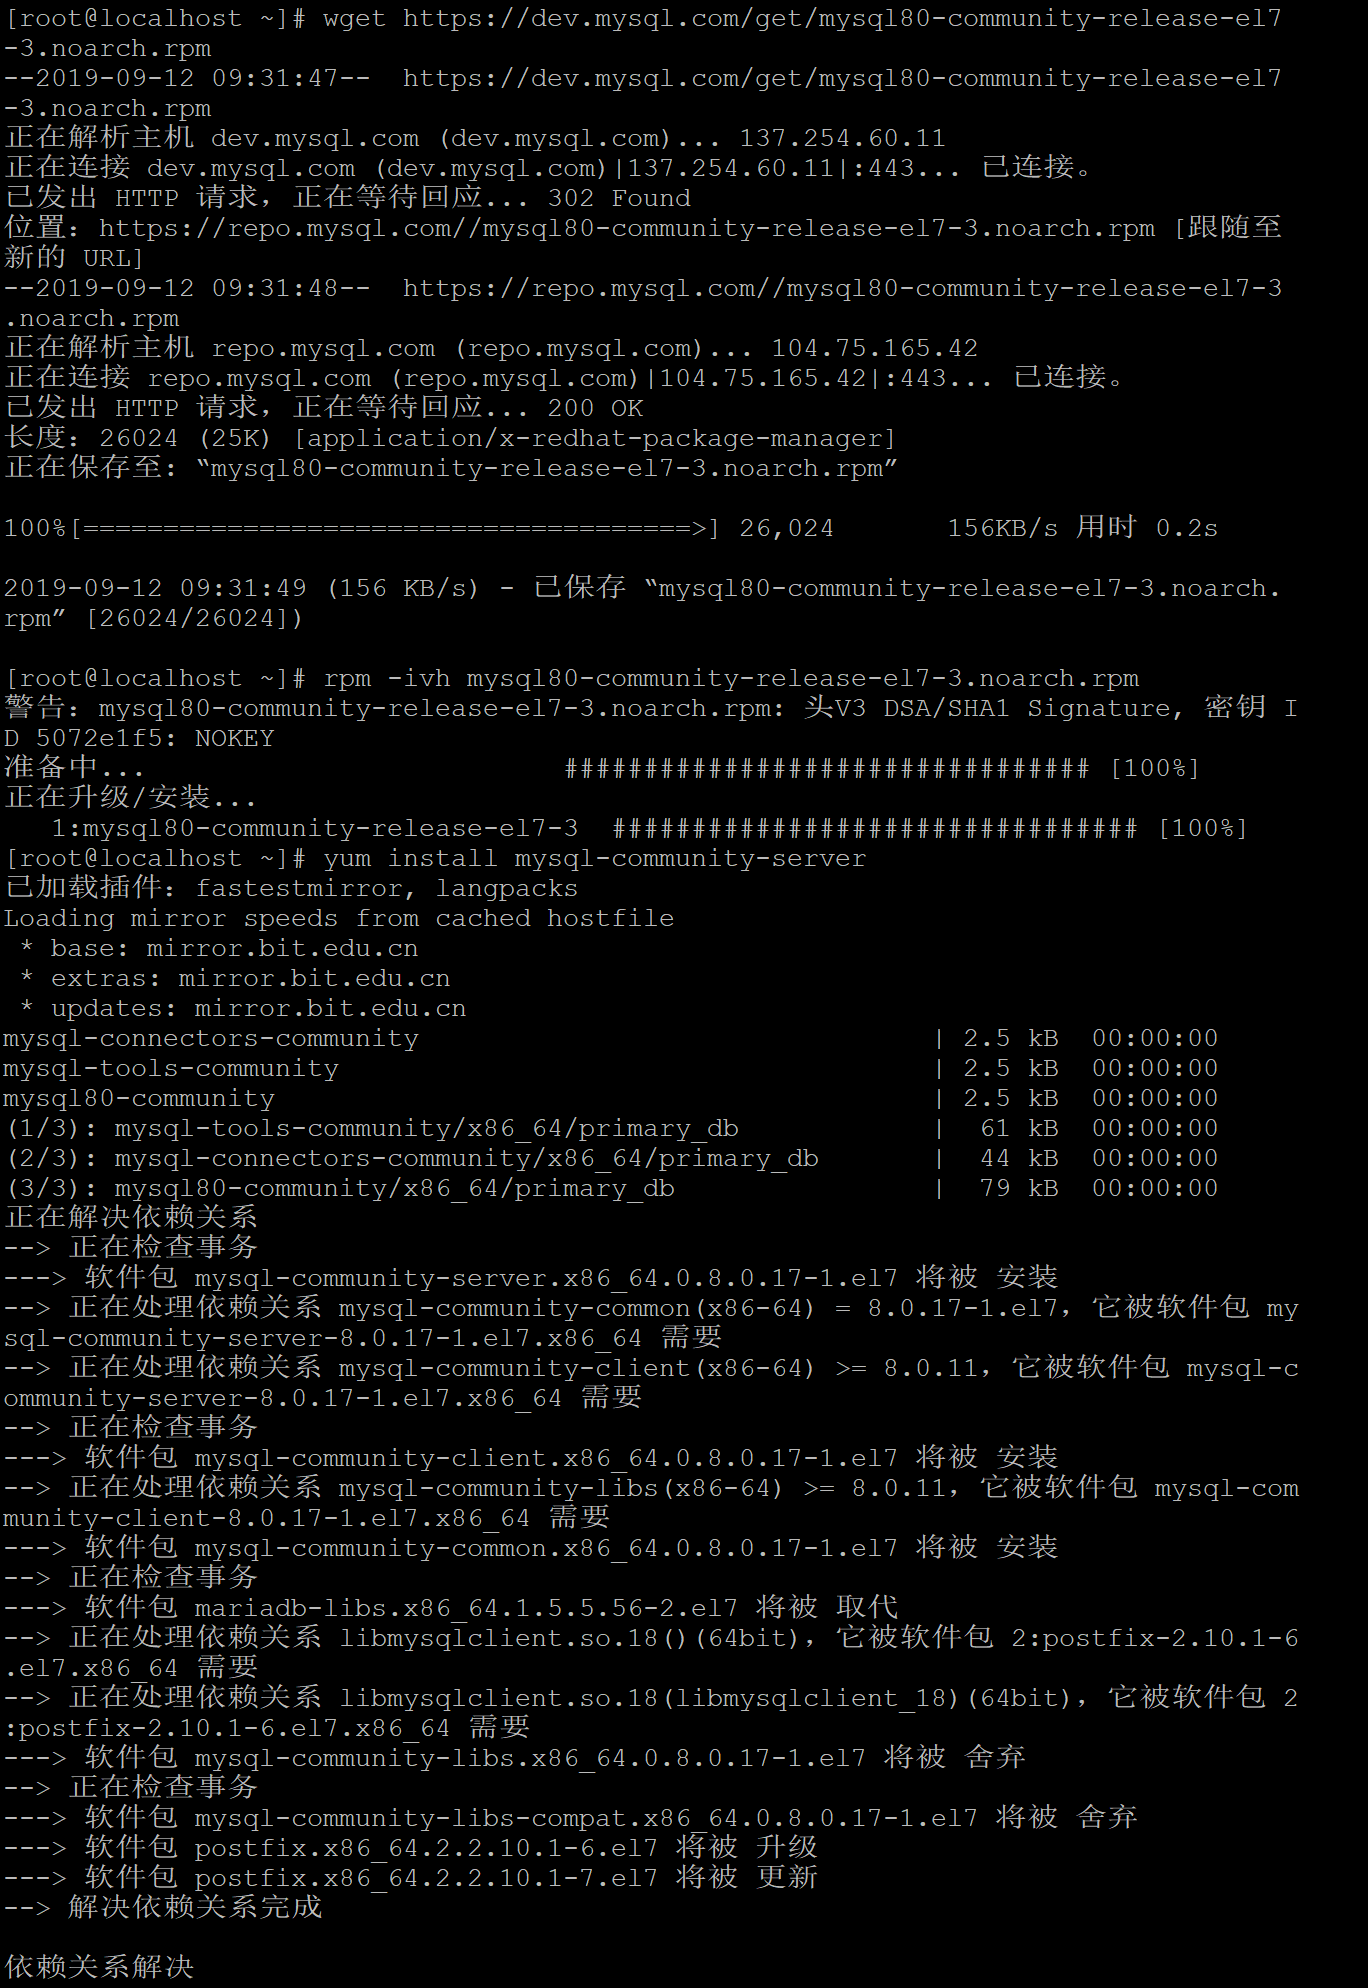
Use the command:
wget https://dev.mysql.com/get/mysql80-community-release-el7-3.noarch.rpm
rpm -ivh mysql-community-release-el7-5.noarch.rpm
yum install mysql-community-server

3. After installation, start Mysql, and view the status.
service mysqld start
service mysqld status
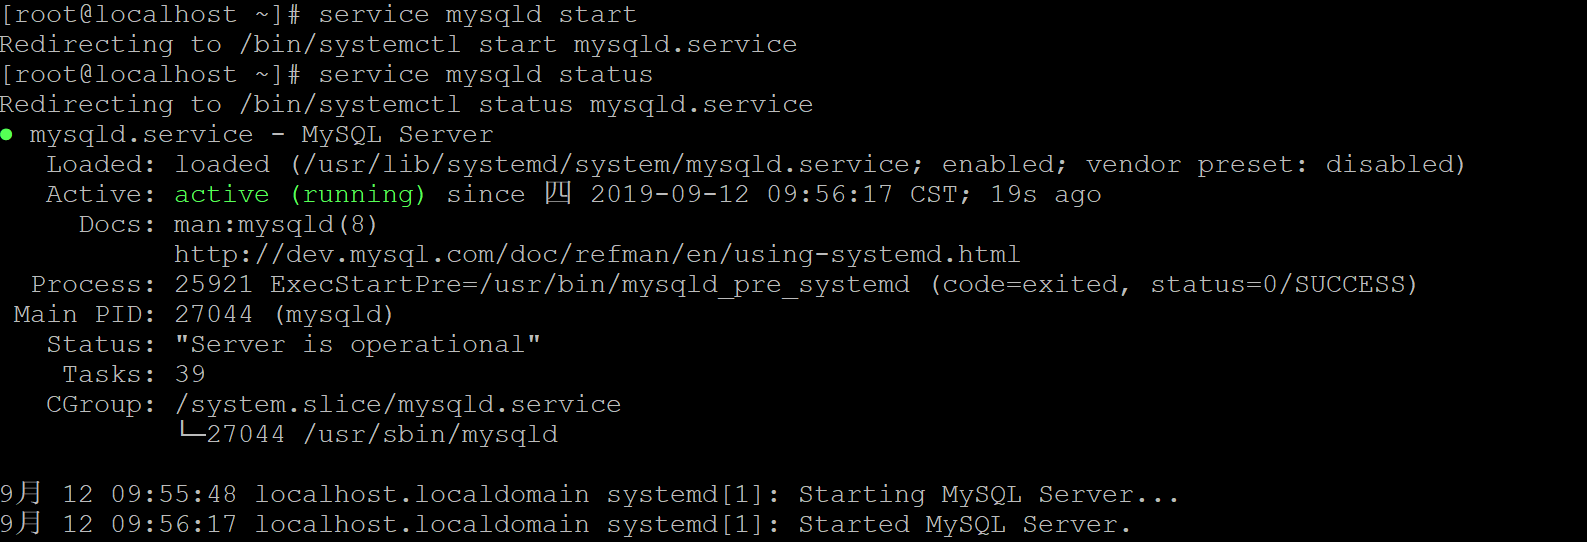
See the green active (running) on behalf of the service starts successfully.
Configuring Mysql
The default password MySQL, the initial use of the system, if not to remember, will be the login fails
mysql -uroot -p
An error,
![]()
Use the command to view the initial password: grep password
cat /var/log/mysqld.log | grep password
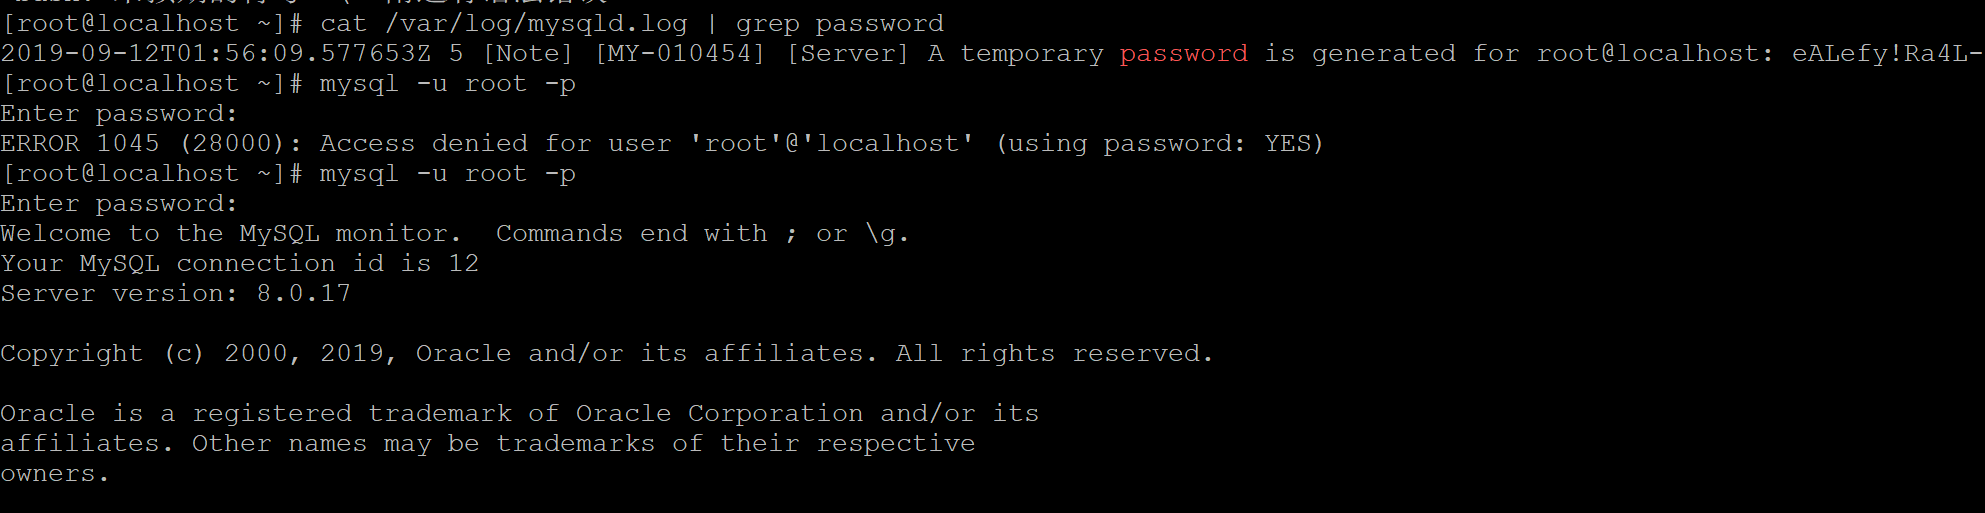
Landed successfully.
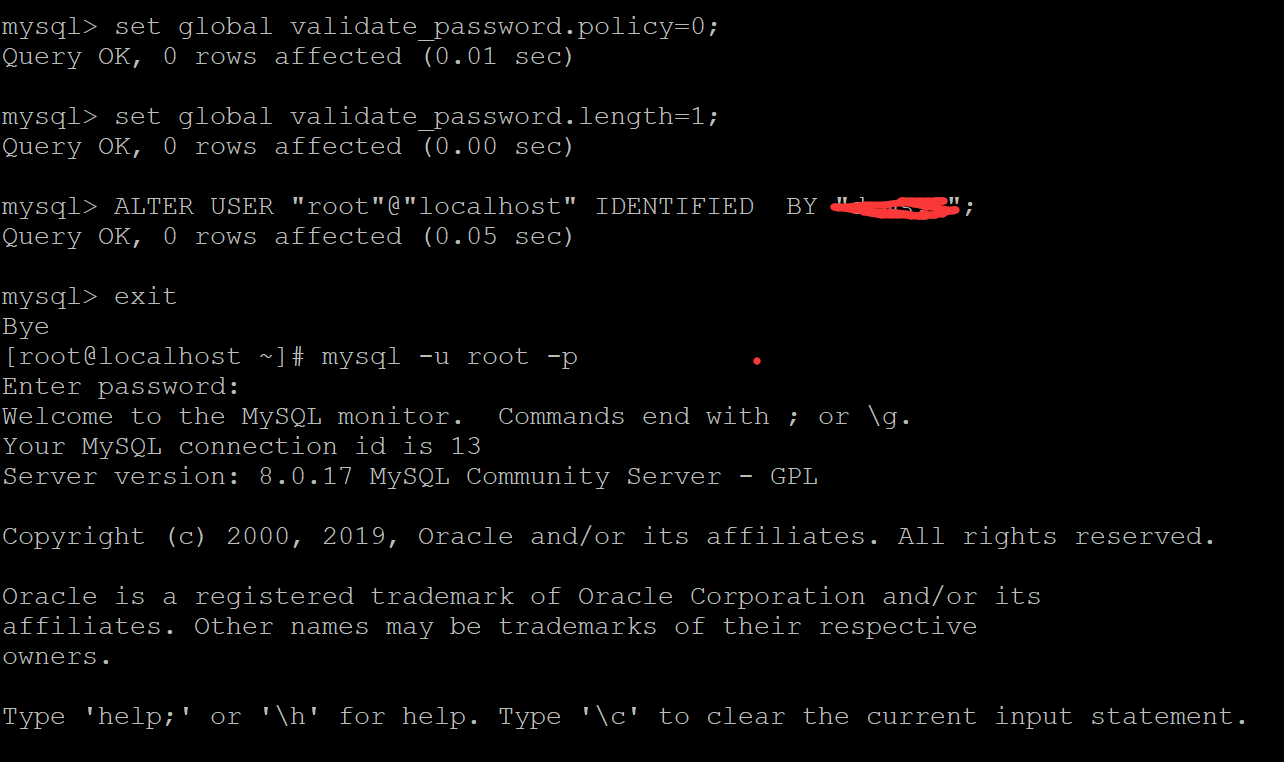
Password bad record, down the need to change the root password
注意:重点啊,如果你没有设置认证方式,默认的密码加密方式是:caching_sha2_password,而现在很多客户端工具还不支持这种加密认证方式,连接测试的时候就会报错:client does not support authentication protocol requested by server; consider upgrading MySQL client,这里的错误信息就是不支持身份认证方式,没关系,去my.ini里面在[mysqld]下面加上这句话即可:
default_authentication_plugin=mysql_native_password
set global validate_password.policy=0;

set global validate_password.length=1;

ALTER USER "root"@"localhost" IDENTIFIED  BY "****";   // 新密码为*****
使用 nano /etc/my.cnf” 即通过nano 修改 my.cnf文件
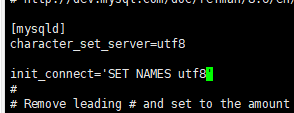
通过光标移动定位需要修改的参数行,例如想要设置max_connections参数,则下面的参数行max_connections=100
然后把max_connections的参数设置成你想要修改的数值,例如110
键入Ctrl+O写入writeout并保存修改
然后,键入Ctrl+X退出Nano
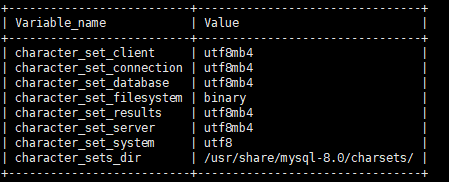
查看下编码:
mysql> show variables like '%character%';
最后重启MYSQL以使修改生效。键入命令:
systemctl restart mysqld
这样,max_connections参数就成功从100修改成110,成功配置了MYSQL的配置文件my.cnf
5. 打开远程访问和授权
对于允许远程访问,有两种角色,一种是我们的root用户,还有一种是非root用户,从安全的角度(我也不知道什么角度,听别人说的,暂且相信着吧),远程访问最后不要用root用户
用root用户访问:
GRANT ALL PRIVILEGES ON *.* TO 'root'@'%'IDENTIFIED BY '密码' WITH GRANT OPTION;
这里允许root用户远程的时候,如果出现如下的错误,就先去把root用的host改成%,再运行上面那句话,对于mysql用户管理这一块不熟悉的朋友们,请看我另一篇博客--mysql 用户及权限管理

非root用户,这里就要先去创建一个用户
切换数据库
mysql>use mysql;

创建用户(user1:用户名;%:任意ip,也可以指定,root默认就是localhost;123456:登录密码)
mysql>CREATE USER 'user1'@'%' IDENTIFIED BY '123456';

授权,默认创建的用户权限是usage,就是无权限,只能登录而已,(all:所有权限,这里有select,update等等权限,可以去搜一下;后面的*.*:指定数据库.指定表,这里是所有;to后面就是你刚才创建的用户)

mysql>grant all on *.* to 'user1'@'%';

注意:用以上命令授权的用户不能给其它用户授权,如果想让该用户可以授权,用以下命令:
GRANT all ON databasename.tablename TO 'username'@'host' WITH GRANT OPTION;
6.开启防火墙
Mysql默认不允许远程登录,所以需要开启远程访问权限,可以先查看user表
select user,authentication_string,host from user;

默认都是localhost
update user set host = '%' where user = 'root';

此时root的host是所有都可以了
然后刷新修改,
FLUSH PRIVILEGES;
注意:这步一定要做,否则无法生效。
然后开启防火墙。
firewall-cmd --zone=public --add-port=3306/tcp --permanent
firewall-cmd --reload
完毕,快乐的使用远程客户端连接使用吧!!