Also seen the desert before vw adaptation Vue-cli, I wrote H5, as well as the use of vue doing the project, it will be built in the desert blog that set.
Now on github above, I saw a blogger using the create-react-app is using vw fit, very happy, and now we use vw to react with the project fit the mobile end it -
put the first big open source blogger Address: https://github.com/gaohan1994/react-vw-layout
give you selfless open source programmers point of praise, you are the most lovable man child.
1. Create a project
cnpm install -g create-react-app
create-react-app react-vw-layout
cd react-vw-layout
npm start
2 .. Open the configuration options
due react hidden by default webpack you need to manually configure the display.
eject finished project follows

the second step call it a day, the third start configuring the various plug-ins.
3. increase the allocation
to install the plug-postCss
cnpm i --save postcss-aspect-ratio-mini postcss-px-to-viewport postcss-write-svg postcss-cssnext postcss-viewport-units cssnanoBe modified as follows in the config / webpack.confi.js document
1 introduced postCss widget
const postcssAspectRatioMini = require('postcss-aspect-ratio-mini');
const postcssPxToViewport = require('postcss-px-to-viewport');
const postcssWriteSvg = require('postcss-write-svg');
const postcssCssnext = require('postcss-cssnext');
const postcssViewportUnits = require('postcss-viewport-units');
const cssnano = require('cssnano');
2. Add postCss configuration
Add the following configuration code position
  {
        // Options for PostCSS as we reference these options twice
        // Adds vendor prefixing based on your specified browser support in
        // package.json
        loader: require.resolve('postcss-loader'),
        options: {
          // Necessary for external CSS imports to work
          // https://github.com/facebook/create-react-app/issues/2677
          ident: 'postcss',
          plugins: () => [
            require('postcss-flexbugs-fixes'),
            require('postcss-preset-env')({
              autoprefixer: {
                flexbox: 'no-2009',
              },
              stage: 3,
            }),
            // Adds PostCSS Normalize as the reset css with default options,
            // so that it honors browserslist config in package.json
            // which in turn let's users customize the target behavior as per their needs.
            // postcssNormalize()
            // 加入地点
            // 加入地点
          ],
          sourceMap: isEnvProduction && shouldUseSourceMap,
        },
      },
Code needs to be added as follows
postcssAspectRatioMini({}),
postcssPxToViewport({
  viewportWidth: 750, // (Number) The width of the viewport.
  viewportHeight: 1334, // (Number) The height of the viewport.
  unitPrecision: 3, // (Number) The decimal numbers to allow the REM units to grow to.
  viewportUnit: 'vw', // (String) Expected units.
  selectorBlackList: ['.ignore', '.hairlines'], // (Array) The selectors to ignore and leave as px.
  minPixelValue: 1, // (Number) Set the minimum pixel value to replace.
  mediaQuery: false // (Boolean) Allow px to be converted in media queries.
}),
postcssWriteSvg({
  utf8: false
}),
postcssCssnext({}),
postcssViewportUnits({}),
cssnano({
  preset: "advanced",
  autoprefixer: false,
  "postcss-zindex": false
})
4. Test
modify App.js
import React, { Component } from 'react';
import './App.css';

class App extends Component {
  render() {
    return (
      <div className="App">
        hello vw-layout
      </div>
    );
  }
}
export default App;
Modify App.css
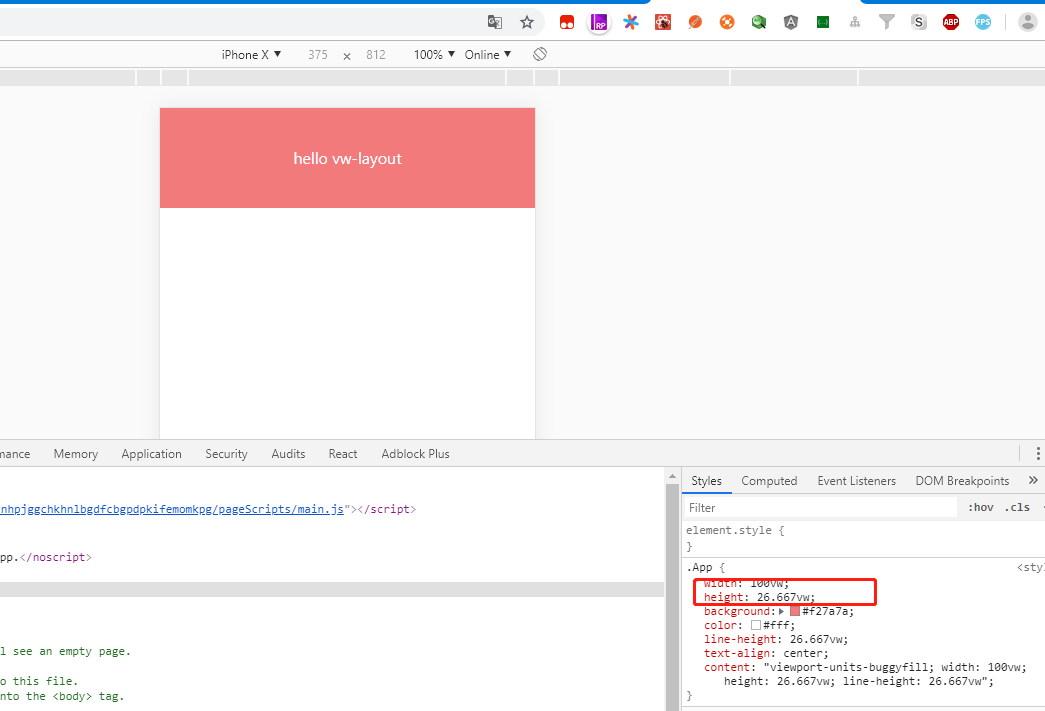
.App {
  width: 750px;
  height: 200px;
  background: #f27a7a;
  color: #ffffff;
  line-height: 200px;
  text-align: center;
}
Then run the project, the project will run error
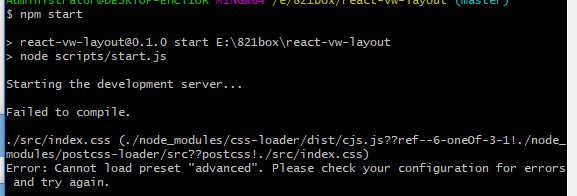
Solution:
cnpm i cssnano-preset-advanced --save-devRunning the Project
5. Production environment packed project
using npm run build error
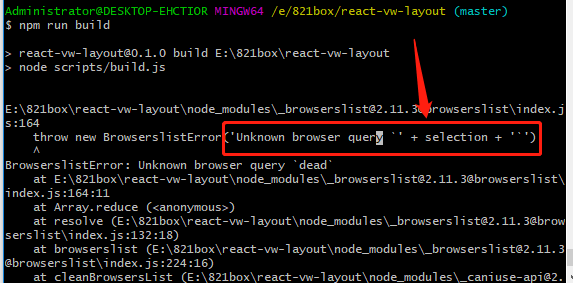
solutions to modify the file package.json
[
"last 2 versions",
"android 4",
"opera 12"
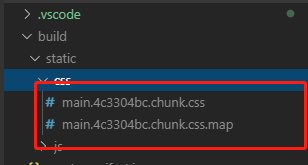
],Then package the project successfully

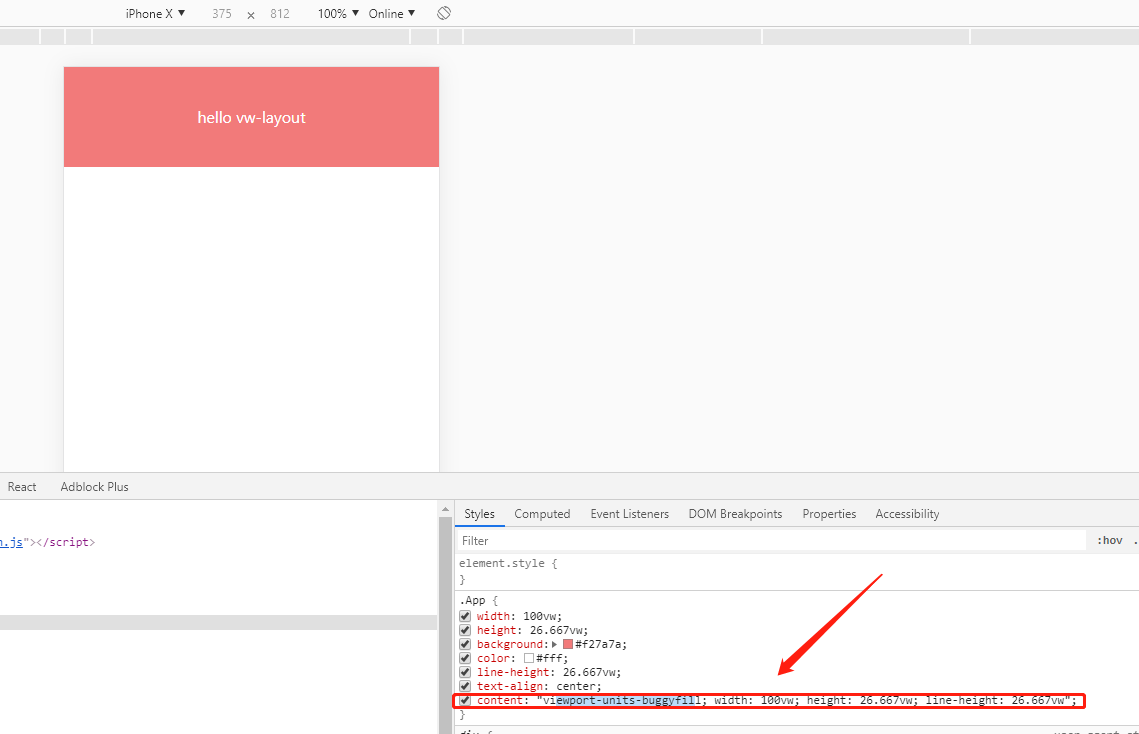
Open static / css / main. ********. Css
6.加入viewport-units-buggyfill配置
打开public/index.html
首先在中引入阿里cdn
<script src="//g.alicdn.com/fdilab/lib3rd/viewport-units-buggyfill/0.6.2/??viewport-units-buggyfill.hacks.min.js,viewport-units-buggyfill.min.js"></script>在body中,加入如下js代码:
<script>
  window.onload = function () {
    window.viewportUnitsBuggyfill.init({
      hacks: window.viewportUnitsBuggyfillHacks
    });
  }
</script>
最终index.html如下
//index.html
<!DOCTYPE html>
<html lang="en">
  <head>
    <meta charset="utf-8" />
    <link rel="shortcut icon" href="%PUBLIC_URL%/favicon.ico" />
    <meta name="viewport" content="width=device-width, initial-scale=1" />
    <meta name="theme-color" content="#000000" />
    <meta
      name="description"
      content="Web site created using create-react-app"
    />
    <link rel="apple-touch-icon" href="logo192.png" />
    <!--
      manifest.json provides metadata used when your web app is installed on a
      user's mobile device or desktop. See https://developers.google.com/web/fundamentals/web-app-manifest/
    -->
    <link rel="manifest" href="%PUBLIC_URL%/manifest.json" />
    <!--
      Notice the use of %PUBLIC_URL% in the tags above.
      It will be replaced with the URL of the `public` folder during the build.
      Only files inside the `public` folder can be referenced from the HTML.

      Unlike "/favicon.ico" or "favicon.ico", "%PUBLIC_URL%/favicon.ico" will
      work correctly both with client-side routing and a non-root public URL.
      Learn how to configure a non-root public URL by running `npm run build`.
    -->
    <title>React App</title>
    <script src="//g.alicdn.com/fdilab/lib3rd/viewport-units-buggyfill/0.6.2/??viewport-units-buggyfill.hacks.min.js,viewport-units-buggyfill.min.js"></script>
  </head>
  <body>
    <noscript>You need to enable JavaScript to run this app.</noscript>
    <div id="root"></div>
    <script>
      window.onload = function () {
        window.viewportUnitsBuggyfill.init({
          hacks: window.viewportUnitsBuggyfillHacks
        });
      }
    </script>
    <!--
      This HTML file is a template.
      If you open it directly in the browser, you will see an empty page.

      You can add webfonts, meta tags, or analytics to this file.
      The build step will place the bundled scripts into the <body> tag.

      To begin the development, run `npm start` or `yarn start`.
      To create a production bundle, use `npm run build` or `yarn build`.
    -->
  </body>
</html>
重新执行npm start打开页面发现:
如果遇到img无法显示,则添加全局css
img {
    content: normal !important;
}
这样就适配了低版本安卓机型
7.加入css-modules配置
一般的小项目不使用css-modules已经可以hold住了,但是页面多起来还是建议使用css-modules,下面介绍一下用法:
npm i --save react-css-modules在App.js文件中引入插件 import CSSModules from 'react-css-modules';
修改css文件的引入方式 从import './App.css';修改为import styles from './App.css';
修改引用Css方式 className=>styleName
修改导出方式 export default App=>export default CSSModules(App, styles);
保存,从新执行npm start查看页面发现失败
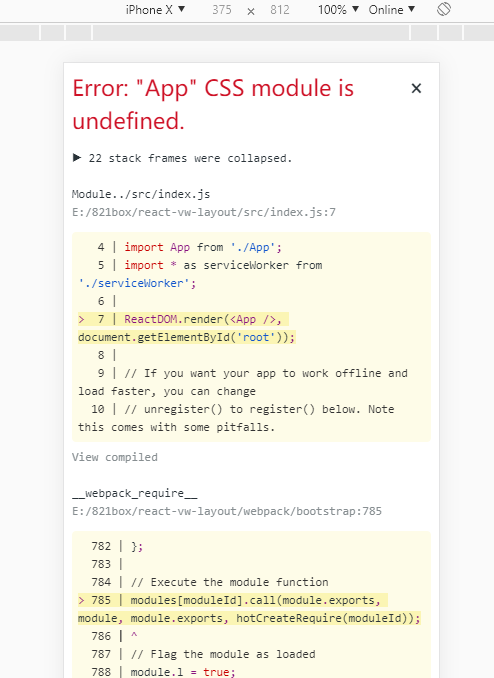
原因是未打开css import配置,此时import styles from './App.css';该语句并未成功引入css文件。
打开webpack.config.js加入modules: true 找到如下位置
  {
        loader: require.resolve('css-loader'),
        // options: cssOptions,
        // 代码看这里看这里
        options:{
          //添加添加添加
          modules:true,
          importLoaders:1,
        }
      },
保存,再次执行npm start查看页面

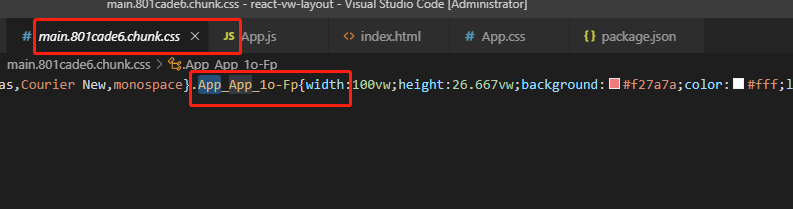
是这个class名太过乱码不适于调试,再次打开webpack.config.dev.js 找到如下位置加入语句localIdentName:'[name][local][hash:base64:5]'
 {
        loader: require.resolve('css-loader'),
        // options: cssOptions,
        // 代码看这里看这里
        options:{
          //添加添加添加
          modules:true,
          importLoaders:1,
          localIdentName: '[name]_[local]_[hash:base64:5]'
        }
      }
再次运行项目

我们可以看到对应的class,方便我们在项目中的调试
最后我们执行npm run build 查看打包文件
嗯,已经大功告成啦啦啦啦啦啦啦
开心,再次感谢作者大大无私的分享经验