XILINX new generation of SOC, Zynq UltraScale + MPSOC series of extremely powerful performance, compared to ZYNQ known as performance-per-watt 7000 increased by 5 times, always wanted to experience. Recently due to the project we need to start the development board set MPSoc Mill, finally opened the road MPSoc learning. Do not talk nonsense, hello world first.
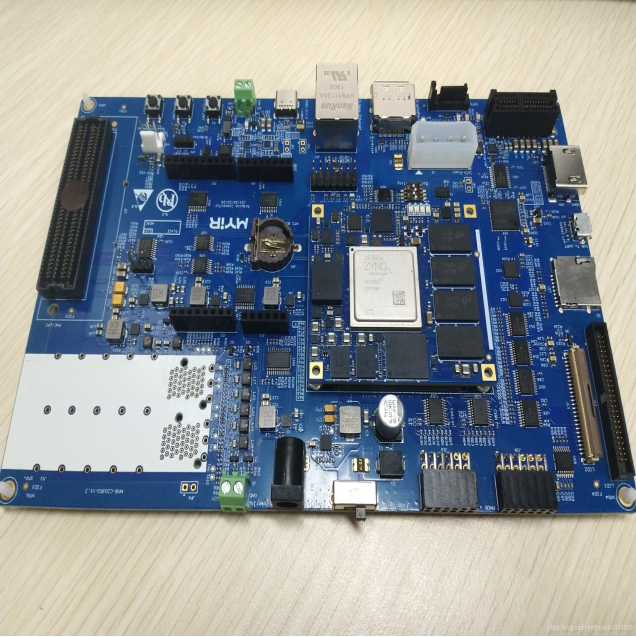
Development Environment: vivado 2017.4, Model Development Board: Mill MYD-CZU3EG, main chip XCZU3EG-1SFVC784. This series board also 4EV, 5EV other versions, 3EG hand version does not support SFP, and therefore a corresponding interface board (white part) is empty posted.
First to a map, witnessed the development board Mir MPSoc real capacity:
The following MPSoc the Hello World process notes
Step1 New vivado project
open vivado 2017.4, select File -> New Project

Click Next, fill in the project name hello_world, check the project save path

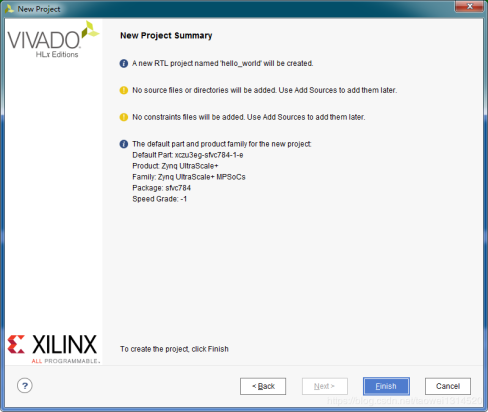
The Next, until the dialog below, the configuration according to the theme selected model development board xczu3eg-sfvc784-1-e, click Next,

Click Finish, the new vivado completion.
Step2 New Block Design
click Create Block Design navigation bar
Here you can fill in your name, I'm here to directly use the default name, click OK, to complete the new Block Design District

Step3 call ZYNQ IP core configuration and
click Add IP, enter ZYNQ in the navigation bar, and then double-click ZYNQ UltraScale + MPSoC
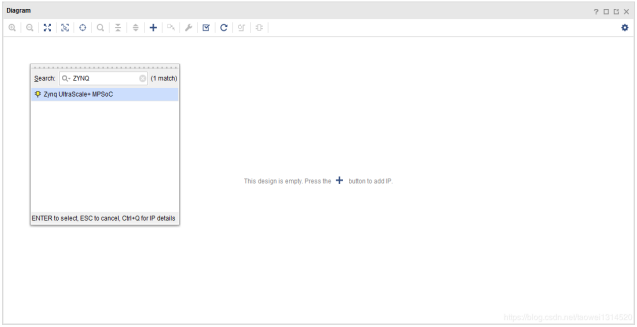
Added ZYNQ core, as shown in FIG.

Double-click ZYNQ IP core import profile
Click Presets -> Apply Configuration Add Profile
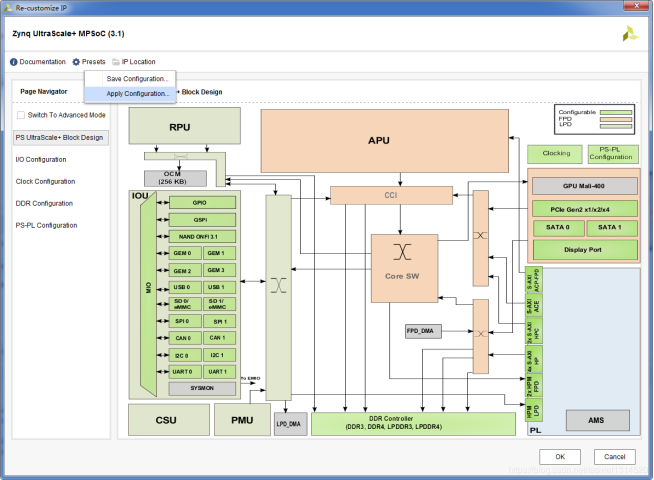
Import hello_world.tcl configuration file, select OK, the configuration is complete ZYNQ core.
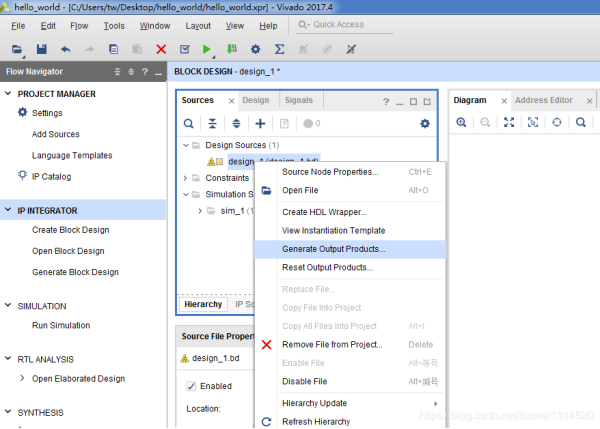
Step4 综合
右击design_1 --> Generate Output Products,点击Generate
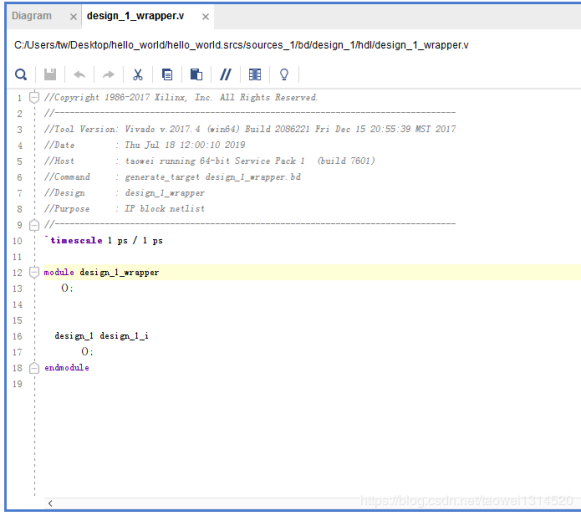
Step 5 生成顶层文件
右击design_1-->Create HDL Wrapper,点击OK

生成的顶层文件,如下图所示
Step6 生成bit文件
点击快捷工具栏上的Generate Bitstream
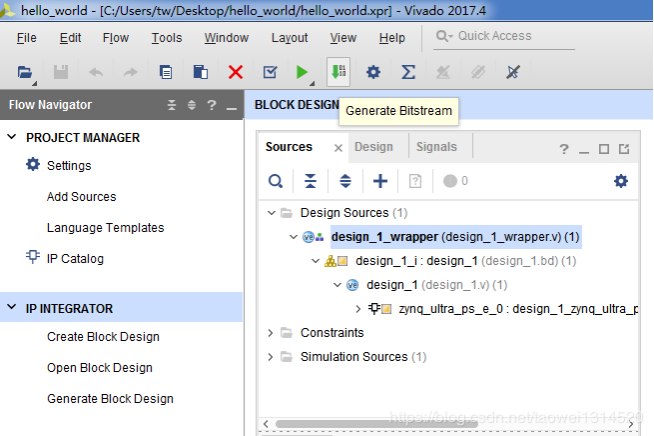
bit生成成功,点击Cancel关闭对话框
Step7 导出硬件配置文件
点击File-->Export-->Export Hardware
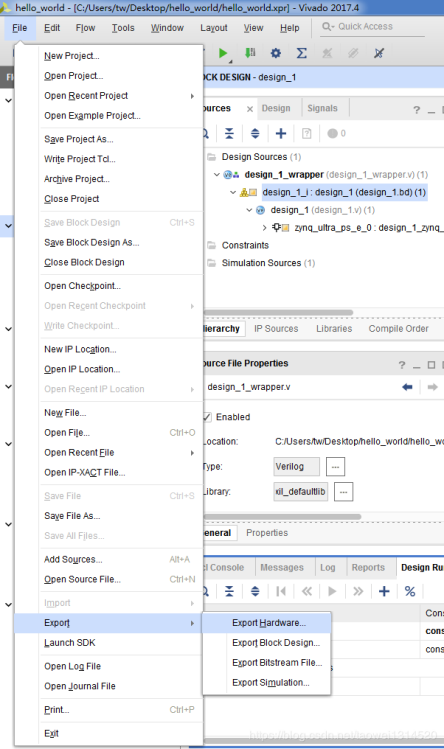
勾选Include bitstream,点击OK
Step8 打开SDK
点击File-->Launch SDK
点击OK
Step9 新建fsbl
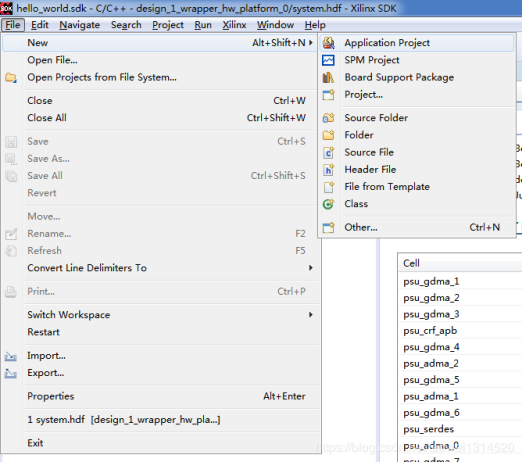
点击File-->Application Project
添加工程名fsbl,点击Next
选择Zynq MP FSBL,点击Finis
Step10 新建hello_world工程
点击File-->Application Project,填写工程名 hello_world, 点击Next
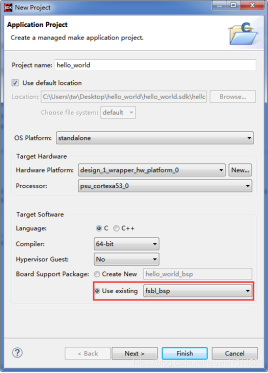
选择Hello_World模板,点击Finish
Step11 生成BOOT.bin文件
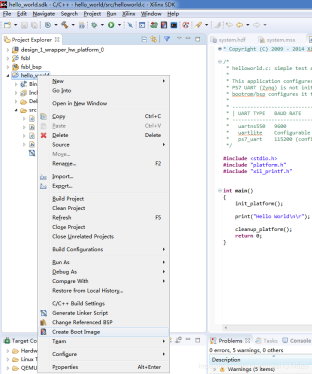
右击hello_world-->Create Boot Image,点击Create Image
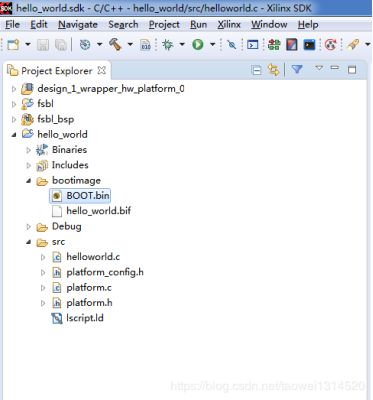
生成的BOOT.bin文件,如下图所示,然后将这个生成的BOOT.bin文件拷贝到SD卡上
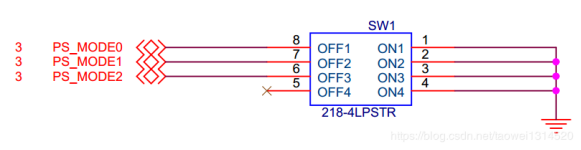
MPSoc开发板模式设置,这里我们设置为SD卡启动模式


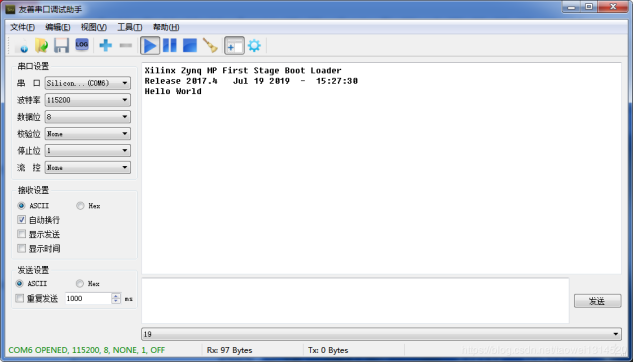
MPSoc开发板连接12V电源、连接uart串口、插入SD卡,上电运行

串口打印输出 Hello World
总结,米尔的MPSoc开发板资料说明配套齐全, 不懂的可以找技术支持,做起来也比较方便。