This article wants to share how to enable version control in IntelliJ IDEA. The blogger uses gitee. First, you need to install git. The installation of git will not be introduced here. It is very simple.
Table of contents
Create a git repository
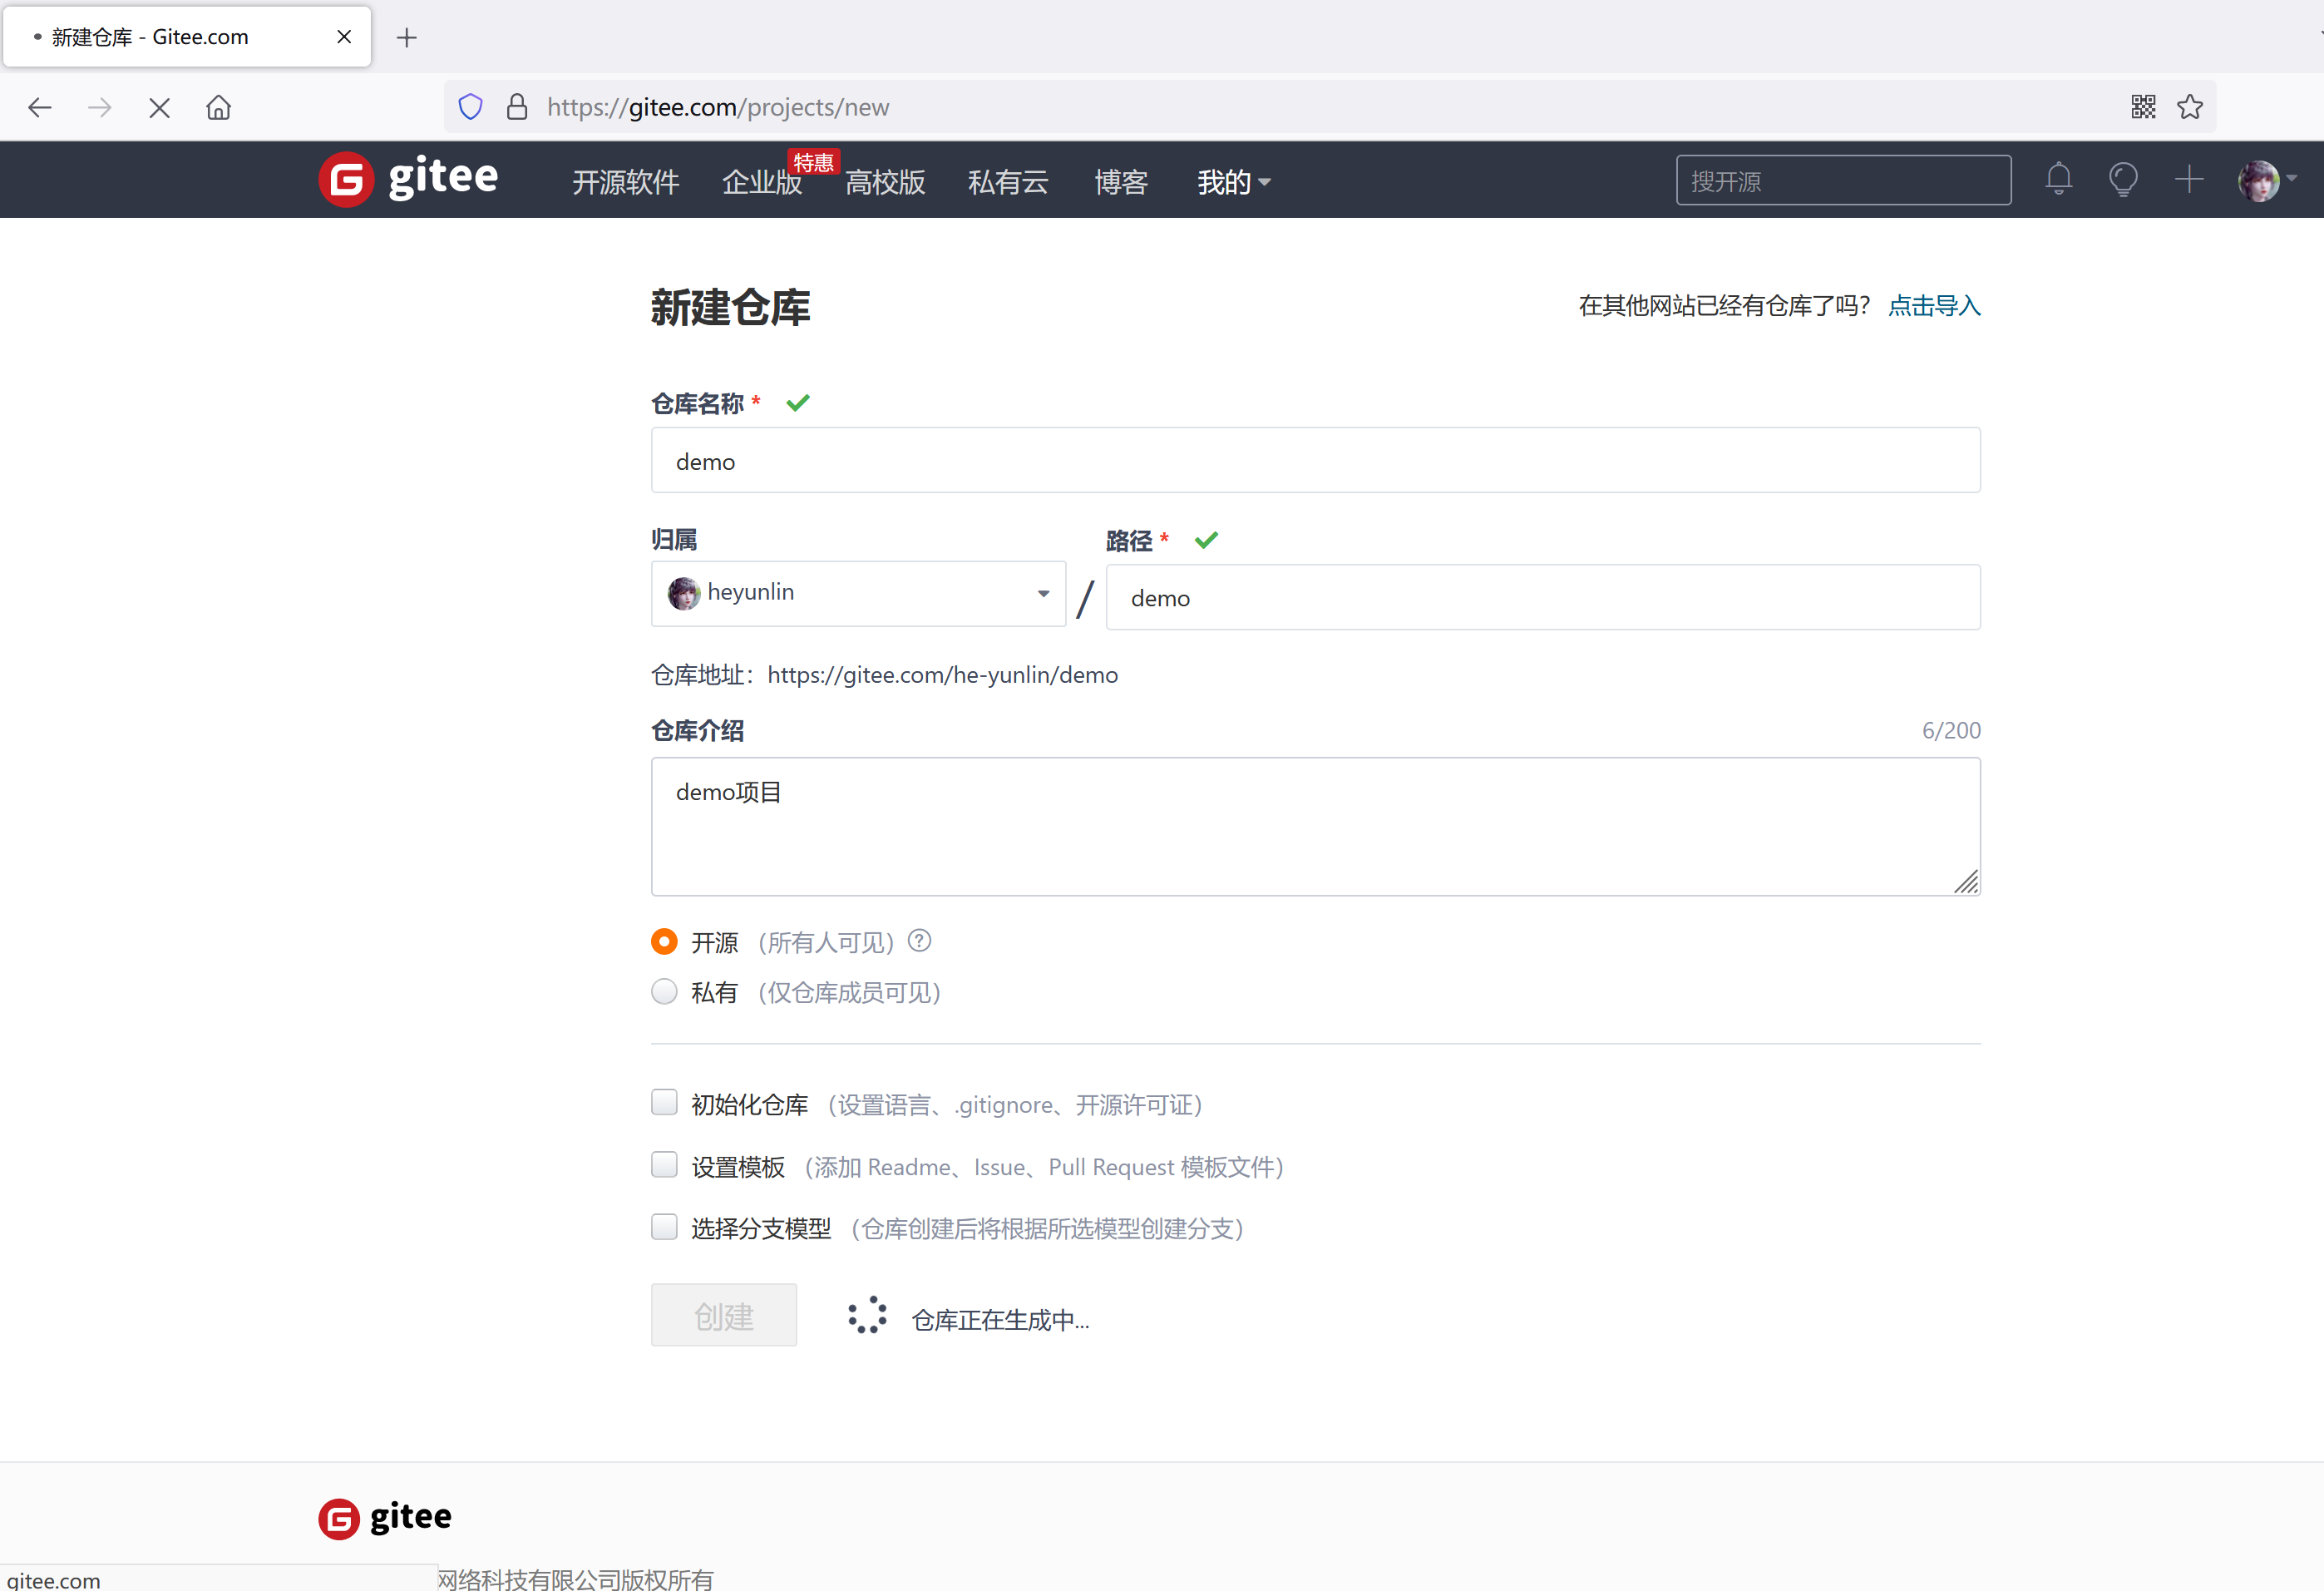
First, you need to log in to gitee , and then create a warehouse with the same name as your project, such as creating a demo project.
Click the + sign to create a warehouse

Fill in warehouse information
Warehouse creation completed
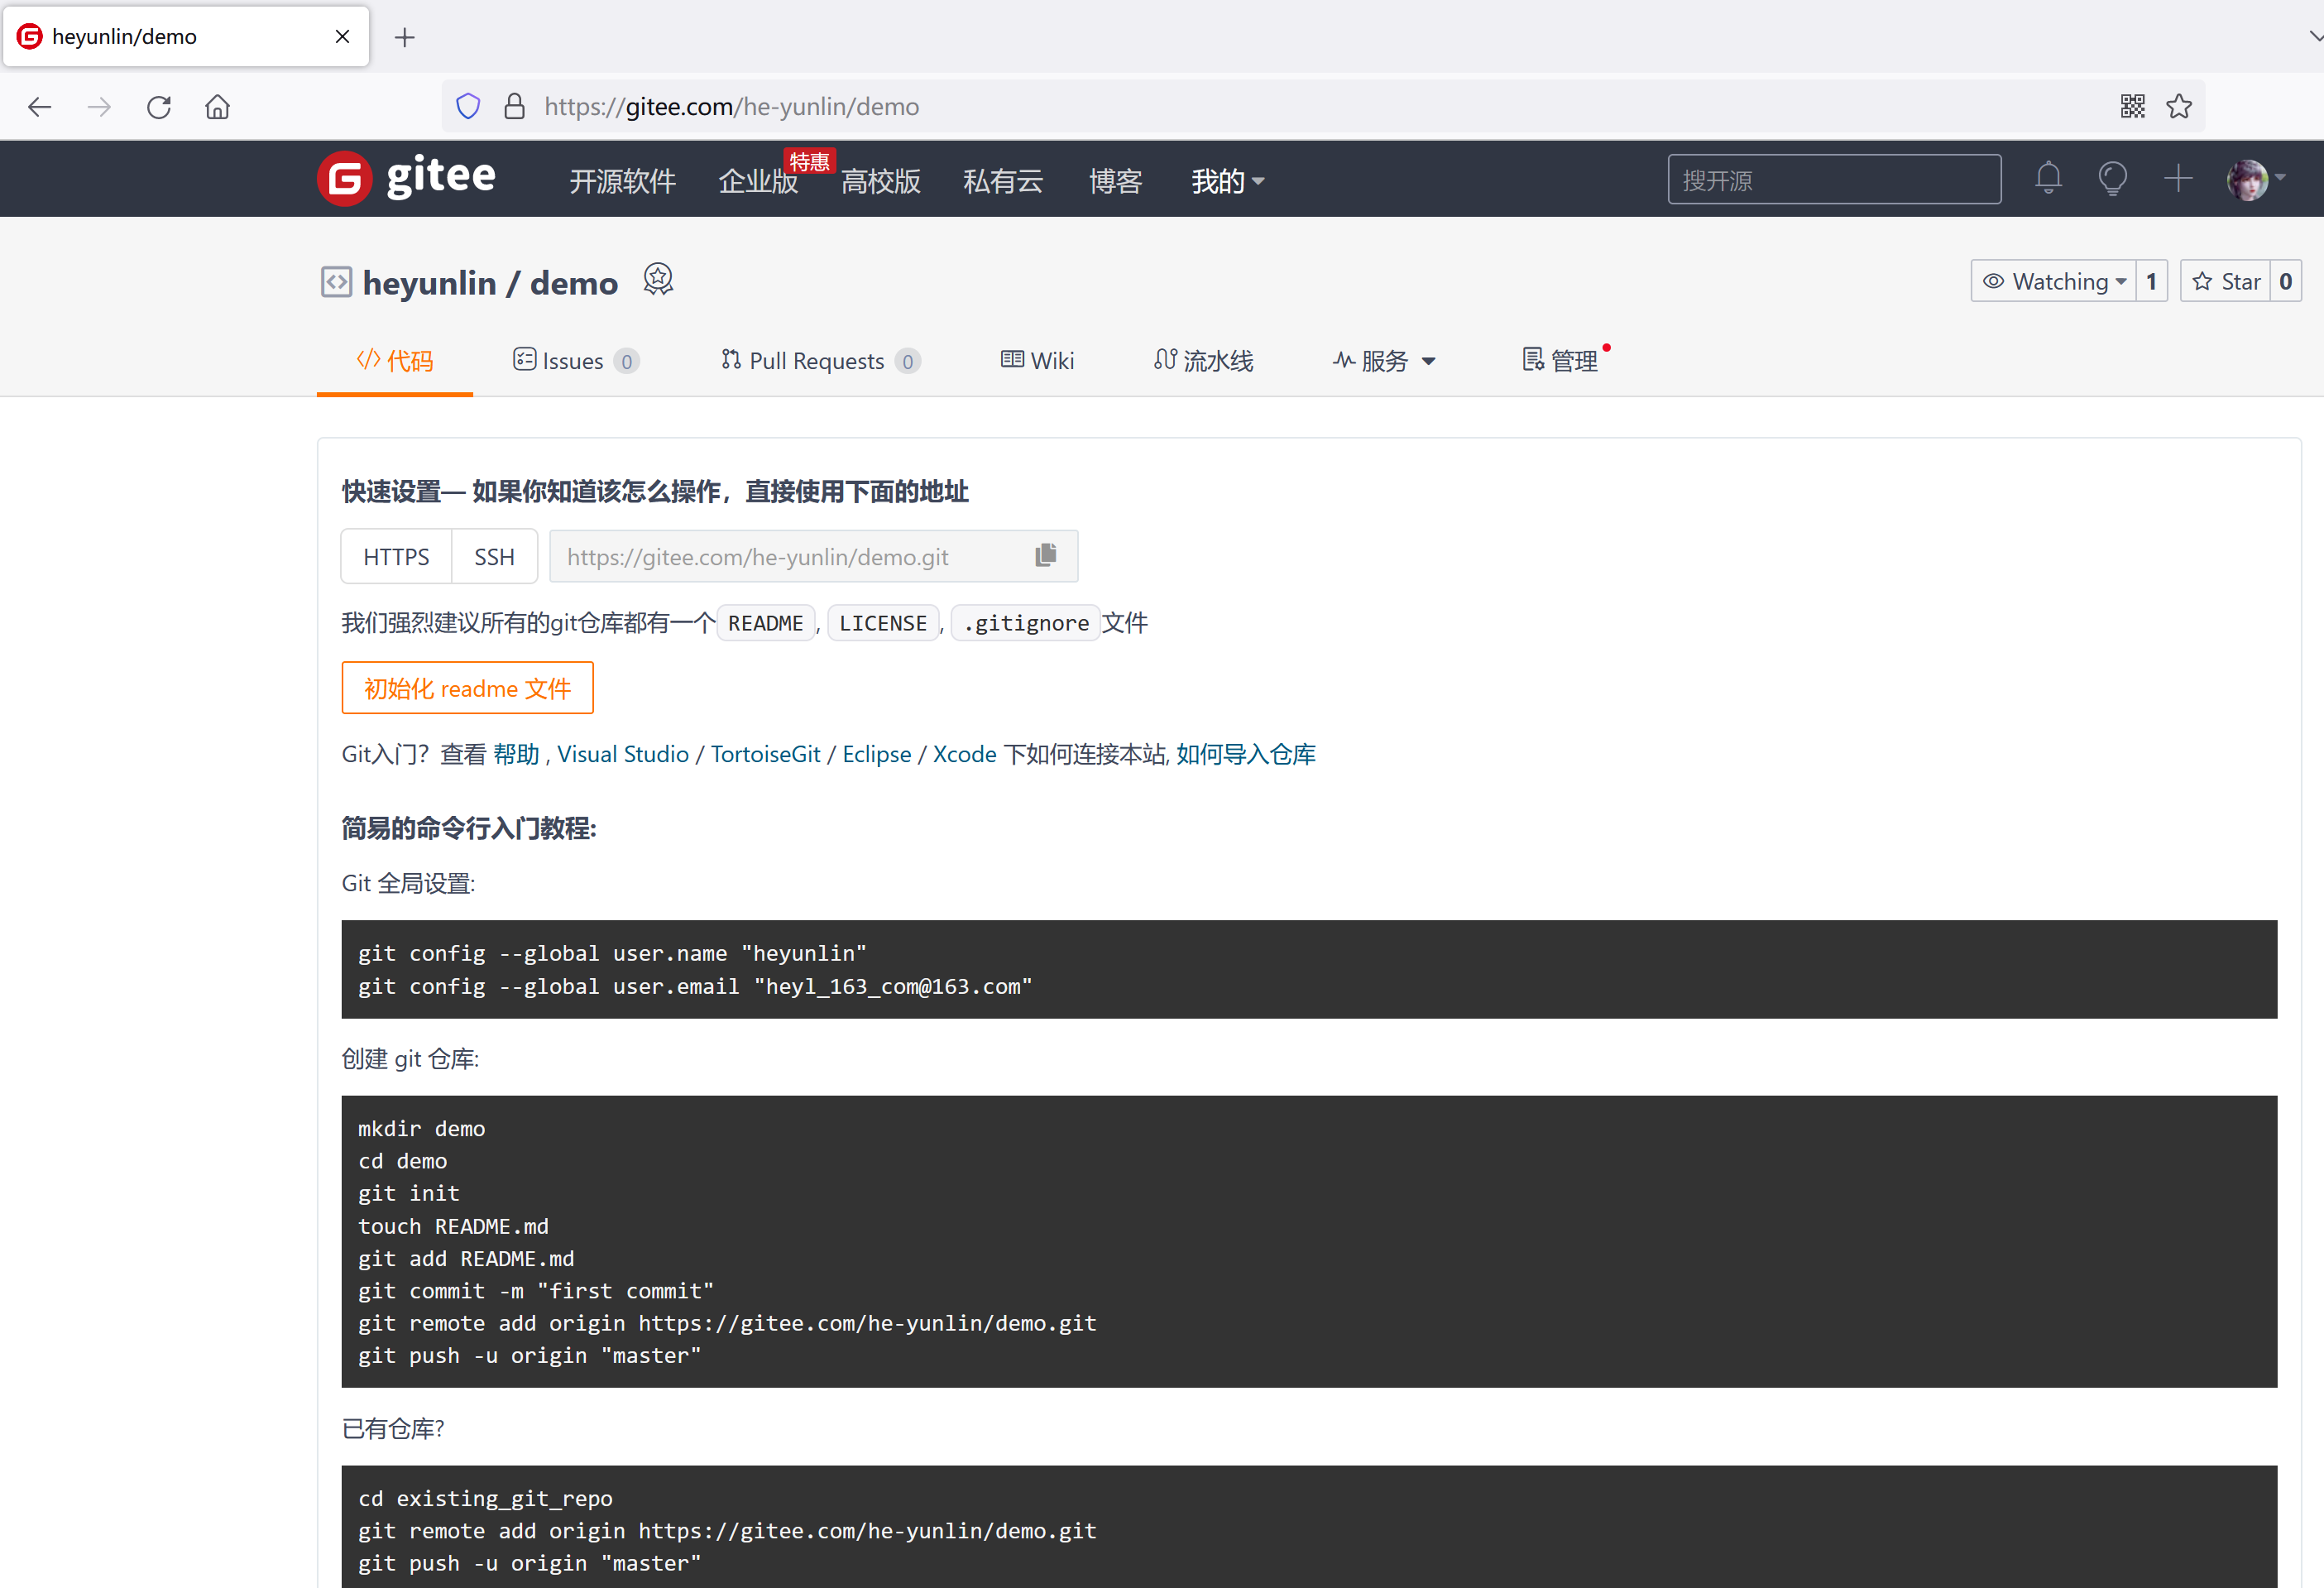
Copy warehouse address

Create project
For the convenience of demonstration, just create an ordinary java project with the same name as the warehouse name.
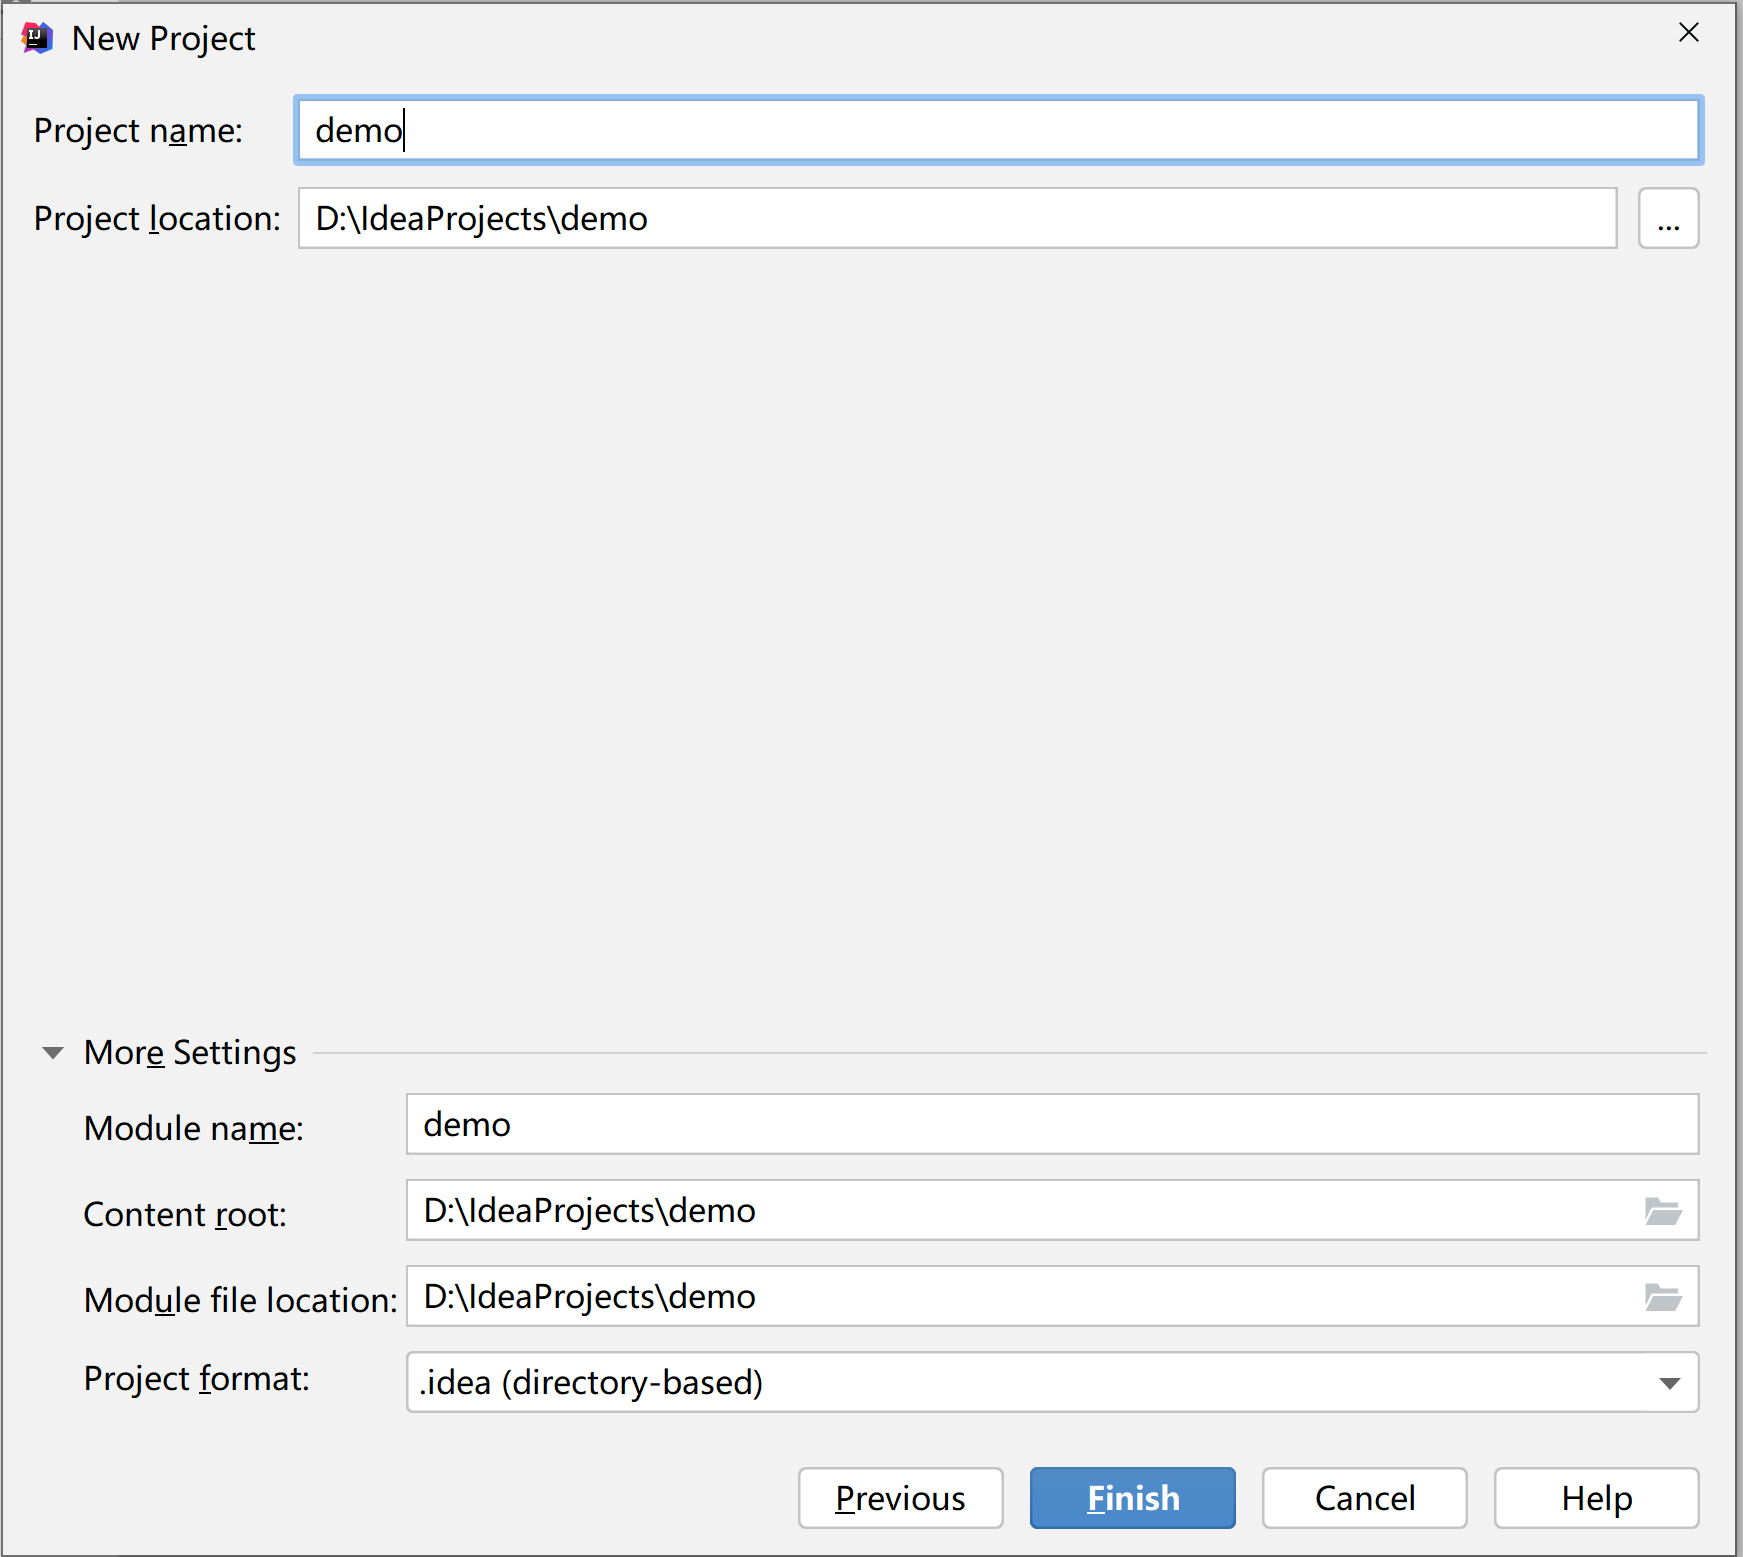
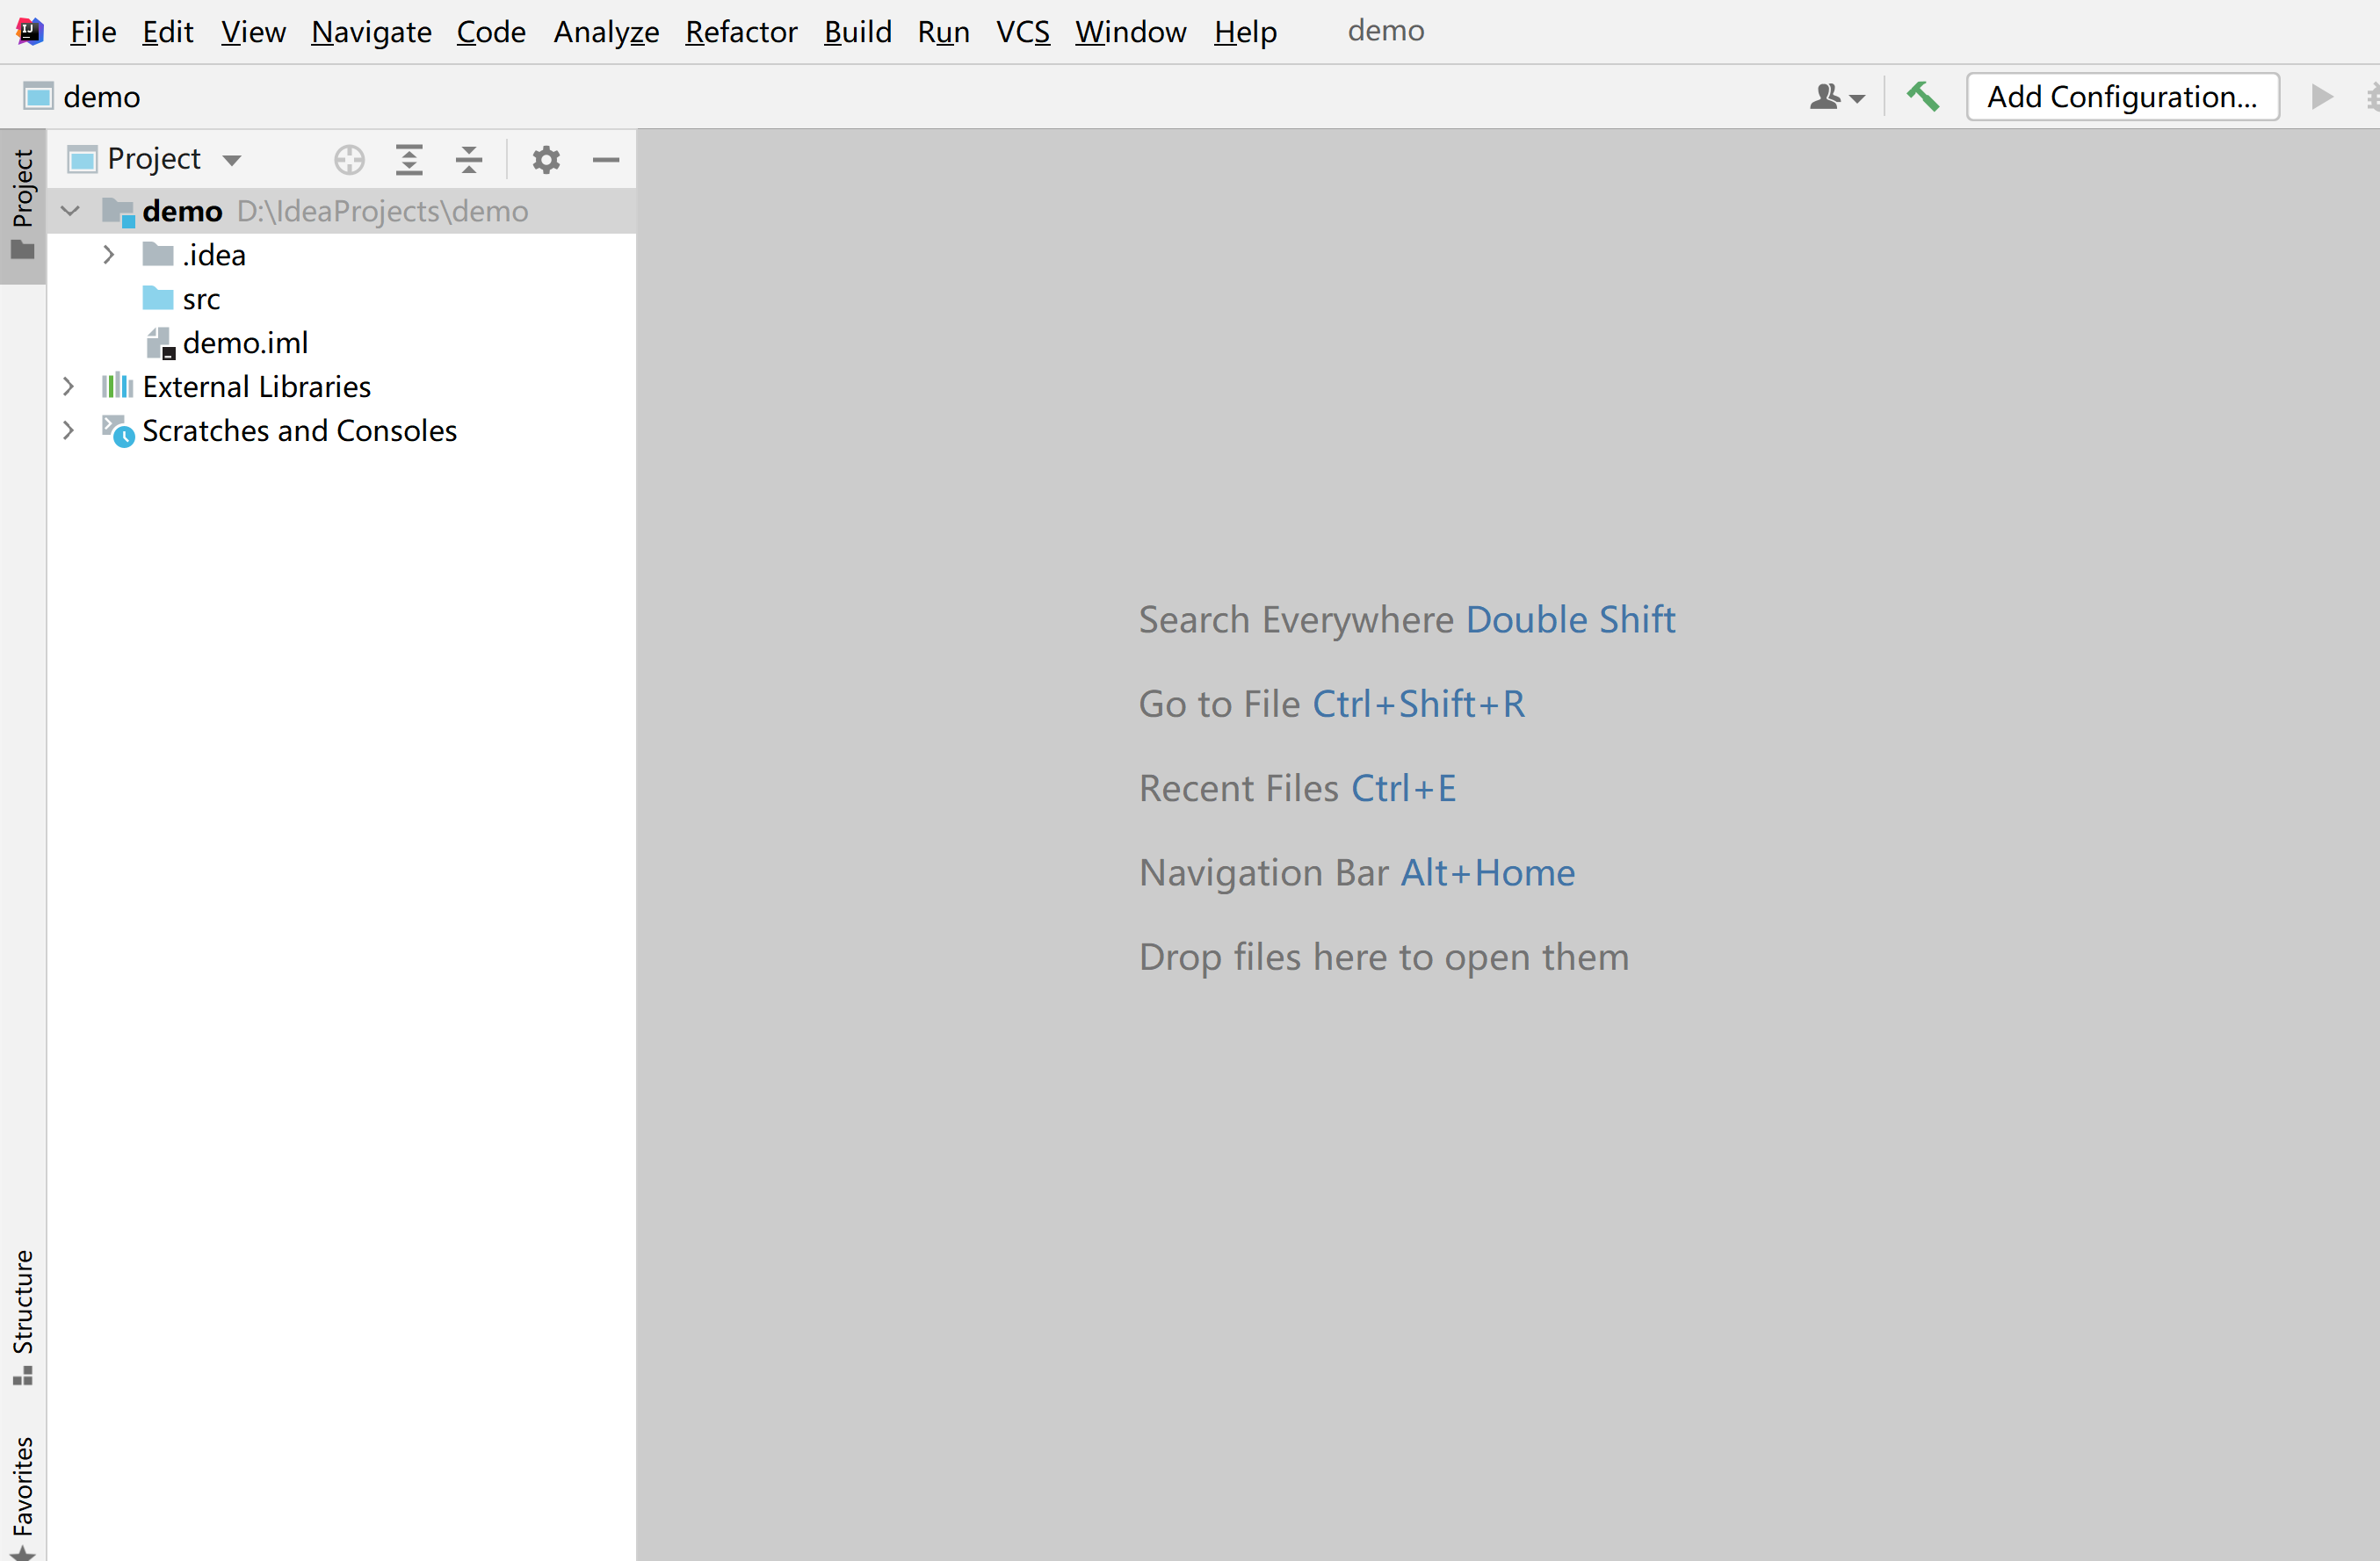
Project creation completed
Turn on version control
When everything is ready, click VCS >> Enable Version Control Integration in the toolbar just above the idea.
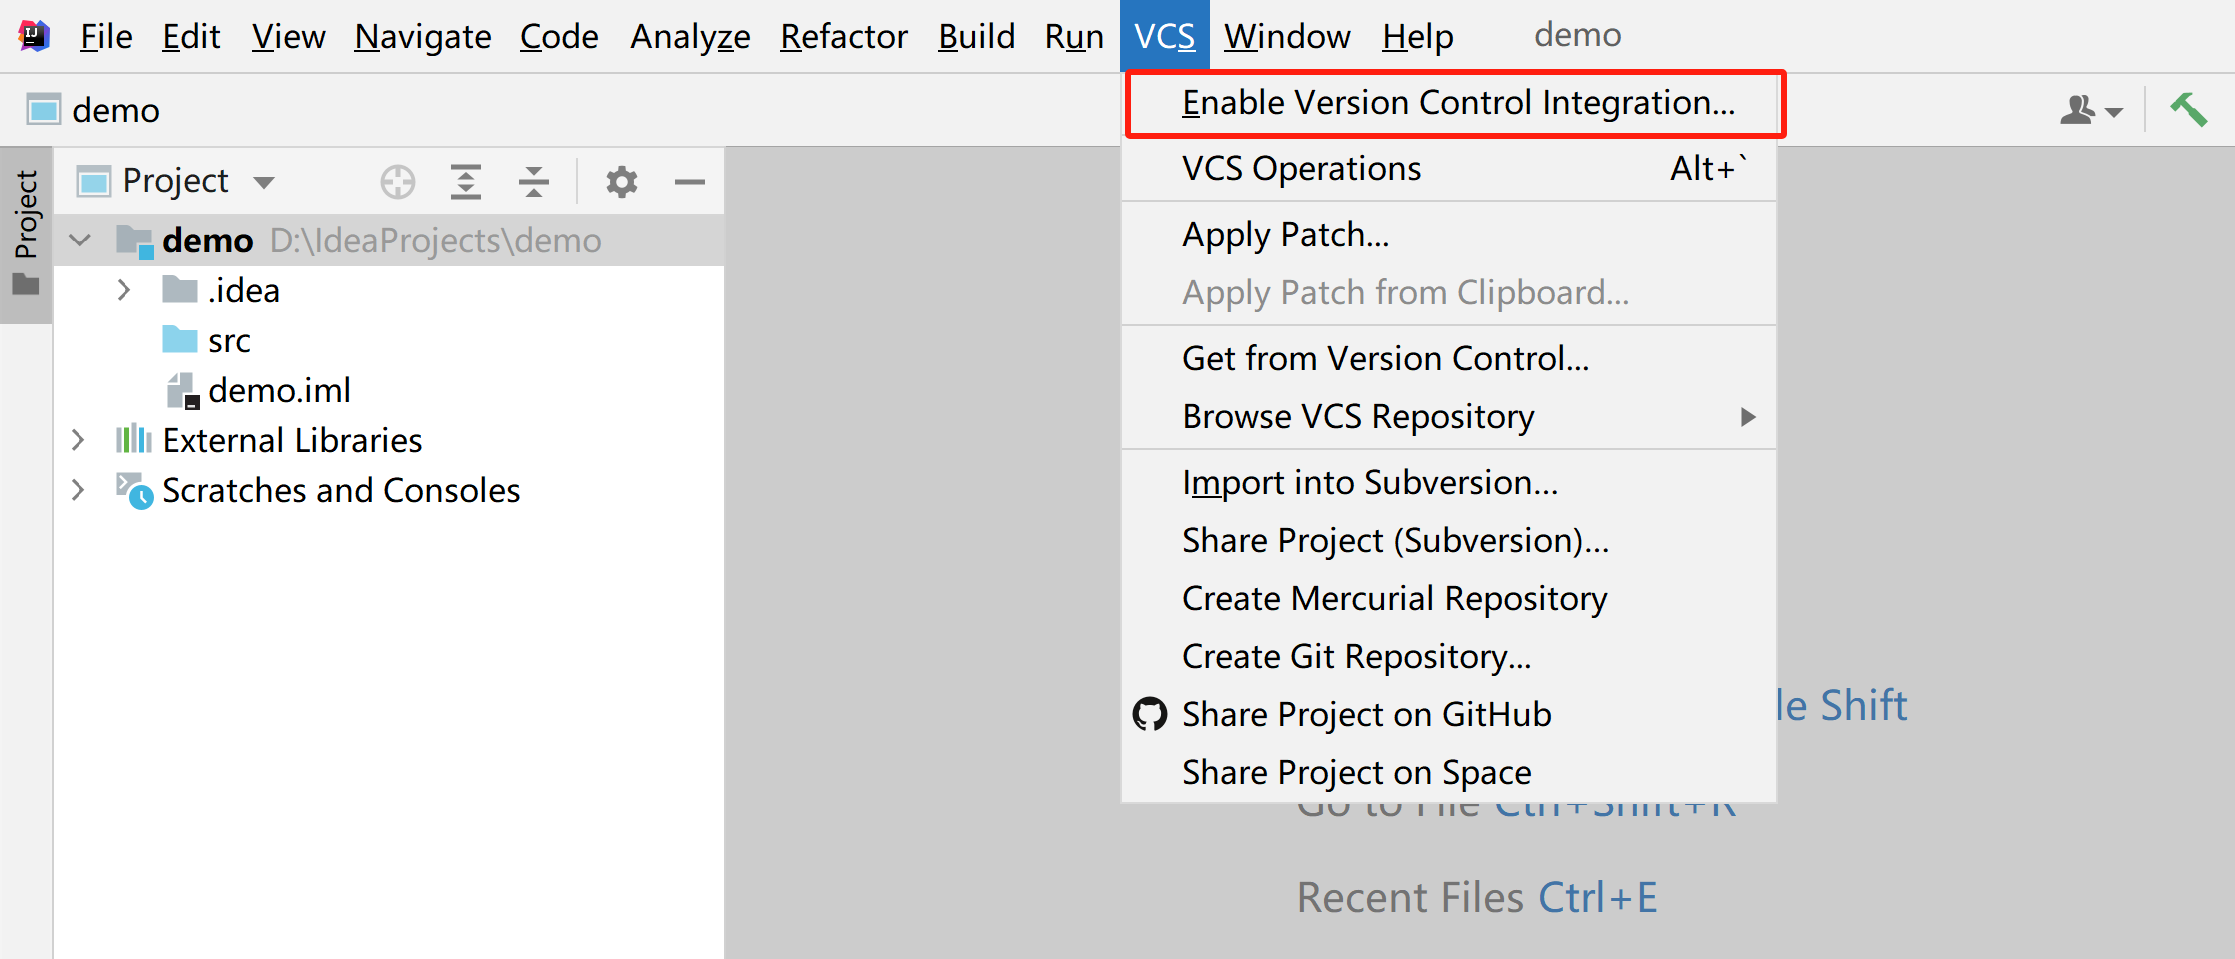
Then a window will pop up, just click OK.

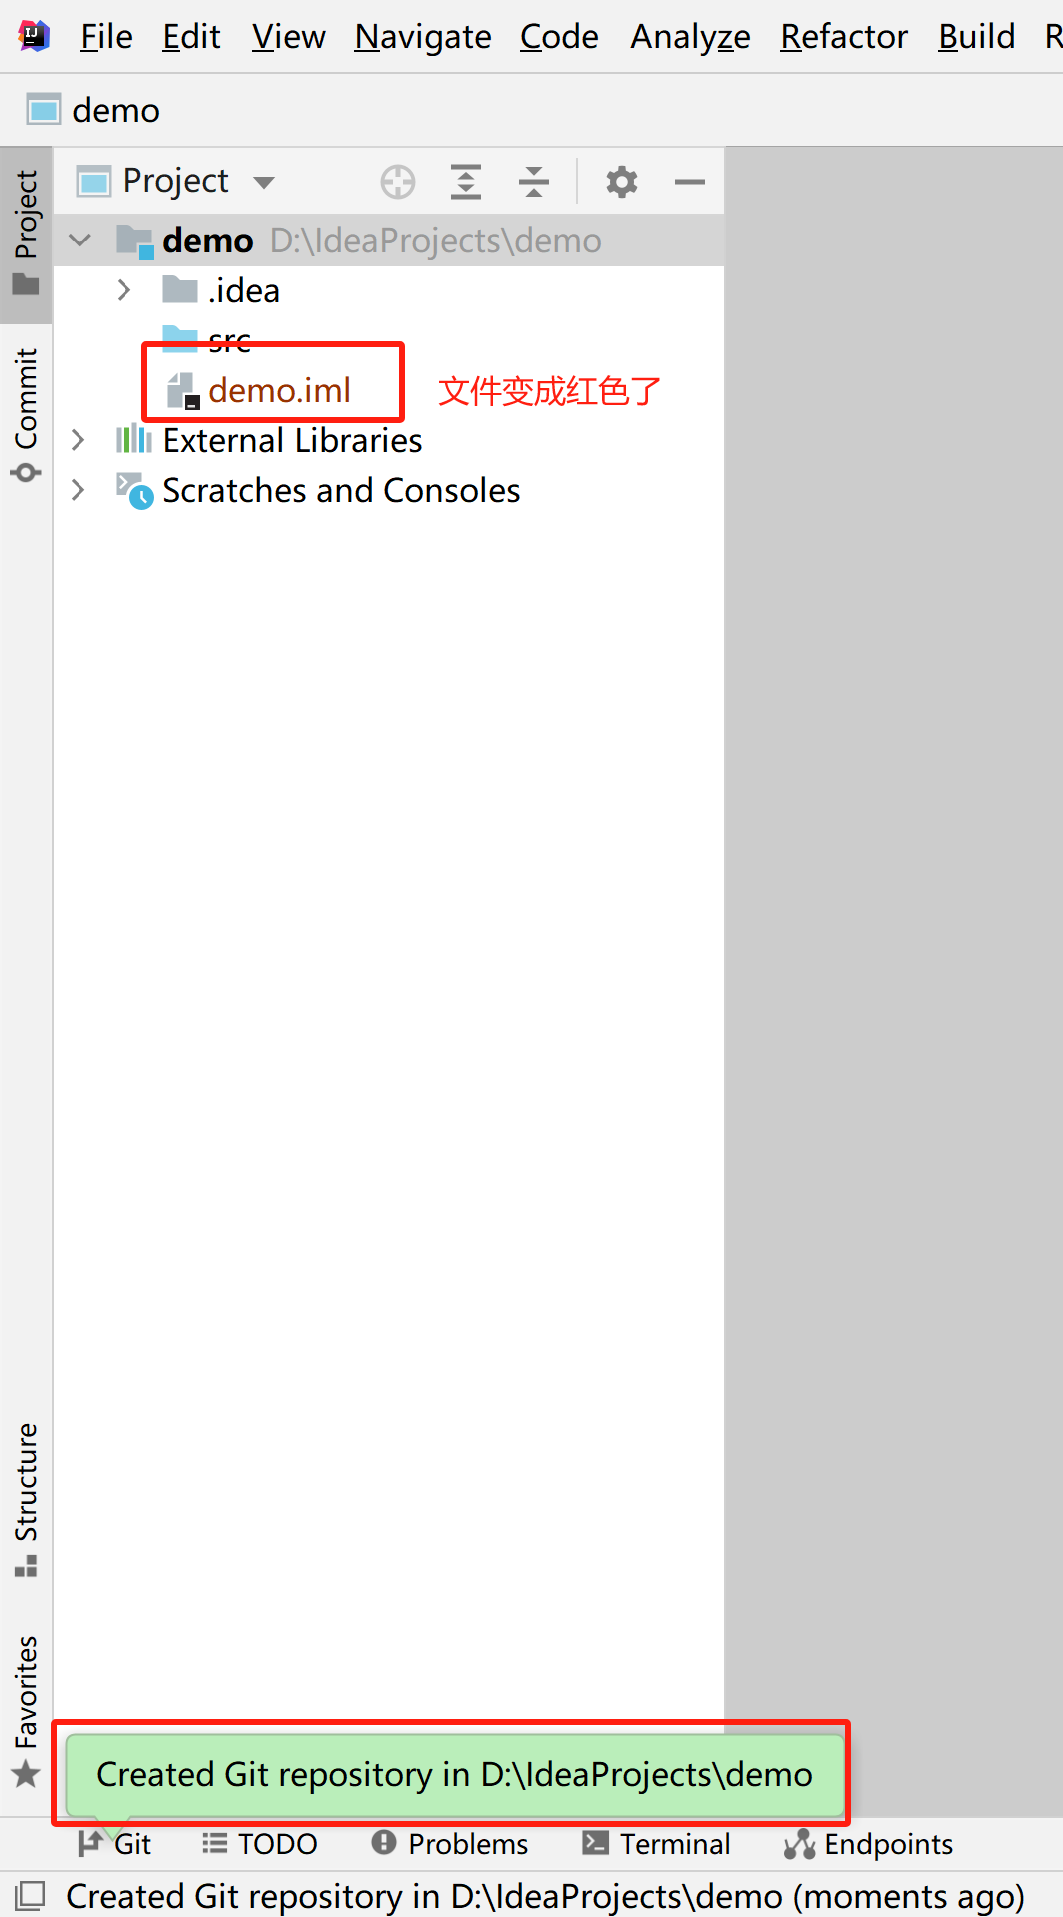
As shown in the picture, at this time idea has helped us create a git repository locally, and all project files will turn red because they have not been added to the repository.
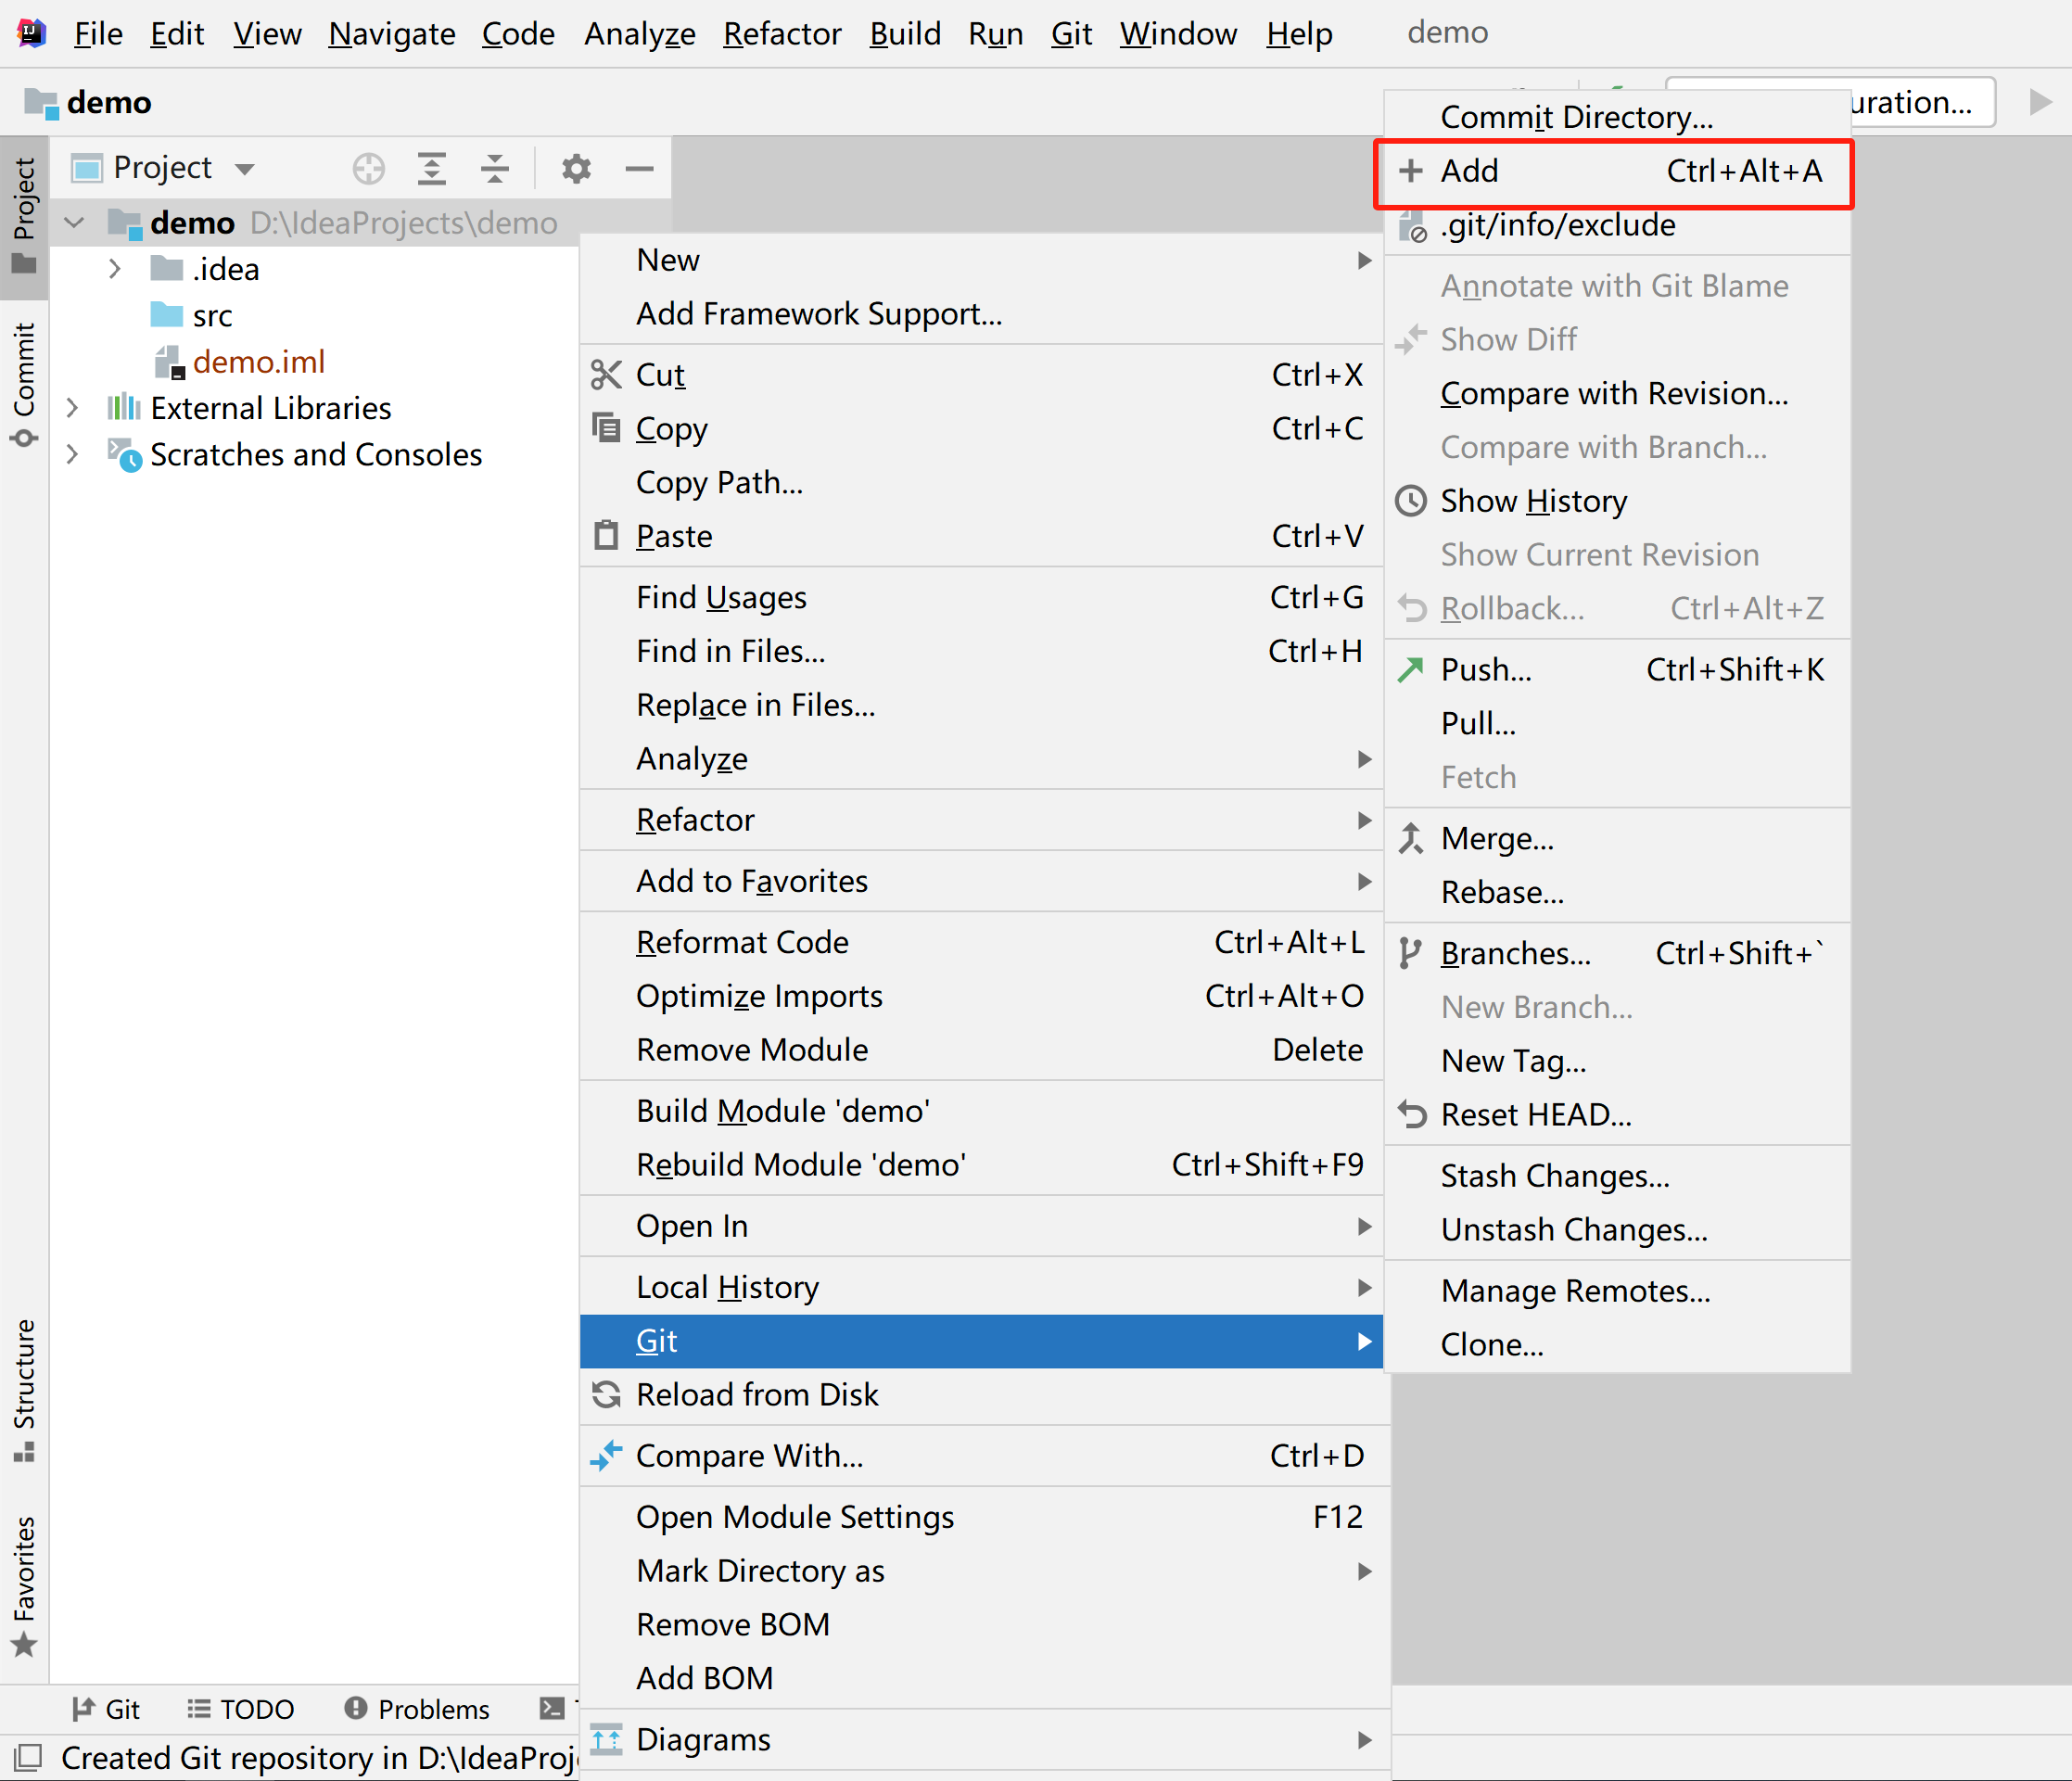
Next, select the project, right-click the mouse, and click Git >> Add once in the right-click menu (shortcut Ctrl + Alt + A)
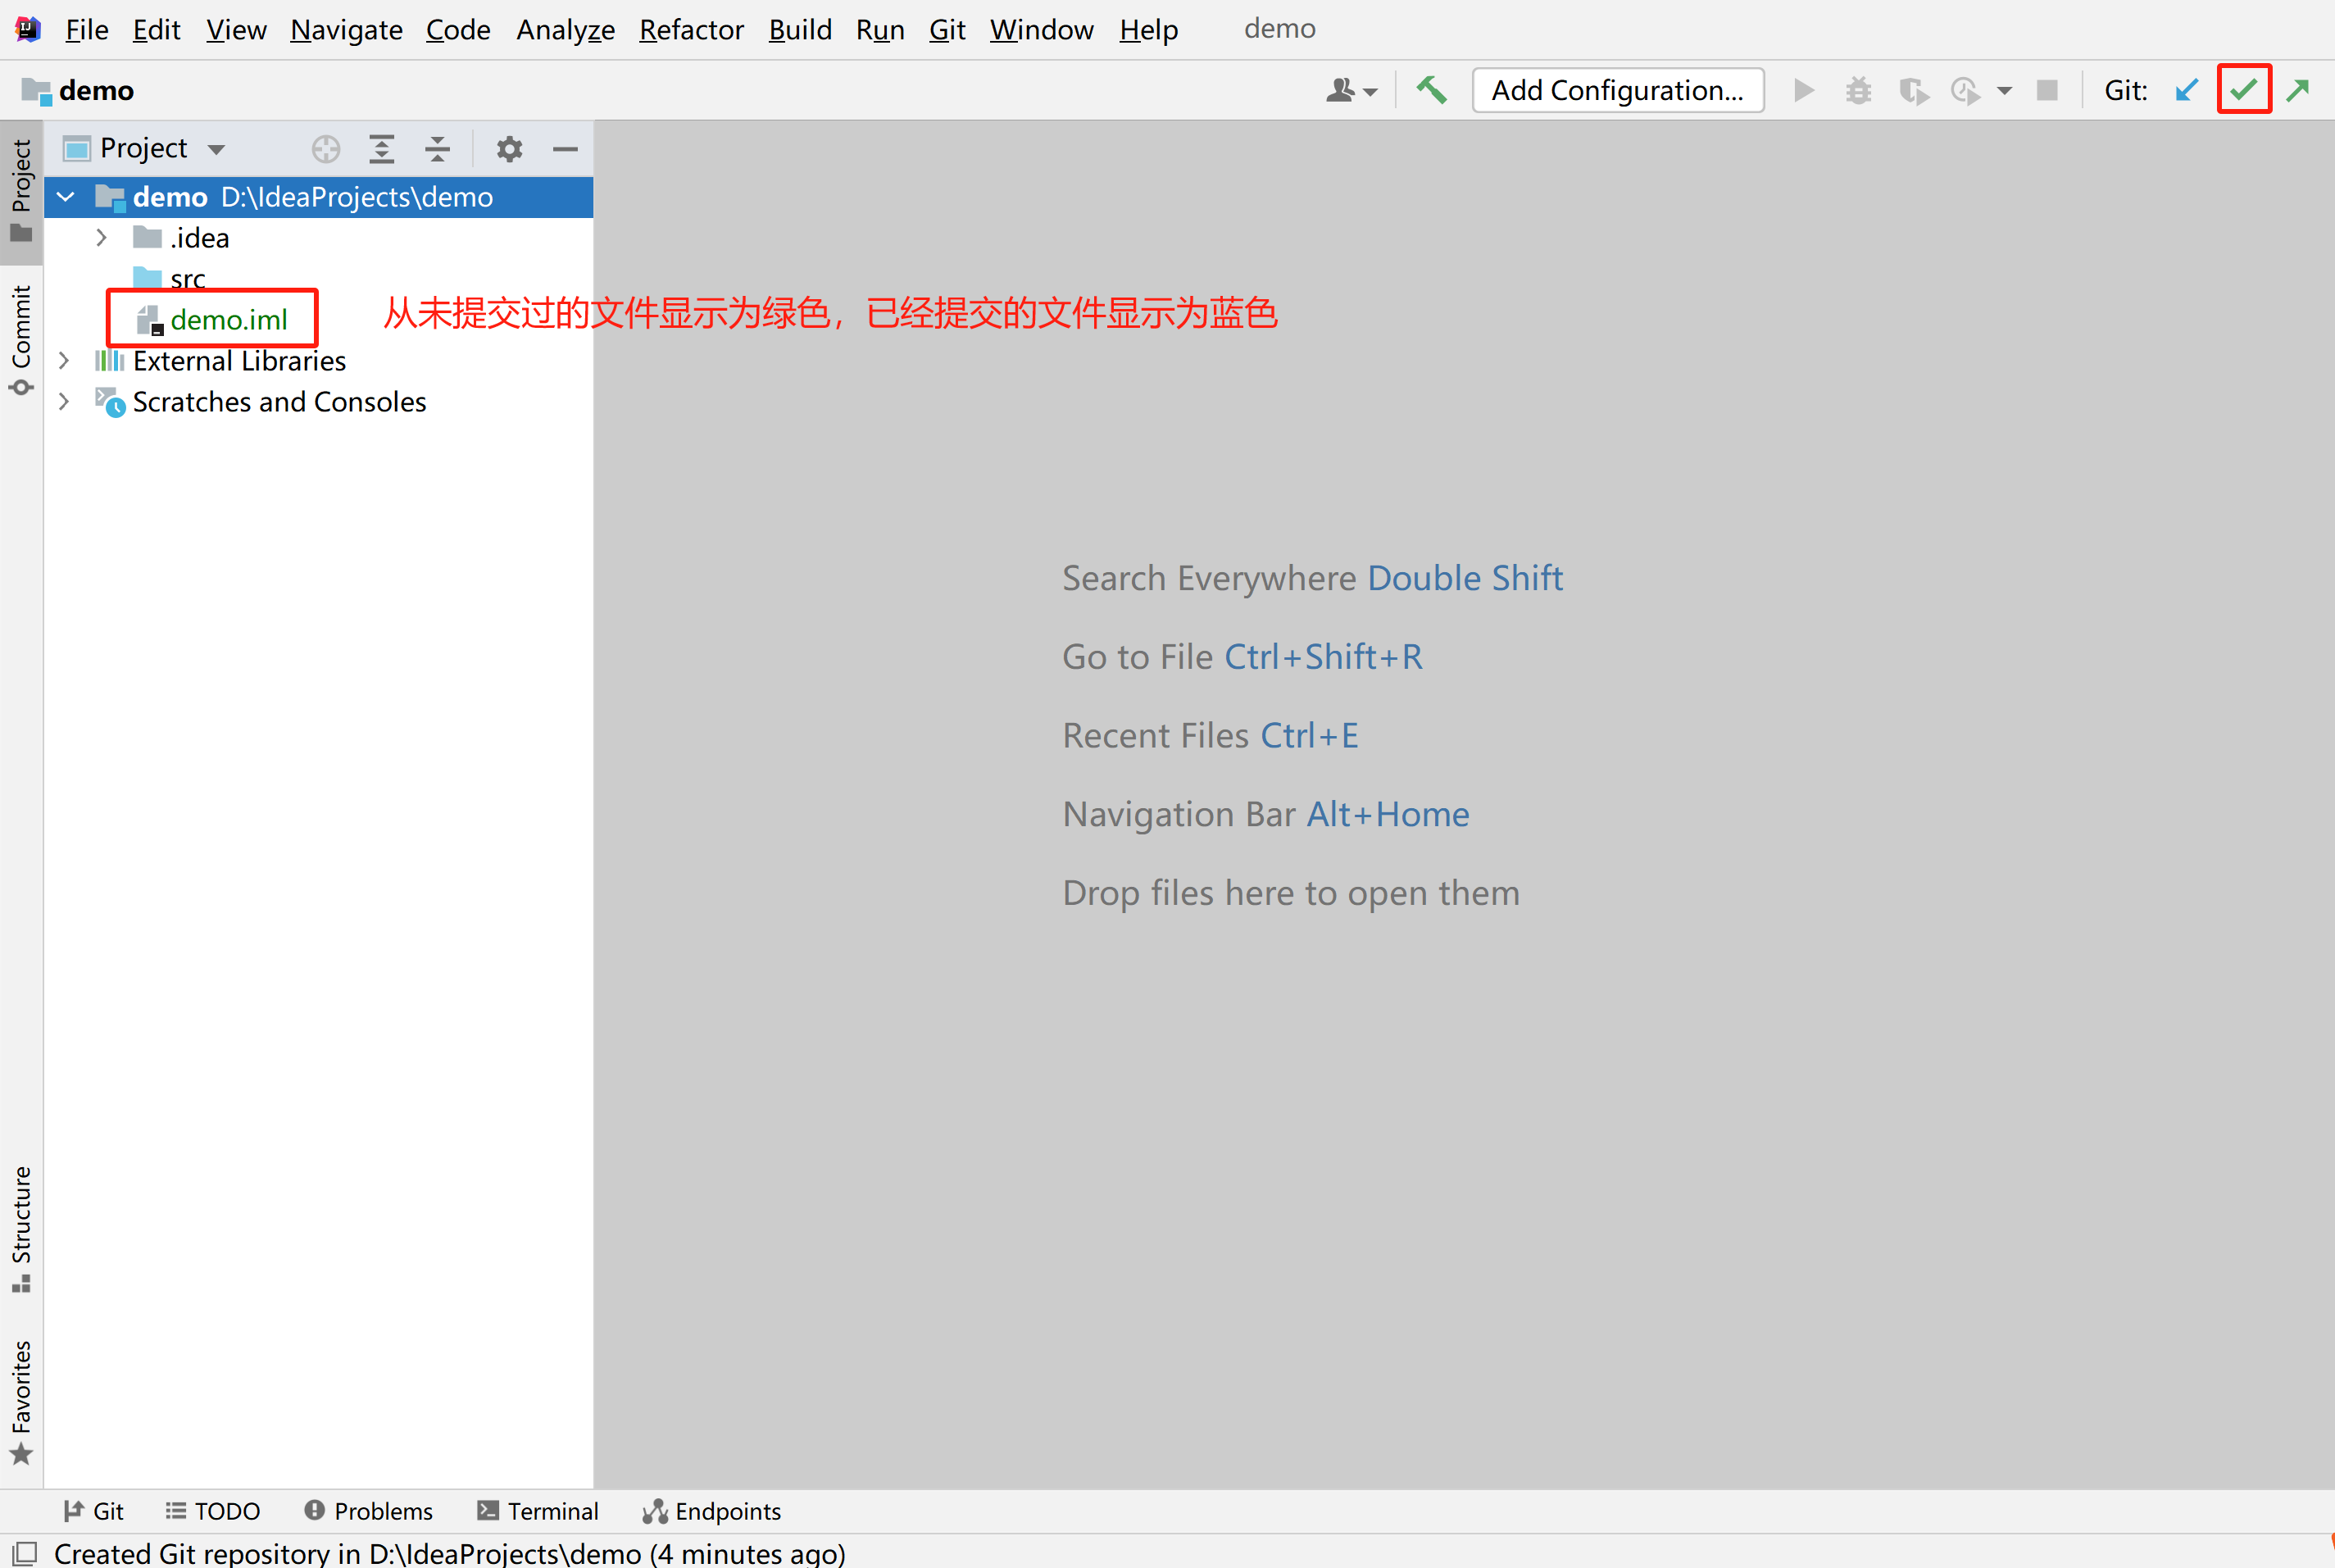
After being added to the repository, the file turns green. Next, you can submit the code, as shown in the picture, click the green √ in the upper right corner
Then, click the gear icon below and uncheck the two checked options. Otherwise, you have to check the submitted code, which is too slow~
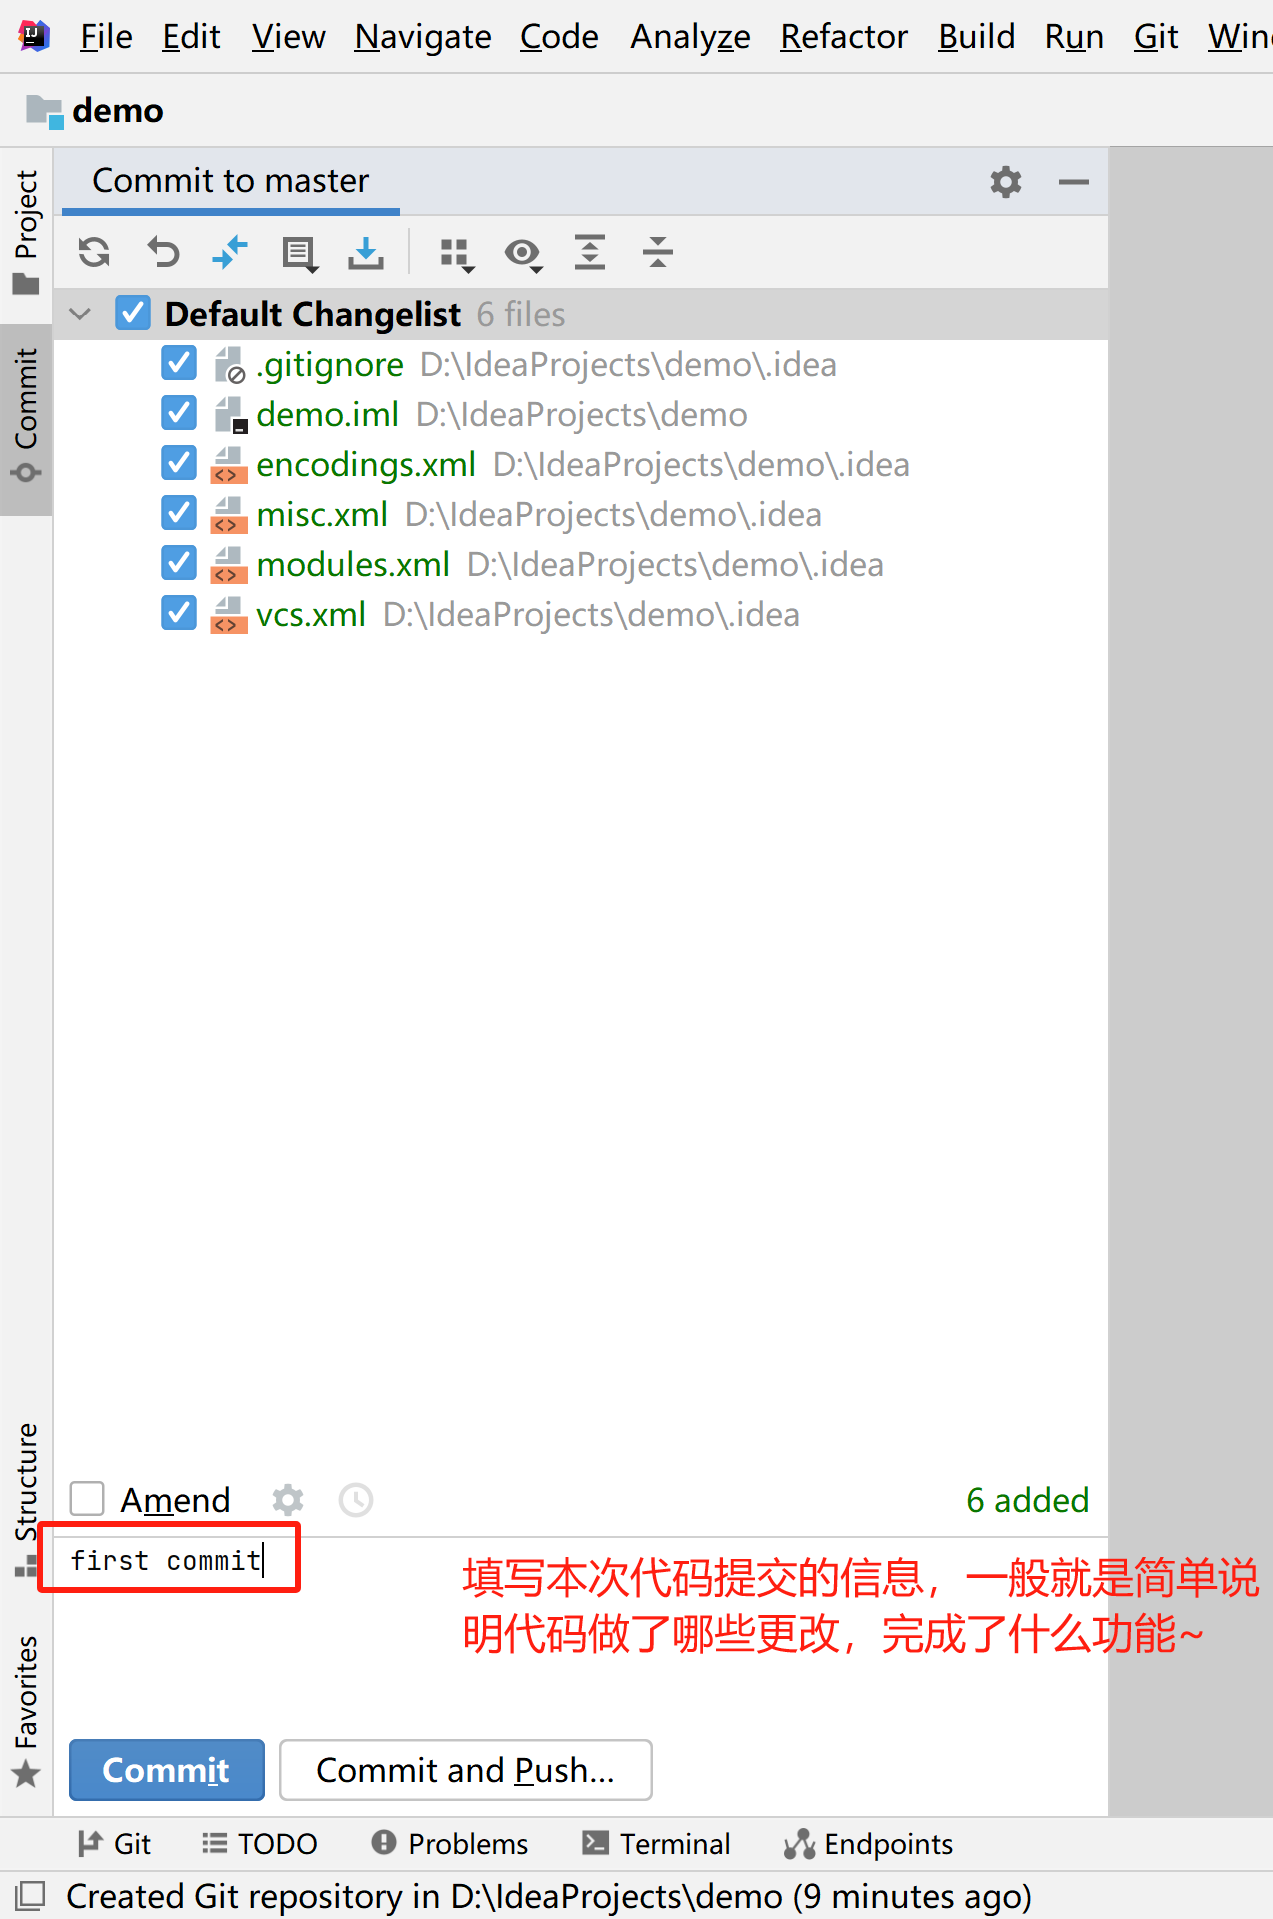
Then look at the files above and just check the files you want to submit to the Git repository. By default, idea will select them all for us.

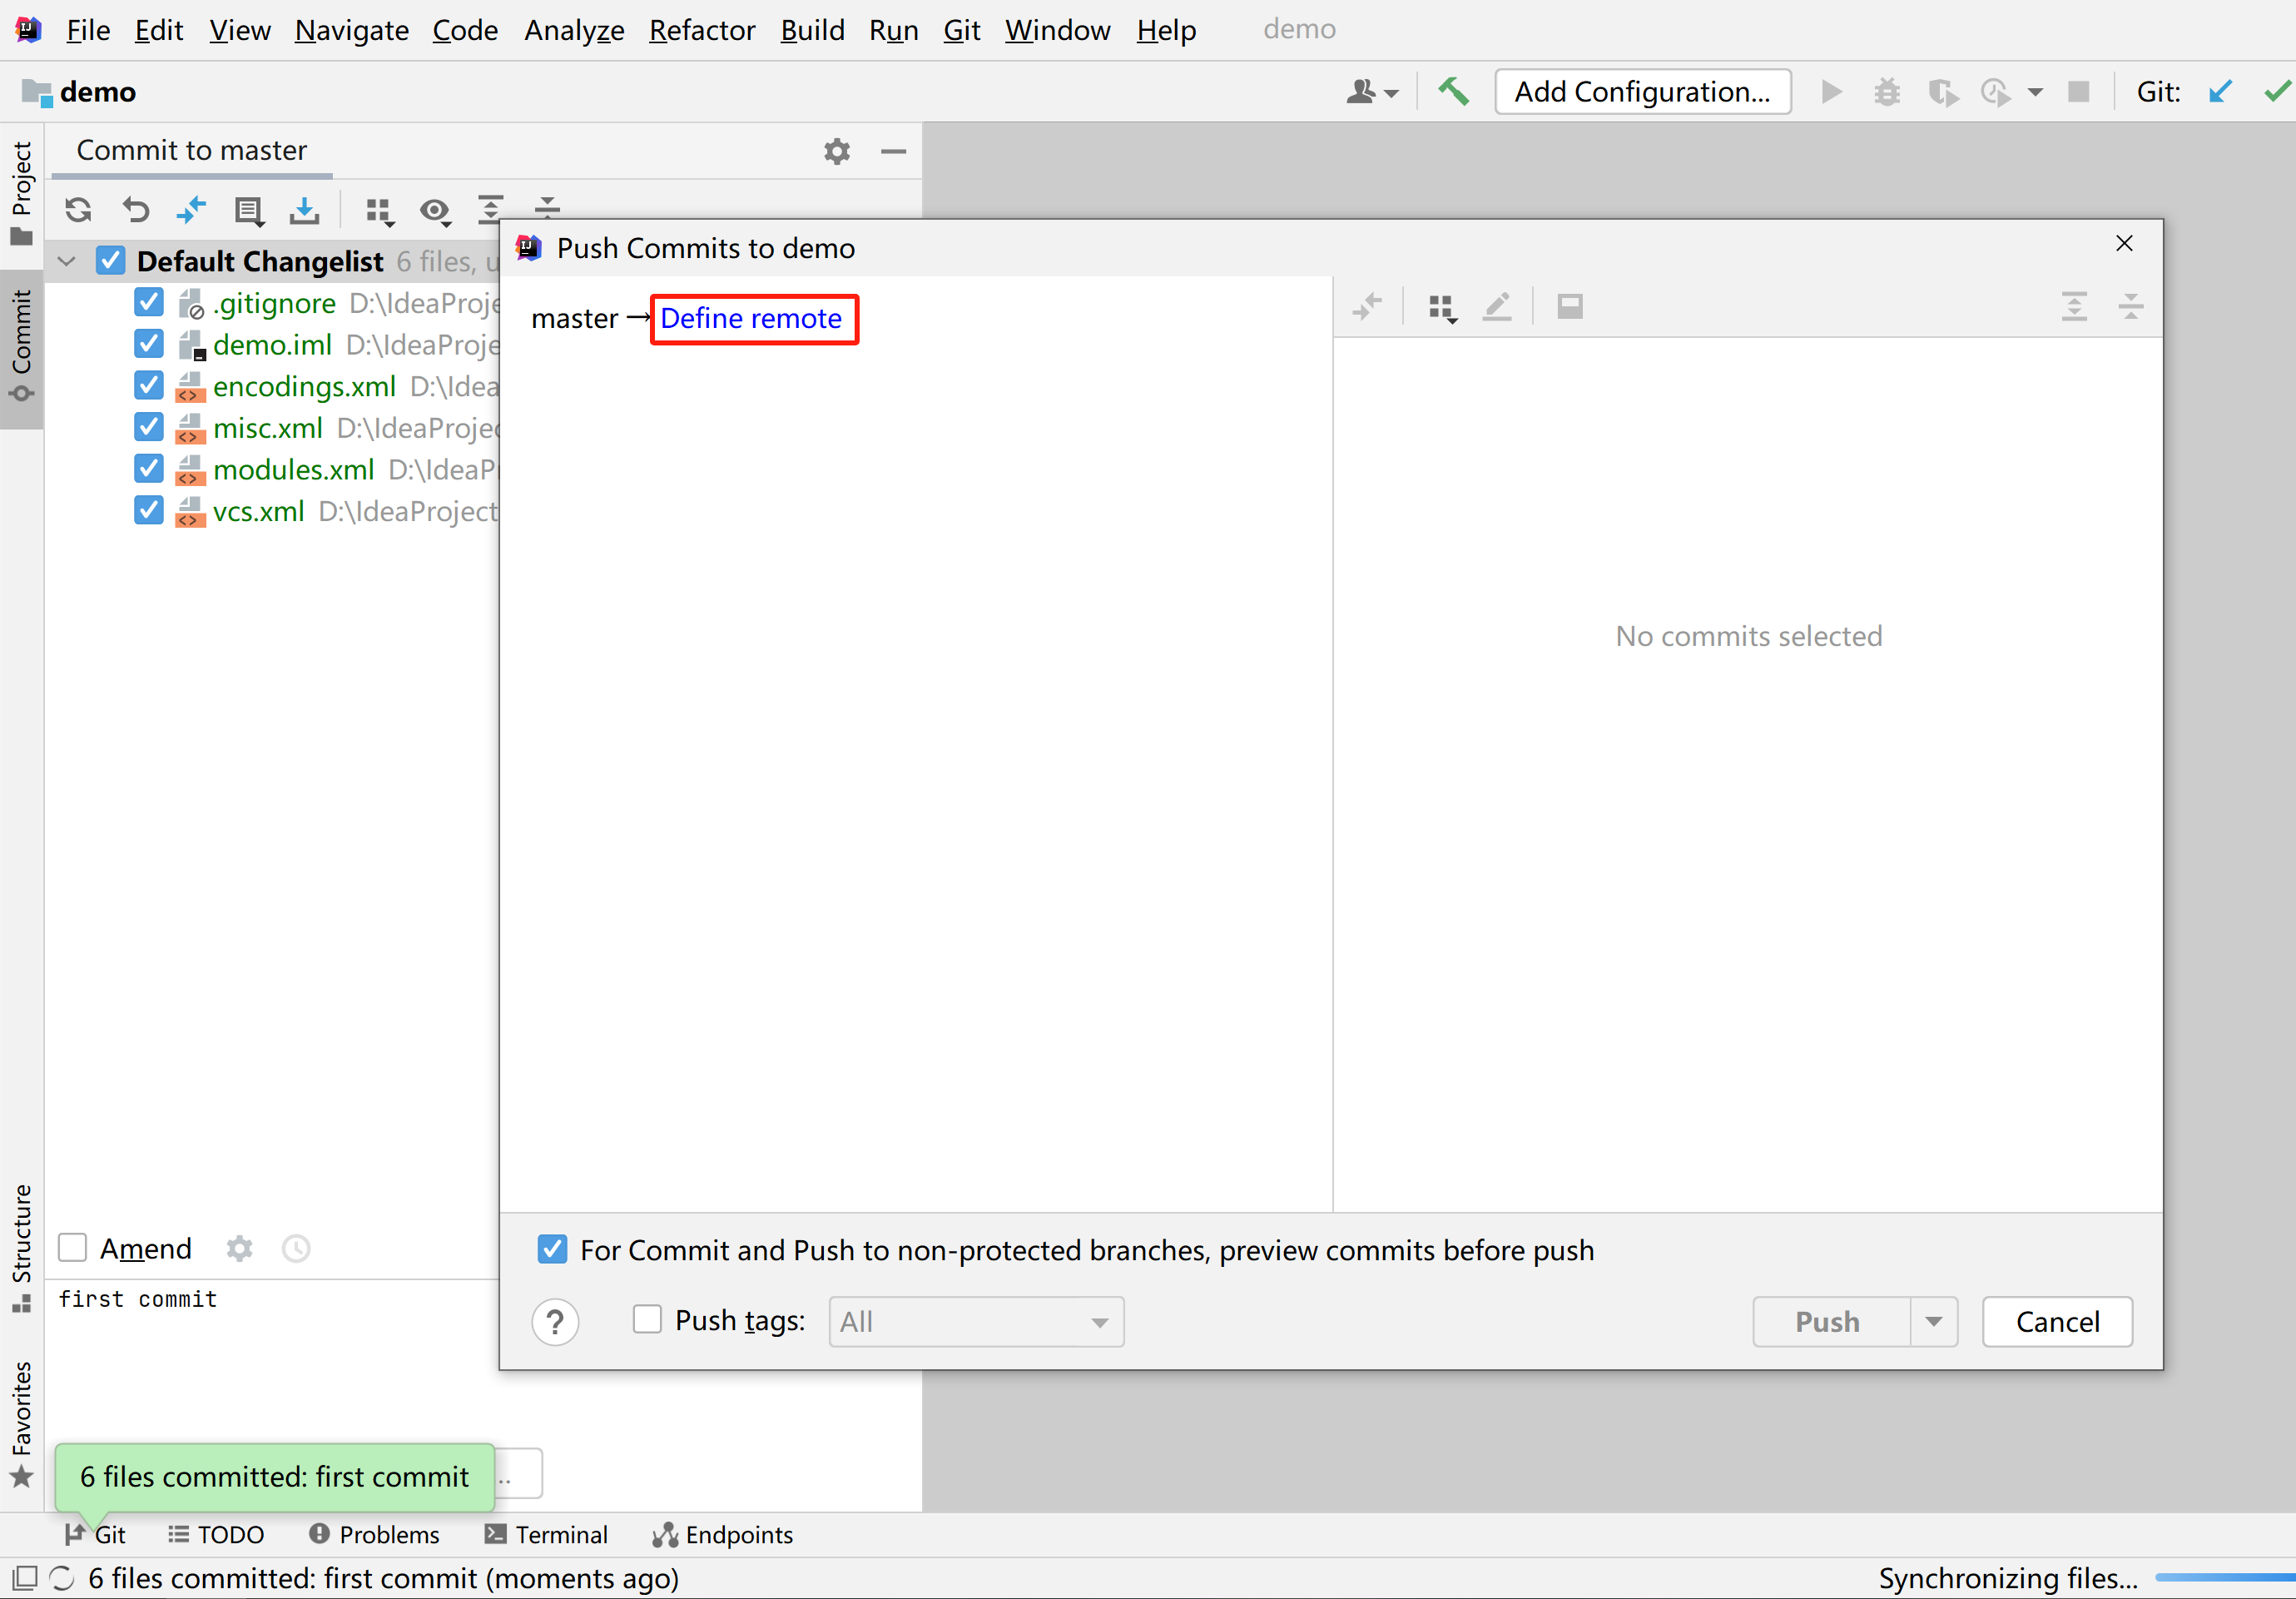
Finally, fill in the submission information and click Commit And Push...
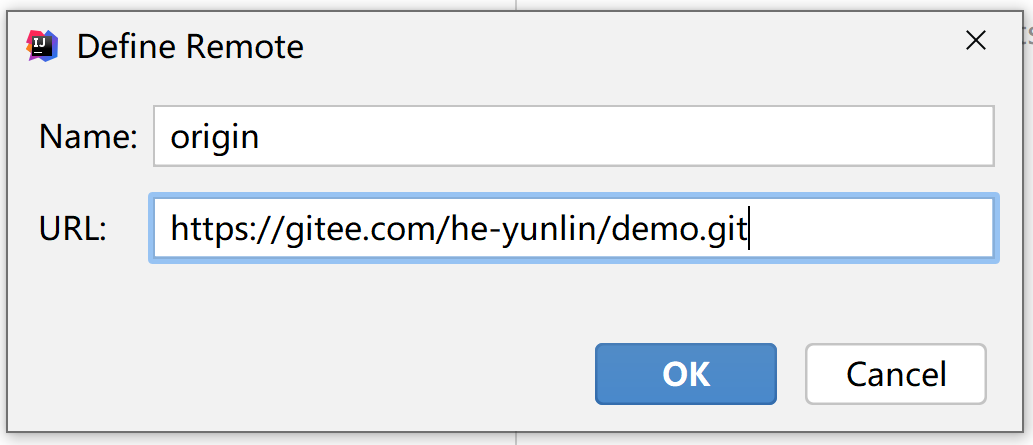
At this time, another window pops up, click Define remote
Paste the warehouse address you just copied and click OK
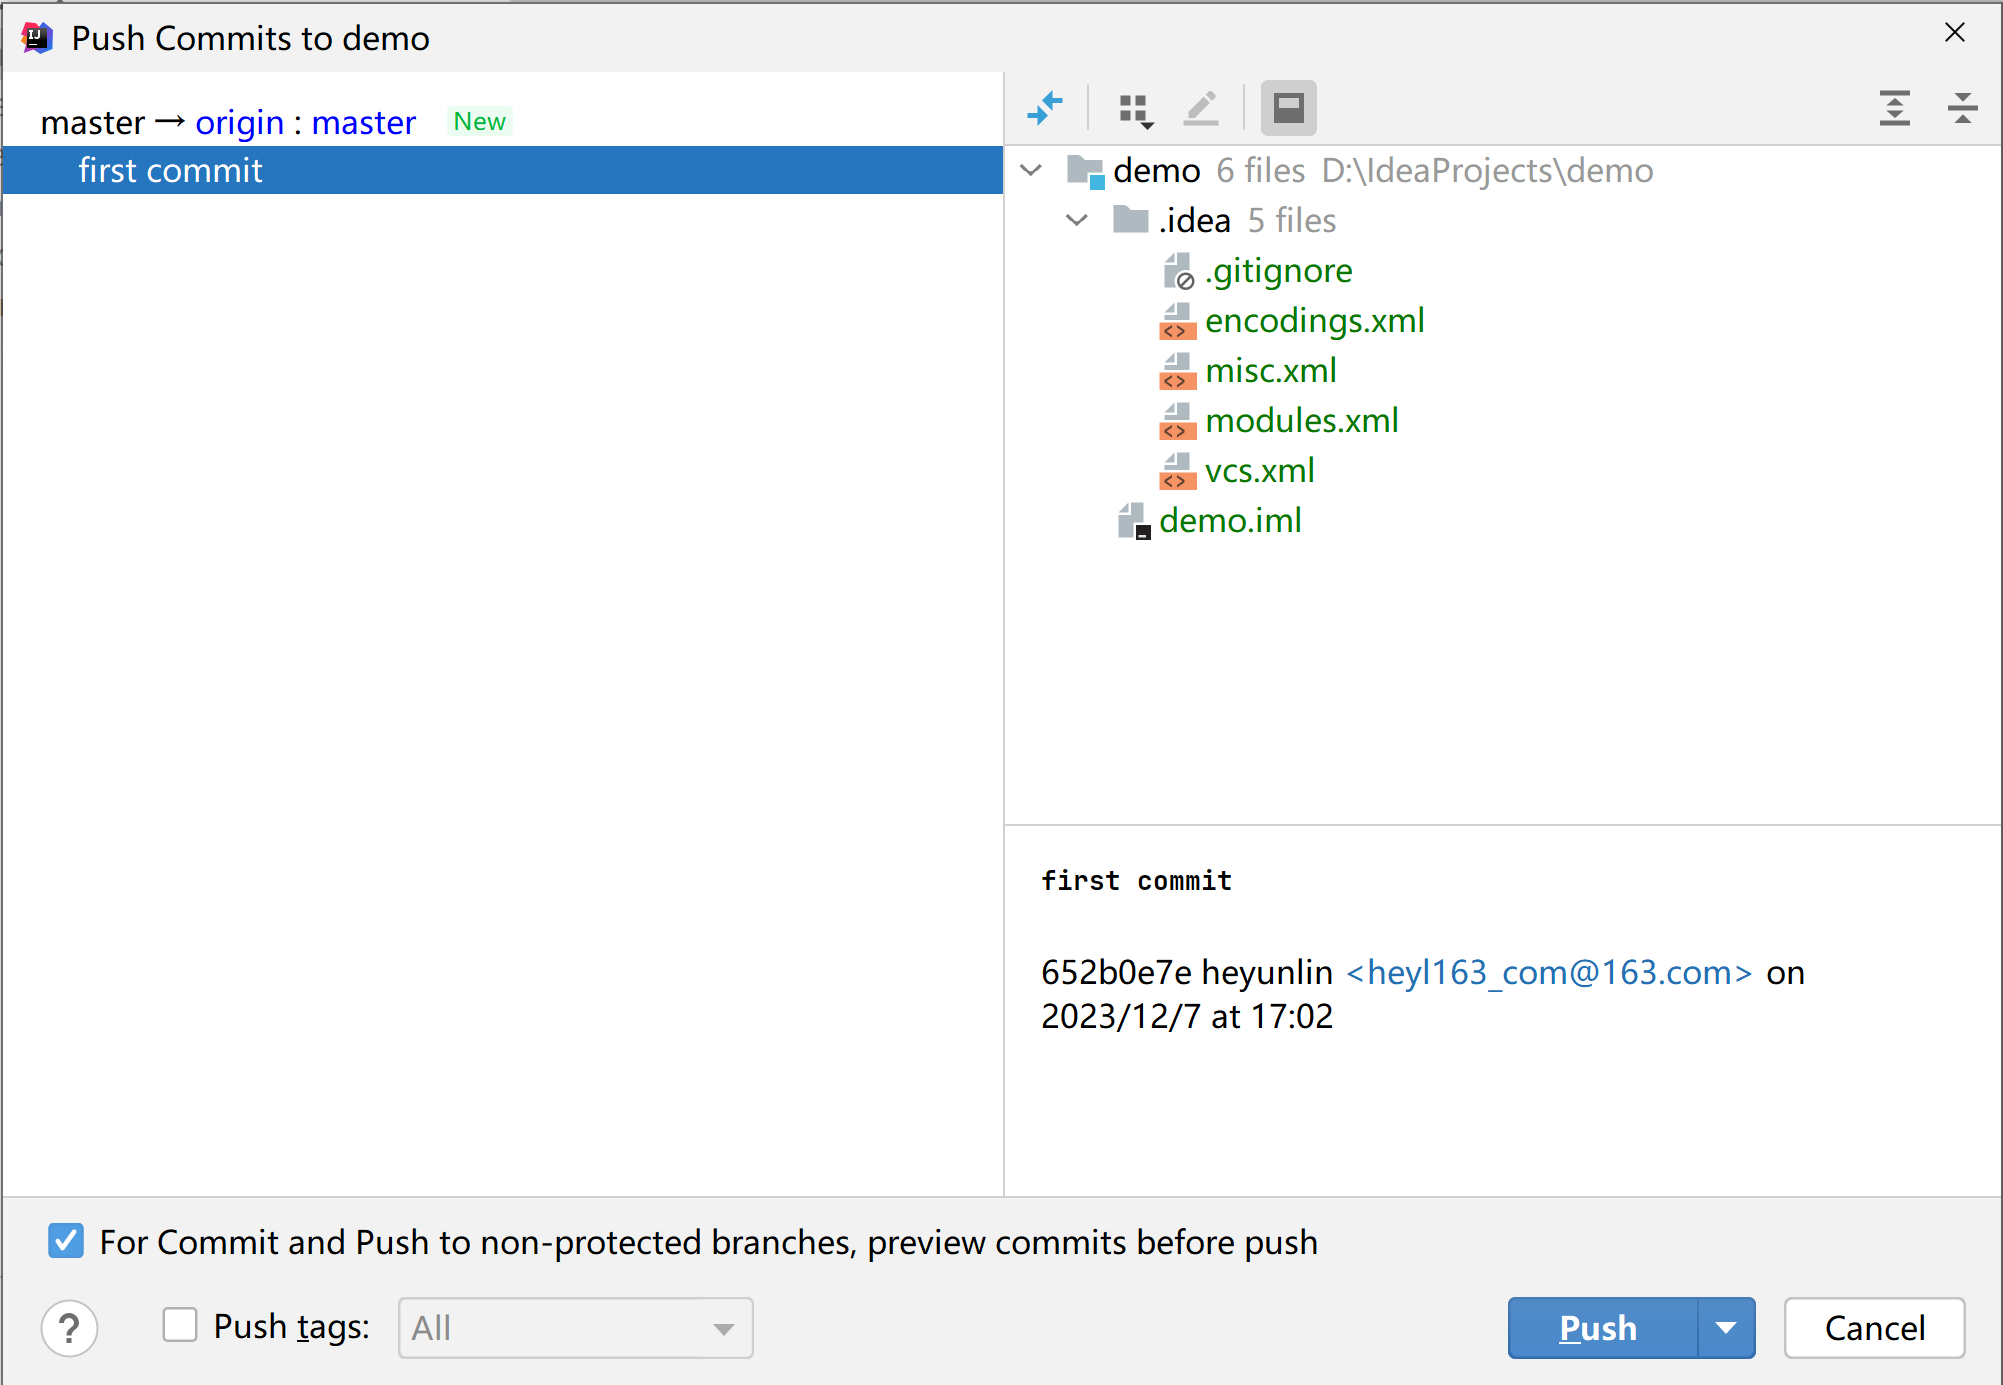
The last step is to click the Push button below
Tips for successful code submission
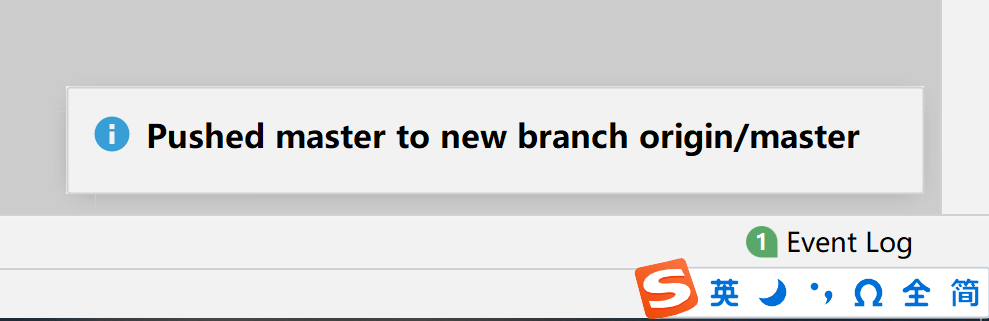
Refresh the gitee page in your browser and you can see the information just submitted.

Pull items
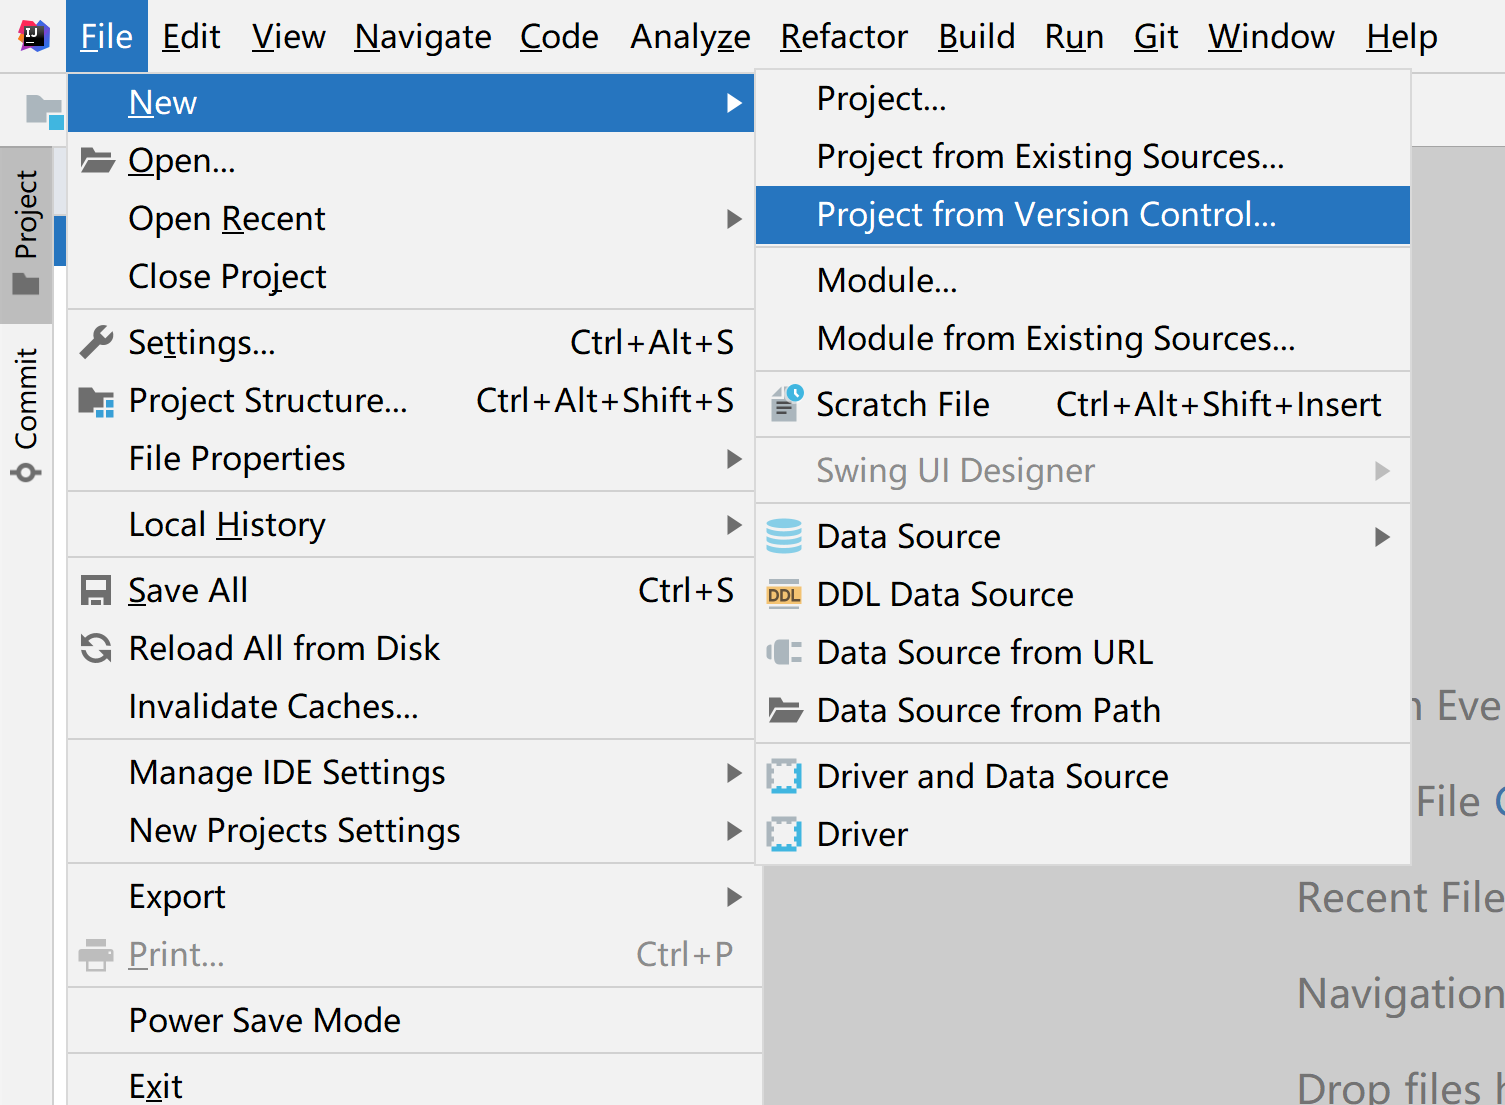
We have already introduced how to submit code to the Git repository. Here we will briefly introduce how to pull the project locally.
When creating the project, select the third option
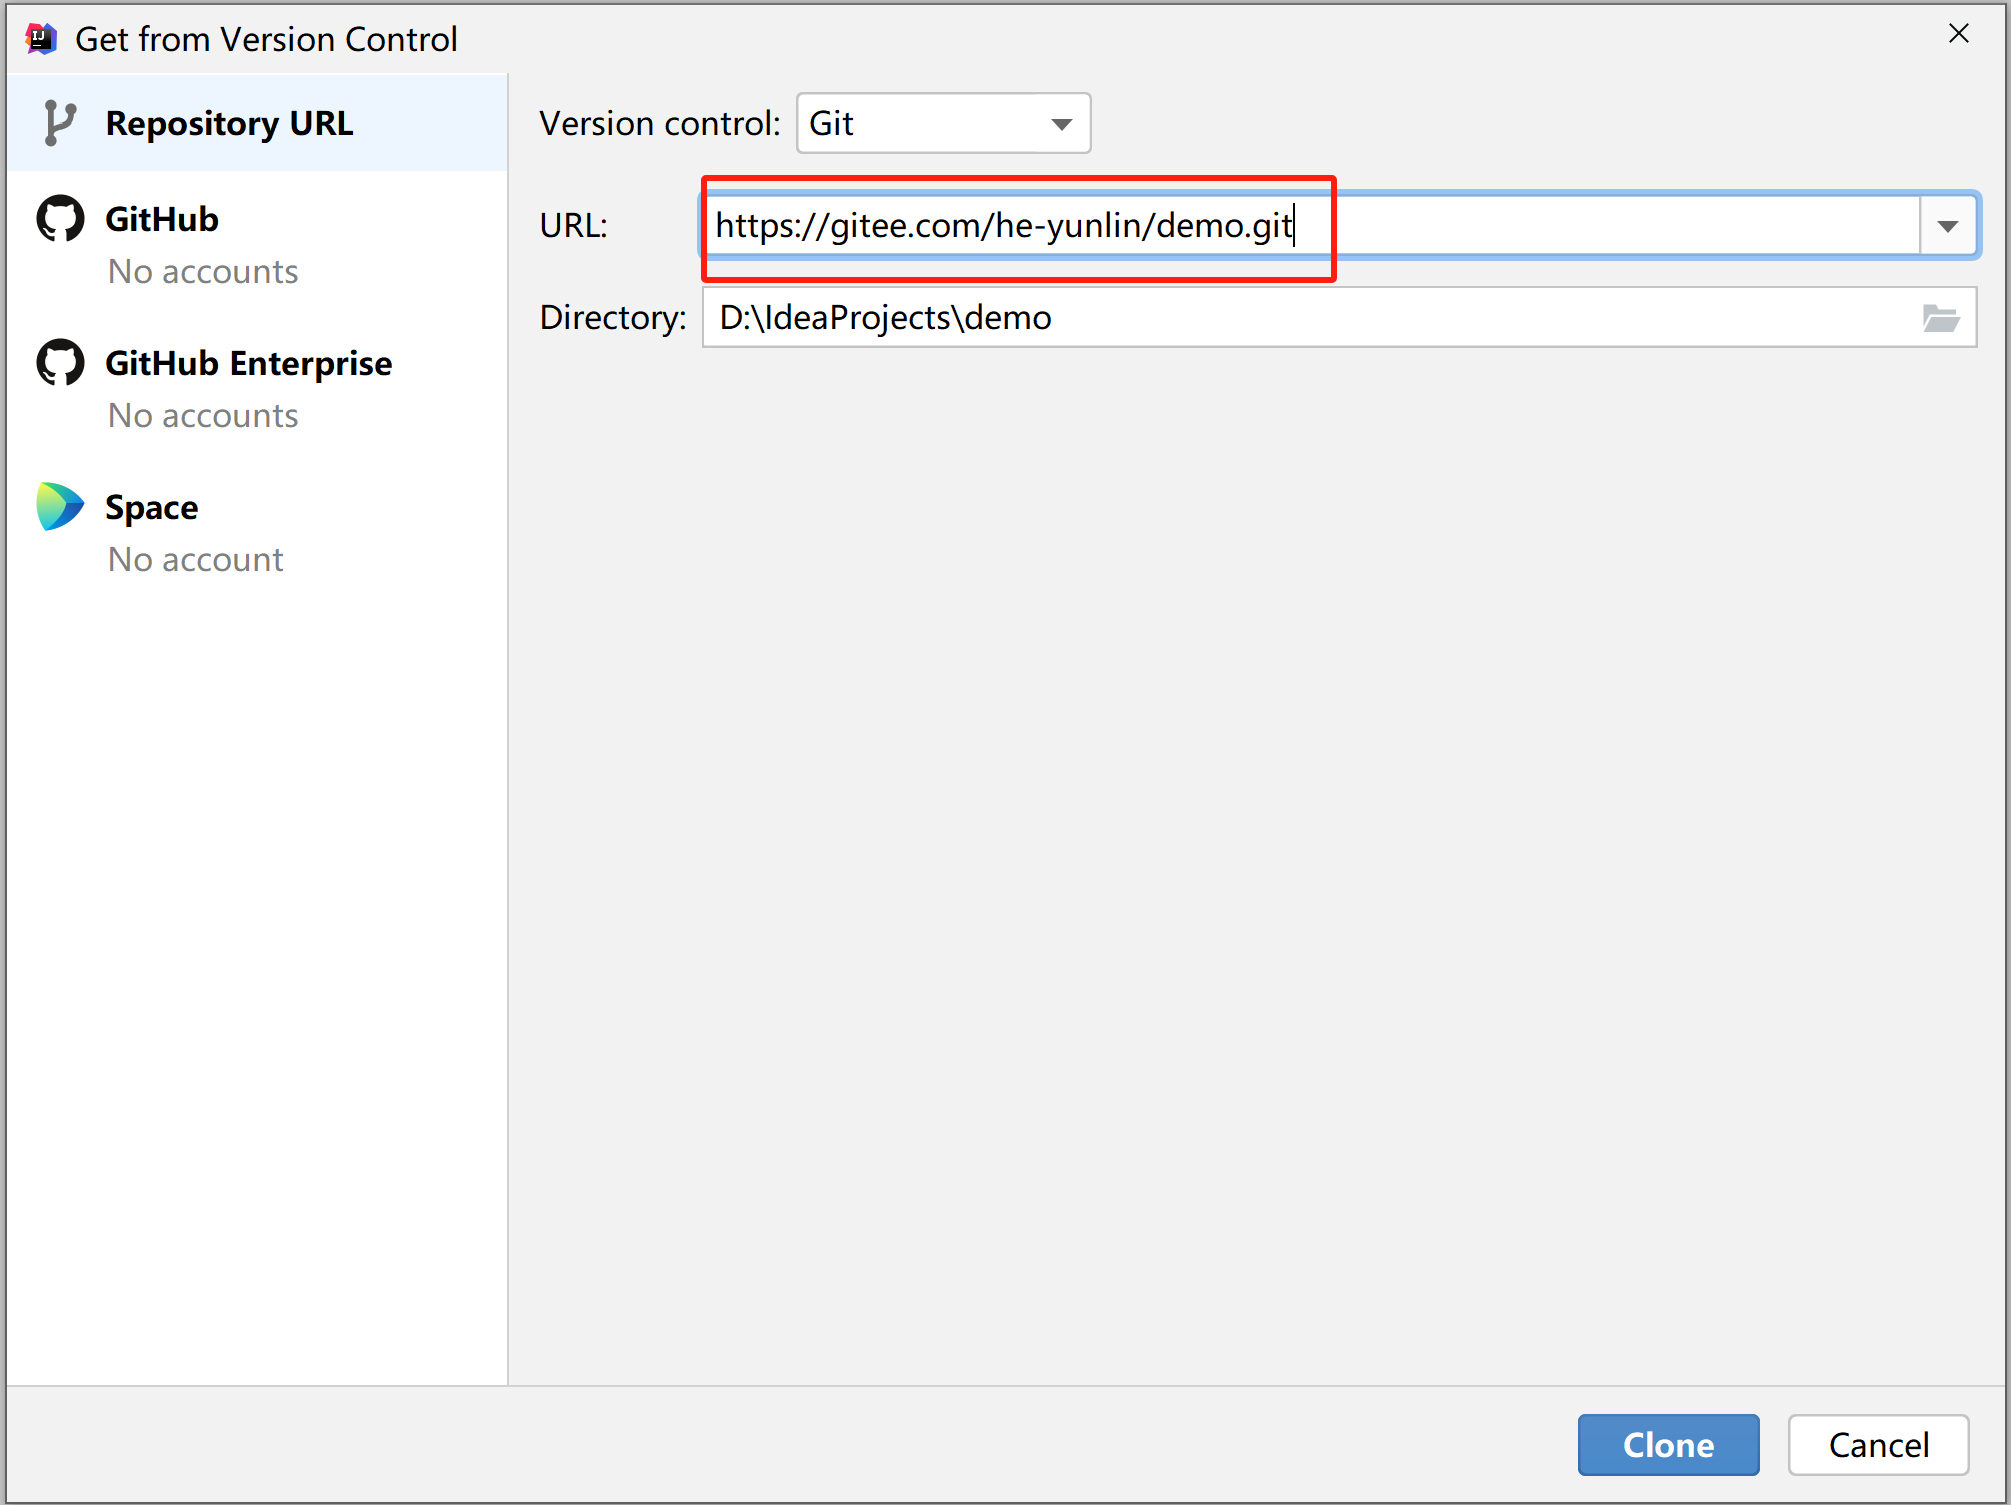
Then paste the warehouse address, click the Clone button, and you're done. In the end, you just need to wait patiently. If nothing happens, the download will be completed soon, and the cloned project will be opened in the window. (If the progress bar below appears and keeps moving for a long time, it may be that the project is too large and there are many dependency packages that need to be downloaded; or Maven is not configured properly).
Okay, that’s it for the introduction to enabling git version control in IntelliJ IDEA. Thank you for reading. If you find it helpful, I hope you can give it a thumbs up and favorite it~