The previous article on installing Redis through source code on Ubuntu has introduced how to install redis. In this article, we will teach you how to build several high-availability architectures of Redis: master-slave architecture, sentinel cluster, and cluster cluster.
The redis version used in this article is 6.2.13. The configurations of different versions may be slightly different, such as replicaof/slaveof.
Due to limited equipment, multiple redis services can only be started on one Ubuntu virtual machine through different ports.
Notice:
1. The path behind the logfile and dir configured in the configuration file must be created in advance.
2. Do not copy the command to start redis directly, otherwise it may prompt "there is no such file or directory". The command you type by yourself can be executed normally (a painful lesson) .

Table of contents
1. Build a master-slave architecture
2. Build a sentinel cluster architecture
Test Sentinel leader selection
3. Build a high-availability cluster architecture
4. Cluster horizontal expansion
1. Build a master-slave architecture
The minimum configuration of the redis cluster mode in the master-slave architecture is one master and one slave, so two redis services need to be started.
Build master node
Copy configuration file
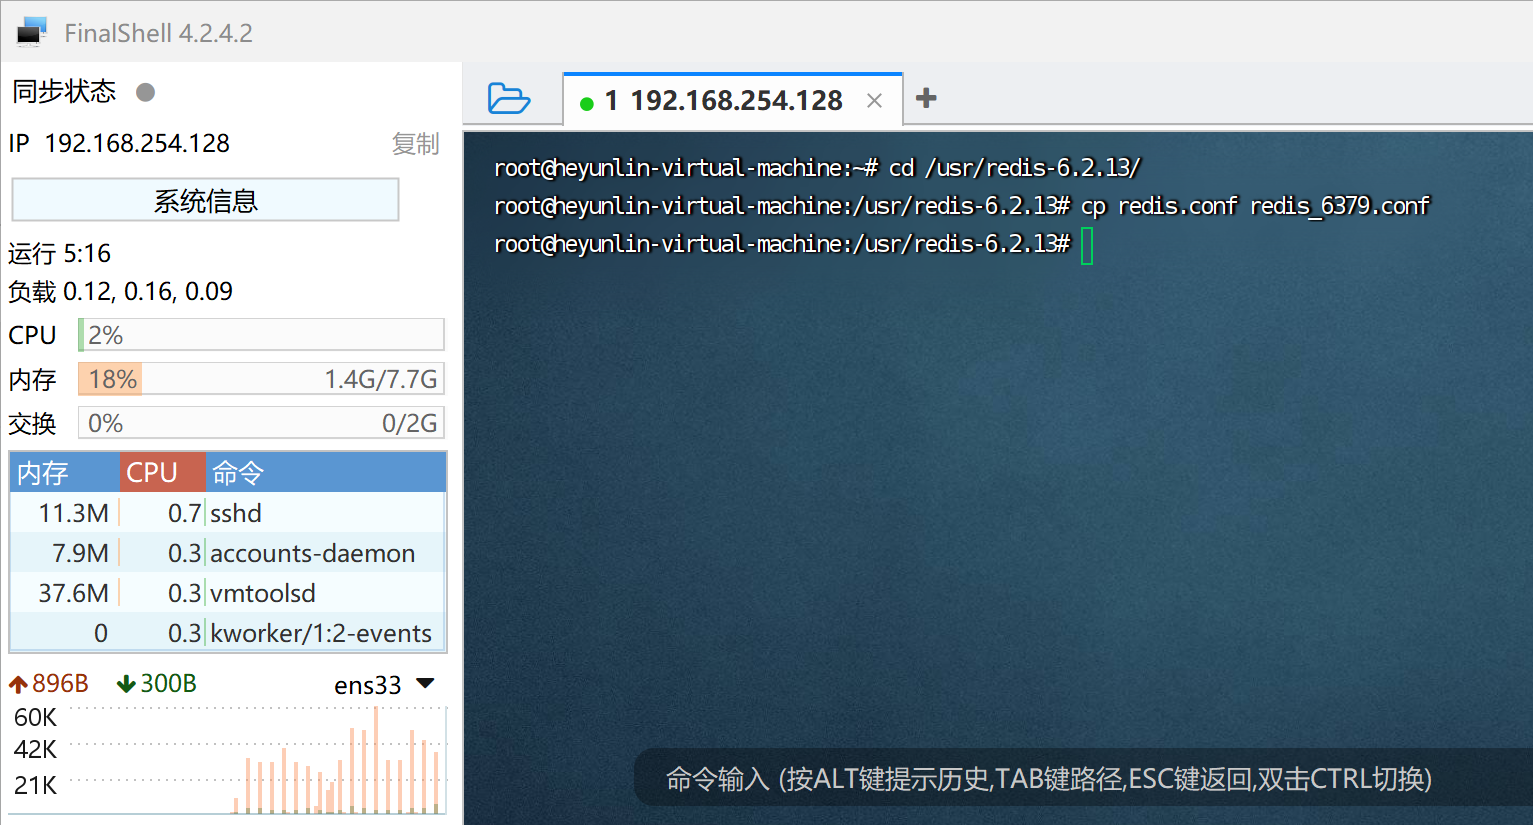
Switch to the redis installation directory and copy a configuration file
cp redis.conf redis_6379.confAs shown below:
Modify configuration file
Modify redis_6379.conf, search and modify the following configuration through Ctrl+F.
# bind 127.0.0.1 -::1

protected-mode no

# 设置启动端口号
port 6379

# 设置后台启动
daemonize yes

# 进程ID保存的文件
pidfile /var/run/redis_6379.pid

# 设置日志文件名
logfile "redis_6379.log"
Start the master node
After modifying redis_6379.config according to the previous step, start redis through the following command
./src/redis-server redis_6379.confAs shown in the figure, check the log file and see that redis started successfully.

Build slave node
Copy configuration file
Switch to the redis installation directory, copy a configuration file, and directly copy the previous 6379 file. I am too lazy to repeatedly modify some settings.
cp redis_6379.conf redis_6389.confModify configuration file
Modify redis_6389.conf, search and modify the following configuration through Ctrl+F.
# 设置启动端口号
port 6389

# 从节点只能处理读操作,当前版本redis默认开启的配置
replica-read-only yes

# 配置redis主节点ip地址和端口号
replicaof 192.168.254.128 6379

# 进程ID保存的文件
pidfile /var/run/redis_6389.pid

# 保存数据的文件地址
dir /usr/local/redis/6389/data

# 日志文件的文件名
logfile "/usr/local/redis/6389/logs/redis_6389.log"
Note: In order to avoid the problem of file not being found, you need to create the corresponding directory under /usr/local first.
/redis/6389/data
/redis/6389/logs
Start slave node
Start the slave node with the following command
./src/redis‐server redis_6389.confAs shown in the figure below, the slave node started successfully and synchronized data from the master node 6379.

Then set a few keys on the master node and see if it will be synchronized to the slave node:
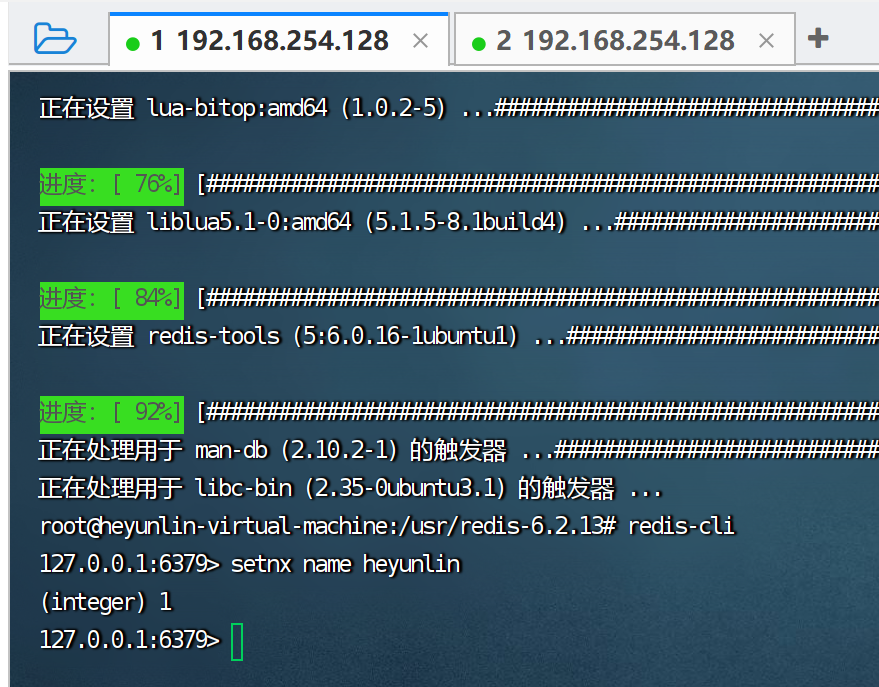
Connect to the master node through the redis-cli command (the default connection is the redis node with port number 6379), and you can specify the port number through -p. The first time you use redis-cli, you may be prompted to install redis-tools. Just copy the command and press Enter.

Set a name
Get name from node

At this point, the construction of the redis master-slave architecture has been successfully completed.
2. Build a sentinel cluster architecture
The sentinel cluster architecture is actually based on the master-slave architecture and introduces sentinel nodes. The sentinel does not process the client's read and write requests. It is only responsible for monitoring the master node and slave nodes. When the master node is found to be down, a new master node will be elected. The process of electing the master node is achieved through voting by multiple sentinels. The election can only be established if more than half of the sentinels agree. Therefore, the number of sentinels must be set to an odd number to prevent re-election due to a tie vote. Therefore, the sentinel cluster architecture must have at least 3 sentinel nodes.
Add a slave node
Based on the master-slave architecture in the first section, build another redis node 6399.
Copy a configuration file from node 6389
cp redis_6389.conf redis_6399.confThen just modify the following configurations (Ctrl+F search and replace 6389 with 6399, if you can be lazy, be lazy~)
port 6399

pidfile /var/run/redis_6399.pid

logfile "/usr/local/redis/6399/logs/redis_6399.log"

dir /usr/local/redis/6399/data
Then enter the command to start
./src/redis‐server redis_6399.confLikewise, it will synchronize data from master node 6379.

Build a sentinel node
Copy sentinel.conf
cp sentinel.conf sentinel_6380.conf Modify settings
port 6380

daemonize yes

logfile "/usr/local/redis/6380/logs/redis_6380.log"

dir /usr/local/redis/6380/data

pidfile /var/run/redis_6380.pid

# 配置主节点ip和端口号,最后一个2表示当哨兵节点中两个通过选举结果时,才设置候选节点为master
# 一般设置成哨兵节点数/2 + 1
sentinel monitor mymaster 192.168.254.128 6379 2
Then follow a similar method to create two sentinel nodes 6390 and 6400
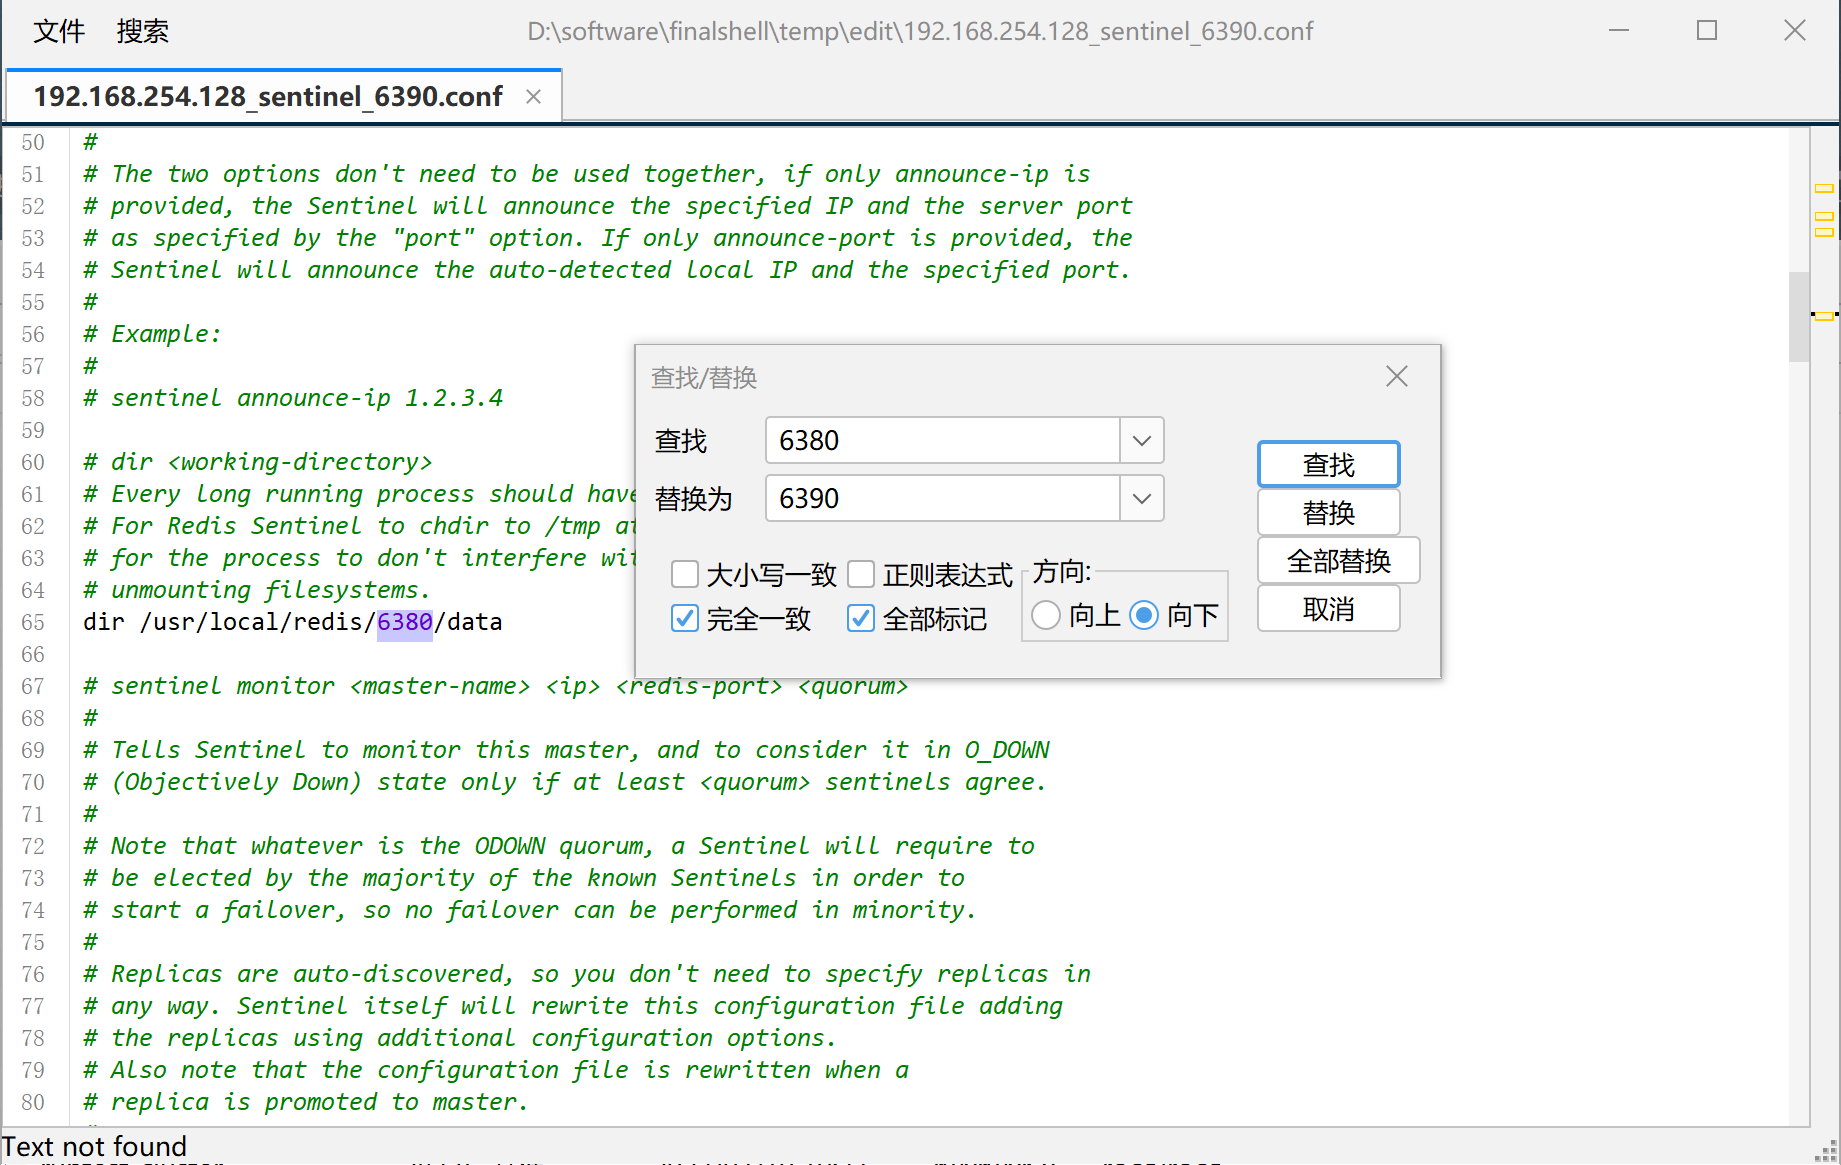
Copy a copy of sentinel_6380.conf configuration file
cp sentinel_6380.conf sentinel_6390.confReplace 6380 with 6390, and then create 6400 in the same way
Start sentinel node
src/redis-sentinel sentinel_6380.conf

src/redis-sentinel sentinel_6390.conf

src/redis-sentinel sentinel_6400.conf
After the startup is completed, click on any configuration file and find that there is an extra paragraph at the end of the file.

View cluster information
Connect to the sentinel node on port 6400 and view the information of the entire cluster through the redis info command.
redis-cli -p 6400

info
Test Sentinel leader selection
Use the kill command to kill the redis master node and see if the new master election can be completed.

As shown in the picture above, the master node has been offline. Connect any one of the other two slave nodes, for example, connect 6389

Found that 6389 was set as the master node

At this point, the redis sentinel cluster architecture has been completed.
3. Build a high-availability cluster architecture
A total of nine nodes are created here. According to the ratio of 1 master and 2 slaves, there are exactly 3 groups of small clusters.
Create all nodes
Step 1: Create a cluster directory in the redis installation directory and copy a configuration file
cp redis.conf ./cluster/redis_6500.conf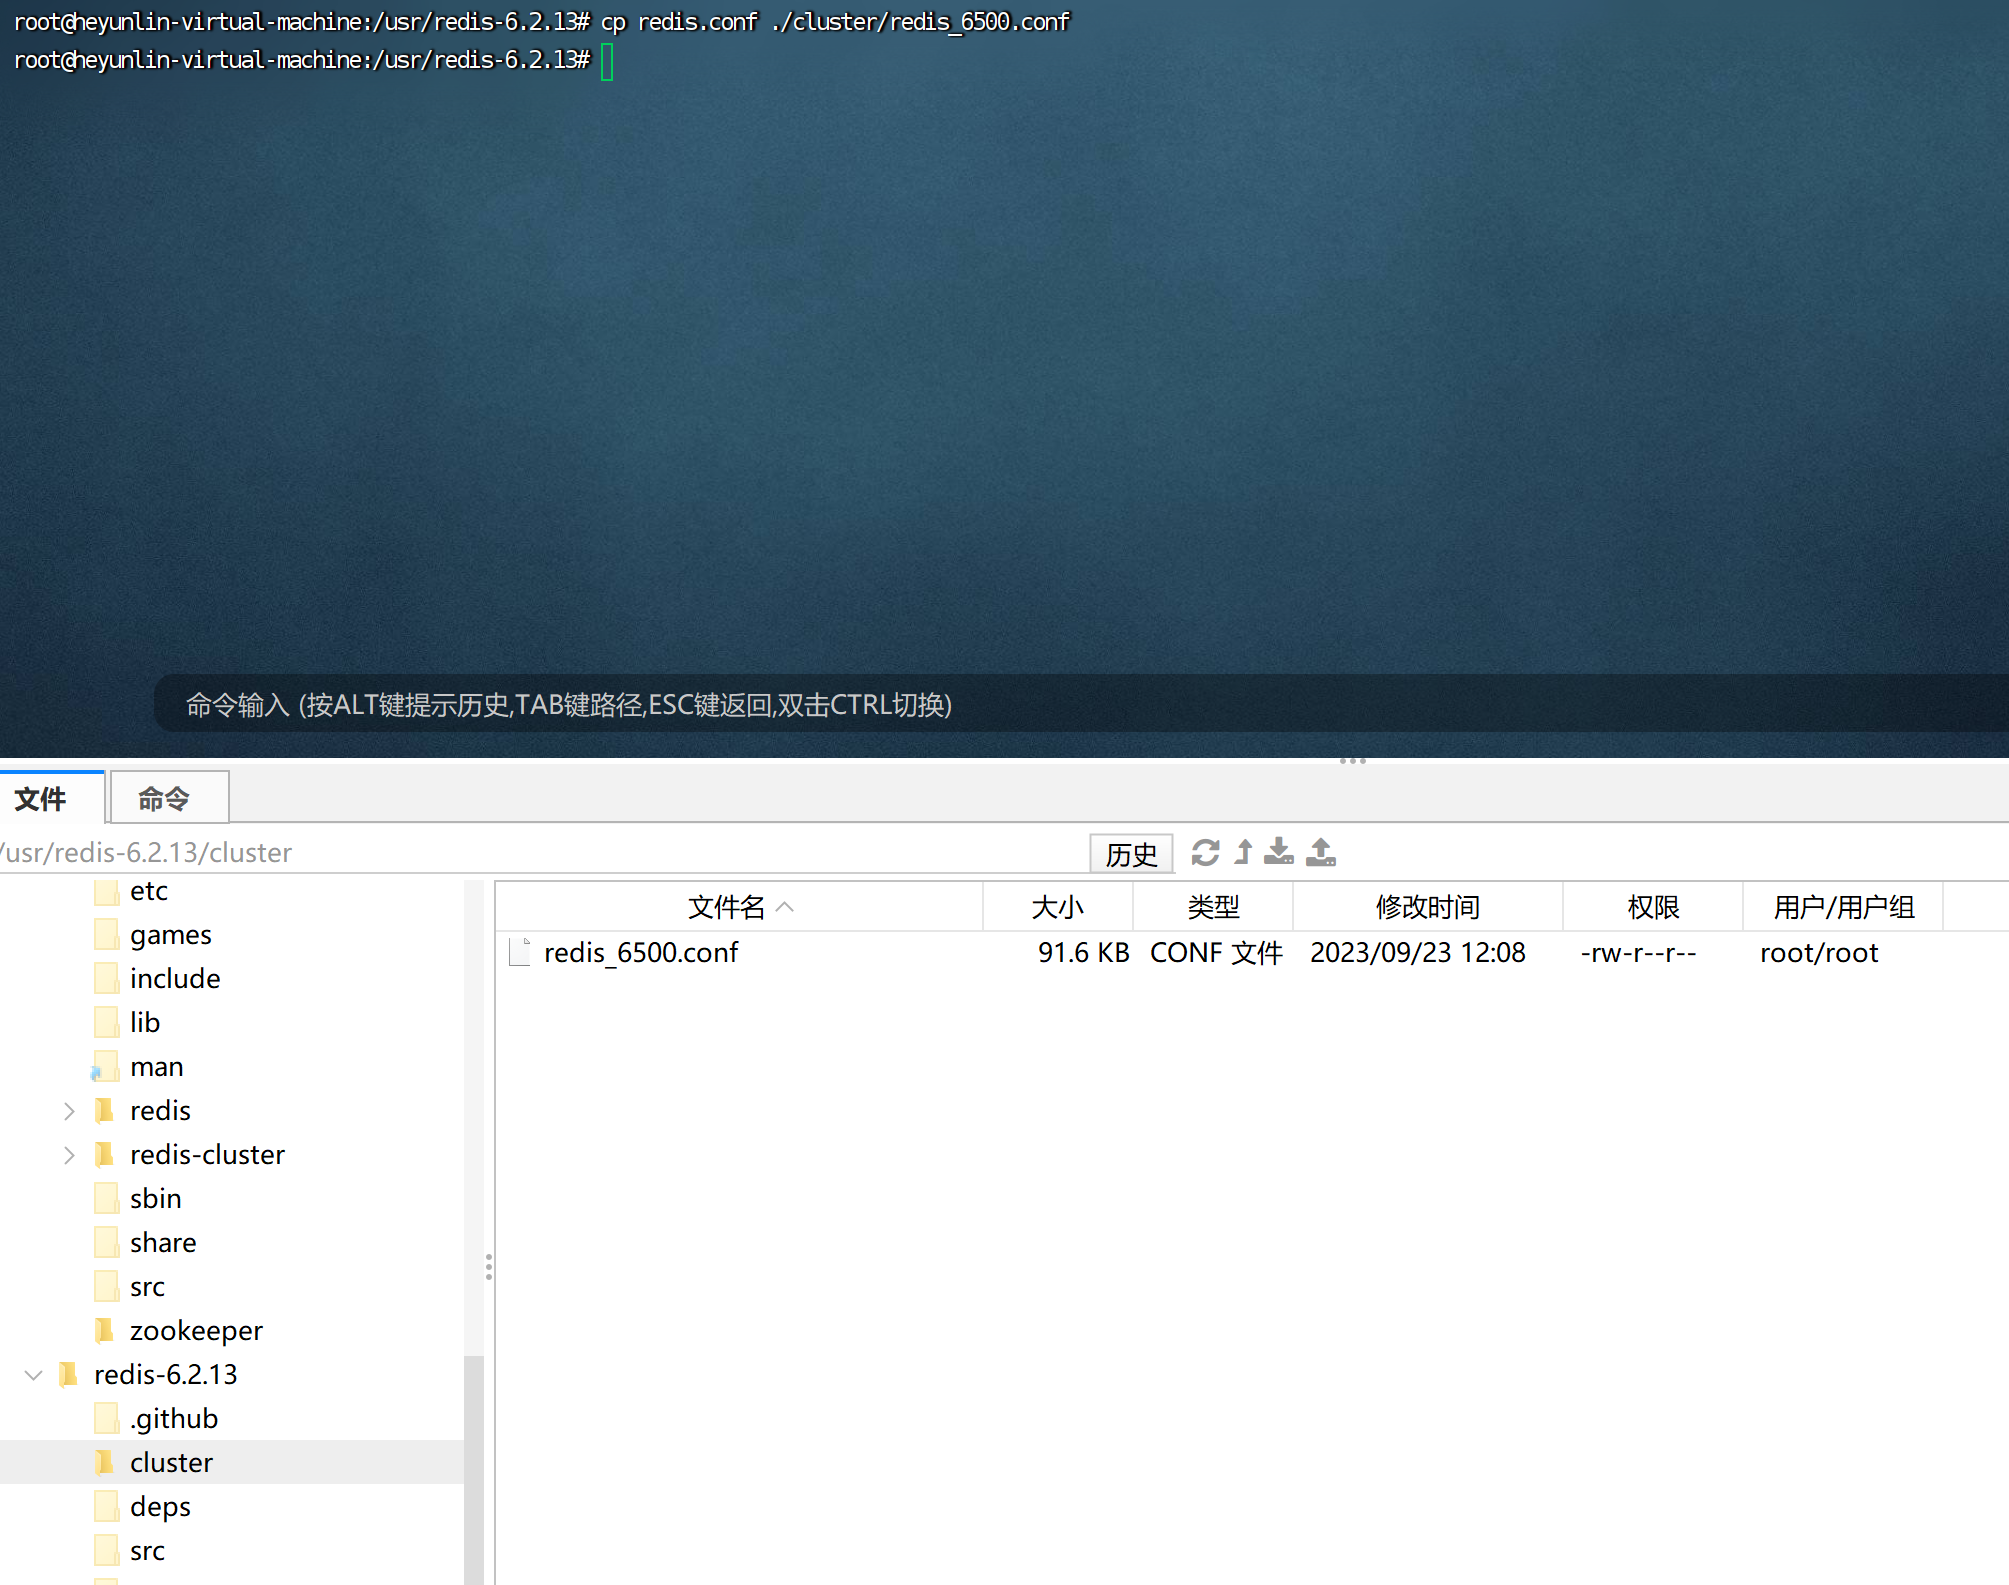
Then modify redis_6500.conf
#bind 127.0.0.1 -::1
protected-mode no
port 6500
daemonize yes
pidfile /var/run/redis_6500.pid
logfile "/usr/local/redis-cluster/6500/logs/redis_6500.log"
dir /usr/local/redis-cluster/6500/data
appendonly yes
# 取消以下设置的注释,并修改对应的值
cluster-enabled yes
cluster-config-file nodes-6500.conf
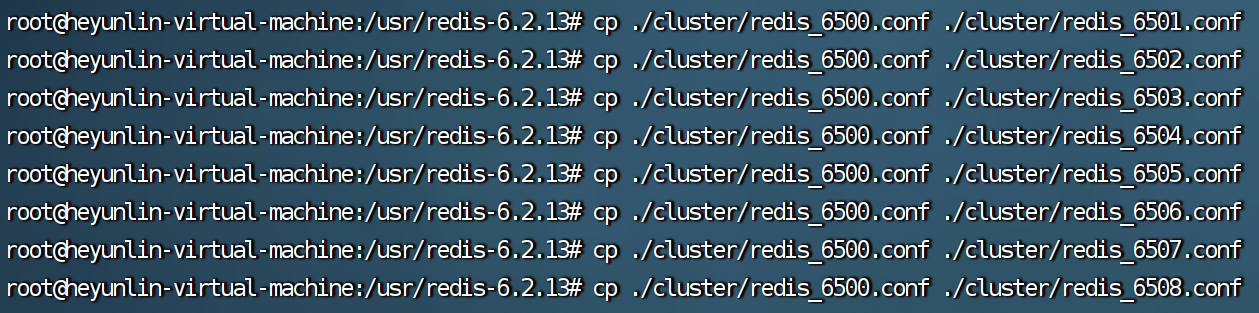
cluster-node-timeout 15000Then, just copy /cluster/6500.conf, Ctrl+F search and replace 6500 with 6501, 6502, 6503, 6504, 6505, 6506, 6507, 6508 to complete the creation of the remaining nodes.
cp ./cluster/redis_6500.conf ./cluster/redis_6501.conf

cp ./cluster/redis_6500.conf ./cluster/redis_6502.conf

cp ./cluster/redis_6500.conf ./cluster/redis_6503.conf

cp ./cluster/redis_6500.conf ./cluster/redis_6504.conf

cp ./cluster/redis_6500.conf ./cluster/redis_6505.conf

cp ./cluster/redis_6500.conf ./cluster/redis_6506.conf

cp ./cluster/redis_6500.conf ./cluster/redis_6507.conf

cp ./cluster/redis_6500.conf ./cluster/redis_6508.conf
as the picture shows
Then try to start any of the services and check the logs for errors to ensure there are no problems with the configuration files.
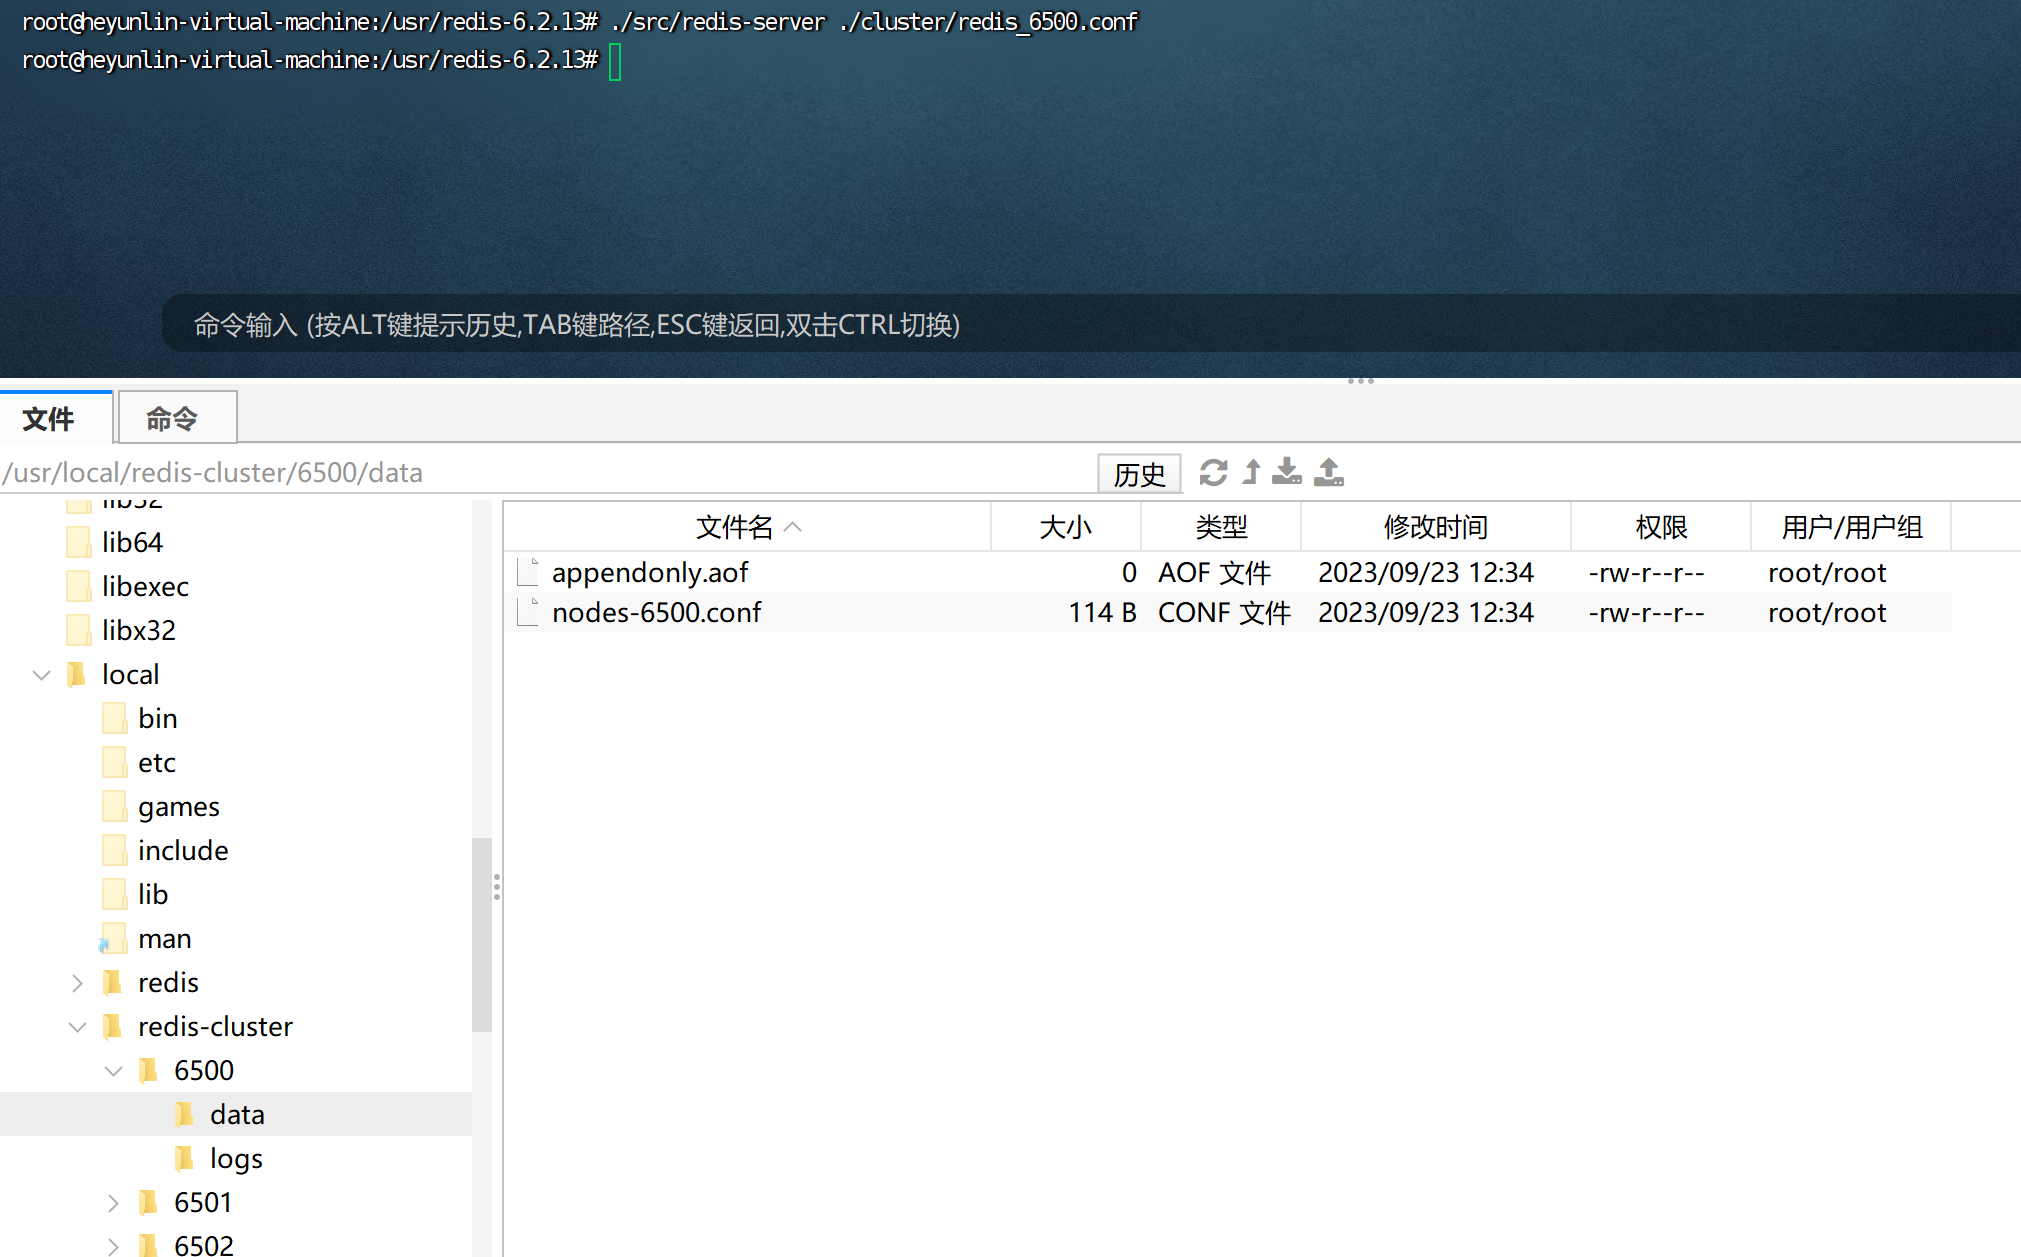
Then, start nodes 6501-6508 in sequence.

Use the ps command to see that all nodes are started.

Create a cluster
Add the 9 nodes just started to a cluster through commands.
--cluster-replicas specifies the number of slave nodes in each small cluster. As mentioned at the beginning, the cluster is built according to the structure of 3 groups, 1 master and 2 slaves, so the value specified here is 2
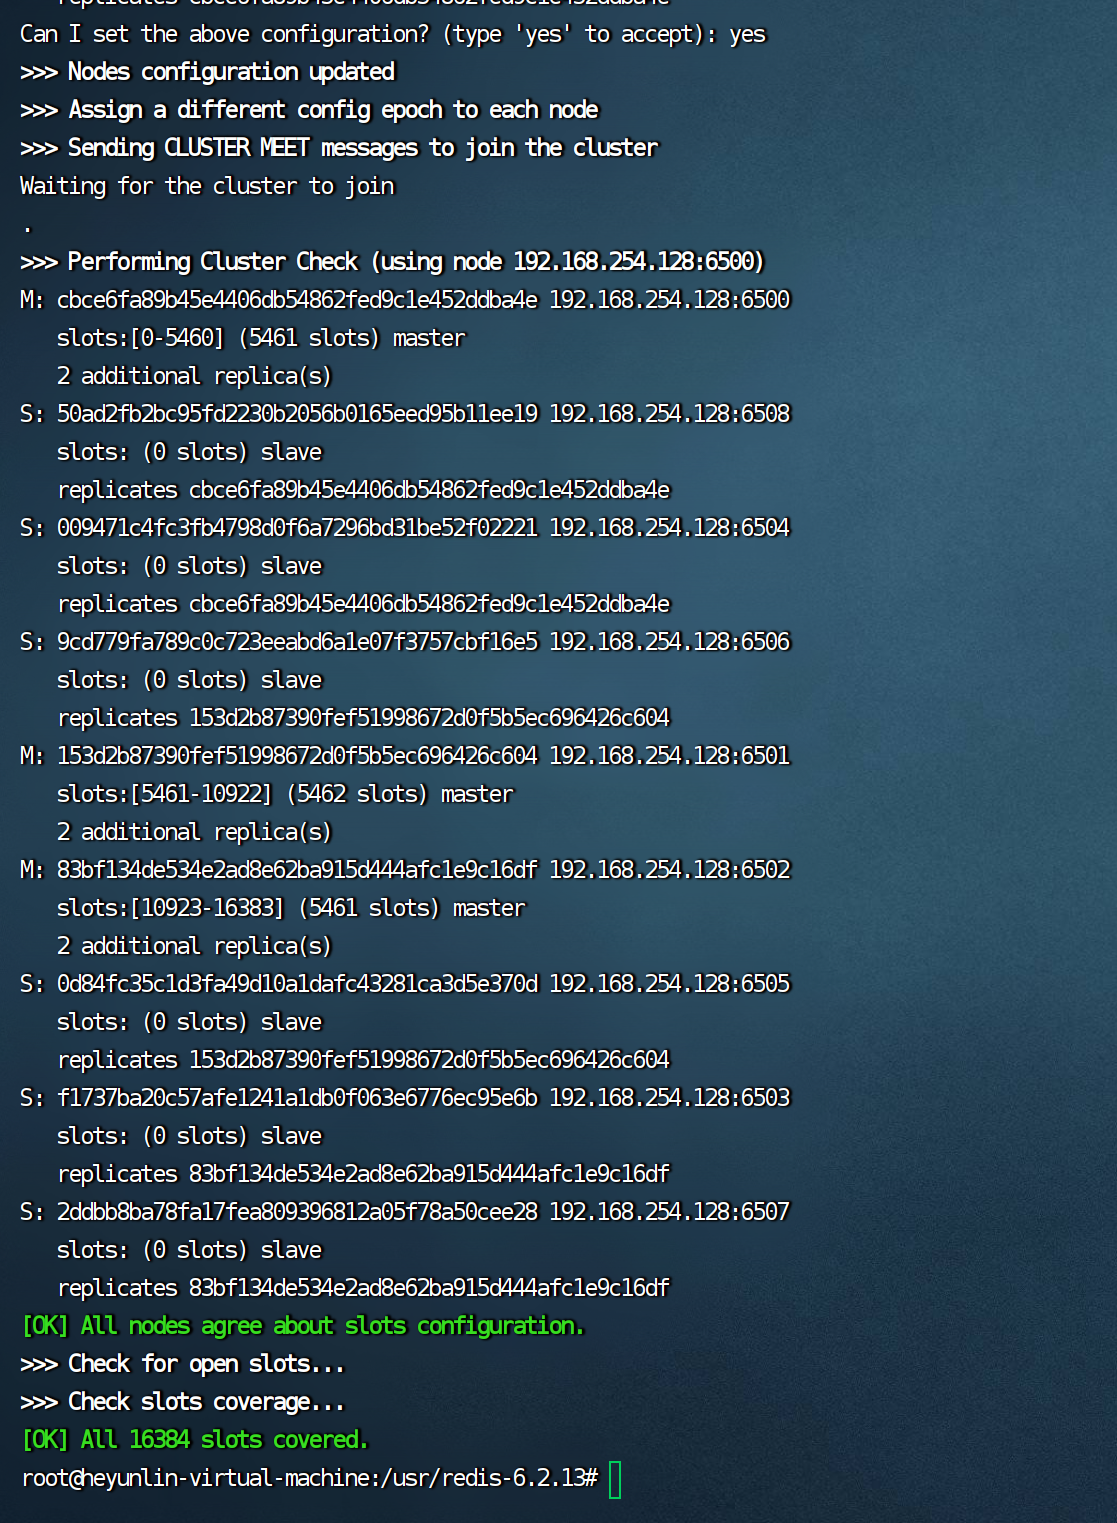
./src/redis-cli --cluster create 192.168.254.128:6500 192.168.254.128:6501 192.168.254.128:6502 192.168.254.128:6503 192.168.254.128:6504 192.168.254.128:6505 192.168.254.128:6506 192.168.254.128:6507 192.168.254.128:6508 --cluster-replicas 2As shown in the figure, the first three nodes are set as master nodes. Because multiple master and slave nodes are on the same machine, there is a yellow Warning.

Enter yes according to the prompt to start creating the cluster, as shown in the figure, the cluster is set up.
Note: The command to connect to the redis client in cluster mode is a little different.
./src/redis-cli -c -h 192.168.254.128 -p 6505-c indicates connecting through cluster mode
-h specifies the server ip address
In order to ensure the security of node data, all cluster nodes will not be deployed on the local machine, and the master and slave nodes will generally not be redis services under the same server, because once the machine breaks down, the sharded All data will be lost.
Because the slave node is only responsible for backing up data and will not process requests, when connecting to slave node 6505 to execute a command, it will automatically redirect to its master node 6501 (6500-6502 are the master nodes, which are the first 3 specified when creating the cluster. node).

Finally, two commands are introduced
cluster info # 查看集群信息

cluster nodes # 查看集群的节点
At this point, the Redis high-availability cluster has been set up.
4. Cluster horizontal expansion
Before doing this, create the directories /6509/logs and /6509/data in the /user/local/redis-cluster directory.

Make a copy of the previous configuration file
cp ./cluster/redis_6508.conf ./cluster/redis_6509.confThen Ctrl+F to replace

Finally, Ctrl + S saves the file content changes. If the save is successful, there will be a successful upload prompt in the upper right corner.

Then start the 6509 node
./src/redis-server ./cluster/redis_6509.conf
Add cluster node
When a new node is added to the cluster, the default is the master node. Use the add-node command to add the node. The first ip:port number indicates the node to be added, and the second ip:port number is any node in the cluster. .
Add the 6509 just created to the cluster
redis-cli --cluster add-node 192.168.254.128:6509 192.168.254.128:6500
Set as slave node
Connect 6509
redis-cli -c -h 192.168.254.128 -p 6509View cluster node information
cluster nodes 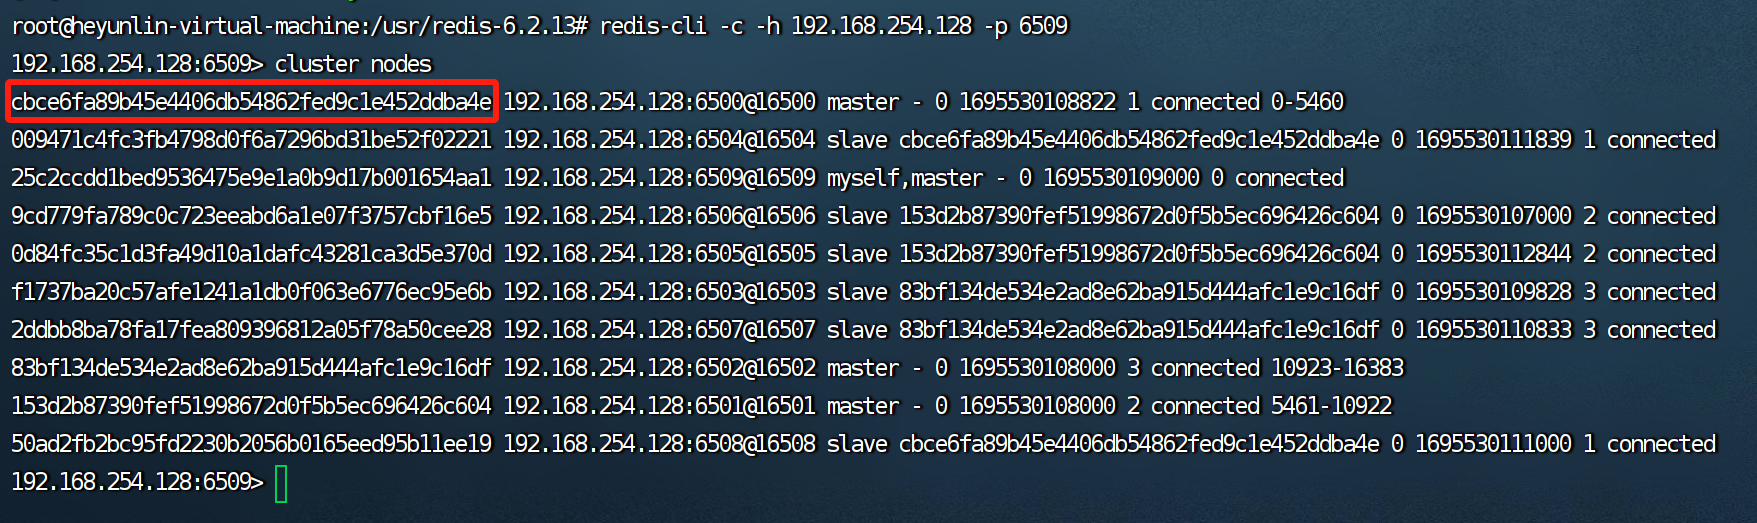
Set the master node of 6509 node to 6500
cluster replicate 节点IDThe node ID is the long string in the red box in the picture above.
cluster replicate cbce6fa89b45e4406db54862fed9c1e452ddba4eThen check the cluster nodes

Delete cluster node
You can delete a node in the cluster through the del-node command. The first parameter is the node's ip:port number, and the second parameter is the node's ID.
redis-cli --cluster del-node 192.168.254.128:6509 25c2ccdd1bed9536475e9e1a0b9d17b001654aa1When the master node is deleted, the data needs to be migrated to other slave nodes to ensure that the data is not lost, that is, the node is re-sharded through the next part.
Node resharding
redis-cli --cluster reshared 192.168.254.128:6509Okay, I’ll share the article here. Don’t like or add it to favorites after reading it~