Use JMX to connect to tomcat. After connecting, you can view part of the previous content, but you cannot view Visual GC, which shows that it is not supported by this JVM.
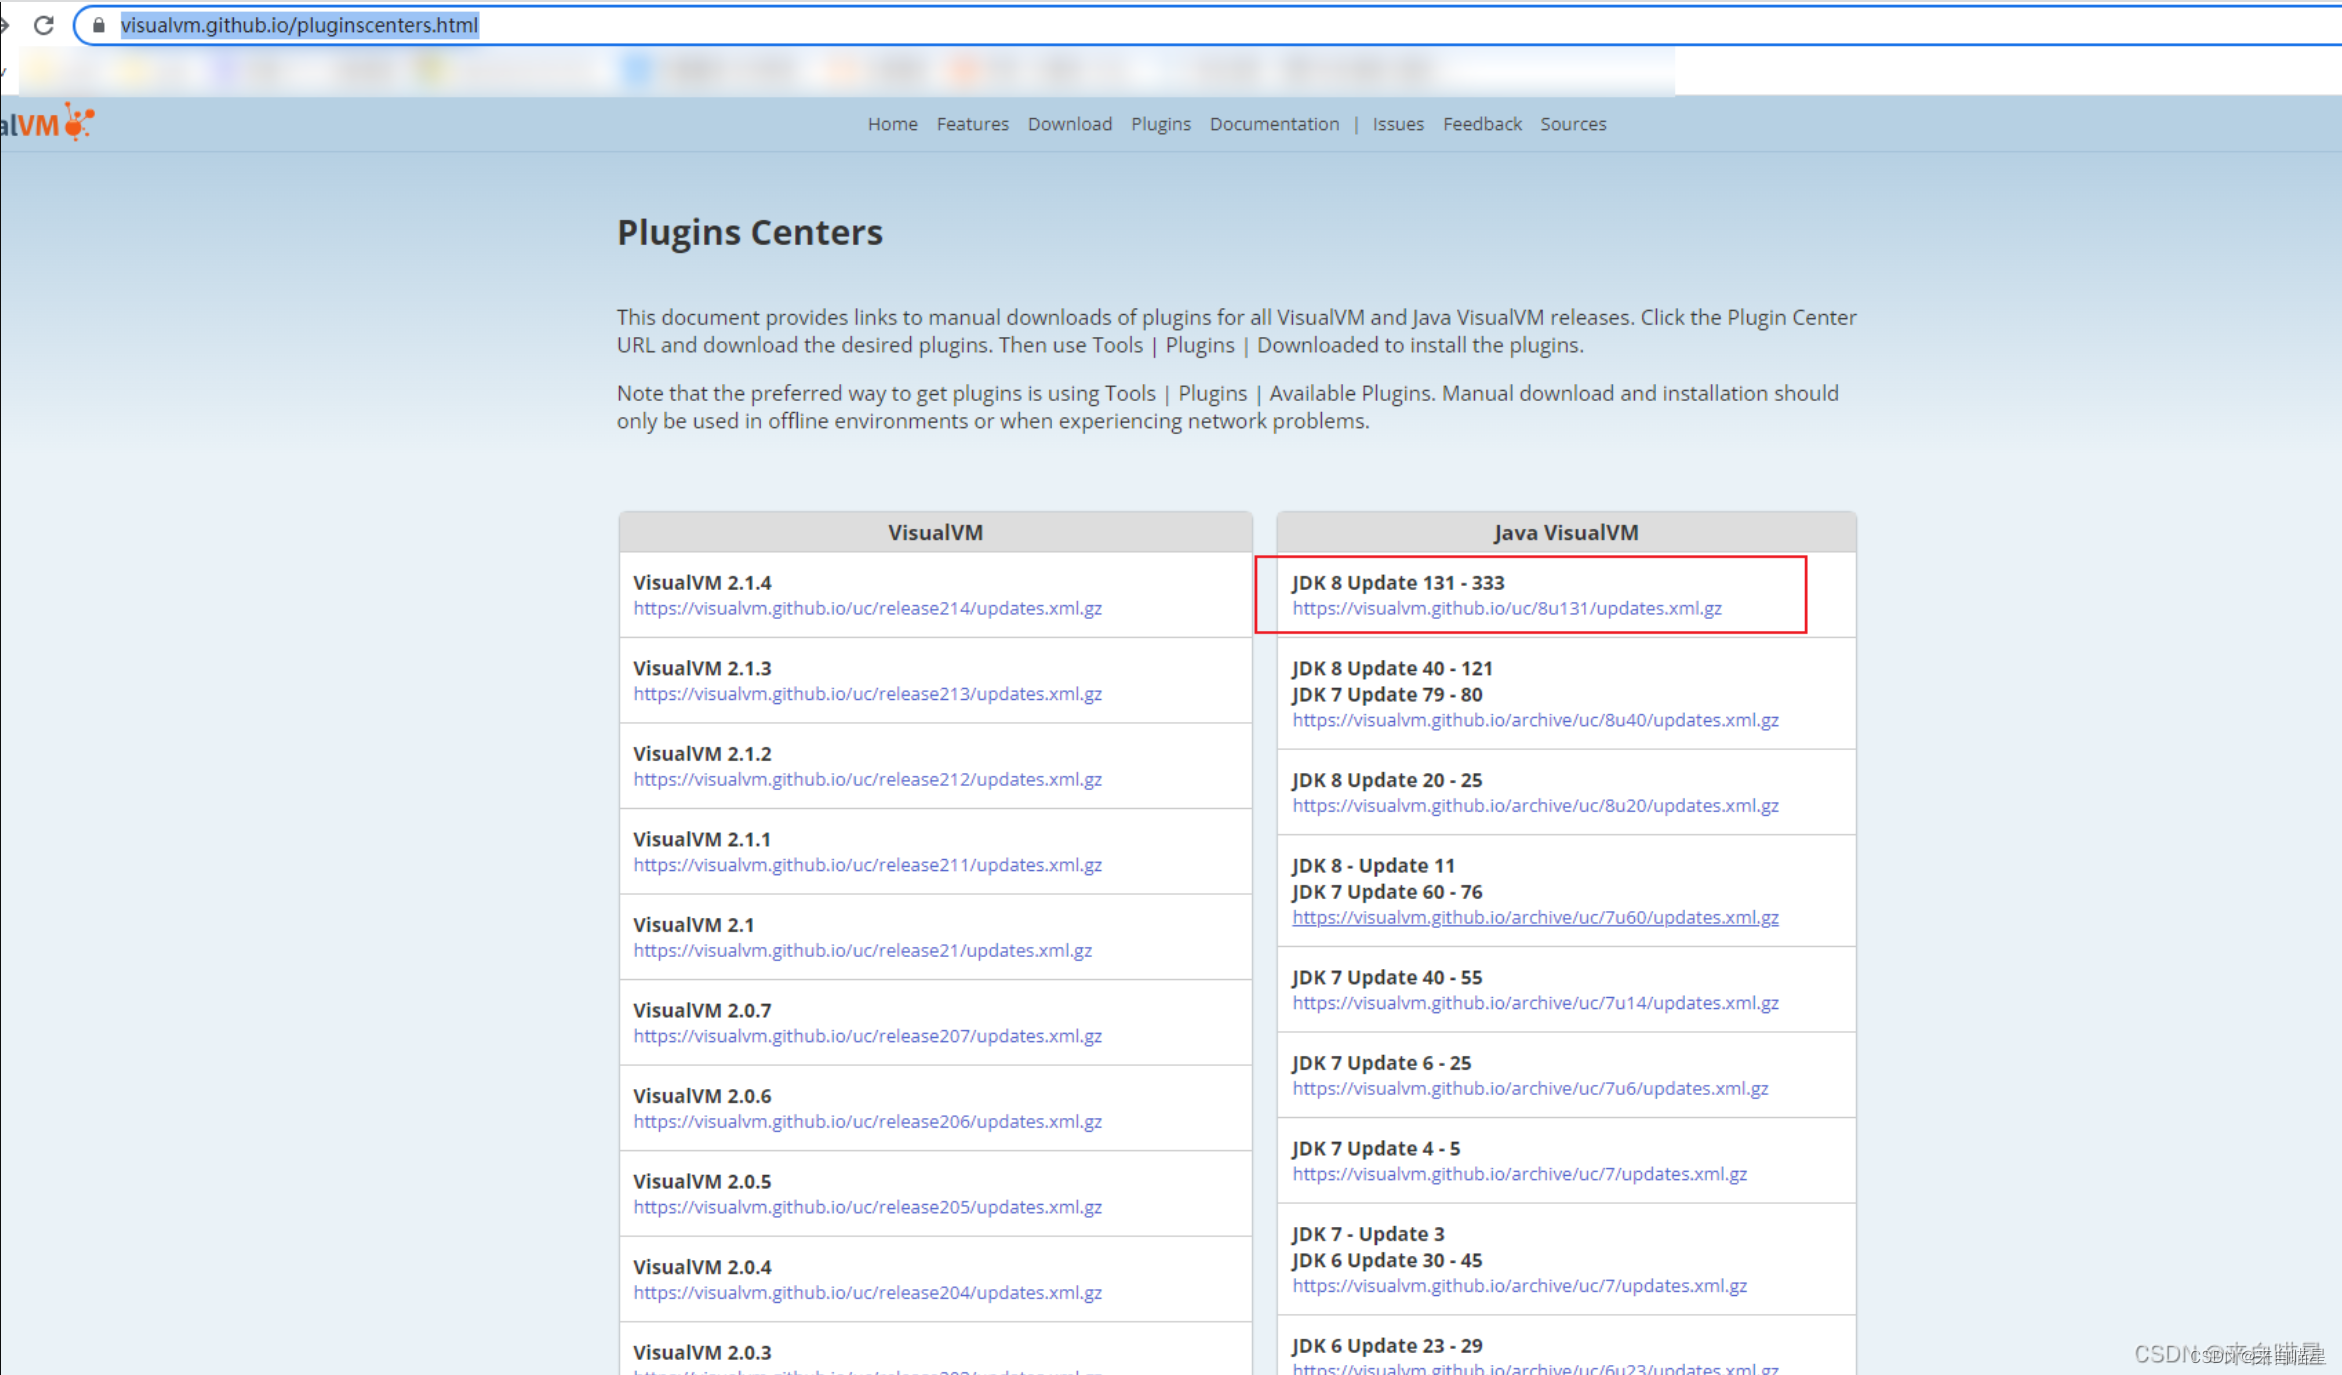
By the way, to display Visual GC, you must first install the visualvm tool. The specific installation method is to download the corresponding Java VisualVM plug-in according to your own jdk version, and then use the Tools → Plug-in → Downloaded plug-in on the Java VisualVM tool menu bar that comes with Java. Install, remember to restart the Java visualVM tool after installation
Plugin download address:
VisualVM: Plugins Centers
https://visualvm.github.io/pluginscenters.html
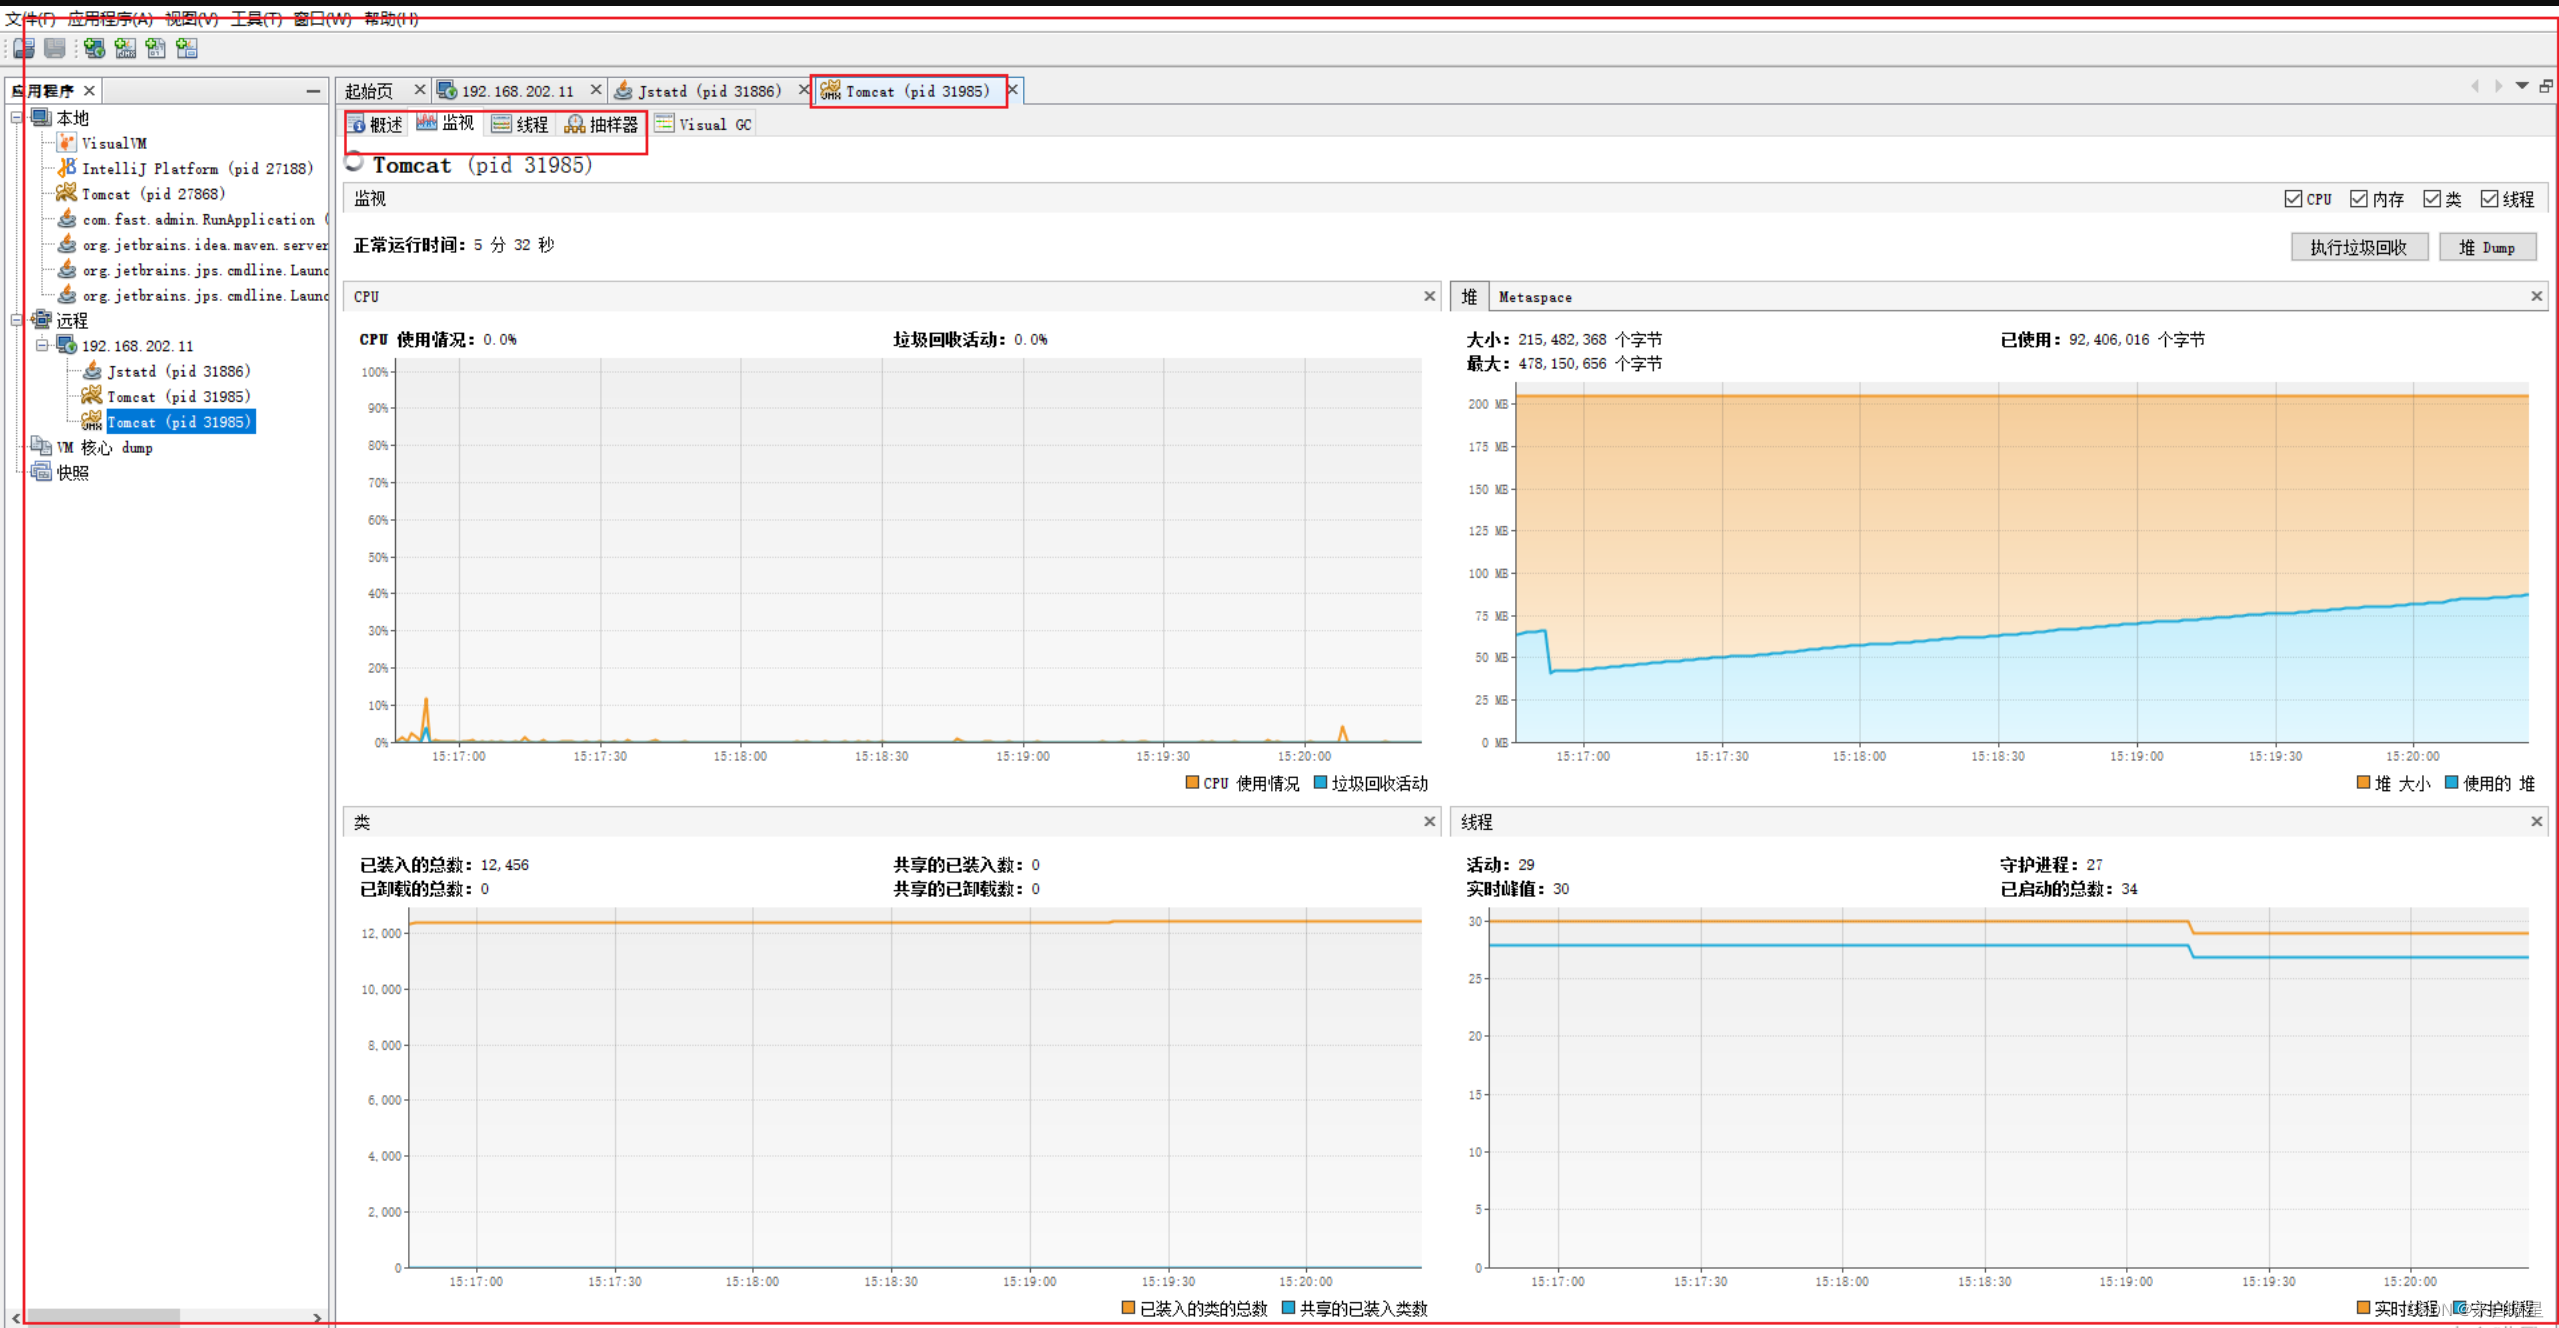
After the installation is completed, some local jvm projects are displayed by default. Among them, you can see that the local idea has started some processes. You can click to view.
However, connecting to remote tomcat requires some configuration. You can refer to the article:
Illustration of how to enable JMX monitoring through Tomcat_Tomcat_Server Home
Note that the IP in catalina edited is the server's own IP, not the IP of the host connected to tomcat. After editing tomcat's catalina.sh configuration, restart tomcat. It is best to restart the visualGC tool as well.
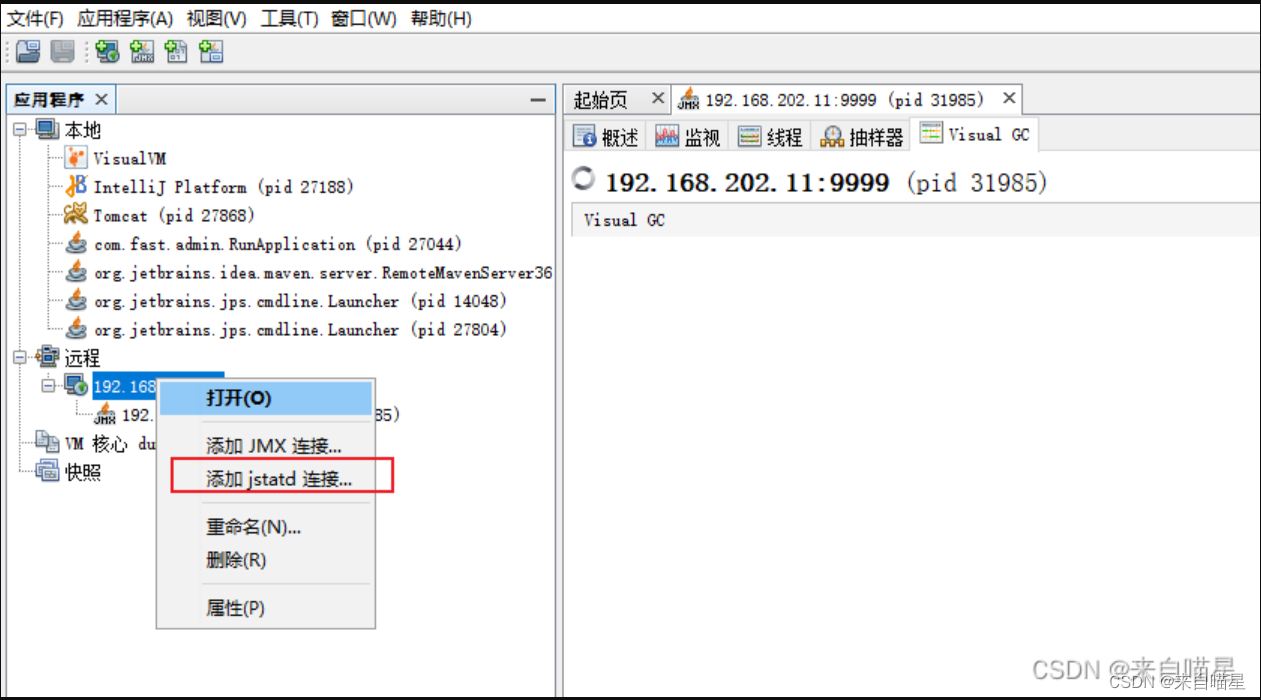
Then follow the illustrated instructions to connect to the remote tomcat
picture:
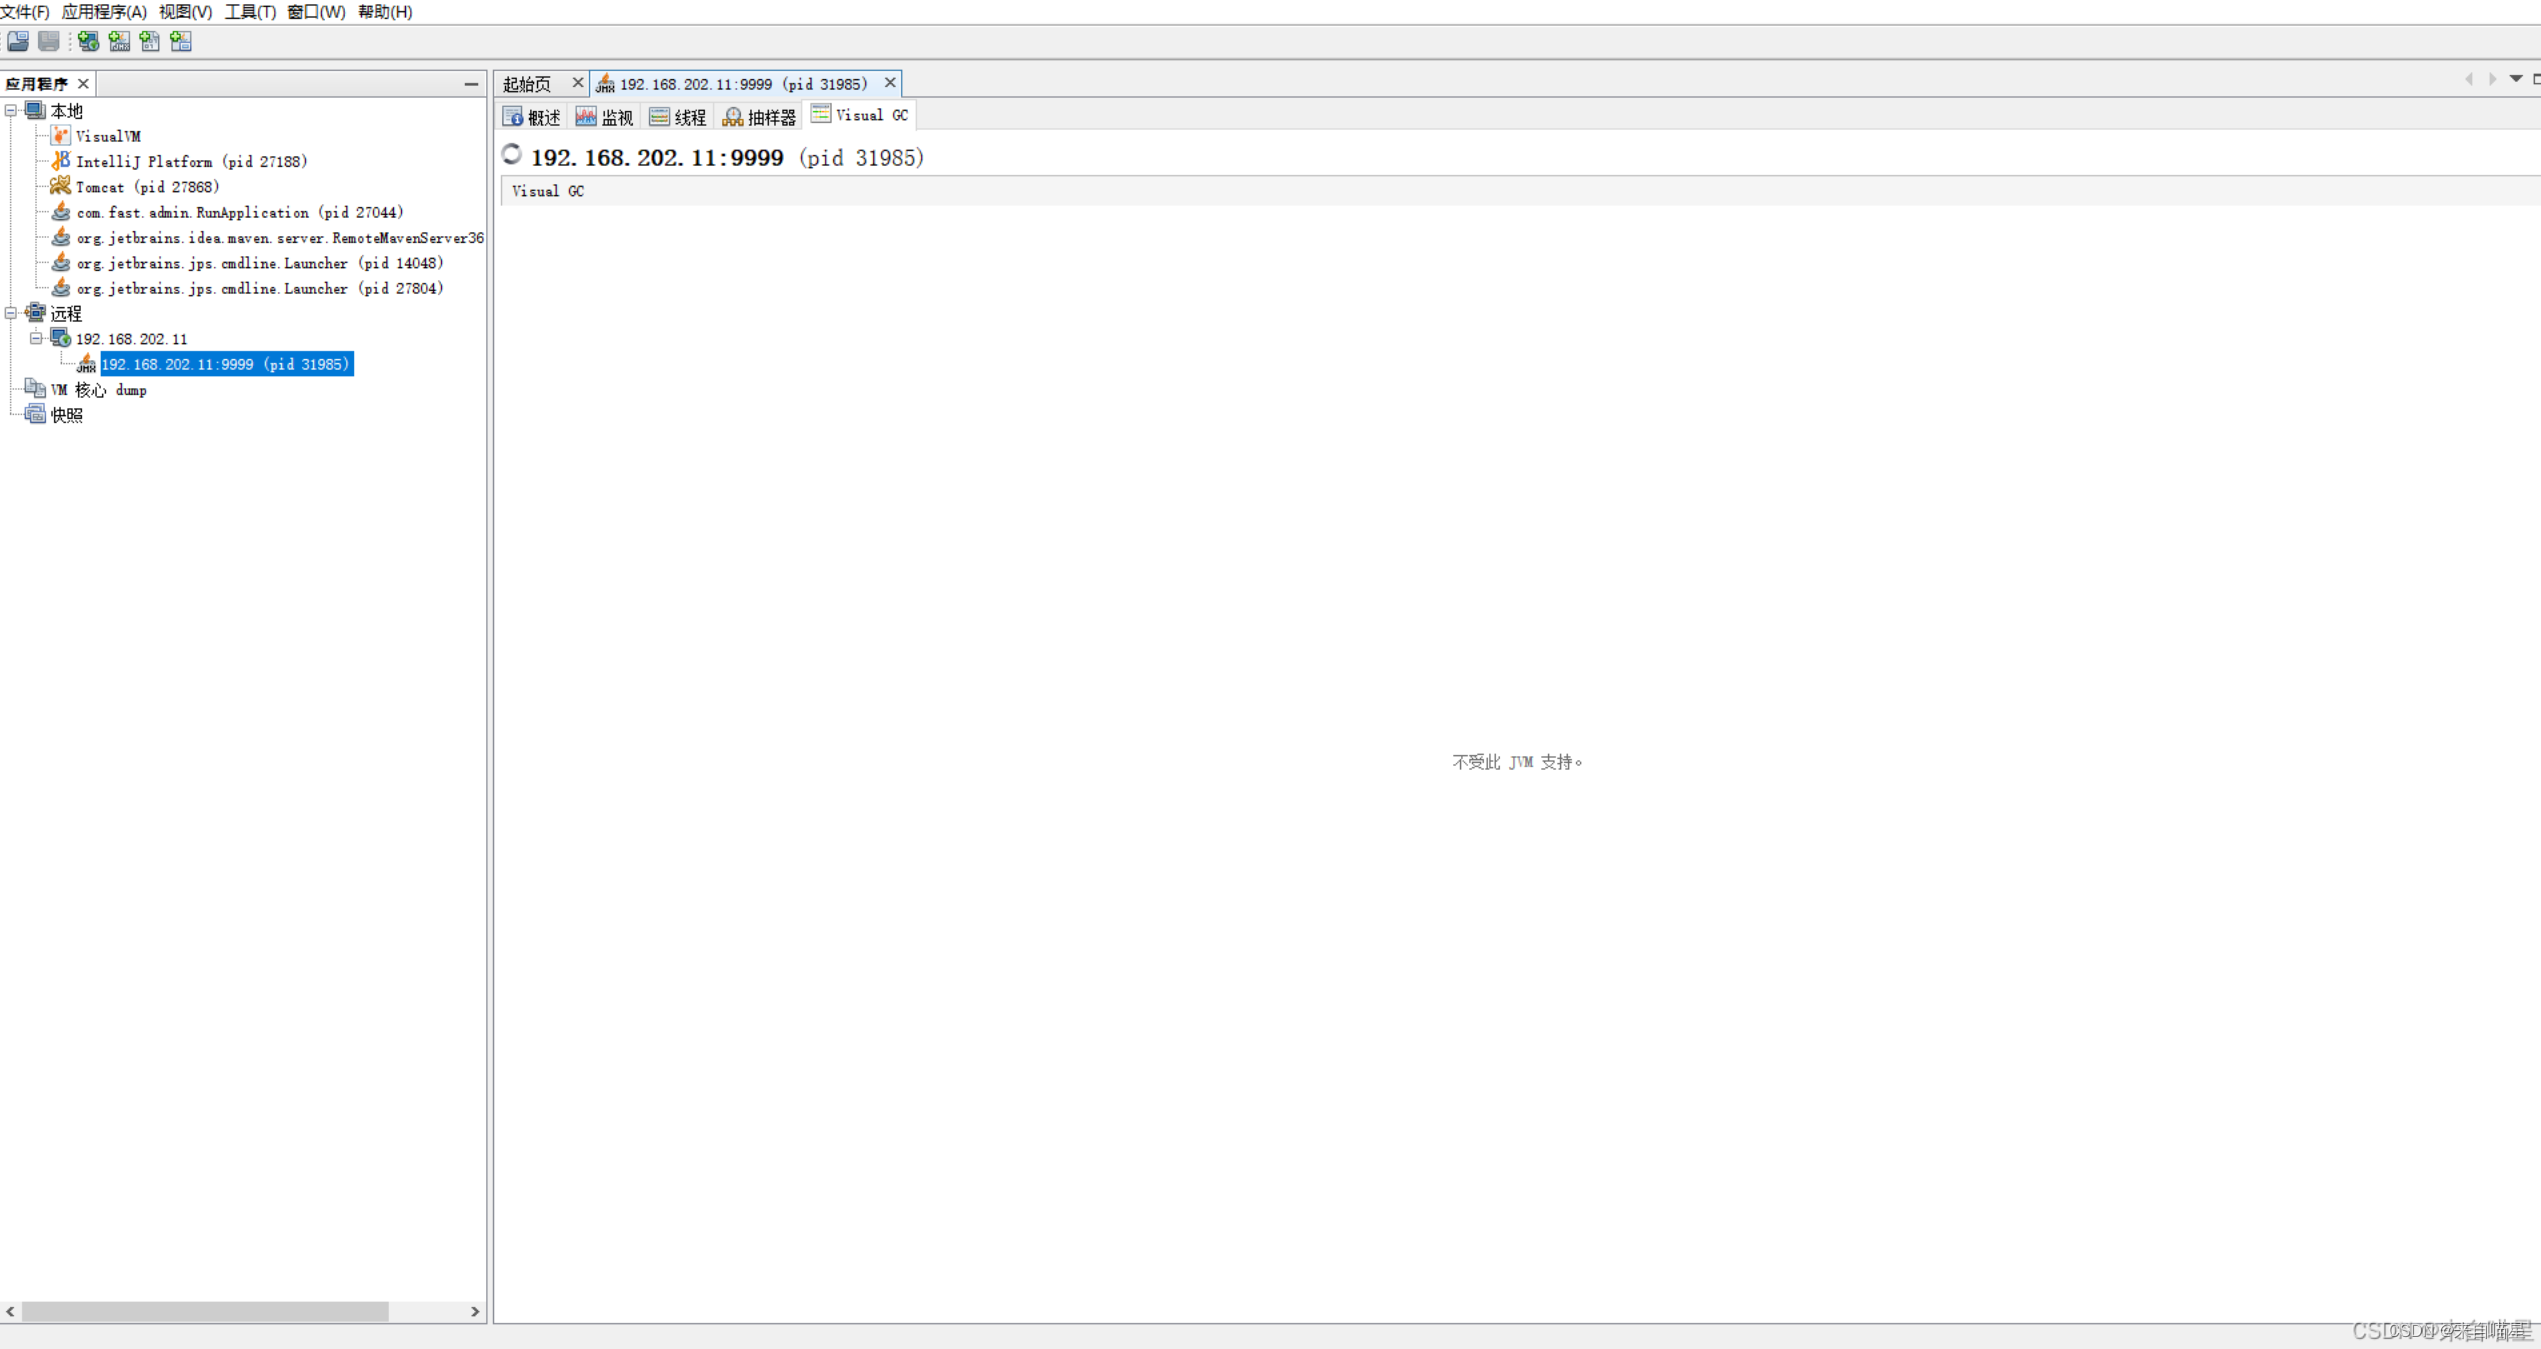
Here you can find that the content of VisualGC cannot be displayed normally after remote connection. The plug-in does not support visualGC connecting to the remote running jvm through JMX. In this case, another method, jstatd, must be used to connect.
Reference article:
VisualVM jstatd JVM VisualVM jstatd connection server JVM - Big hand holding small hand - Blog Park
The IP here is also the IP of your server, not your own local IP, and the firewall must be turned off. Please note that after the configuration is completed, stop tomcat, kill the previously started jstatd process, and then restart tomcat. Re-use the following command to start jstatd,
Enter the bin directory of jdk8
cd /usr/lib/jvm/java-1.8.0-openjdk-1.8.0.242.b08-1.el7.x86_64/bin
./jstatd -J-Djava.security.policy=jstatd.all.policy -J-Djava.rmi.server.hostname=192.168.202.11 -p 12345 &
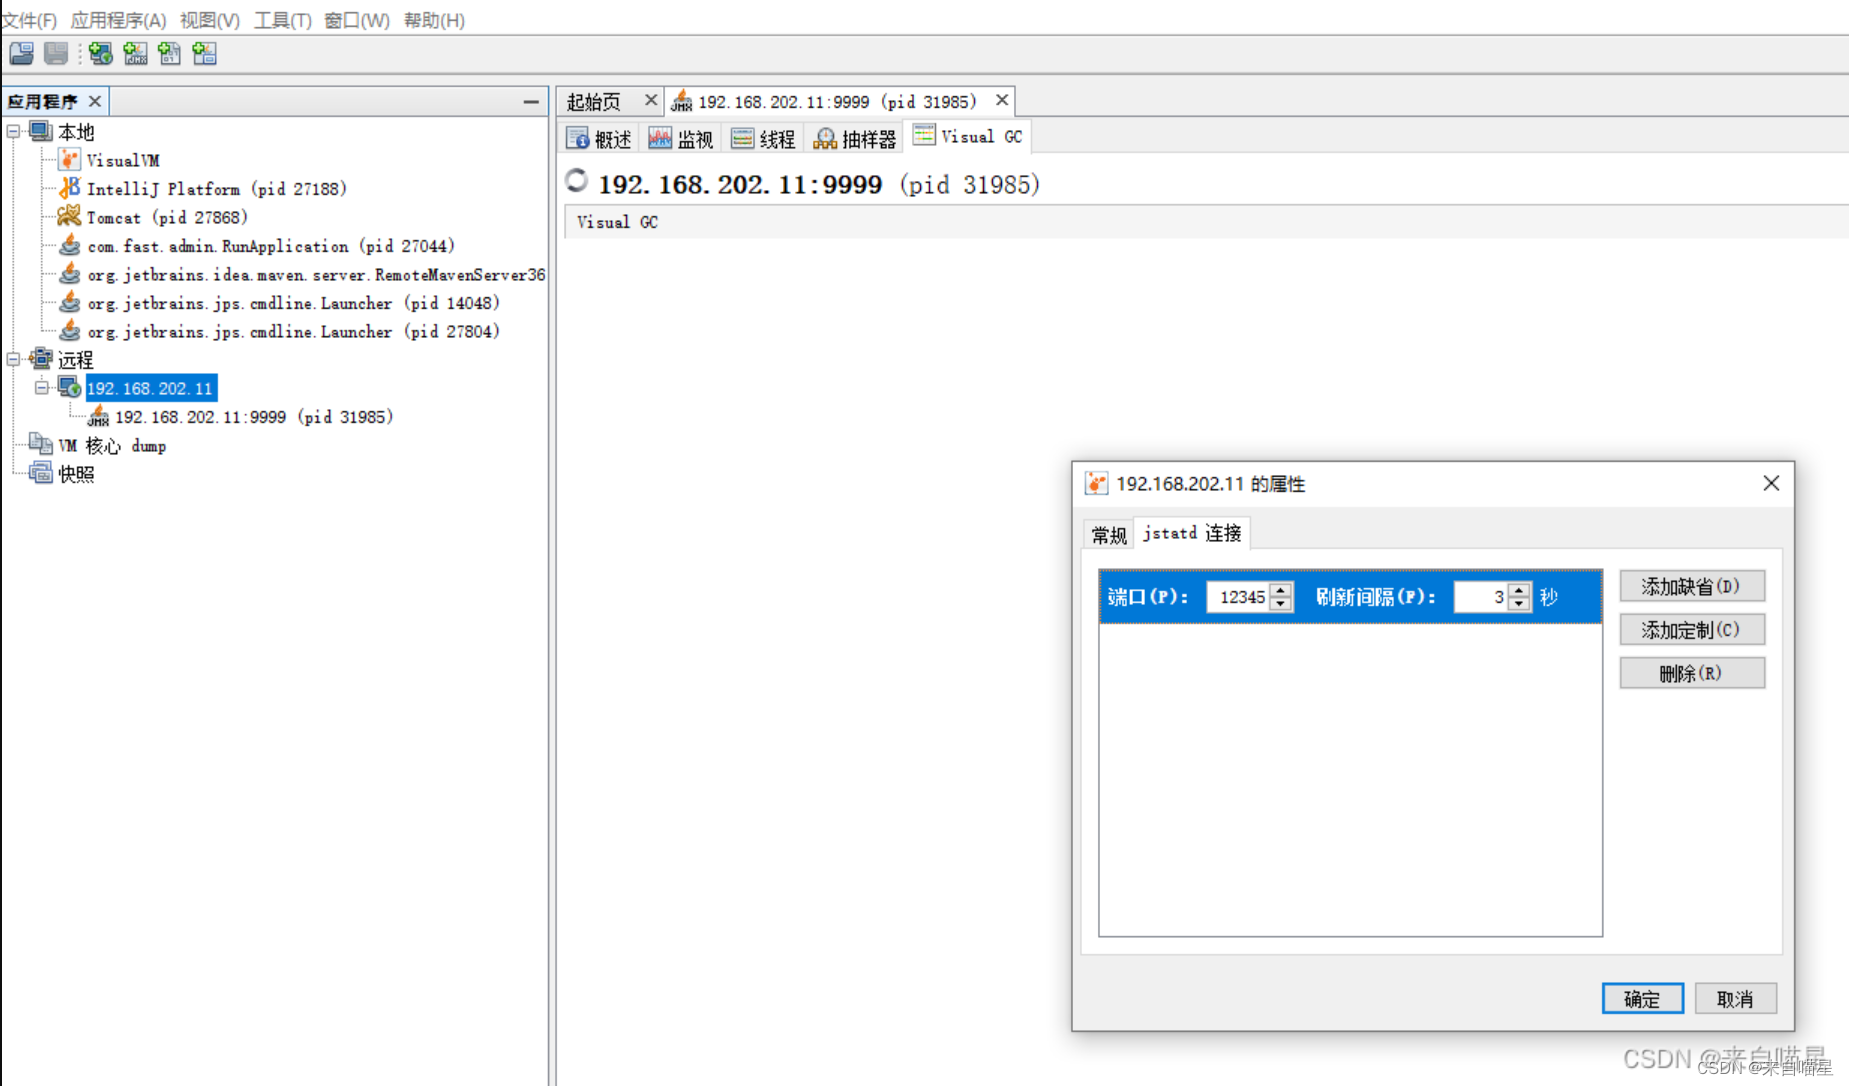
After the startup is completed, use jstatd to connect
Enter the port number 12345
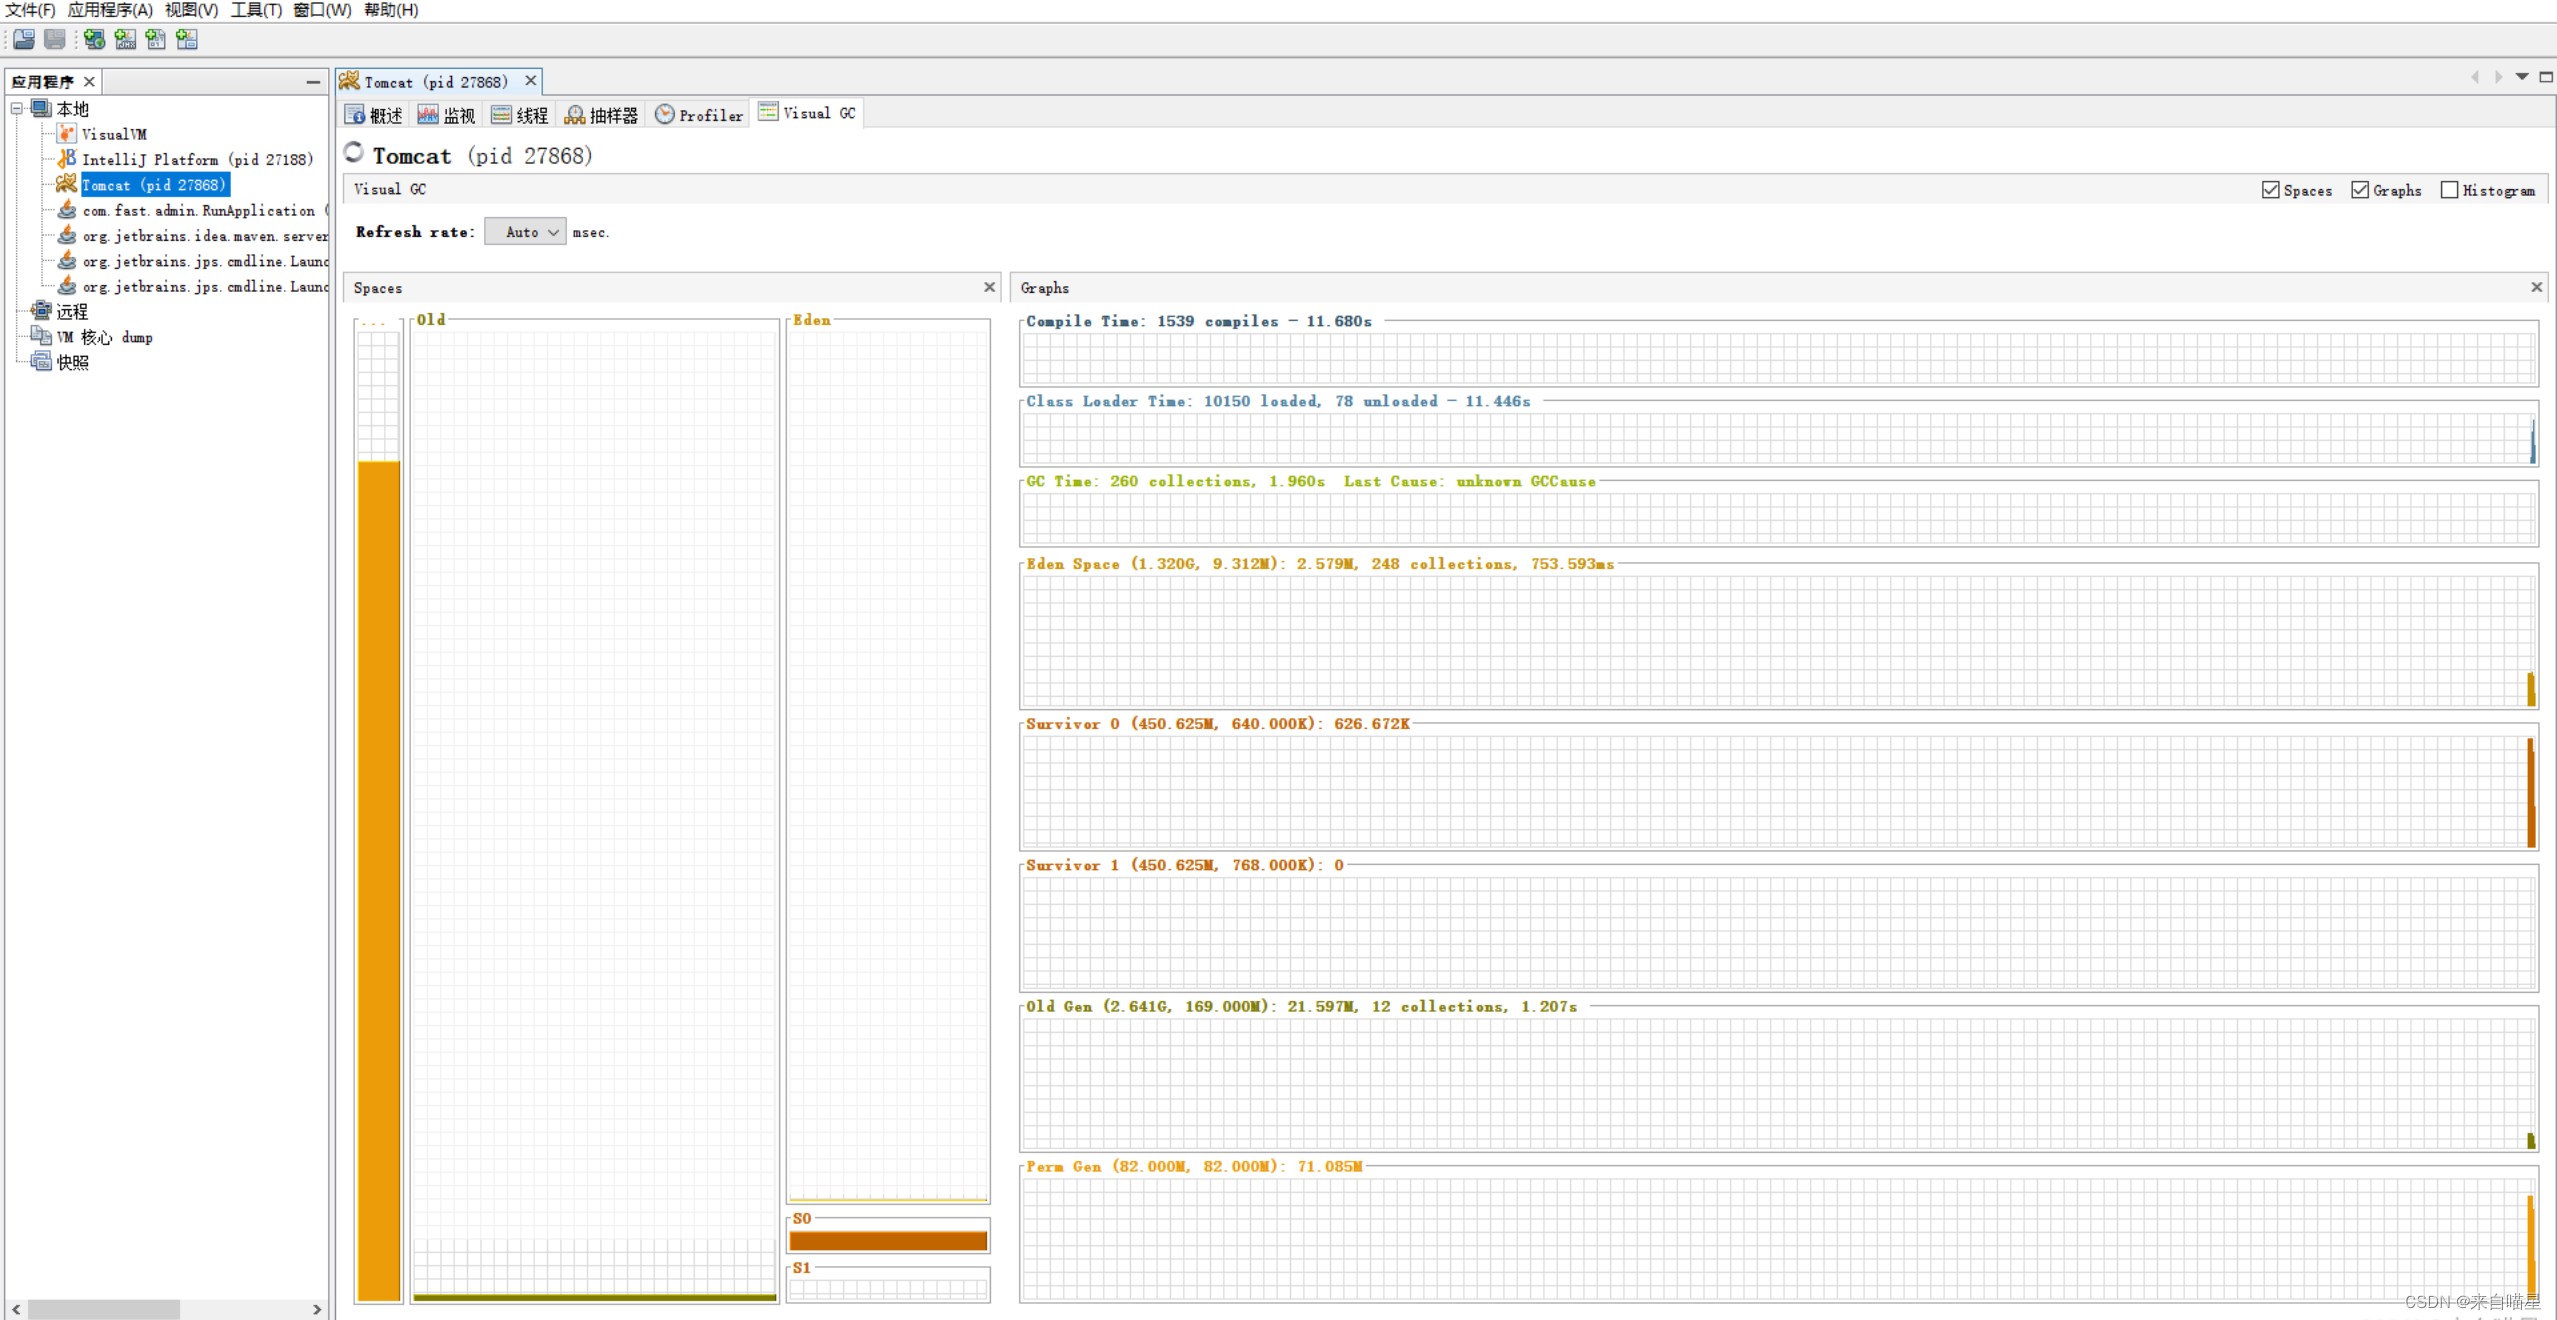
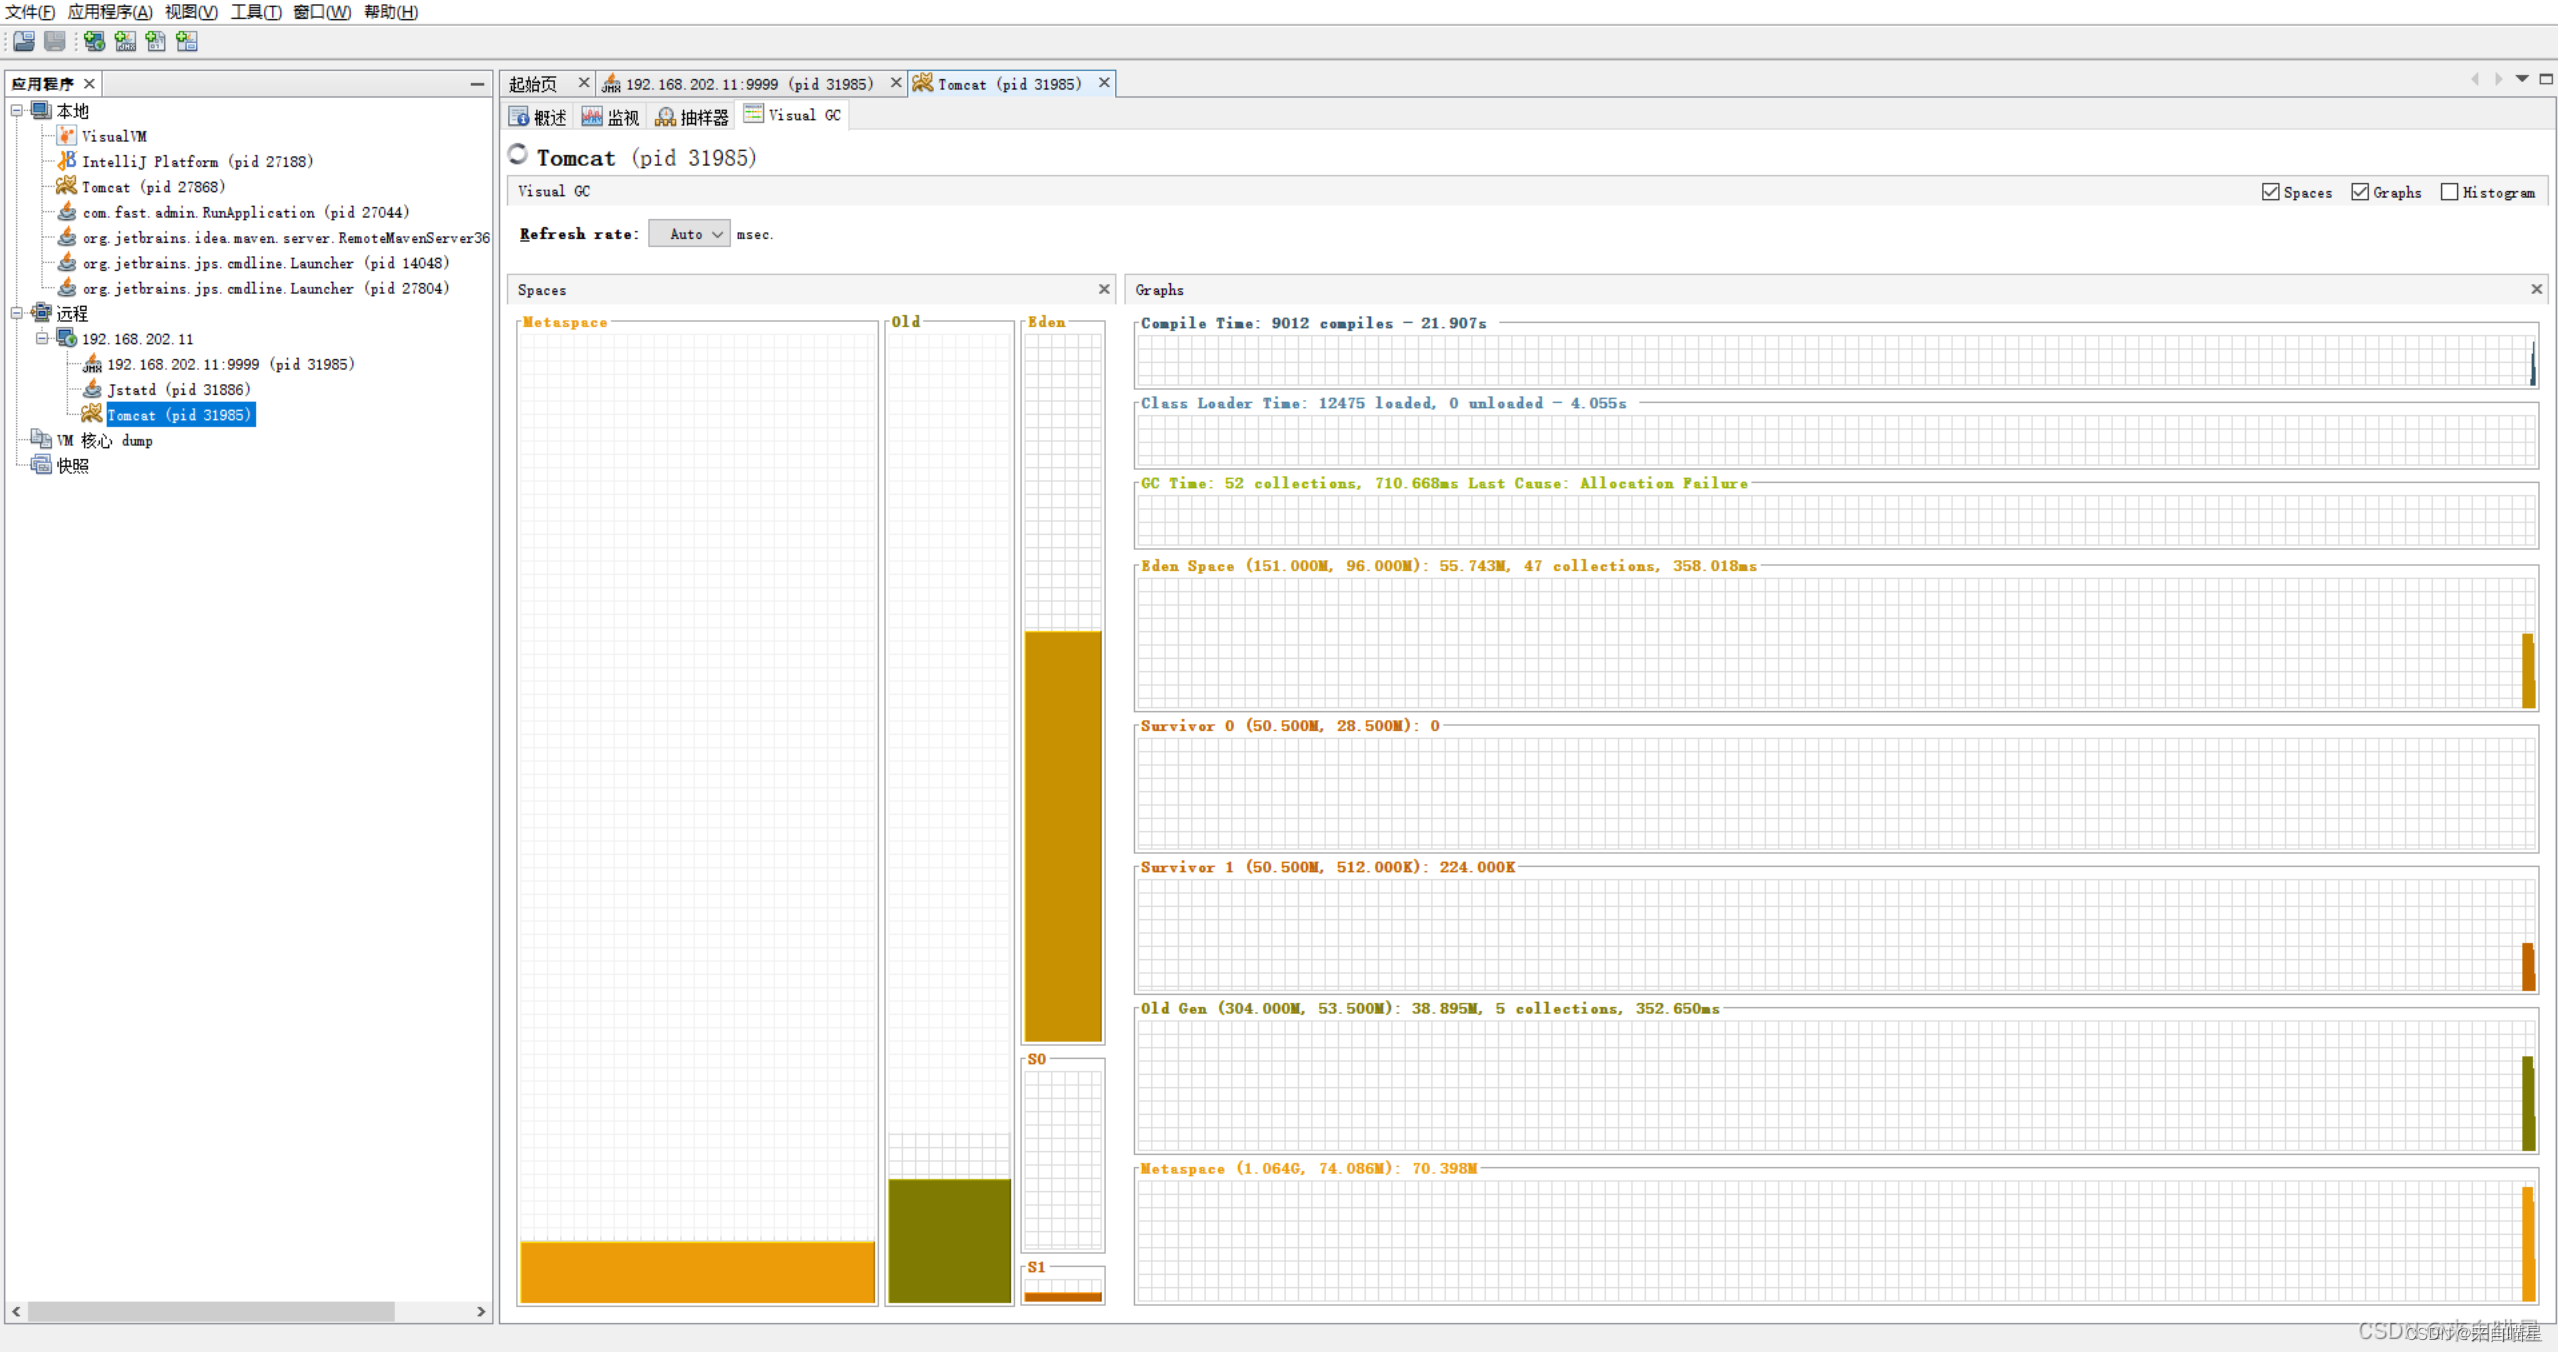
Click VisualGC again to view it normally. At this time, you can delete the JMX added before, then add a new JMX, and then click VisualGC again to view it normally.
Connect java files executed by java -jar command
Modify script
#!/bin/bash
nohup java -Djava.rmi.server.hostname=18x.xx.xx.106 -Dcom.sun.management.jmxremote -Dcom.sun.management.jmxremote.port=1099 -Dcom.sun.management.jmxremote.rmi.port=1099 -Dcom.sun.management.jmxremote.authenticate=false -Dcom.sun.management.jmxremote.ssl=false -XX:+PrintGC -XX:+PrintCommandLineFlags -Xms256m -Xmx256m -jar /home/seagull/java/learning-mobile-api.jar > /var/log/java/istudy-api.log 2>&1 &
Change to server ip
Then add jvisualvm as mentioned above: Remote → Add remote host → Right-click the added remote host → Add JMX connection → Enter IP+port and click OK.