1 Introduction
Not long ago, I implemented the payment function for the company. After struggling for a while, I finally realized it. WeChat payment is really difficult for novices, especially college students who have not been exposed to enterprise-level development, so I tried Write an article about how I implemented the payment function of WeChat applet from Xiaobai. The backend used is SpringBoot.
2. Preparation
First, the conditions for realizing the payment function:
(1) Mini programs are enterprise-level
(2) Have a WeChat payment merchant account
(3) Mini program binds merchant account
(4) Have a domain name and an SSL certificate (that is, HTTPS)
You can start configuring the payment function if you meet the above conditions. What I implemented here isJSAPI payment (that is, the mini program directly provides digital payment ), and Native payment (that is, a QR code pops up for scan-to-pay payment)
3. Backend implementation
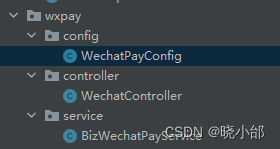
Let’s talk about the backend first, because there are many things that need to be prepared for the backend. The backend almost has the following three categories:
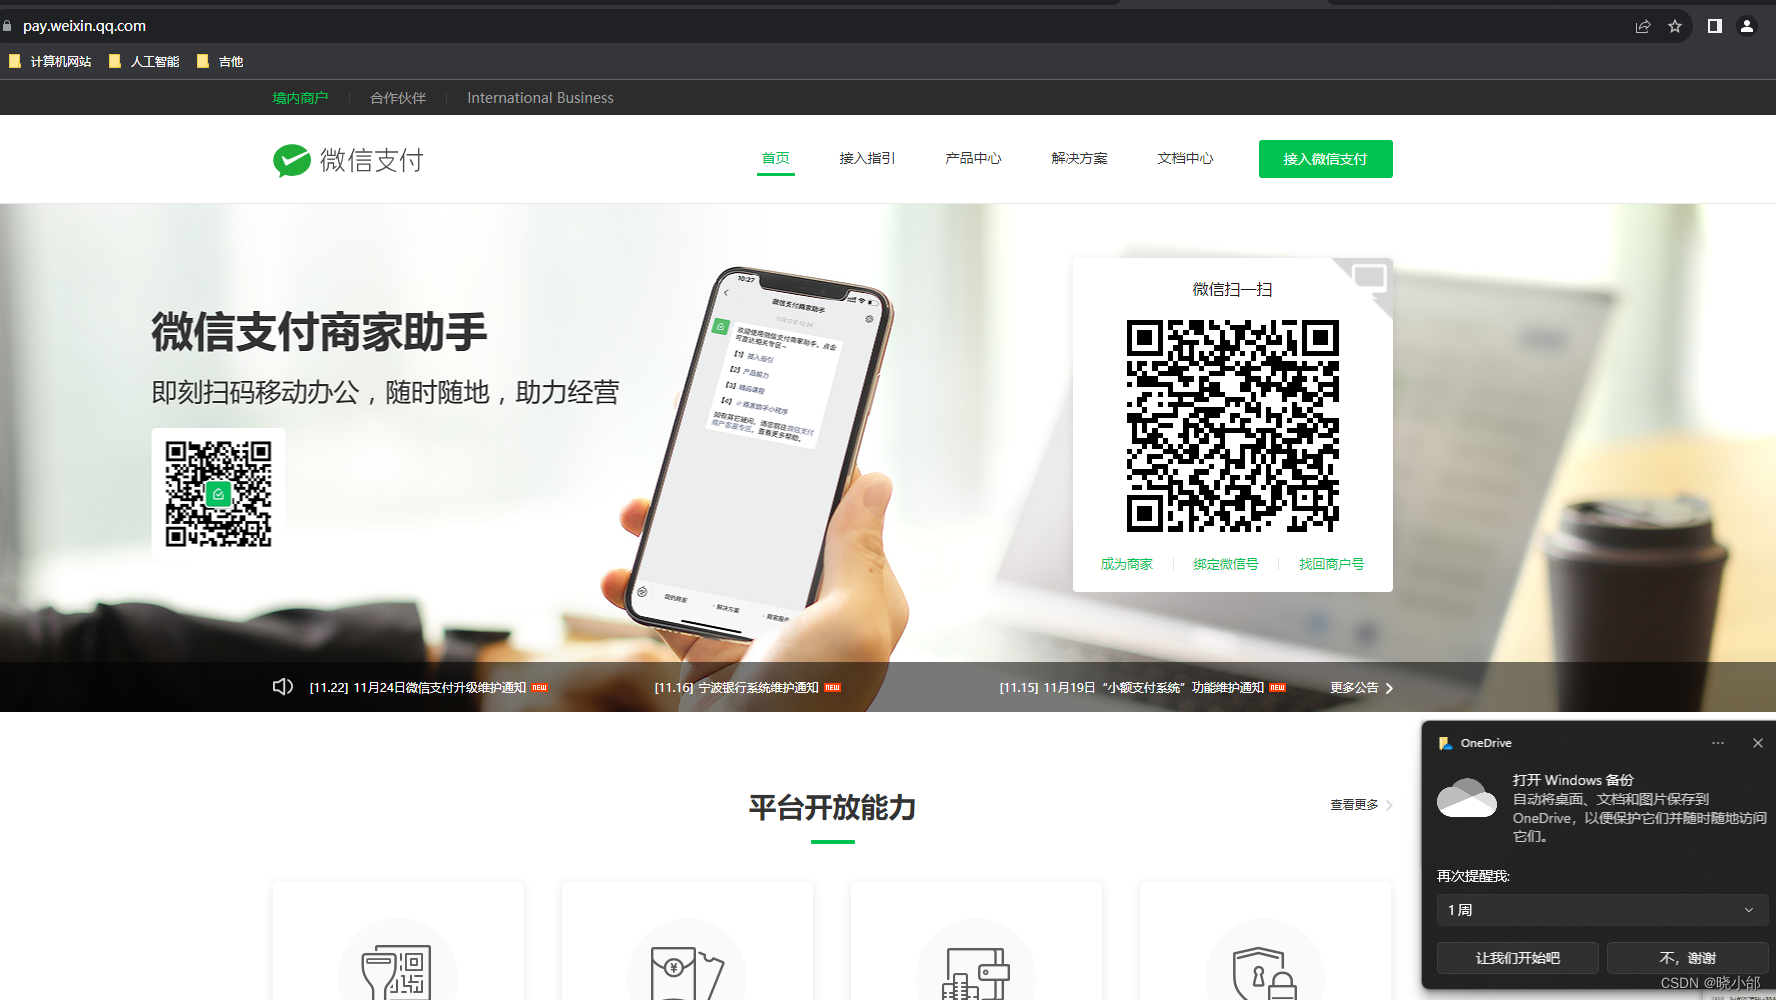
However, you need to prepare the following things first. You need to log in to the WeChat payment webpage to log in as shown below. See other tutorials for details.
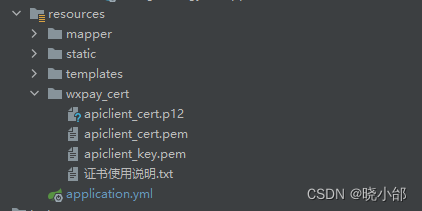
Apply for a certificate, and then put the certificate in the project's resources folder like me, as follows
Import pom.xml related package dependencies of WeChat payment

        <!-- 微信支付坐标 start-->
        <dependency>
            <groupId>com.github.binarywang</groupId>
            <artifactId>weixin-java-pay</artifactId>
            <version>4.2.5.B</version>
        </dependency>
        <!-- 退款用 -->
        <dependency>
            <groupId>org.jodd</groupId>
            <artifactId>jodd-http</artifactId>
            <version>6.0.8</version>
        </dependency>
        <!-- 微信支付坐标 end-->
The relevant configuration information of WeChat payment inyml file. If there is no information, justlog in to the merchant number< /span>Apply and get it. Next, if you are a novice, I suggest you just copy and paste my code.
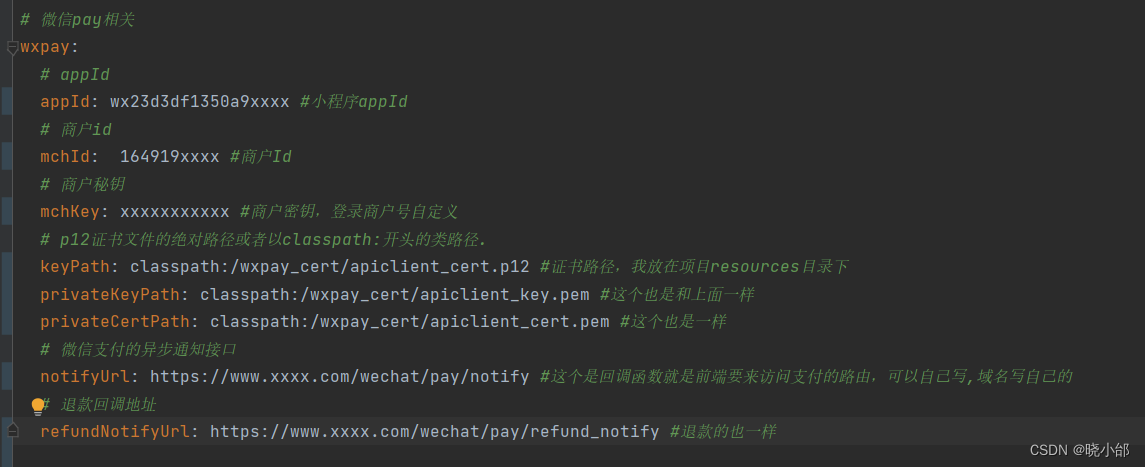
# 微信pay相关
wxpay:
  # appId
  appId: wx23d3df1350a9xxxx #小程序appId
  # 商户id
  mchId:  164919xxxx #商户Id
  # 商户秘钥
  mchKey: xxxxxxxxxxx #商户密钥,登录商户号自定义
  # p12证书文件的绝对路径或者以classpath:开头的类路径.
  keyPath: classpath:/wxpay_cert/apiclient_cert.p12 #证书路径,我放在项目resources目录下
  privateKeyPath: classpath:/wxpay_cert/apiclient_key.pem #这个也是和上面一样
  privateCertPath: classpath:/wxpay_cert/apiclient_cert.pem #这个也是一样
  # 微信支付的异步通知接口
  notifyUrl: https://www.xxxx.com/wechat/pay/notify #这个是回调函数就是前端要来访问支付的路由,可以自己写,域名写自己的
  # 退款回调地址
  refundNotifyUrl: https://www.xxxx.com/wechat/pay/refund_notify #退款的也一样
The next step is to obtain the Java code for the above configuration information,WechatPayConfig class. Note that the variable name here must be the same as the variable name of the yml file a>