Huawei Cloud SFS elastic file service usage experience
1. Introduction to this practice
1.1 Introduction to practice environment
1. This practice environment is Huawei Cloud ECS elastic cloud server;
2. The operating system of ECS elastic cloud server is centos7.6 operating system;
1.2 Purpose of this practice
1. Learn to use Huawei Cloud SFS elastic file service;
2. Experience the file sharing of Huawei Cloud SFS elastic file service;
3. The ECS elastic cloud server mounts SFS.
2. Introduction to SFS elastic file service
2.1 Introduction to SFS elastic file service
Scalable File Service (SFS) provides high-performance file storage (NAS) that can be expanded on demand and can serve multiple elastic cloud servers (ECS), containers (CCE&CCI), and bare metal servers on the cloud. (BMS) provides shared access.
2.2 Features of SFS elastic file service
-
File sharing
Cloud servers in the same region across multiple availability zones can access the same file system, allowing multiple cloud servers to access and share files together. -
Elastic expansion
Elastic file service can increase or decrease the capacity of the file system according to your usage needs without interrupting the application. One-click operation to easily complete your capacity customization. -
High performance, high reliability
Performance improves as capacity increases, while ensuring high data durability to meet business growth needs. -
Seamless integration
Elastic file service supports both NFS and CIFS protocols. Access data through standard protocols and seamlessly adapt to mainstream applications for data reading and writing. It is also compatible with SMB2.0/2.1/3.0 versions, and Windows clients can easily access shared spaces. -
Simple operation and low cost
The operation interface is simple and easy to use, and you can create and manage file systems easily and quickly.
3. Purchase ECS elastic cloud server
3.1 Purchase ECS elastic cloud server
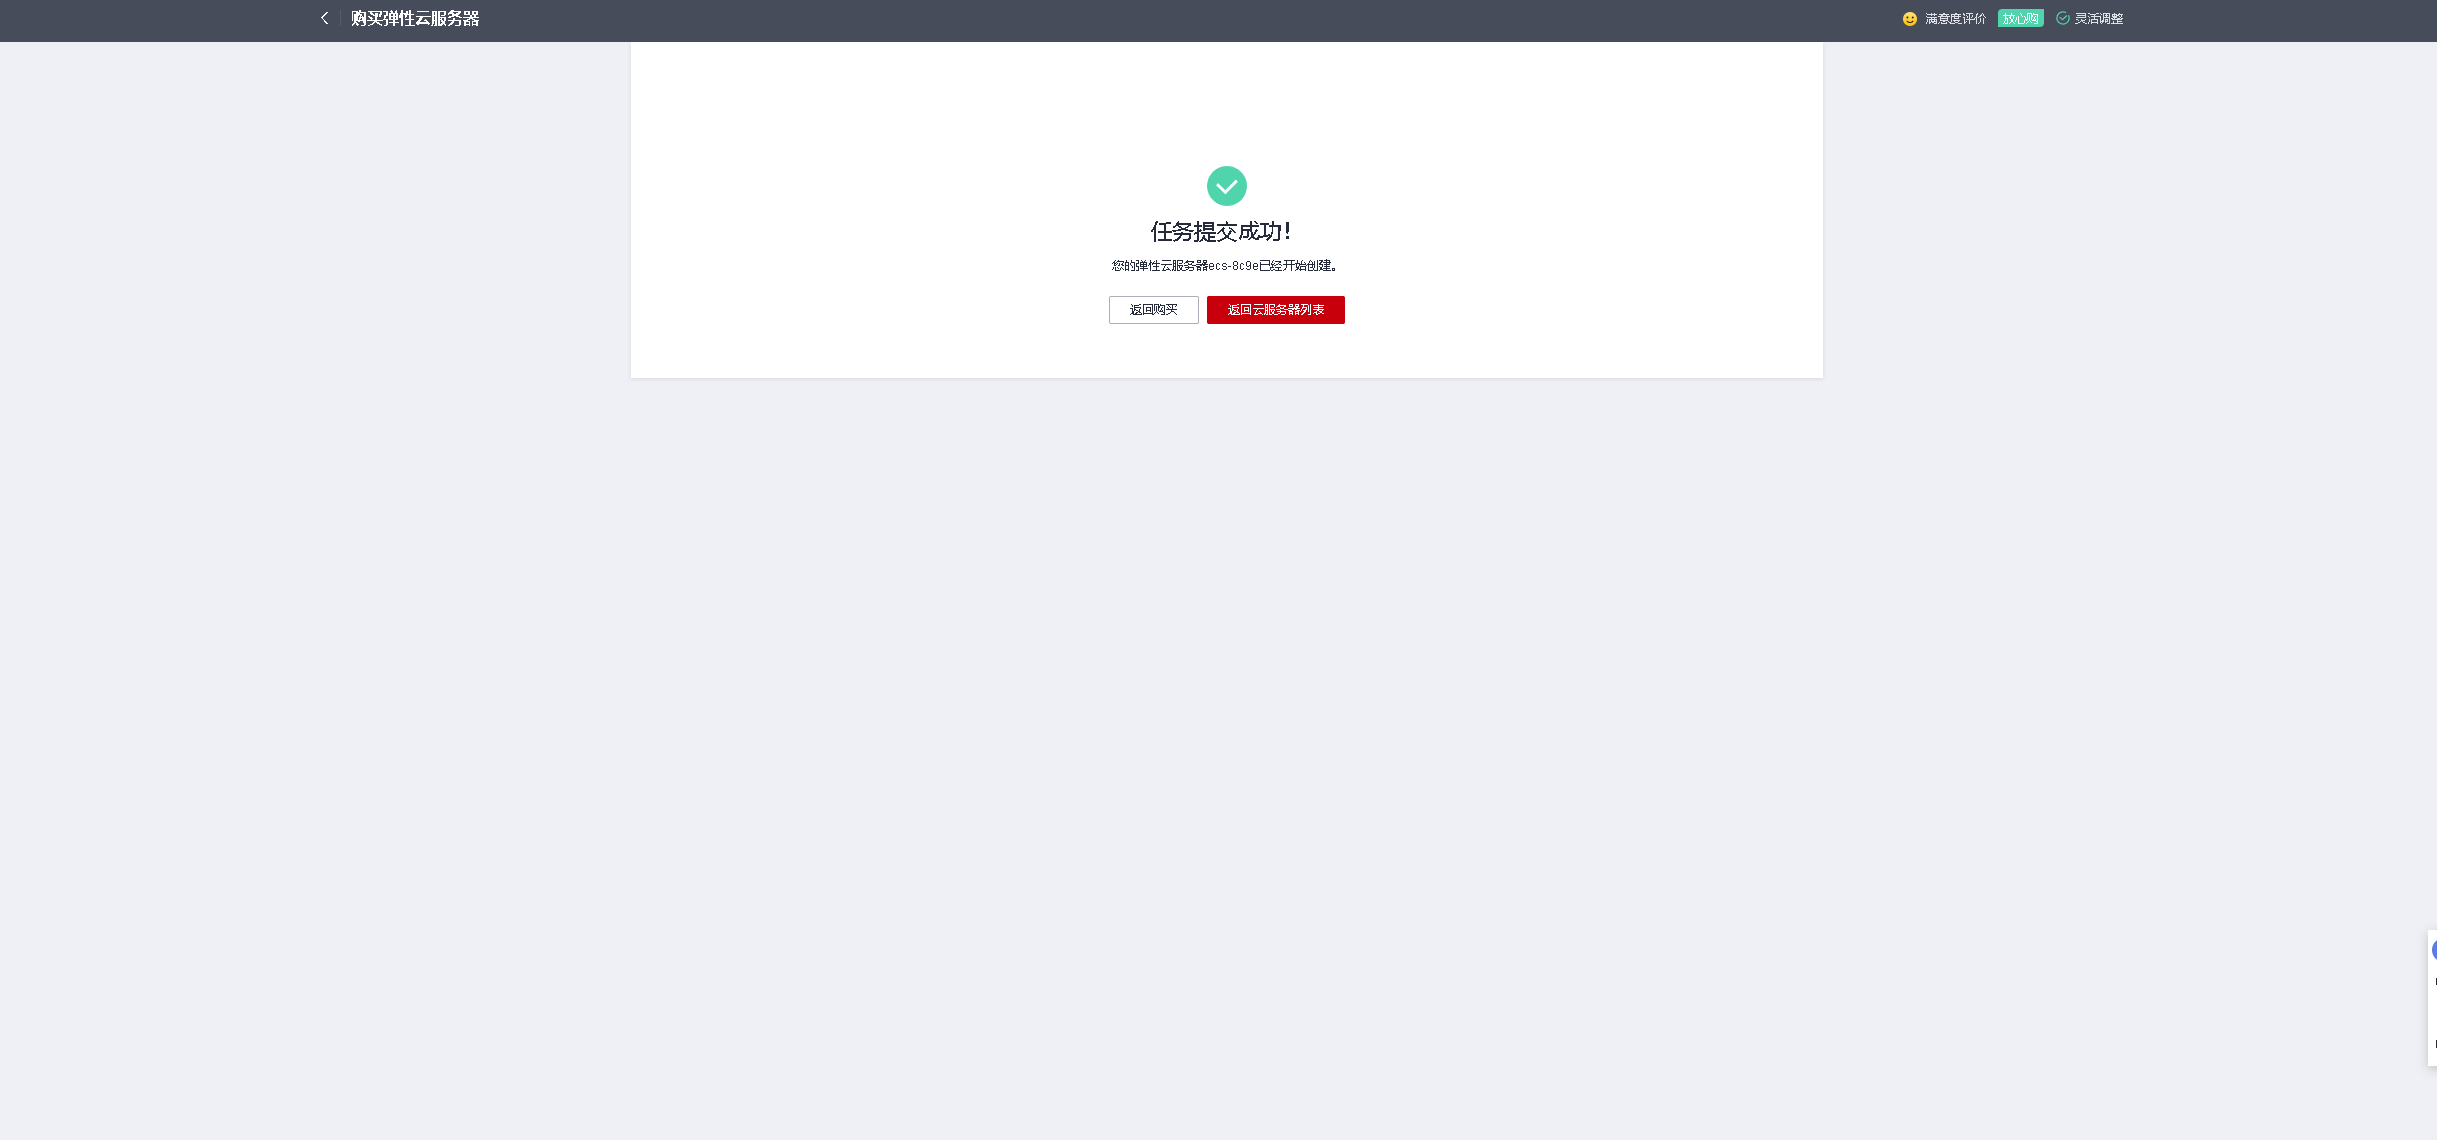
- Log in to the Huawei Cloud official website and click to purchase ECS. Since it is a learning test, you can purchase on-demand and select the minimum configuration. After the experiment is completed, all resources are released.

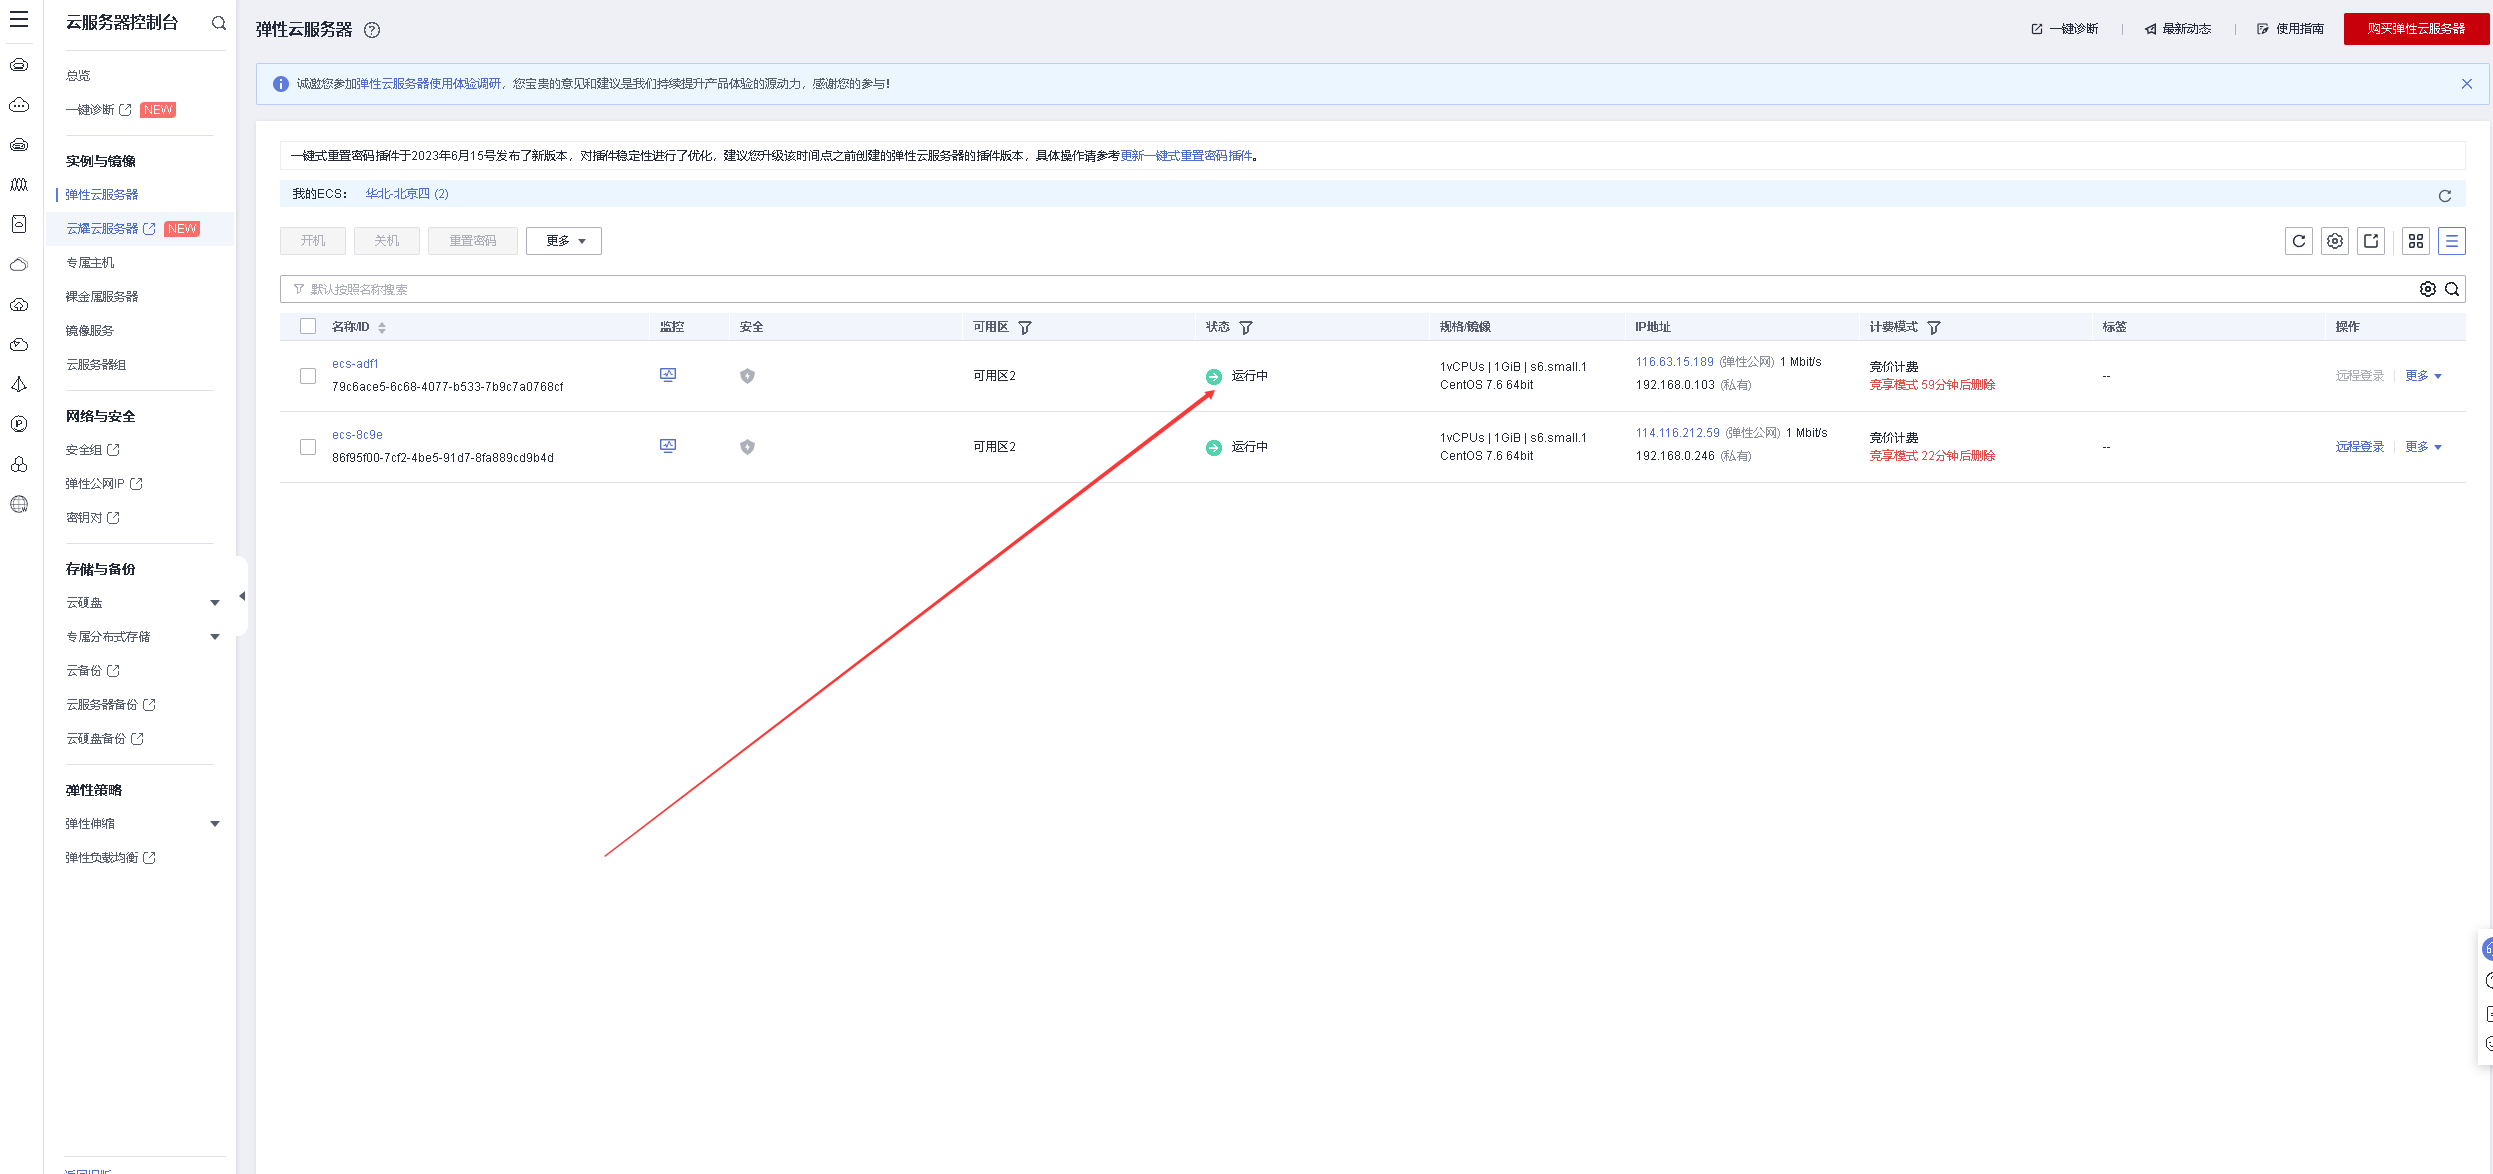
3.2 Check the ECS elastic cloud server status
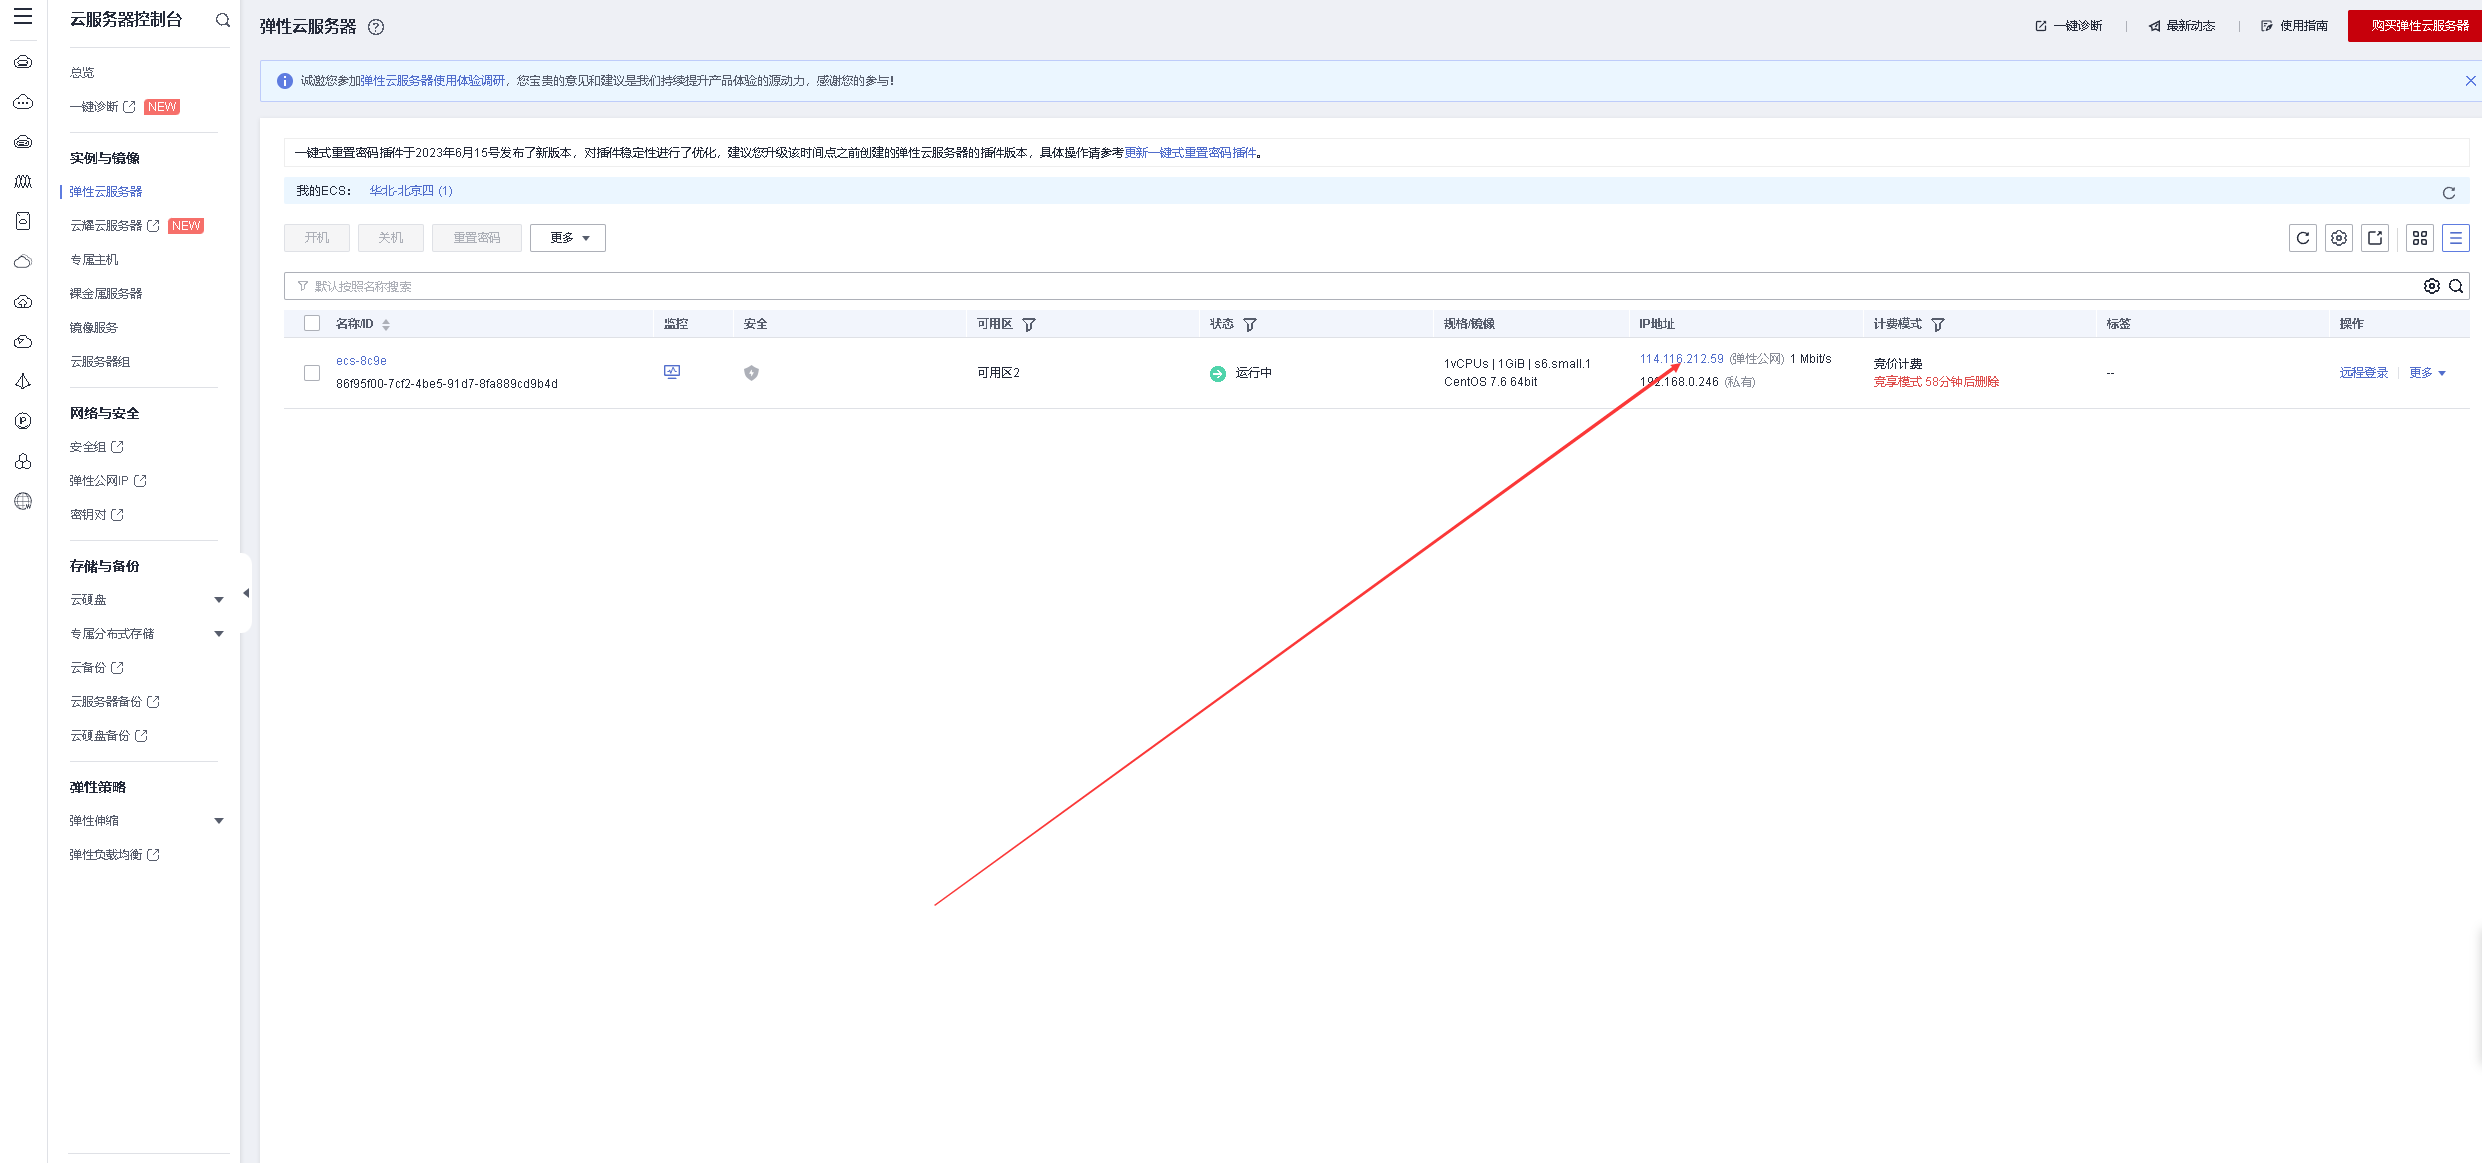
- After purchasing, check the status of the ECS elastic cloud server.

- Copy the elastic public IP address
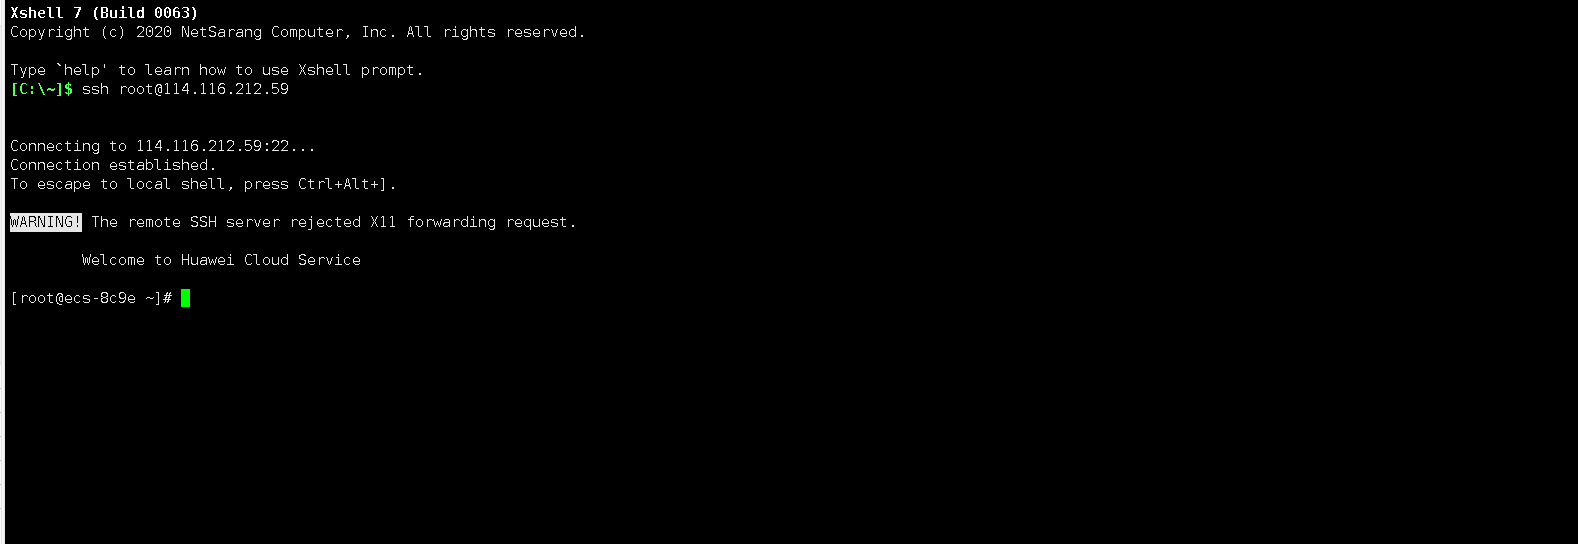
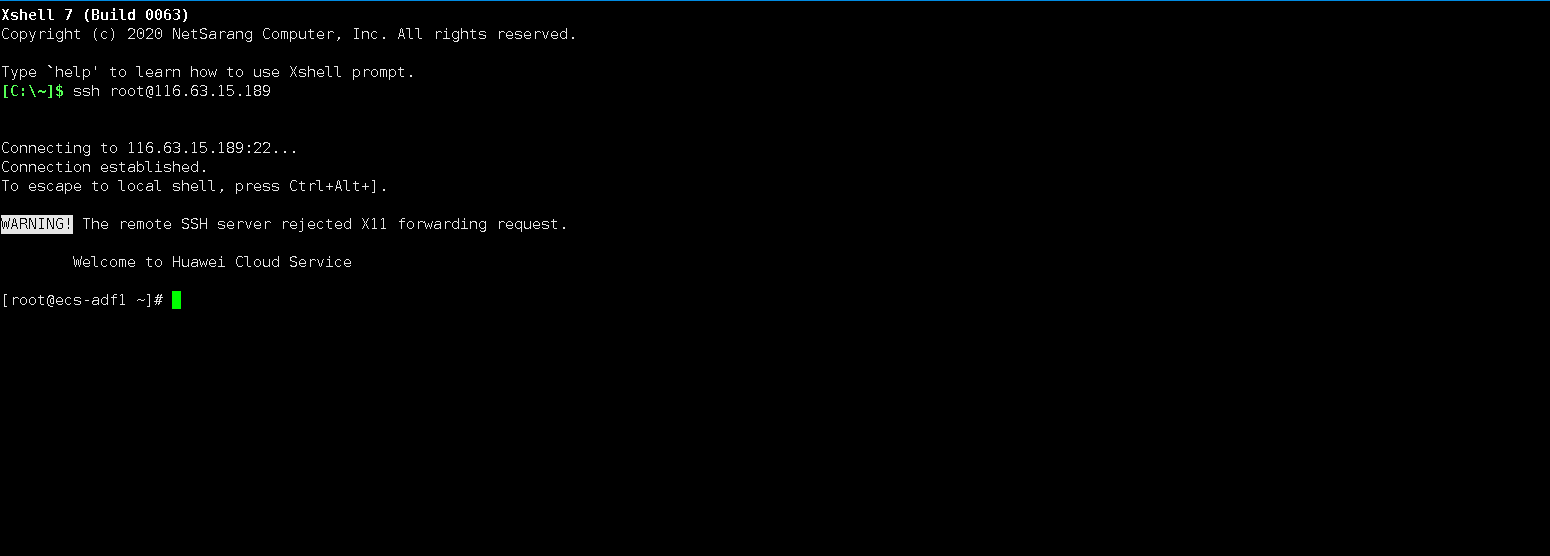
3.3 Connect to ECS remotely
Use xshell to connect to ECS elastic cloud server
3.4 Check operating system version
Check the operating system version, currently using centos7.6.
[root@ecs-8c9e ~]# cat /etc/redhat-release
CentOS Linux release 7.6.1810 (Core)
4. Purchase SFS elastic file service
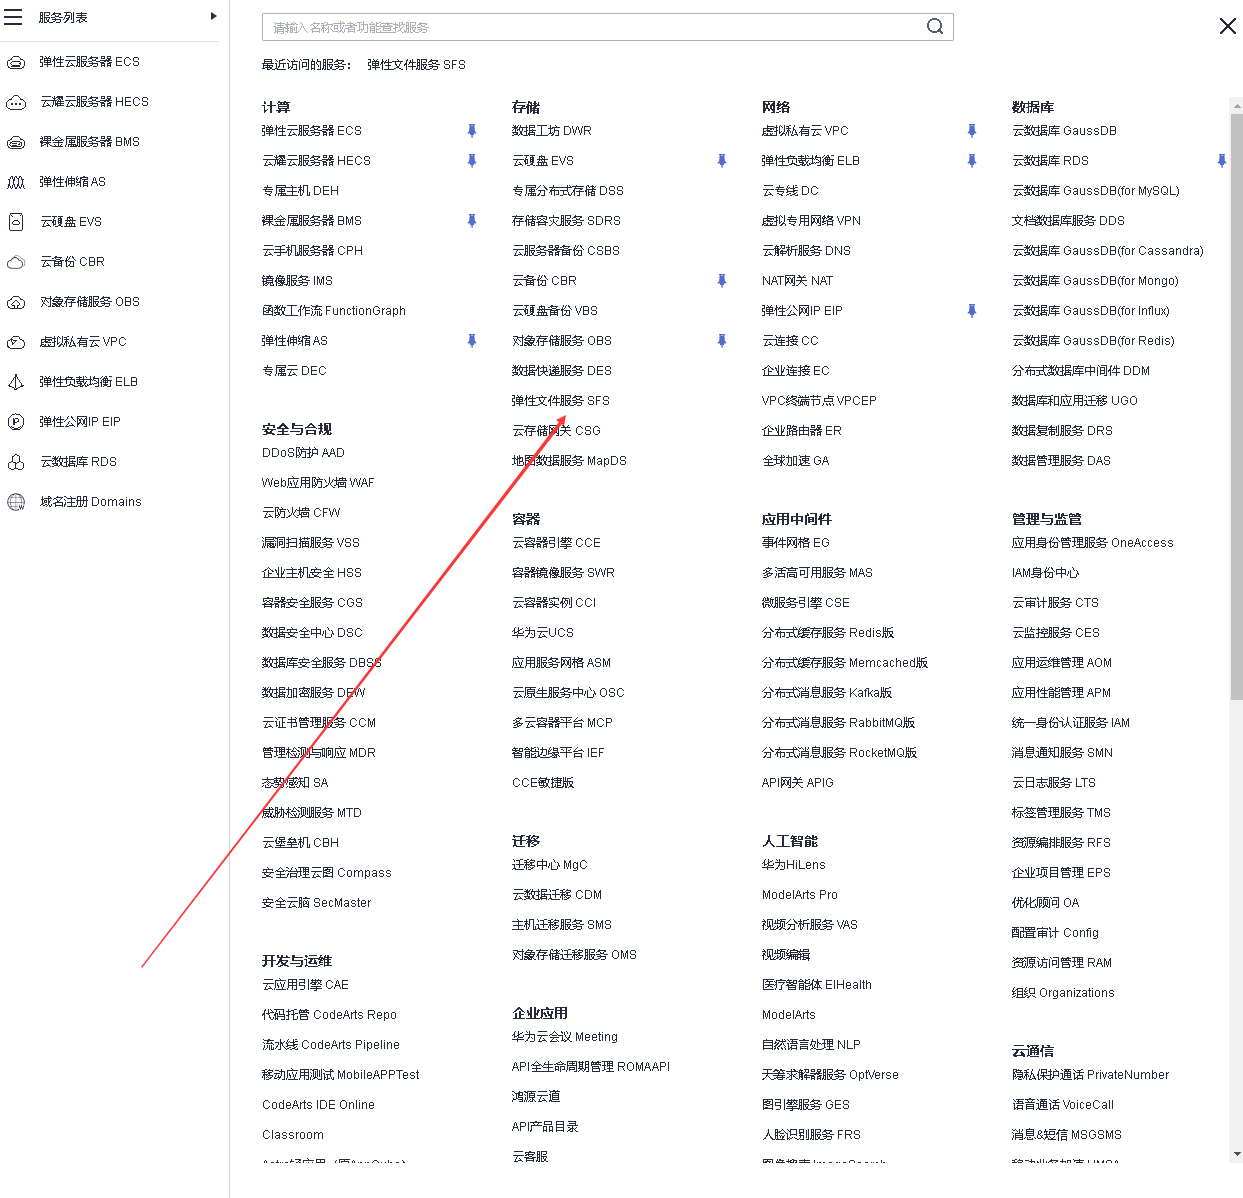
4.1 Enter the SFS management page
- Service list, select SFS service

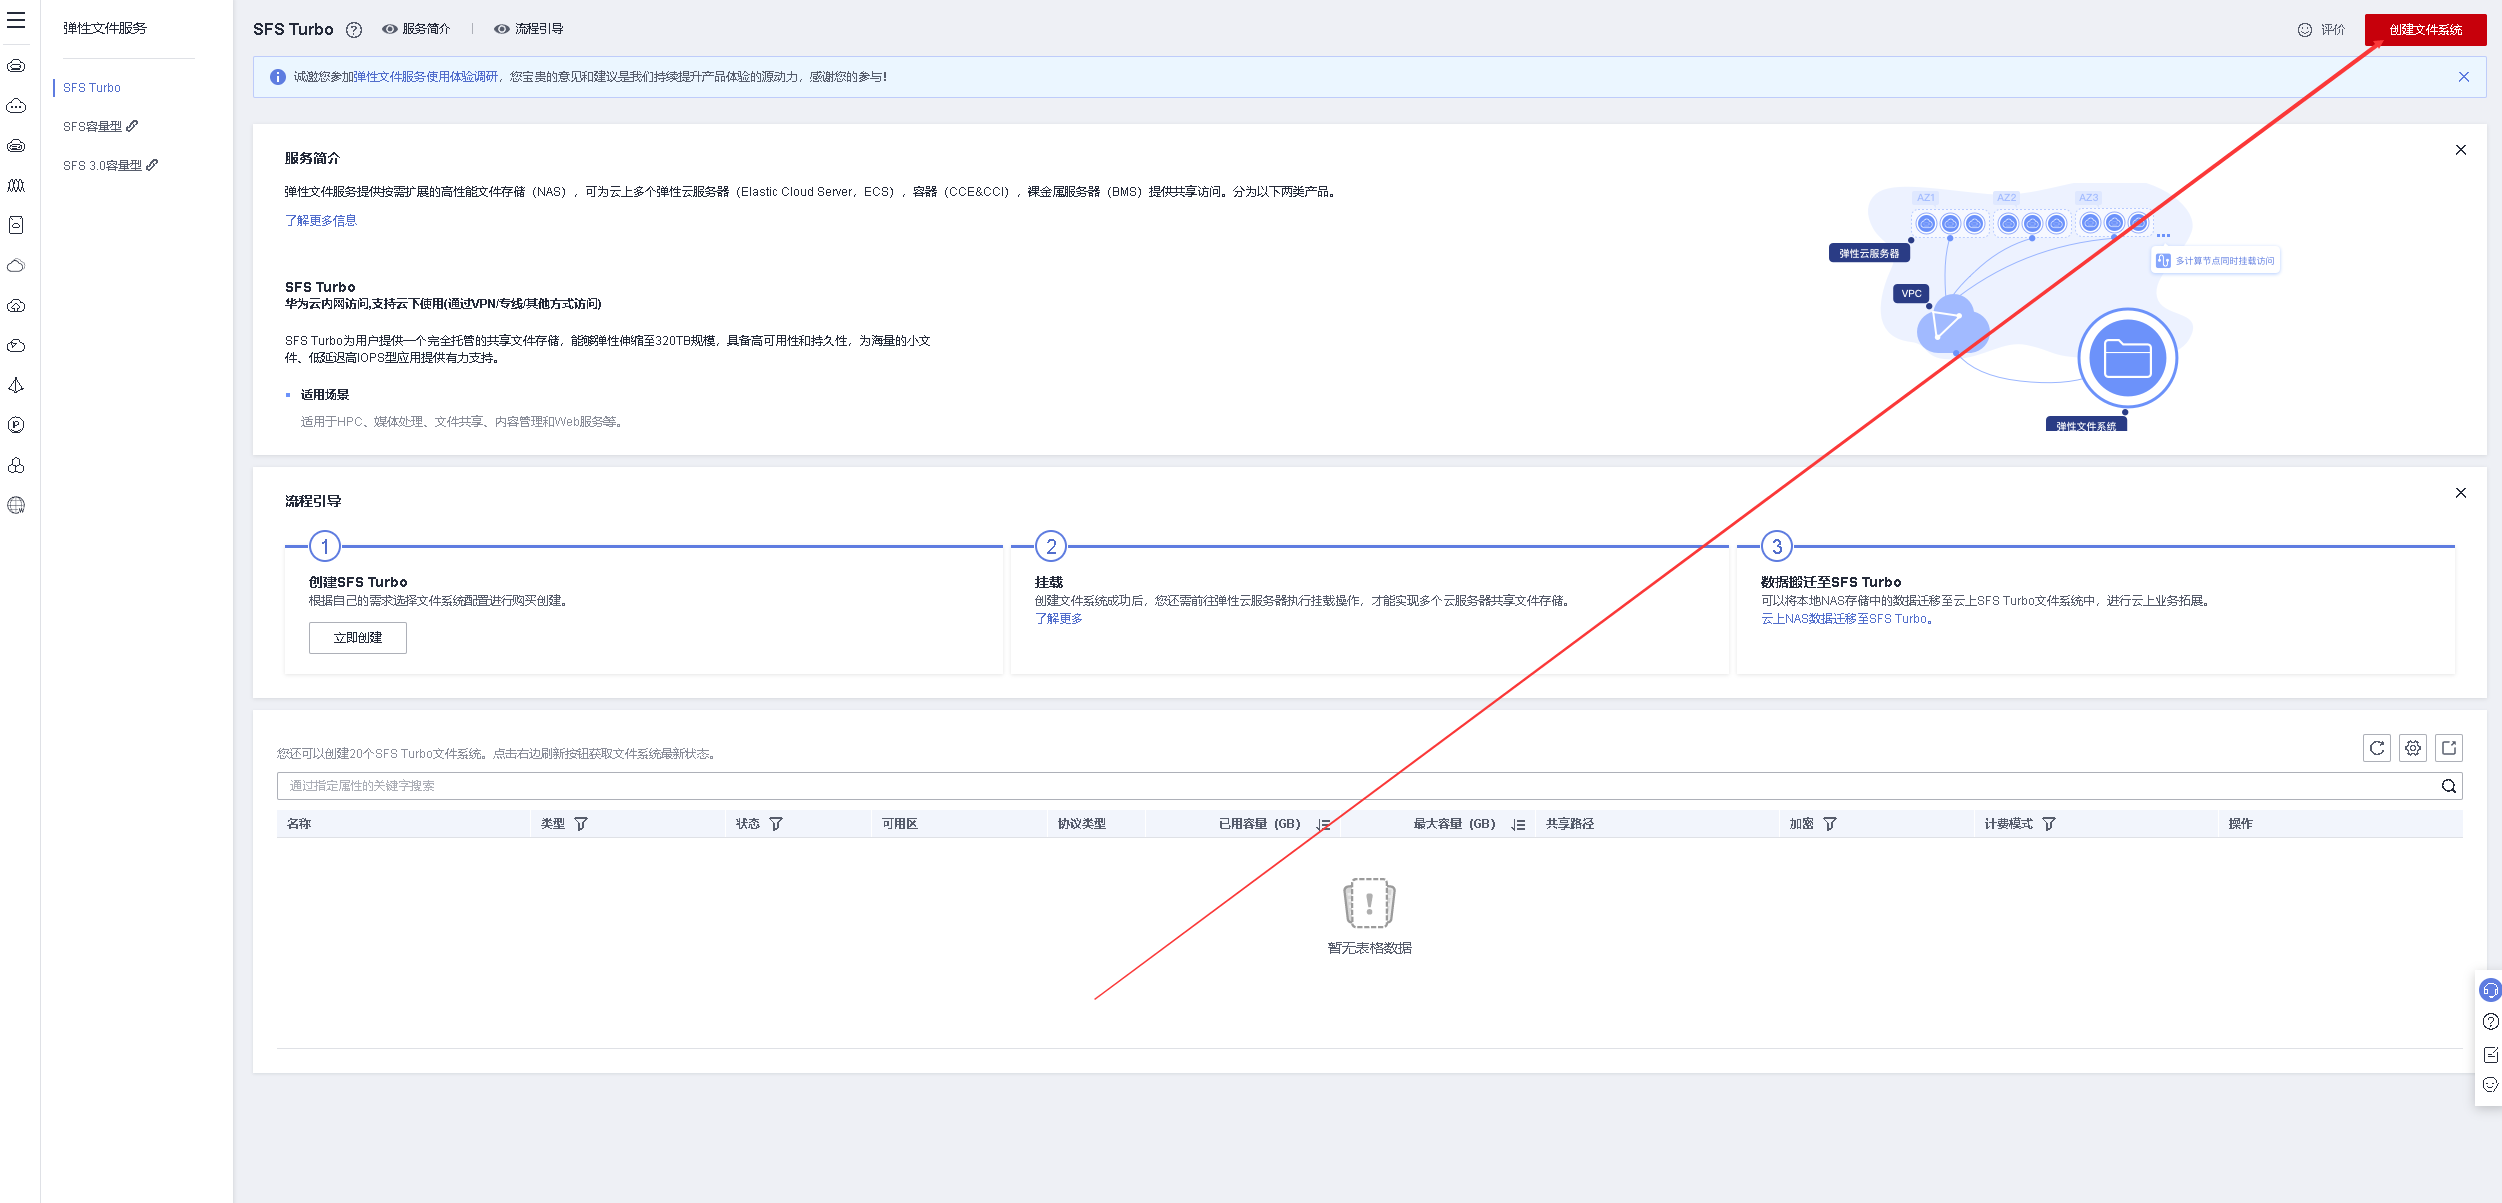
4.2 Create file system
- Click Create File System in the upper right corner
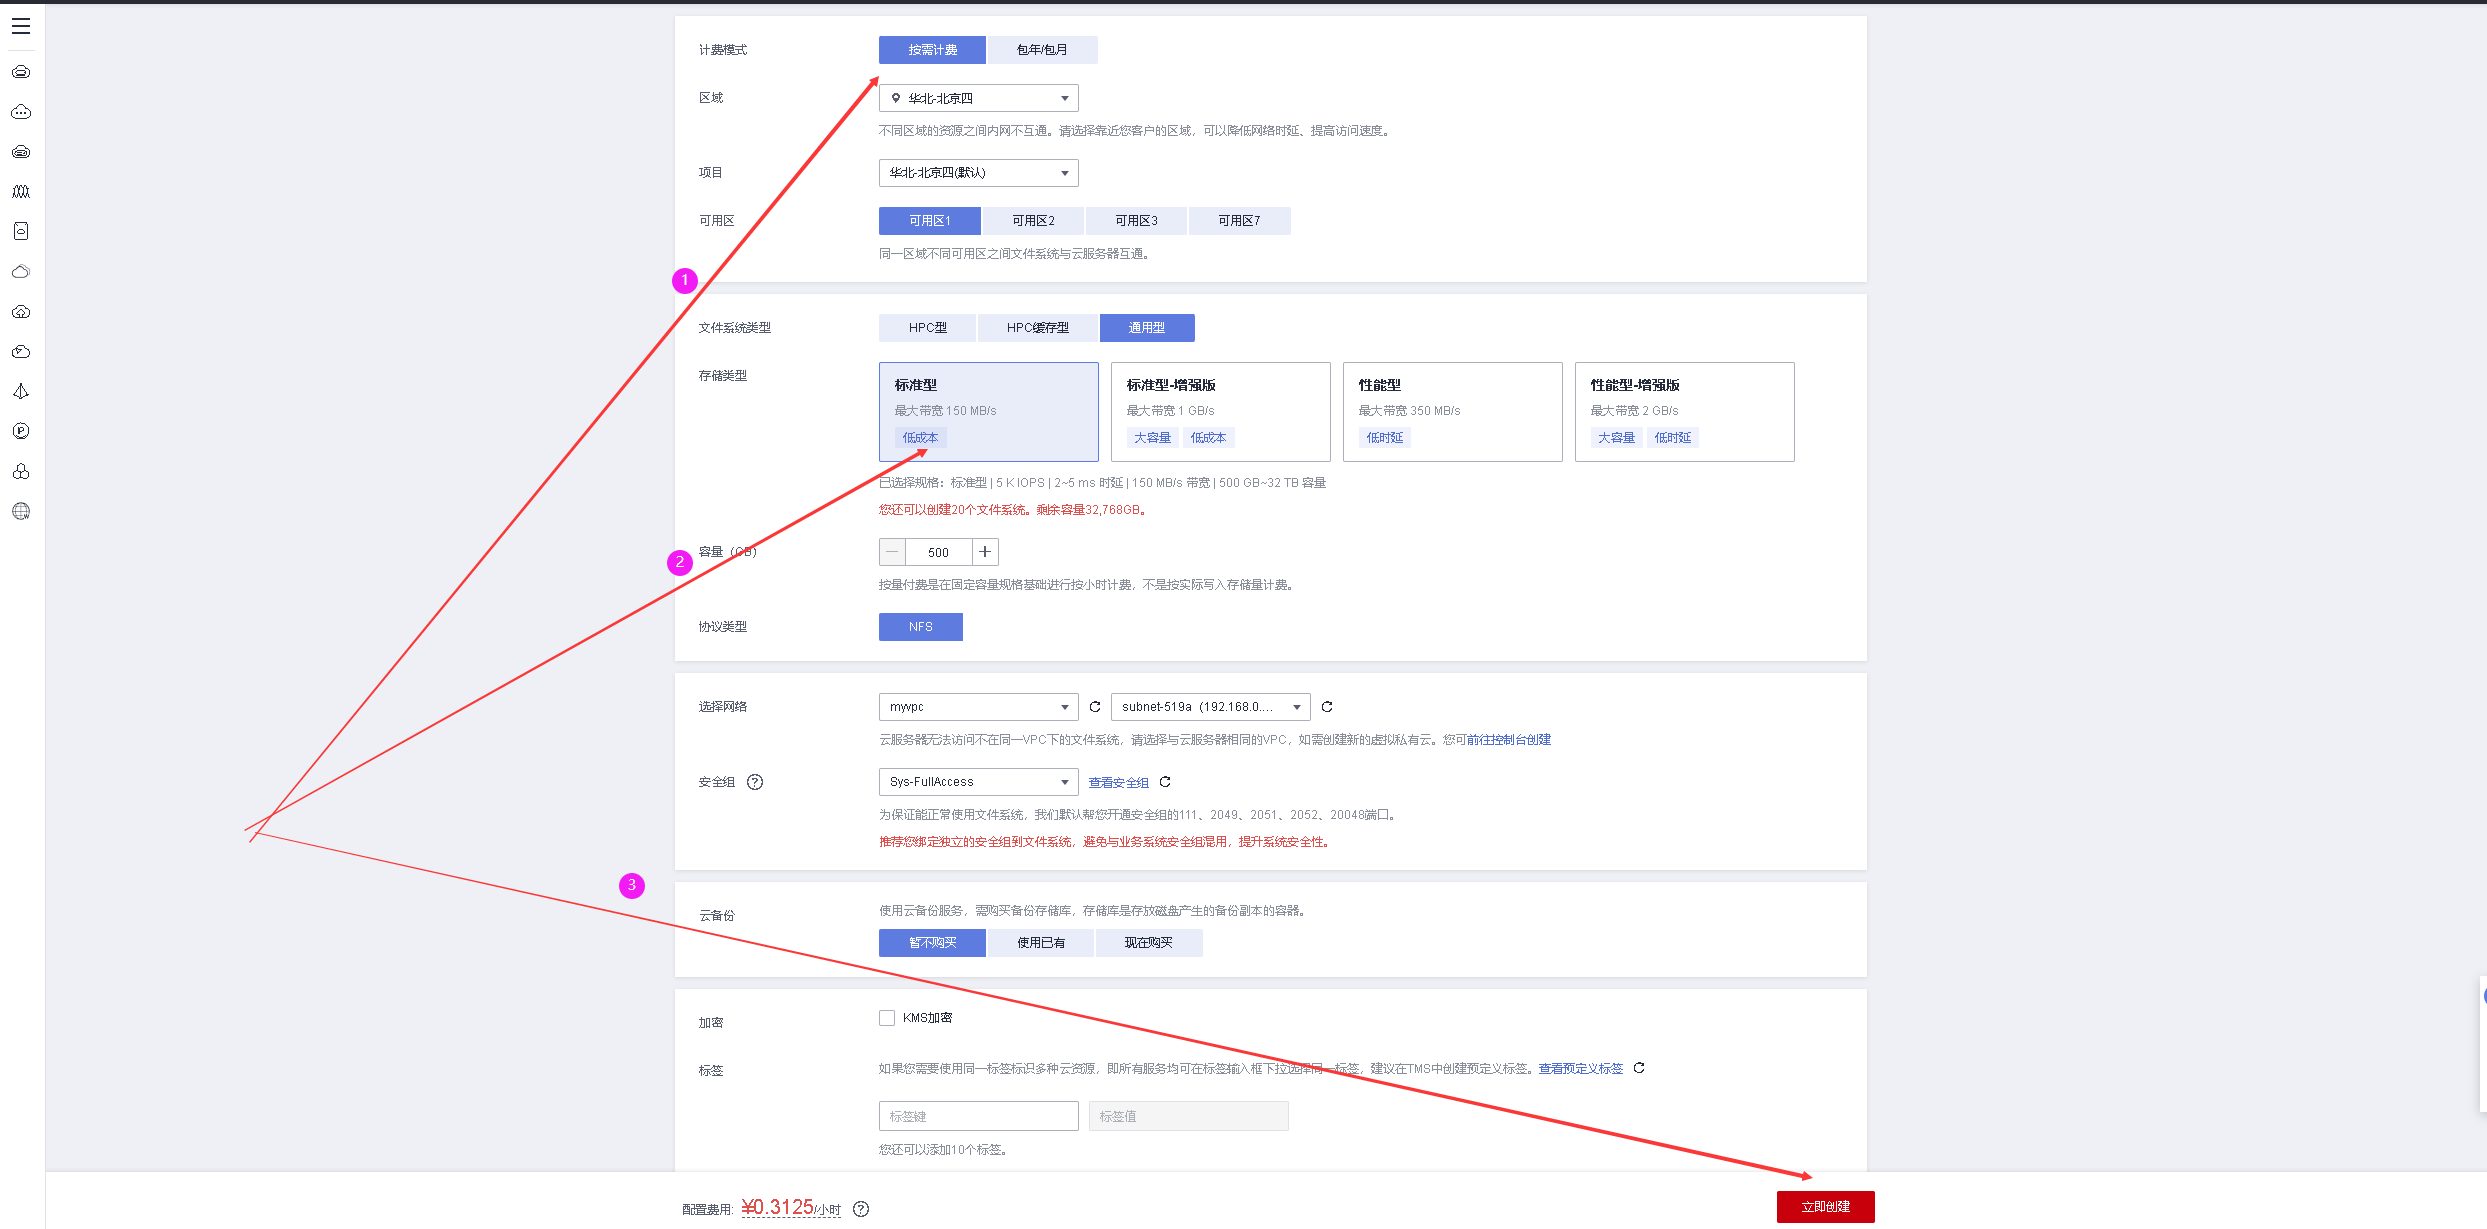
- Choose to purchase on demand, select Universal-Standard as the file type, and configure the rest as default.
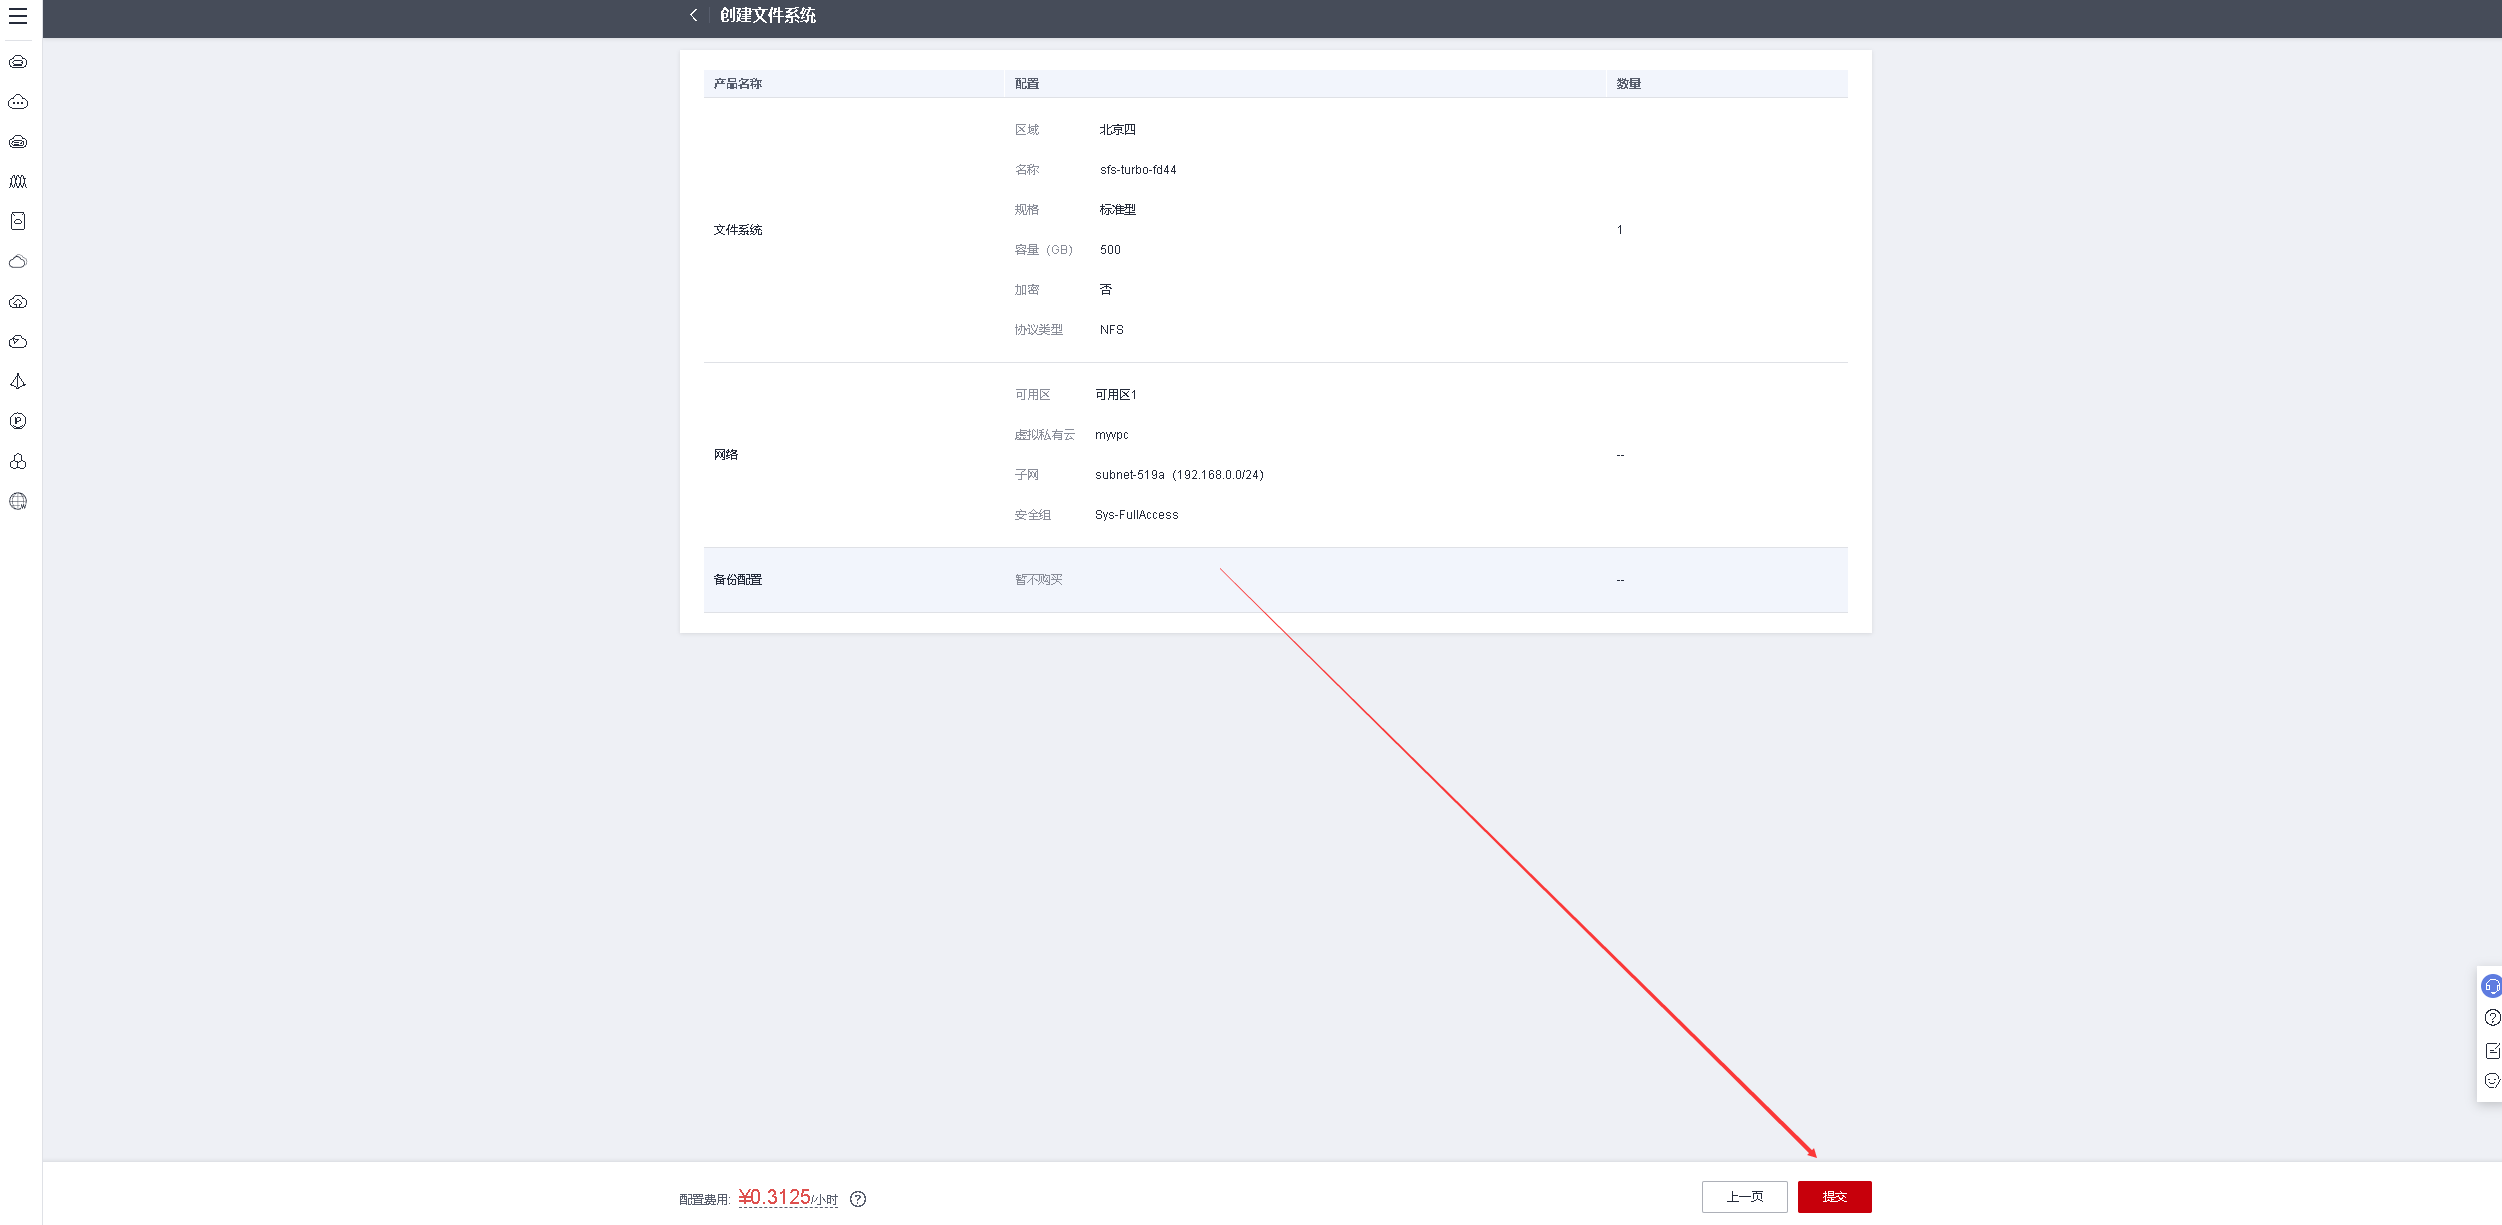
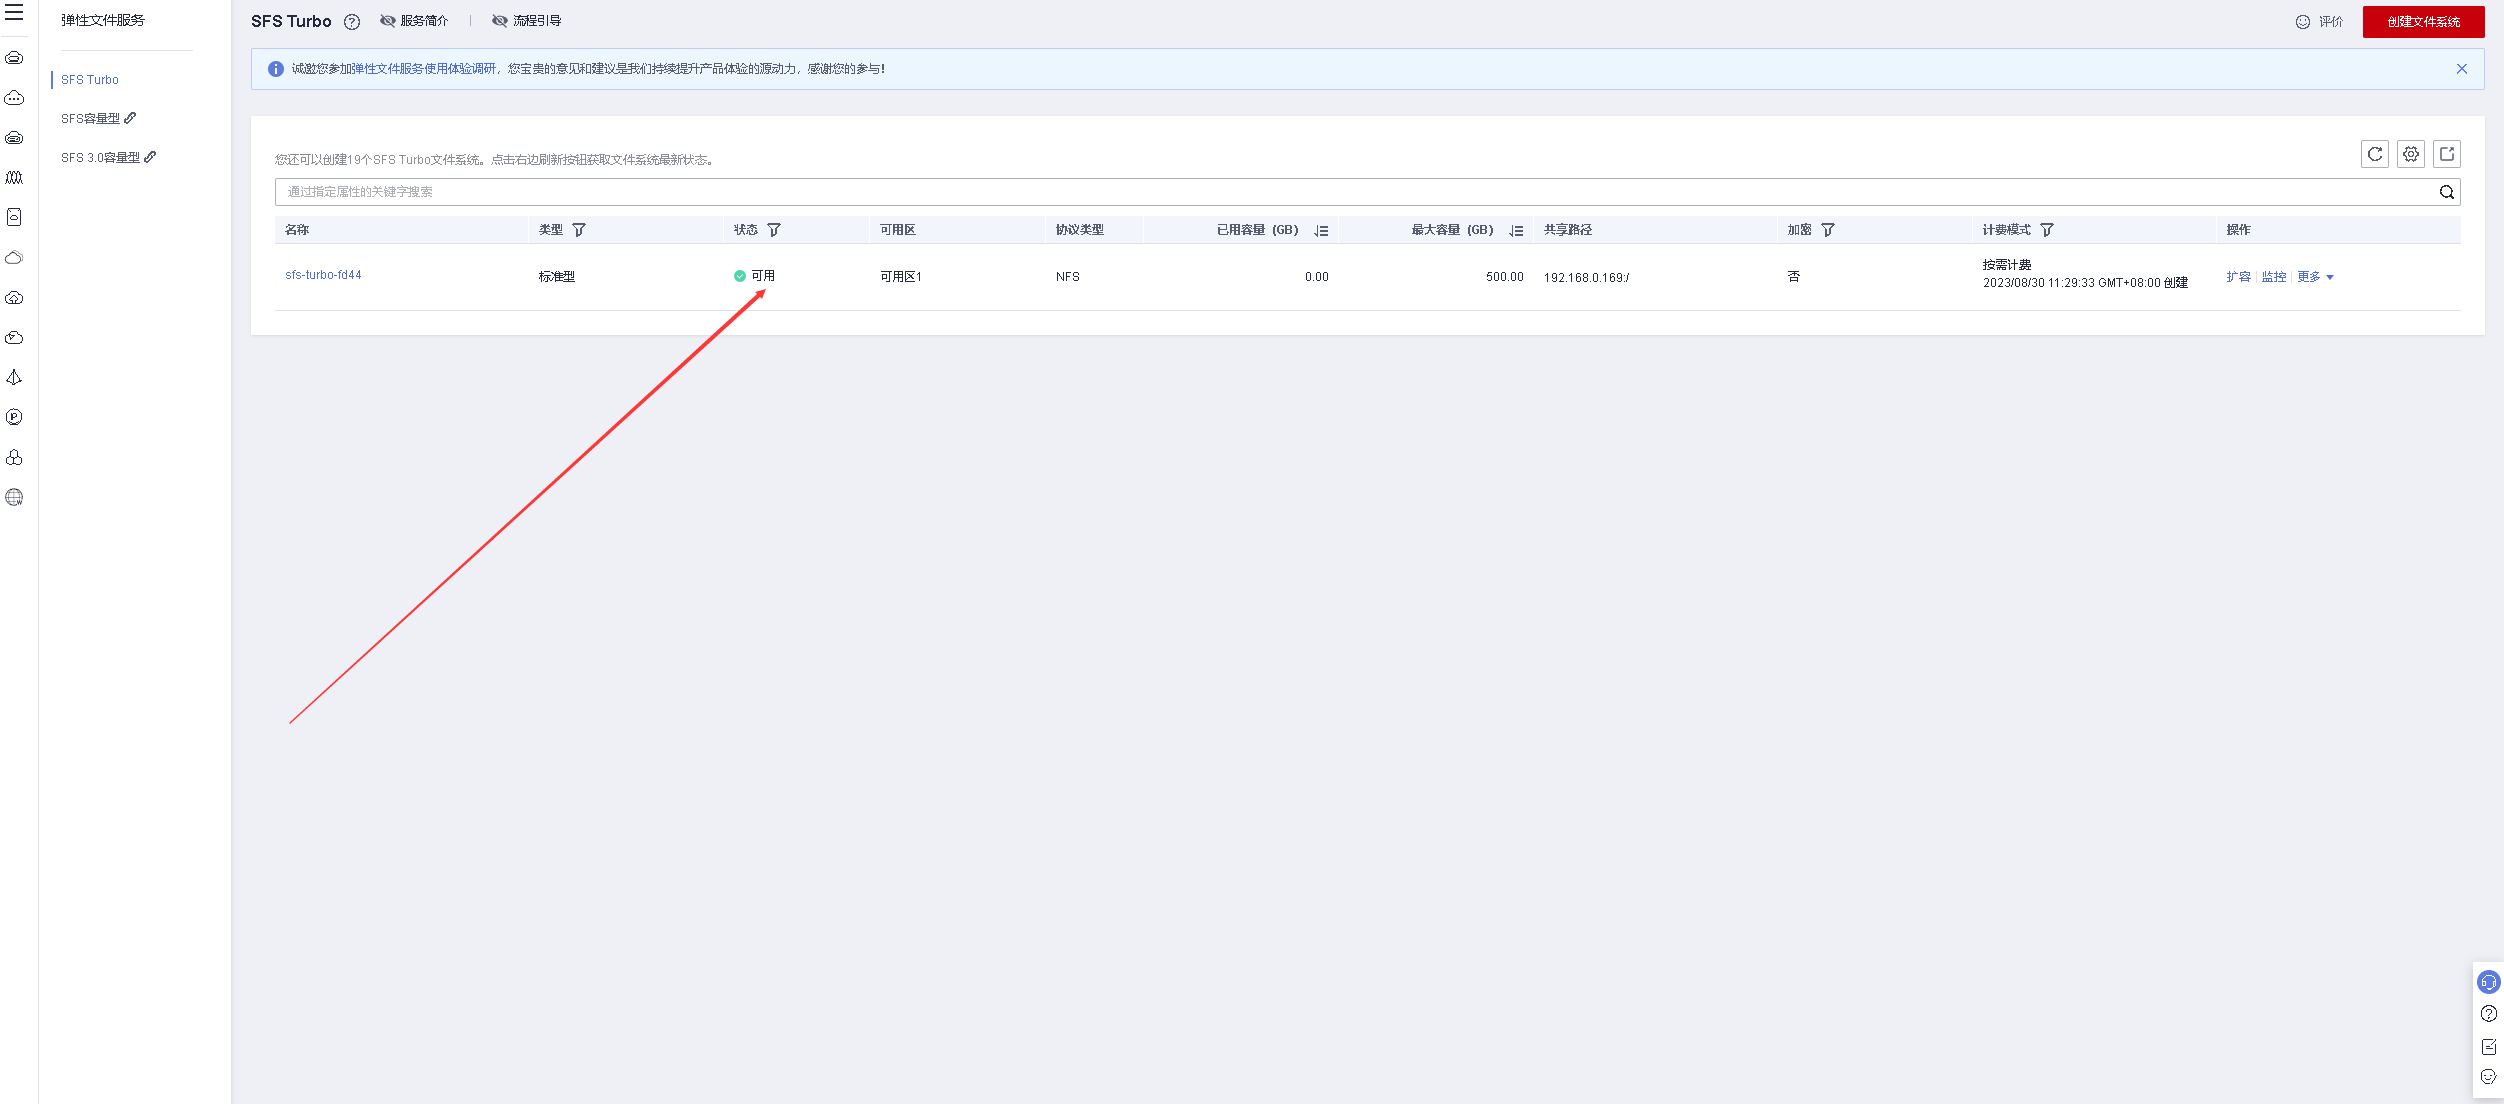
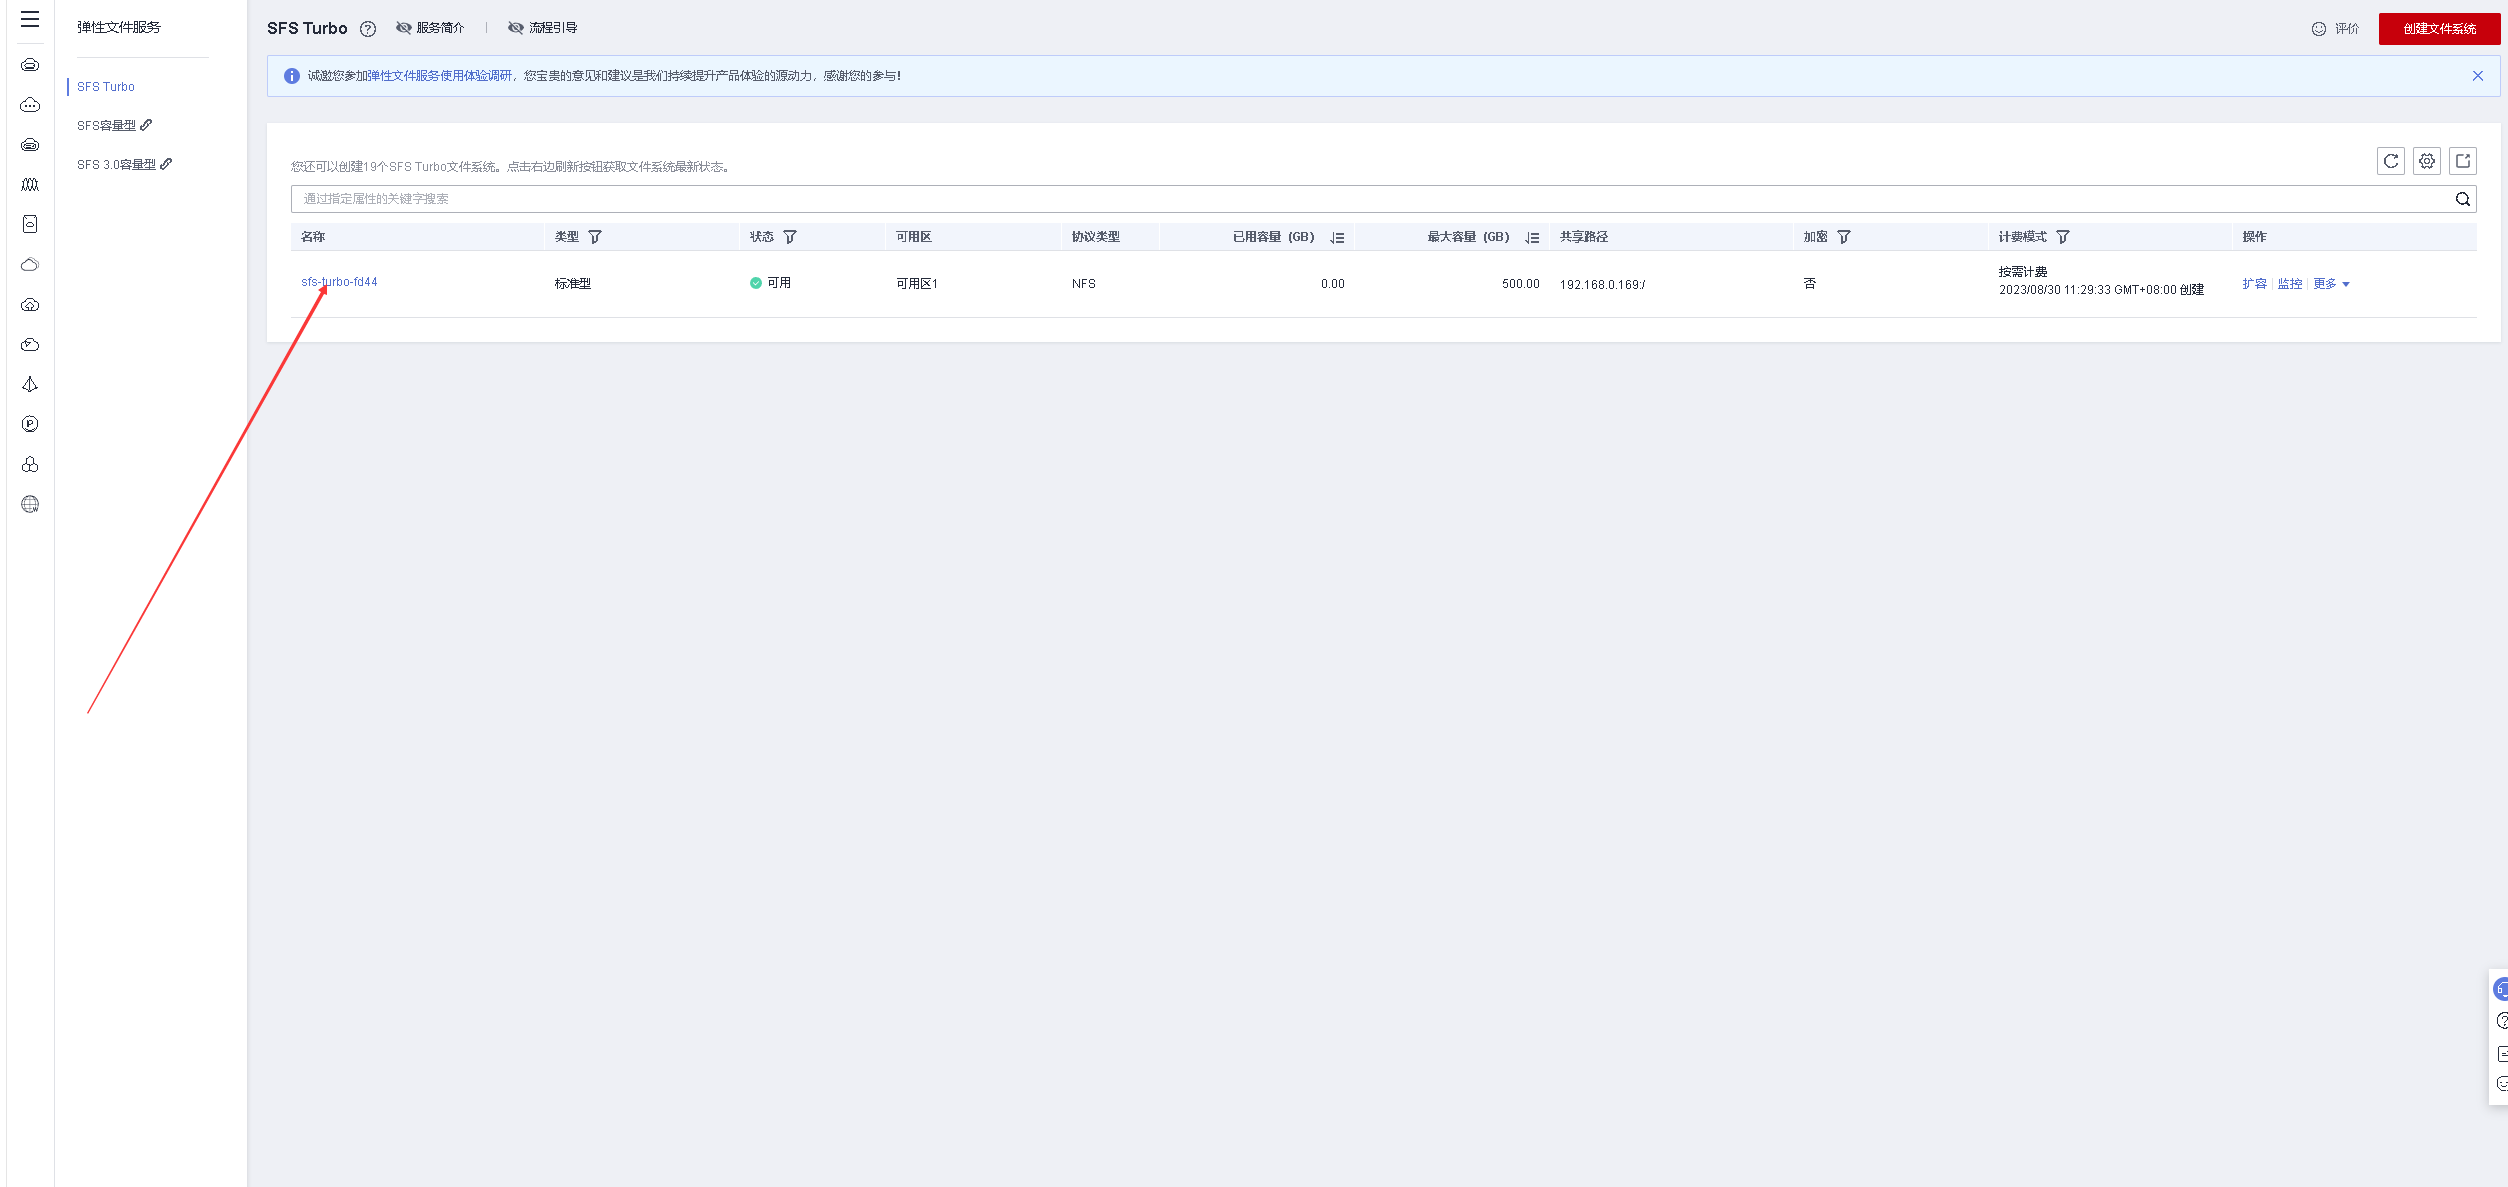
4.3 Check SFS status
After confirming the creation, you need to wait for its creation to complete.
5. Mount SFS on ECS
5.1 Check the local file system
Check the local file system of ECS
[root@ecs-8c9e ~]# df -hT
Filesystem     Type      Size  Used Avail Use% Mounted on
devtmpfs       devtmpfs  485M     0  485M   0% /dev
tmpfs          tmpfs     496M     0  496M   0% /dev/shm
tmpfs          tmpfs     496M  6.8M  489M   2% /run
tmpfs          tmpfs     496M     0  496M   0% /sys/fs/cgroup
/dev/vda1      ext4       40G  2.2G   36G   6% /
tmpfs          tmpfs     100M     0  100M   0% /run/user/0
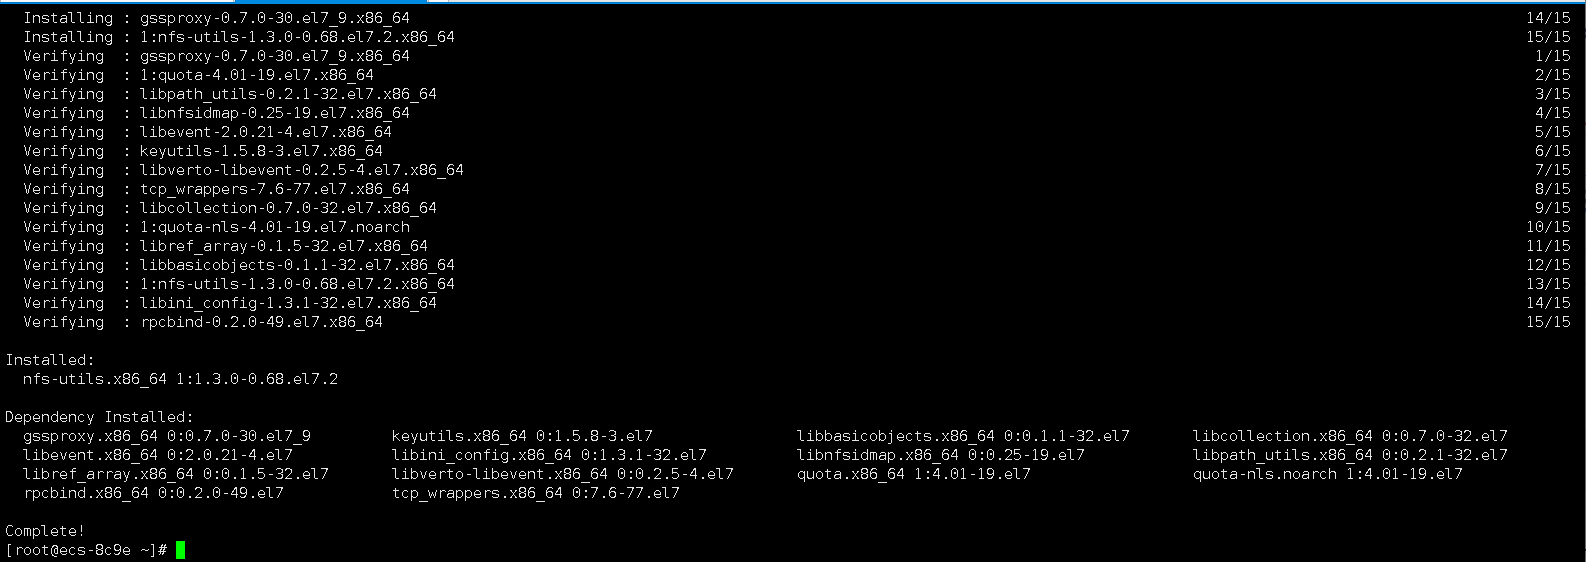
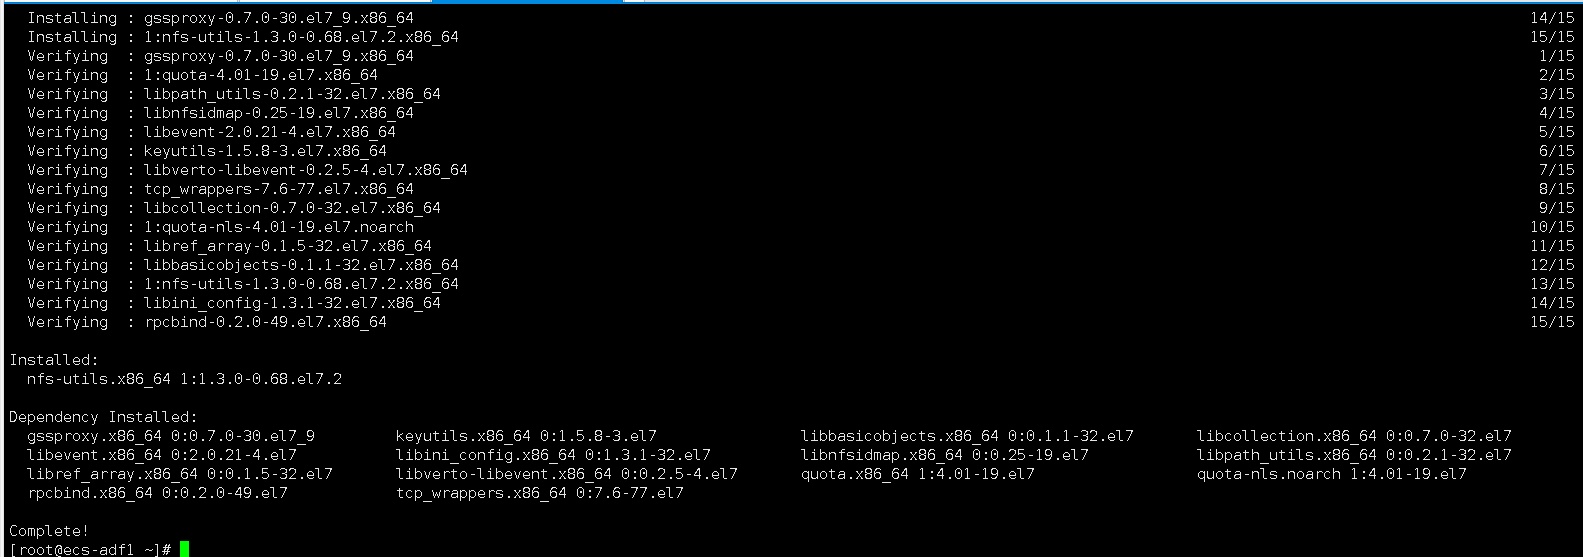
5.2 Install nfs tools
Install nfs tools
yum -y install nfs-utils
5.3 Check the mounting address
Click to view SFS details page
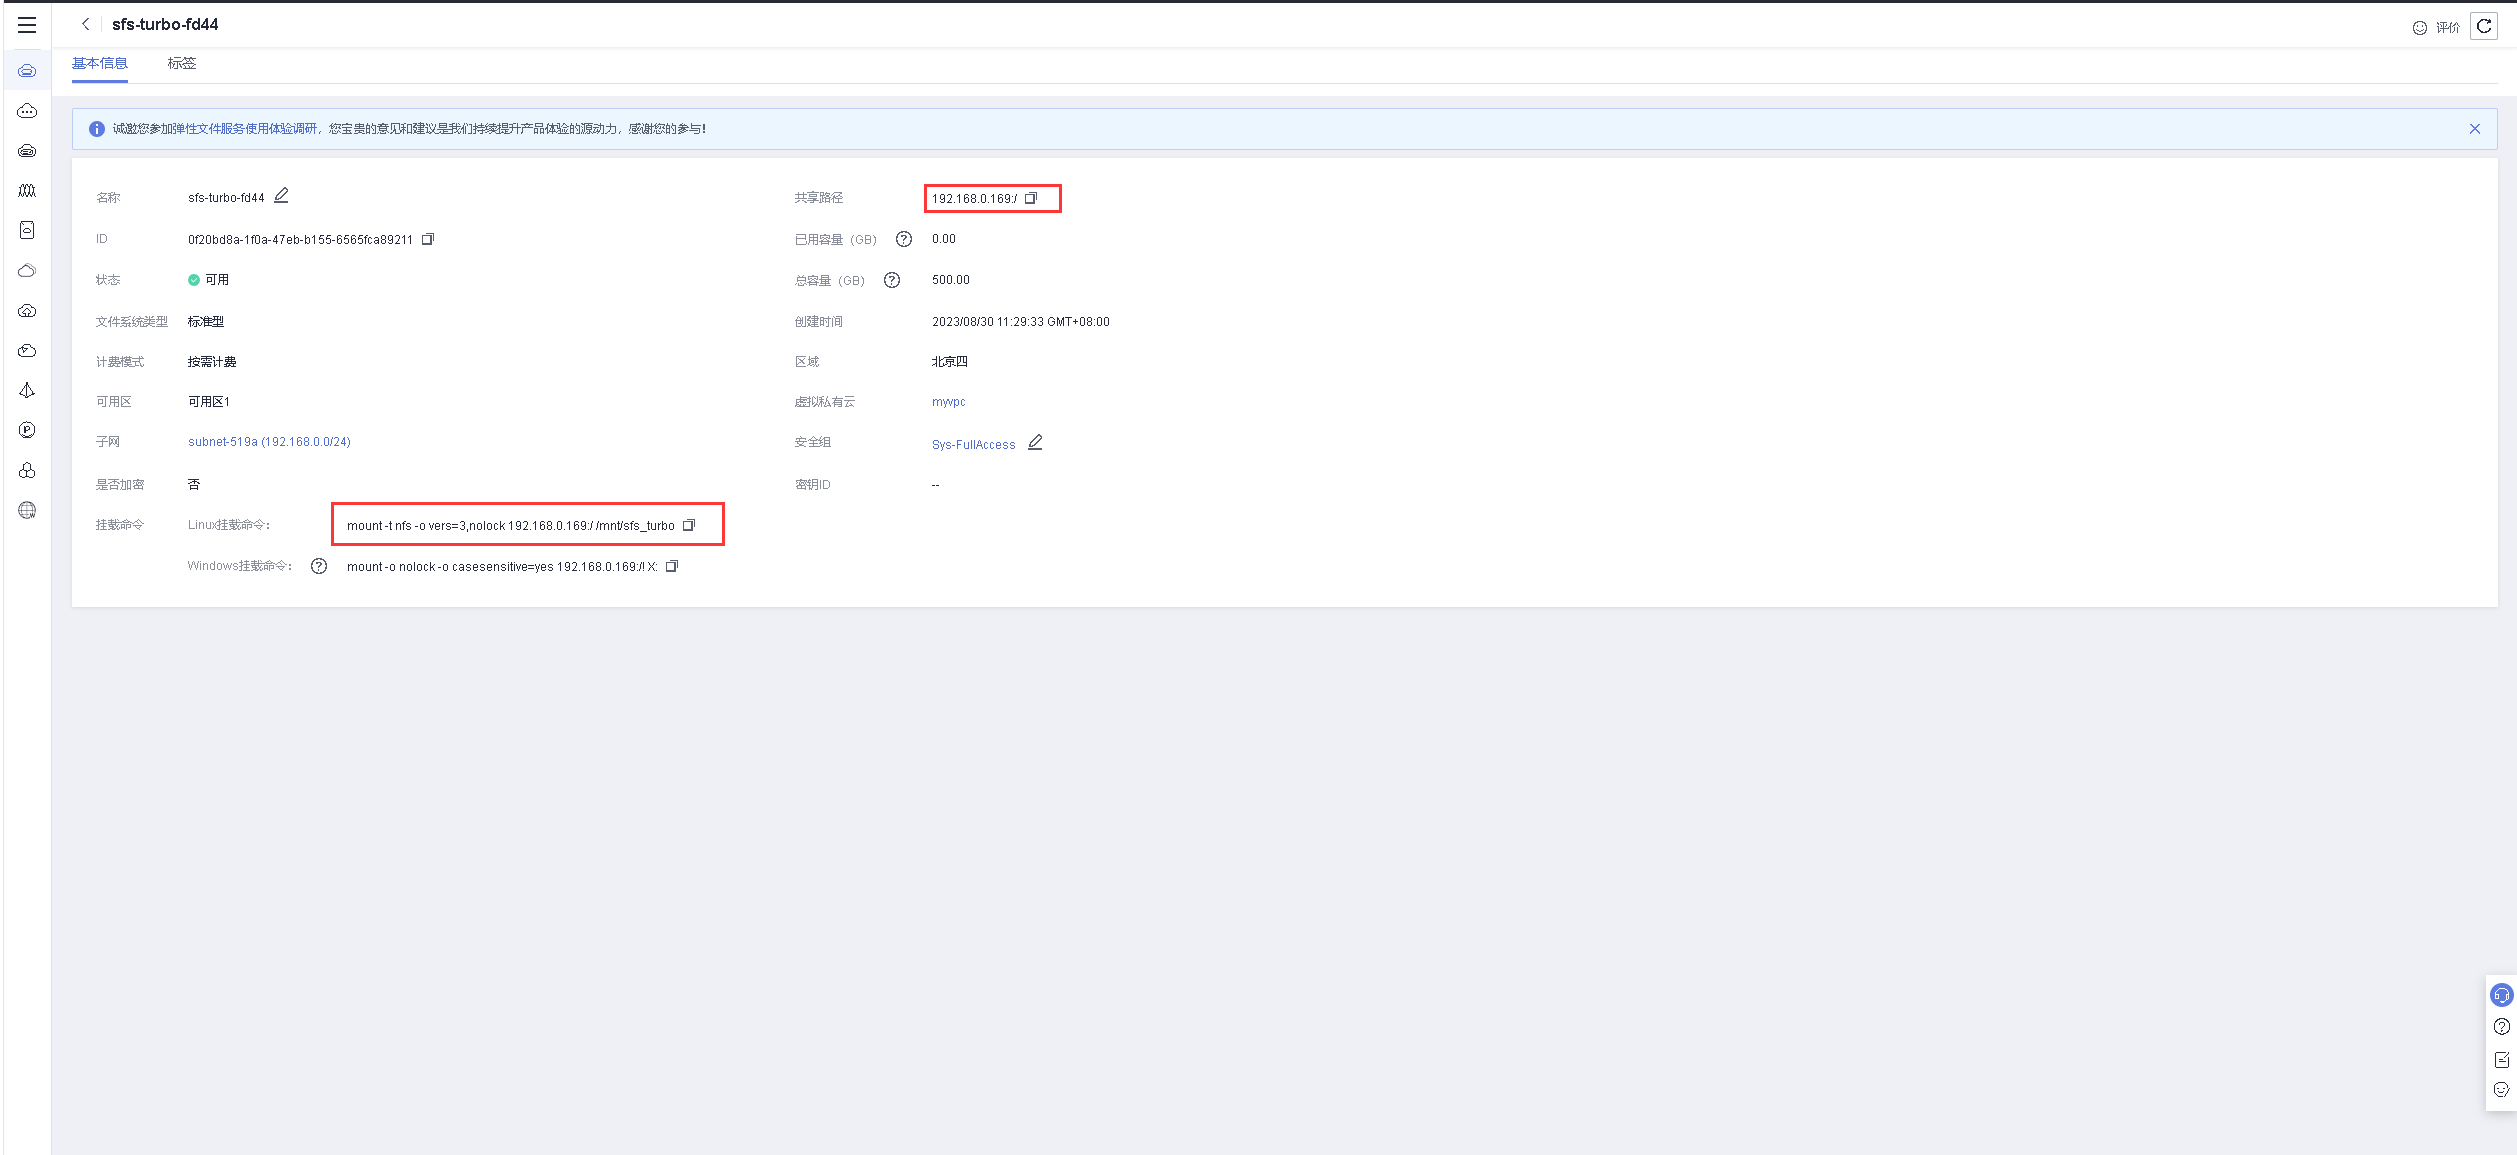
5.4 Mount SFS
- Create mount directory
mkdir -p /data/share
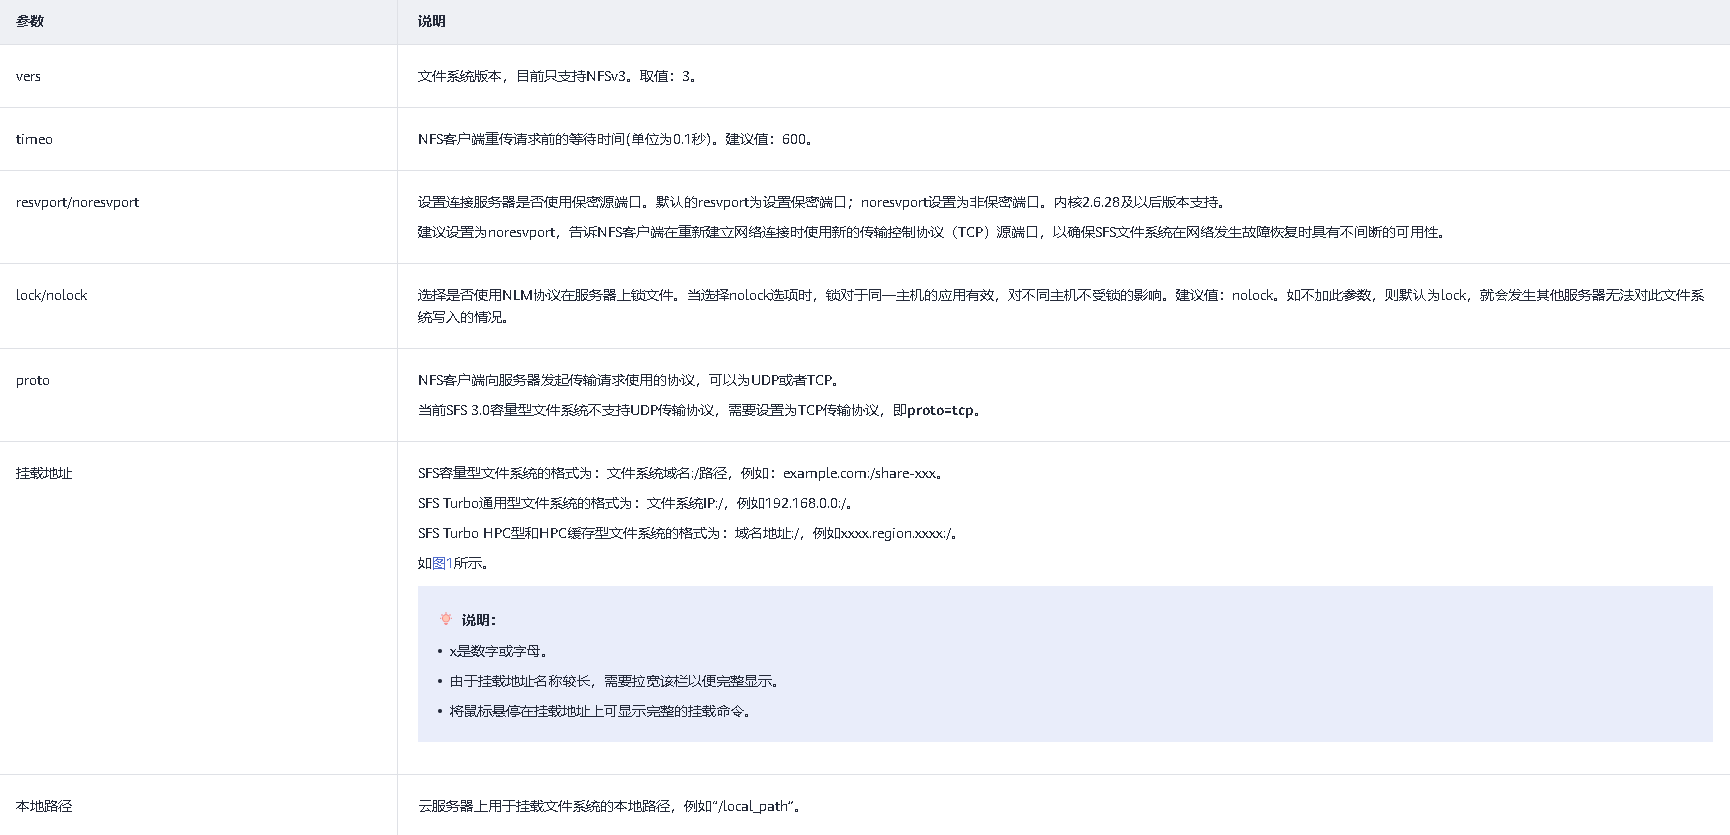
- Mount SFS using the following command
mount -t nfs -o vers=3,timeo=600,noresvport,nolock,tcp 192.168.0.169:/ /data/share
5.5 View file system
Check whether SFS is mounted successfully
df -hT

6. Purchase a second ECS server
6.1 Purchase a second ECS server
Purchase a second ECS elastic cloud server for file sharing testing.
6.2 Mount SFS
- ssh to connect to the second ECS
- Install nfs
yum -y install nfs-utils
- Create mount directory
mkdir -p /data/share
- Mount SFS using the following command
mount -t nfs -o vers=3,timeo=600,noresvport,nolock,tcp 192.168.0.169:/ /data/share
6.3 Check the file system
Check file system
df -hT

7. Test file sharing
7.1 The first ECS writes a test file
- Enter the shared directory
echo "this is ecs01---test01" > file01.txt

7.2 View test files on the second ECS
View the test files on the second ECS
[root@ecs-adf1 ~]# cd /data/share/
[root@ecs-adf1 share]# ls
file01.txt
[root@ecs-adf1 share]# cat file01.txt
this is ecs01---test01

7.3 Modify the test file on the second ECS
Modify the test file on the second ECS
echo "ECS002--modify--file01.txt" >> file01.txt

7.4 View test files
Check the test file on the first ECS and you can see the modified file.
[root@ecs-8c9e share]# cat file01.txt
this is ecs01---test01
ECS002--modify--file01.txt

7.5 Release all resources
- Delete and release all resources of two ECSs
- Delete and release the SFS service