16.1 Modify the form jump address in index.html
Change the action address to user/login, which means that after clicking the submit button, it will jump to the user/login address, and then just use @RequsetMapping of the Controller class to pick up this address.
<body class="text-center">
		<form class="form-signin" th:action="@{user/login}">
			<img class="mb-4" th:src="@{/img/bootstrap-solid.svg}" alt="" width="72" height="72">
			<h1 class="h3 mb-3 font-weight-normal">Please sign in</h1>
			<label class="sr-only">Username</label>
			<input type="text" class="form-control" placeholder="Username" required="" autofocus="">
			<label class="sr-only">Password</label>
			<input type="password" class="form-control" placeholder="Password" required="">
			<div class="checkbox mb-3">
				<label>
          <input type="checkbox" value="remember-me"> Remember me
        </label>
			</div>
			<button class="btn btn-lg btn-primary btn-block" type="submit">Sign in</button>
			<p class="mt-5 mb-3 text-muted">© 2017-2018</p>
			<a class="btn btn-sm">中文</a>
			<a class="btn btn-sm">English</a>
		</form>

	</body>
16.2 controller class
When accessing localhost:8080/user/login, a string will be returned on the page (hello in this example). @ResponseBody is applied to the method. @ResponseBody means that the return result of the method is directly written into the HTTP response body. .
package jiang.com.springbootstudy.controller;

import org.springframework.stereotype.Controller;
import org.springframework.web.bind.annotation.RequestMapping;
import org.springframework.web.bind.annotation.ResponseBody;

@Controller
public class LoginController {
    @RequestMapping("/user/login")
    @ResponseBody
    public String login(){
        return "hello";
    }
}
The above code simply implements the process of clicking the button, accessing the request, and finally responding with a string. There is no need to use the ResponseBody annotation in this project, just implement data forwarding and page jump after the request. Note that in the previous form, the input did not have a name attribute, only a placeholder attribute. Just change it to the name attribute, and then change the corresponding attribute value, because the @RequestParm annotation needs to be used later to accept the form data. The final code is as follows:
package jiang.com.springbootstudy.controller;
import org.springframework.stereotype.Controller;
import org.springframework.ui.Model;
import org.springframework.web.bind.annotation.RequestMapping;
import org.springframework.web.bind.annotation.RequestParam;
import org.thymeleaf.util.StringUtils;

@Controller
public class LoginController {
    @RequestMapping("/user/login")
    public String login(@RequestParam("username") String username,
                        @RequestParam("password") String password,
                        Model model){
        if (!StringUtils.isEmpty(username)&&"123456".equals(password)){
            return "redirect:/main.html";
        }else {
            model.addAttribute("msg","用户名或密码错误!");
            return "index";
        }

    }
}
Redirect is used here. Return "redirect:/main.html" will cause the web page to be transferred to the localhost:8080/main.html address after accessing the localhost:8080/user.login address. Pay attention! This is because main.html is a virtual address, and it does not mean forwarding to the main.html page. Therefore, you need to use the mvc configuration class to forward the request to the actual address. Finally, if you access the localhost:8080/main.html address, a dashboard.html page will open. The mvc configuration class code is as follows:
package jiang.com.springbootstudy.config;

import org.springframework.context.annotation.Configuration;
import org.springframework.web.servlet.config.annotation.ViewControllerRegistry;
import org.springframework.web.servlet.config.annotation.WebMvcConfigurer;


@Configuration
public class MyMvcConfig implements WebMvcConfigurer {
    @Override
    public void addViewControllers(ViewControllerRegistry registry) {
        registry.addViewController("/").setViewName("index");  //setViewName后面不用加html
        registry.addViewController("/index.html").setViewName("index");
        registry.addViewController("/main.html").setViewName("dashboard"); // 前面的main.html是假的,只是一种请求,后面才是真的,输入请求后会跳转的地方是后面的html
    }
}
16.3 Modify the index page
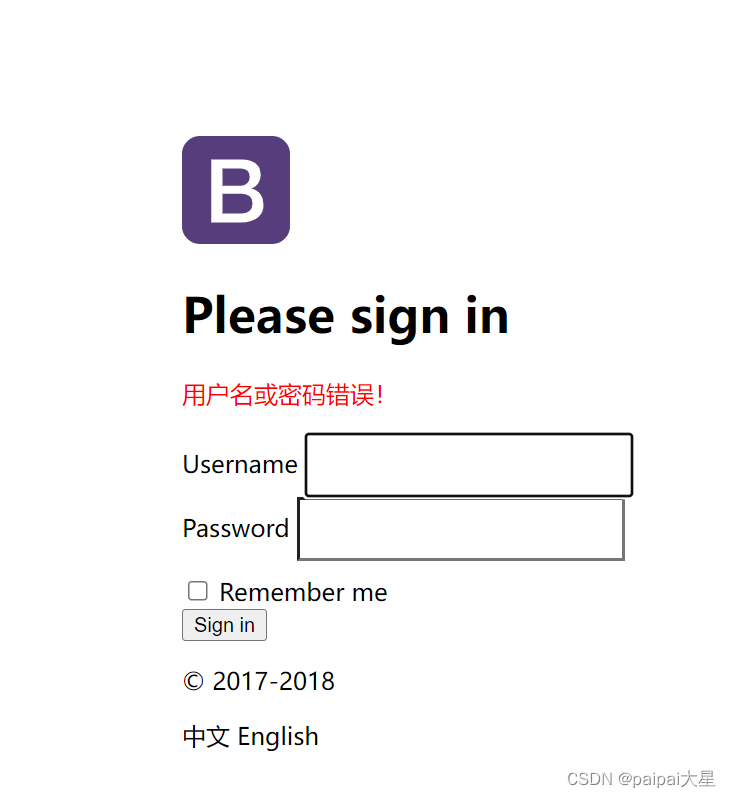
According to the processing logic of the Controller class, if the username and password are incorrect, the indem.html page will be returned and the msg data will be forwarded. After forwarding, the msg data needs to be displayed at the corresponding location. A line of html code needs to be added to the corresponding position, and the style of the p tag has been changed. The html code that needs to be added is as follows:
<link th:href="@{/css/mystyle.css}" type="text/css" rel="stylesheet">
<p  class="p-msg" th:text="${msg}" th:if="${not #strings.isEmpty(msg)}"></p>
The css style code is as follows:
p.p-msg{
    color: red;
}
Results forwarded to index.html after input errors:
16.4