I am new to SpringBoot and I don’t understand many things, so I took a lot of detours to complete this. I wrote blog records all night, for fear that I would forget everything by daybreak...
Front-end: Vue (2 or 3), IDE is VS code
Backend: Spring Boot, IDE is IDEA
Database: MySQL
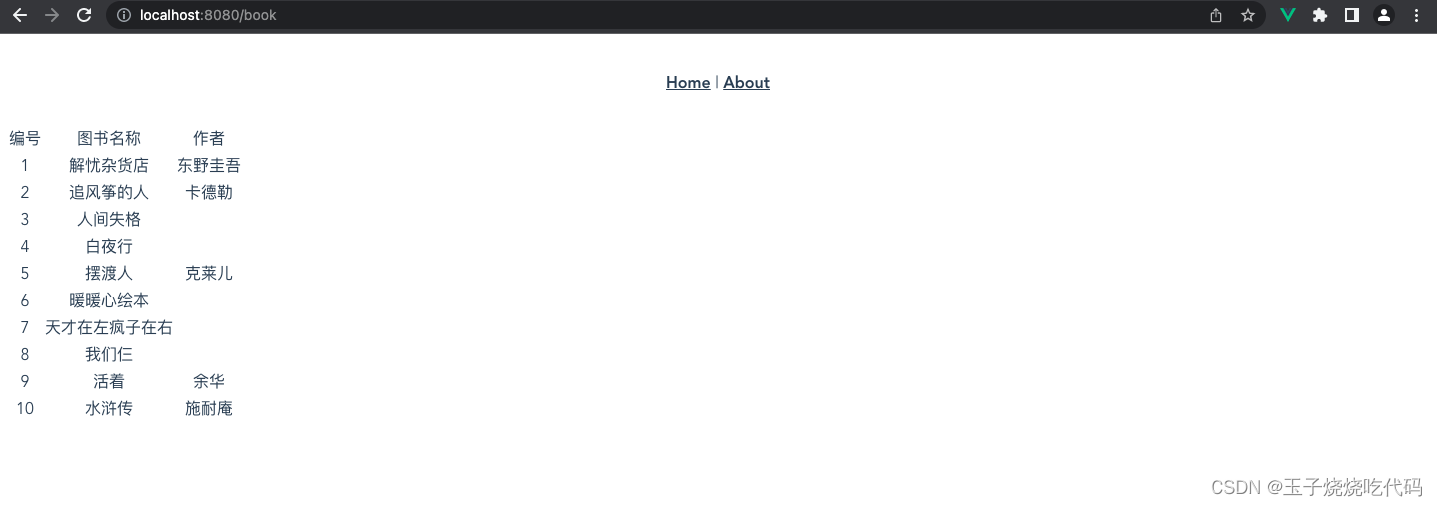
Currently implemented functions : separation of front-end and back-end codes, display of data from database tables
step
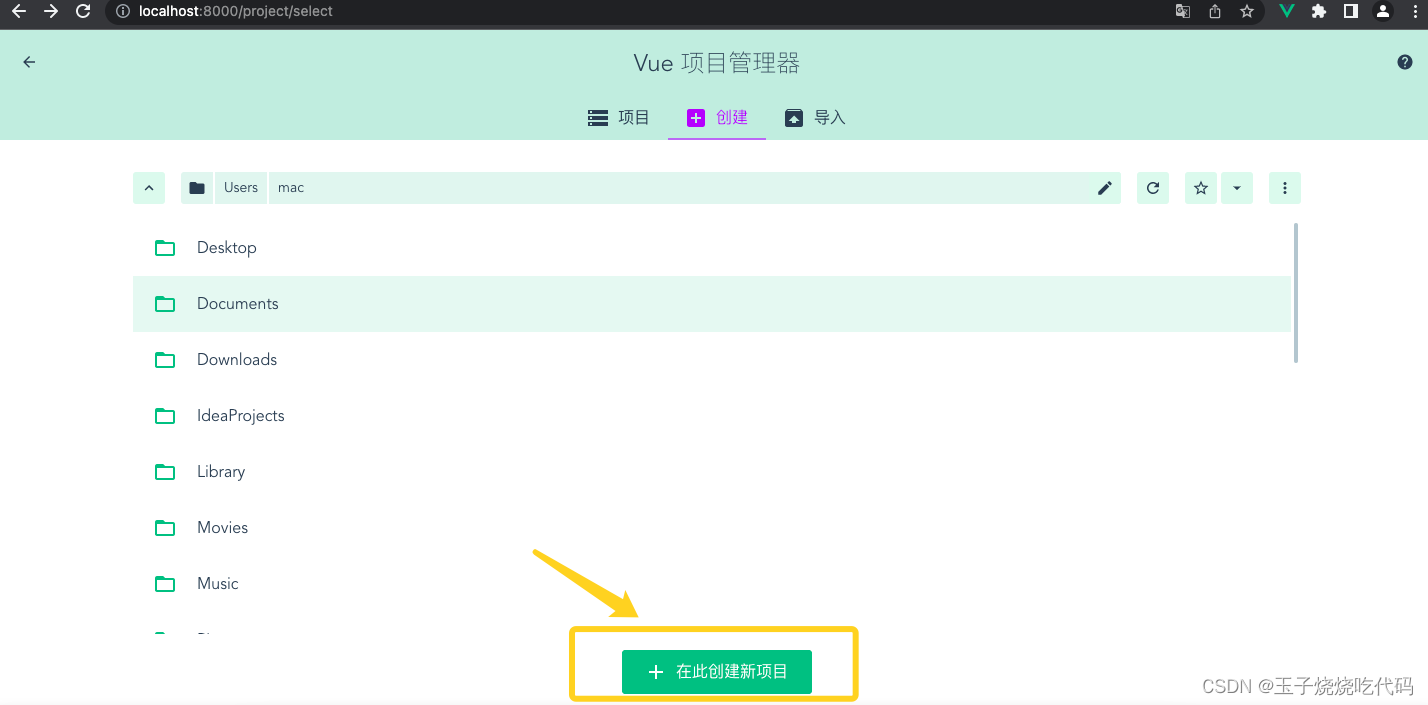
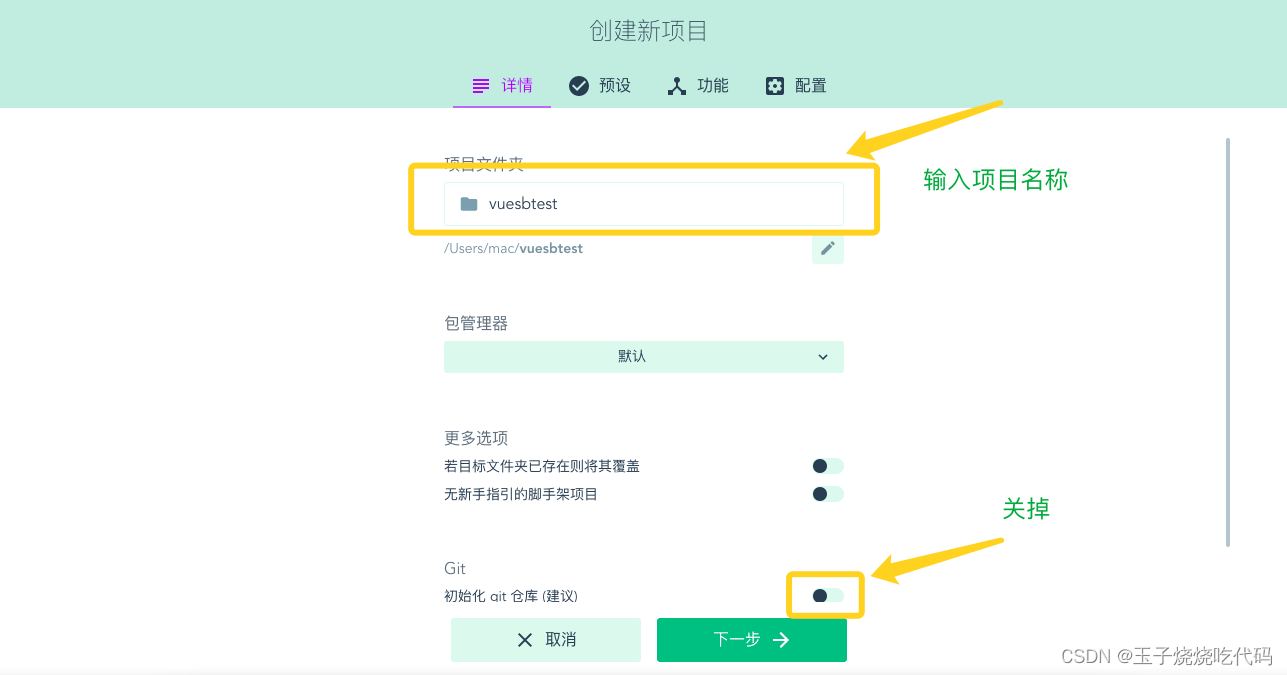
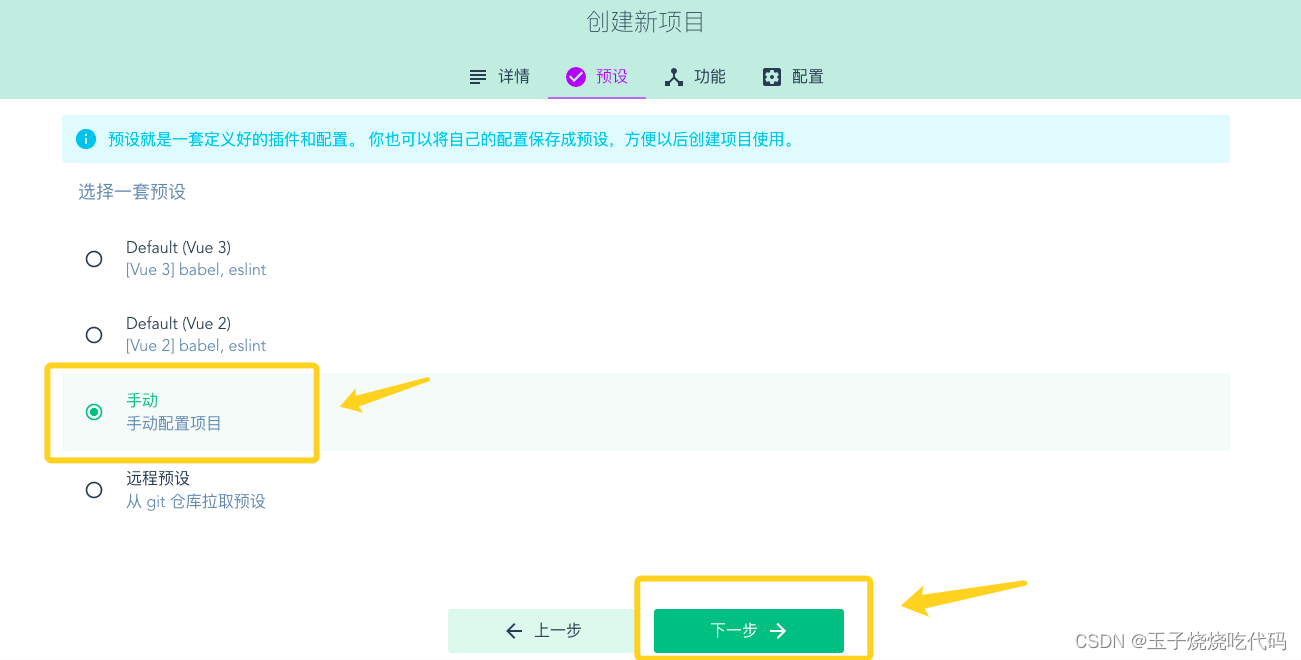
1.【Create vue project】
Terminal input
vue uiOpen the graphical interface and create a Vue project. The specific steps are as follows:


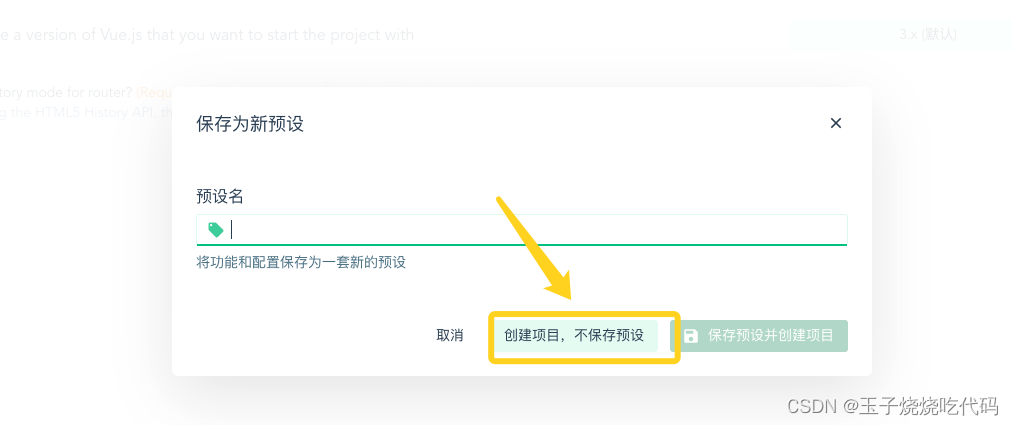
Wait patiently. . .
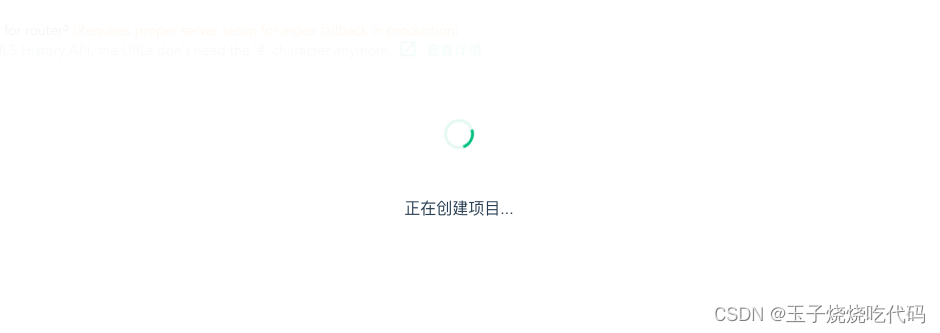
After creation, you can compile and run, and confirm whether the project can run successfully. 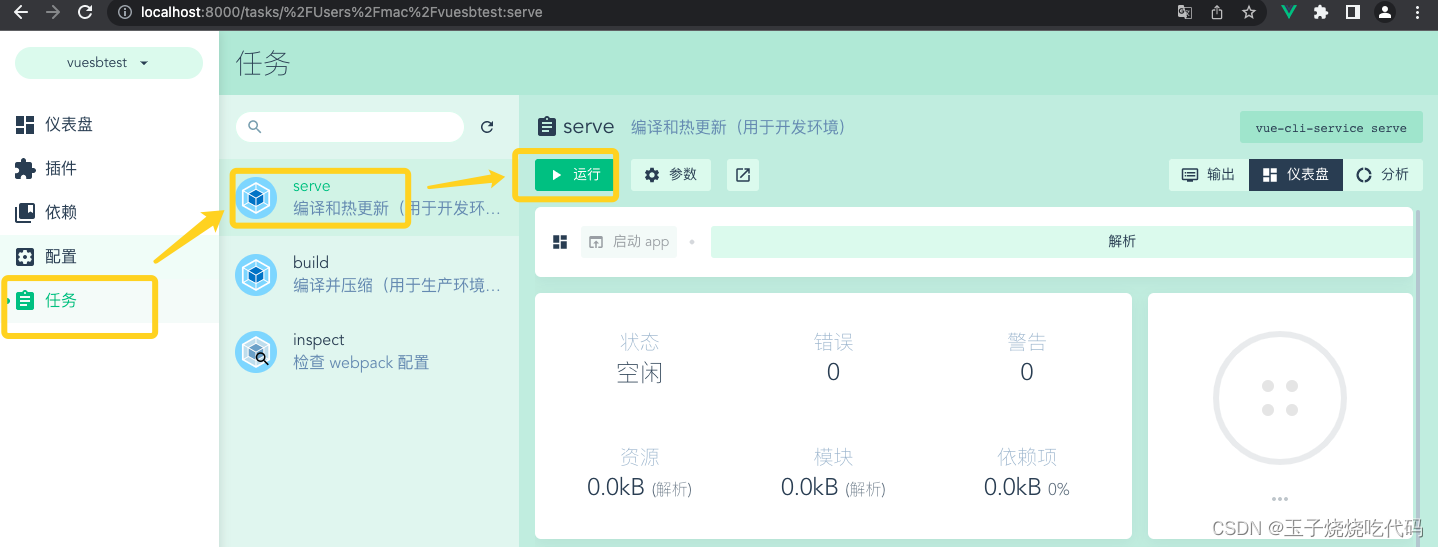
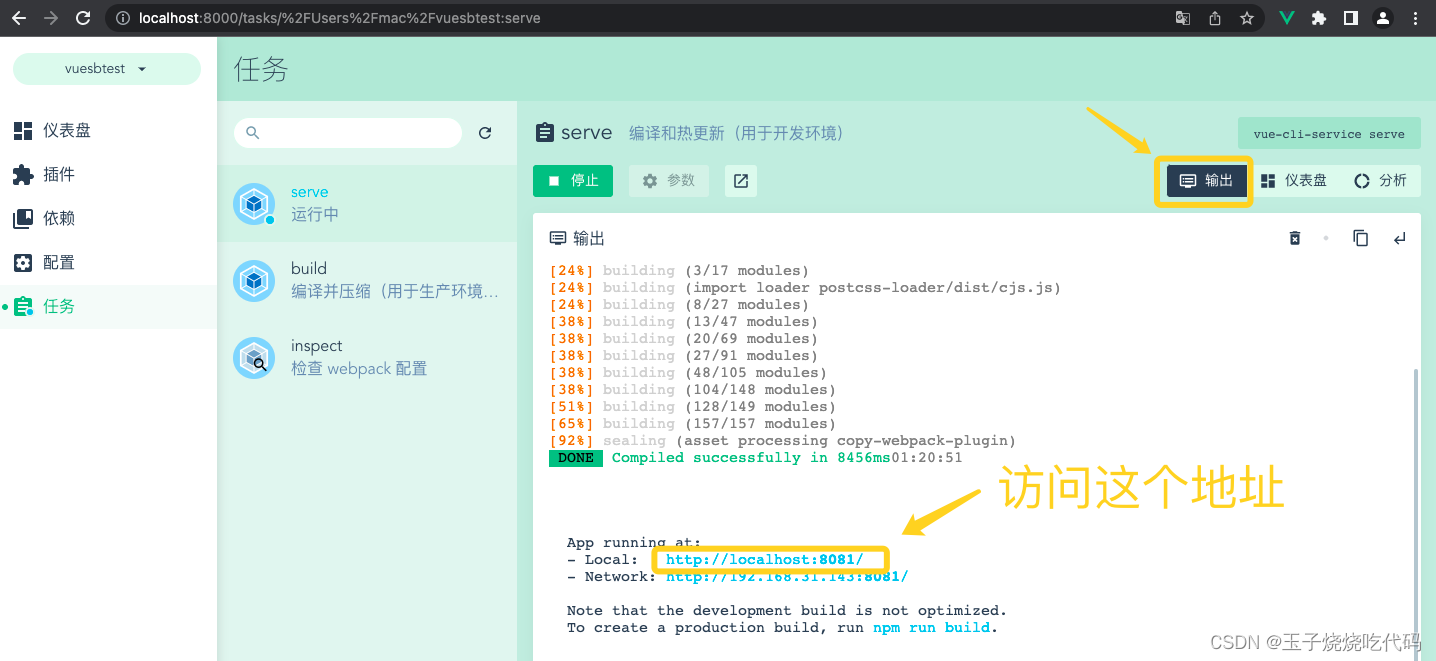
Close the terminal and proceed to the next step.
2.【Write vue code】
vs code opens the vue project you just created (vue development related plug-ins must be downloaded by yourself)

As shown above, check the current vue version number in package.json to determine whether the current project is vue2 or 3! This is very important!
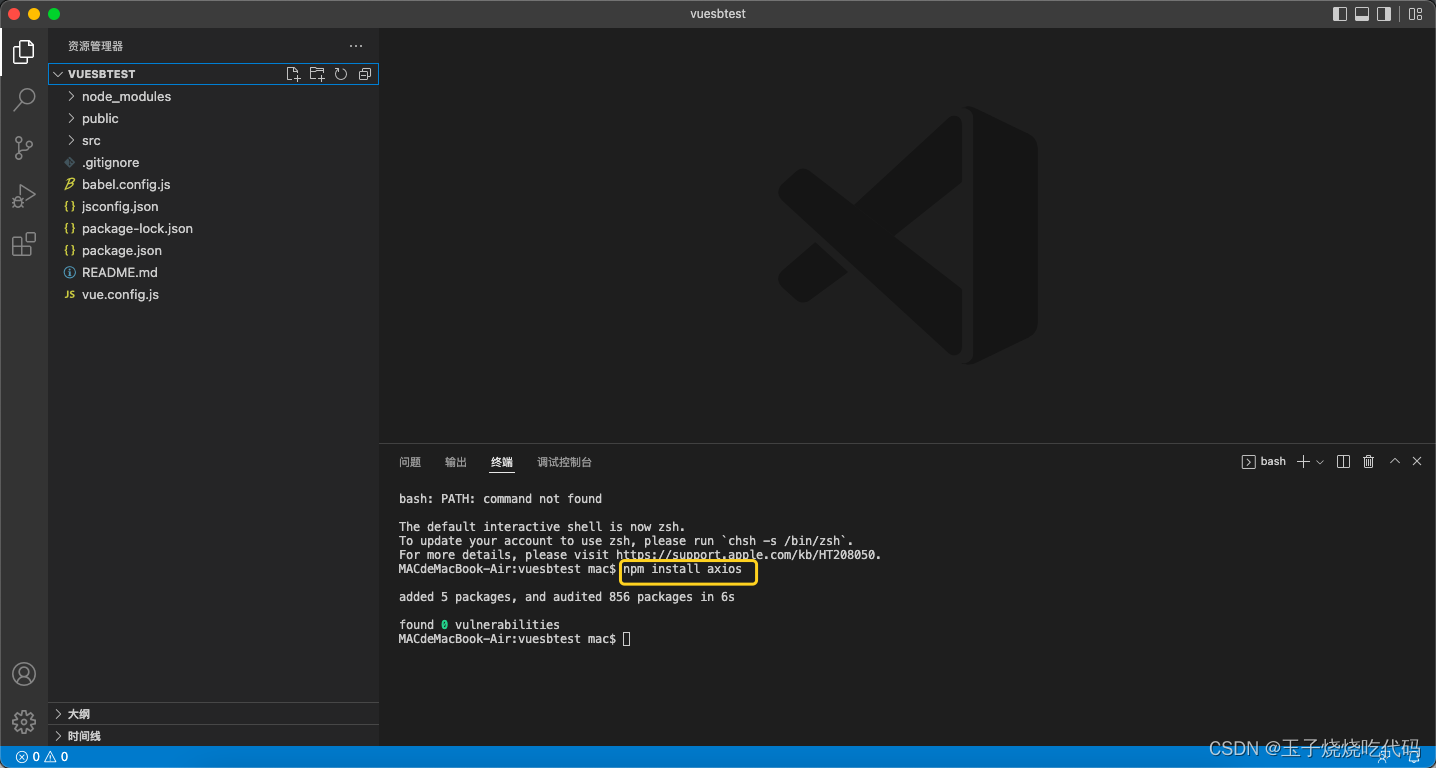
Next, cmd+shift+Y opens the terminal and downloads the axios plug-in .
If you are vue3, enter
npm install axiosIf it is vue2, lose
vue add axiosNote: A pitfall that I have encountered is that if it is vue3, use vue add axios to install it, resulting in version inconsistency and a bug like this: export 'default' (imported as 'Vue') was not found in 'vue' 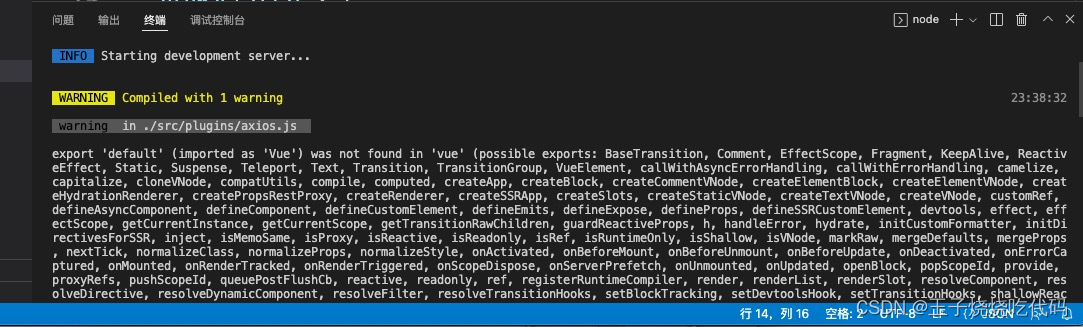
My project is vue3, so
After the execution is completed, create a new BookView.vue view in the view . Don’t rush the code now.
Configure a new route in router and modify index.js code to:
import { createRouter, createWebHistory } from 'vue-router'
import HomeView from '../views/HomeView.vue'
import Book from '../views/BookView.vue'

const routes = [
  {
    path: '/',
    name: 'home',
    component: HomeView
  },
  {
    path: '/about',
    name: 'about',
    // route level code-splitting
    // this generates a separate chunk (about.[hash].js) for this route
    // which is lazy-loaded when the route is visited.
    component: () => import(/* webpackChunkName: "about" */ '../views/AboutView.vue')
  },
  {
    path:'/book',
    component:Book
  }
]

const router = createRouter({
  history: createWebHistory(process.env.BASE_URL),
  routes
})

export default router
(Note: The above codes can be used whether it is vue2 or vue3 like me)
3.【Create database】
The database name is sbdb and the table name is book.
CREATE TABLE `book` (
  `id` int(11) NOT NULL AUTO_INCREMENT,
  `name` varchar(45) NOT NULL,
  `author` varchar(45) DEFAULT NULL,
  PRIMARY KEY (`id`)
) ENGINE=InnoDB AUTO_INCREMENT=11 DEFAULT CHARSET=utf8
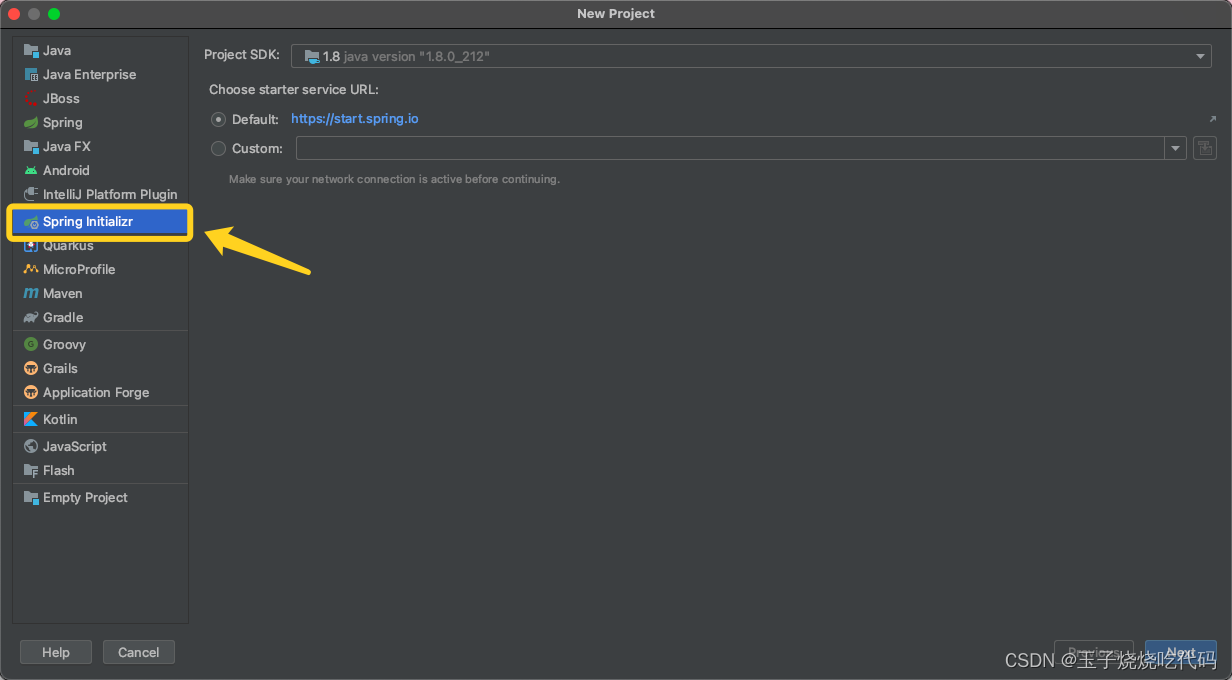
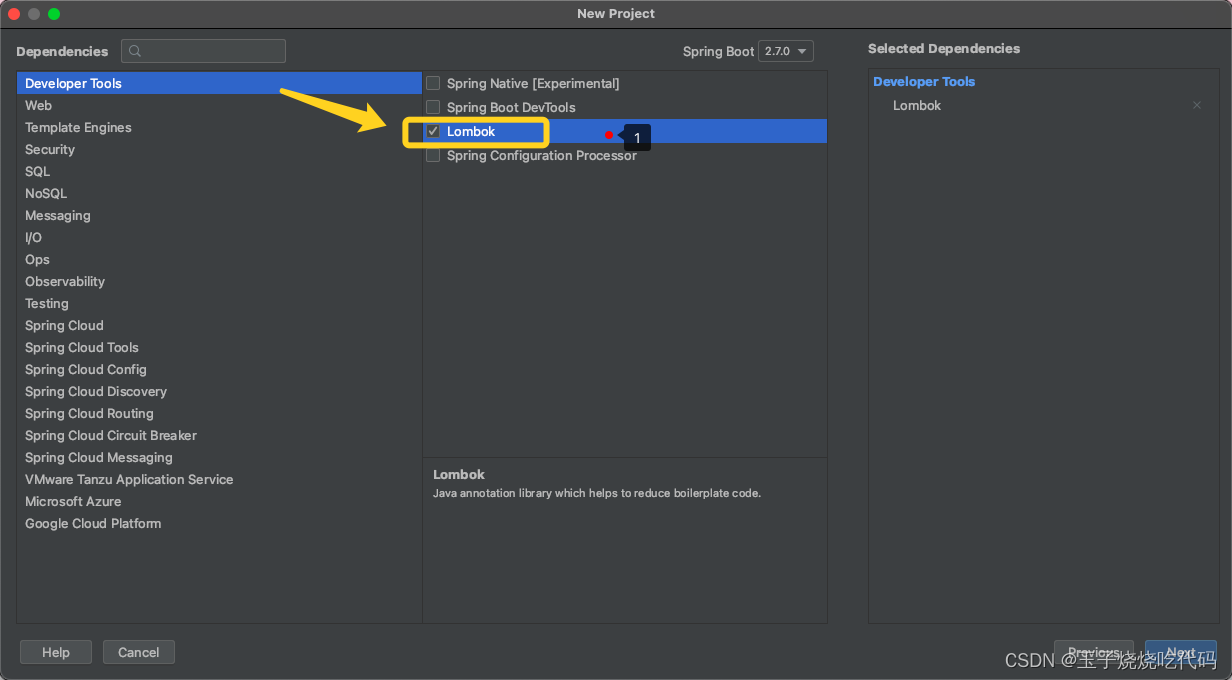
4.【Create springboot project】

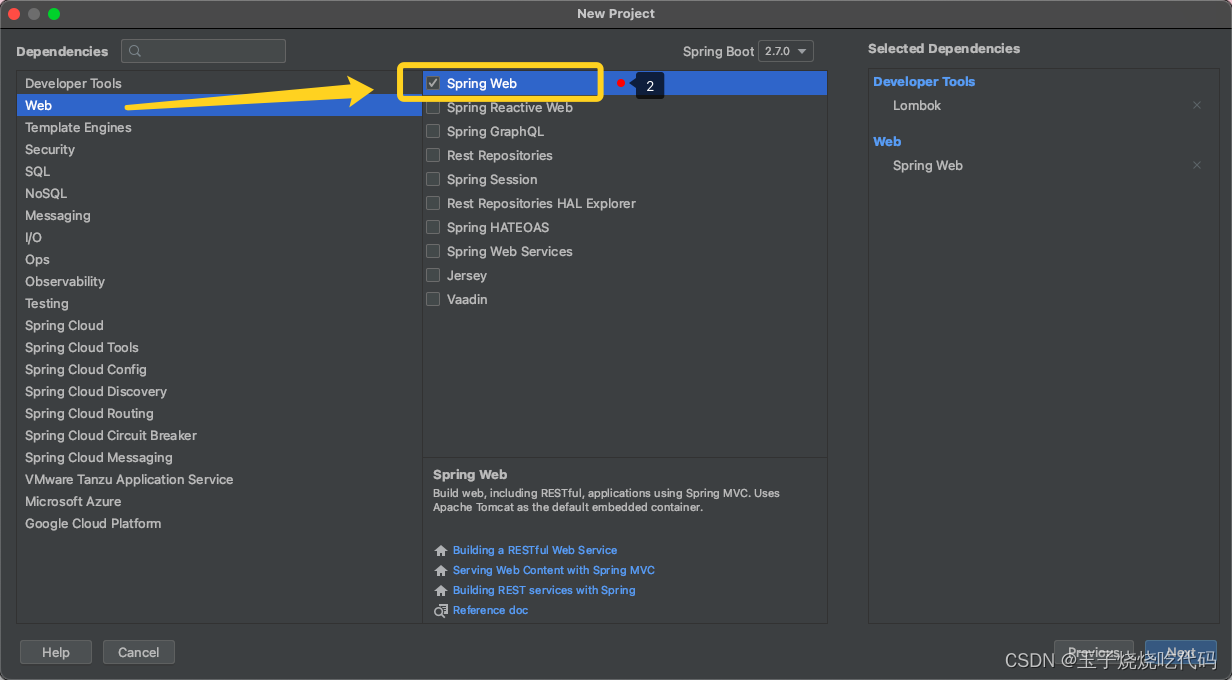
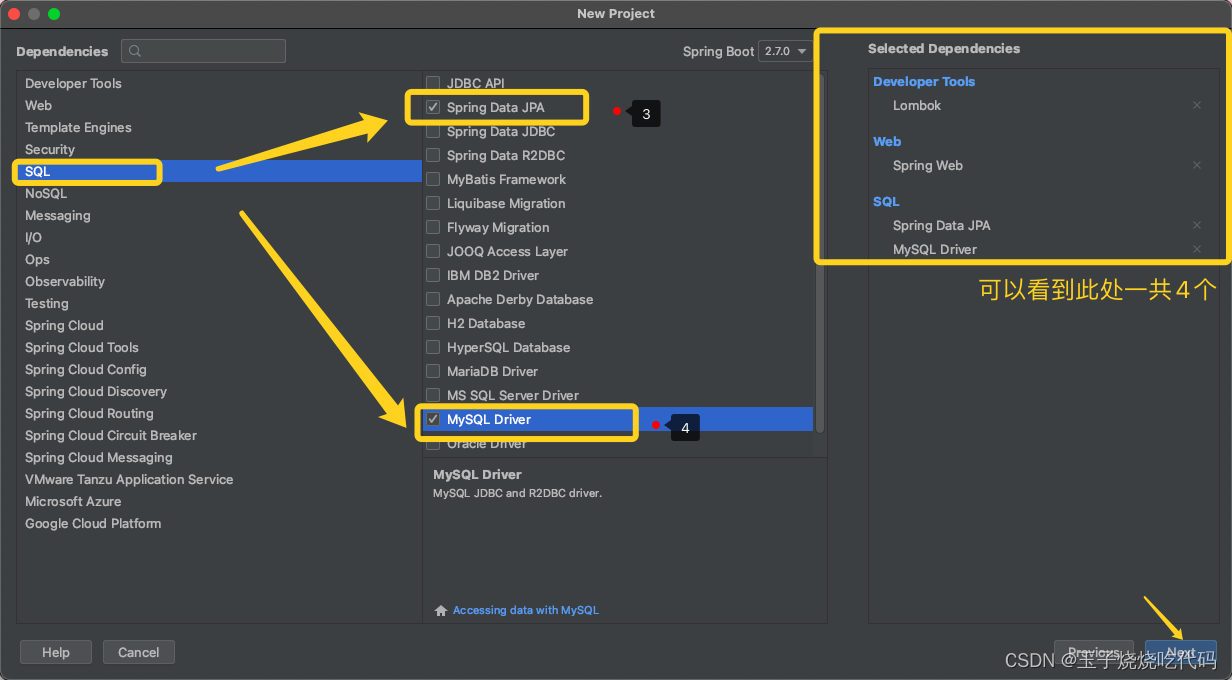 Next step is to finish directly
Find application.properties along this path and delete it.
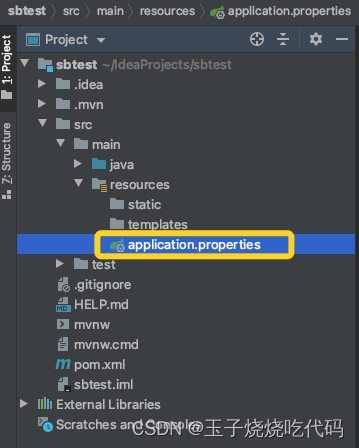
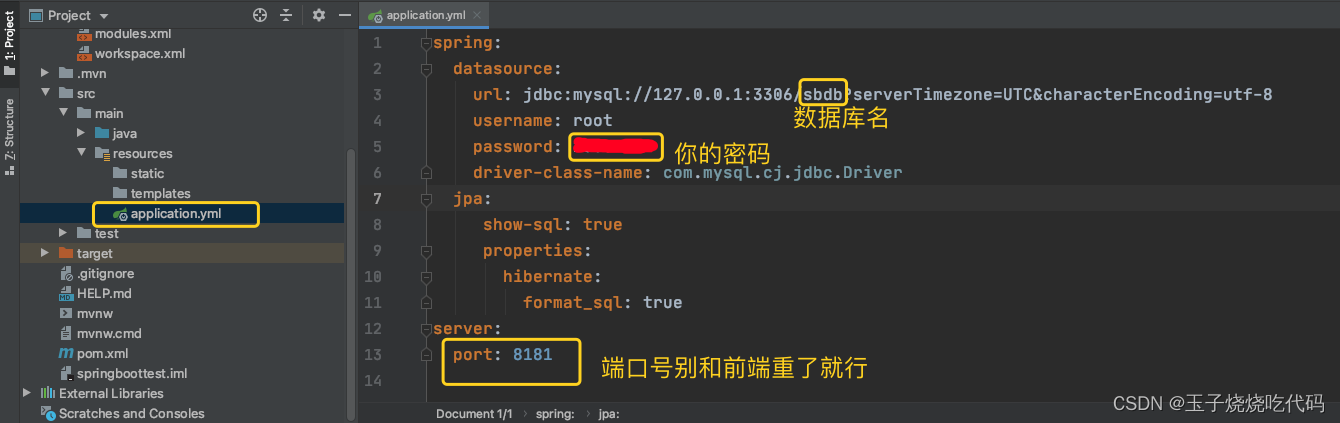
In the same location, create a new file named application.yml , which contains the information to connect to the database. The following code needs to be modified to change the database name and password.
spring:
  datasource:
    url: jdbc:mysql://127.0.0.1:3306/sbdb?serverTimezone=UTC&characterEncoding=utf-8
    username: root
    password: 你的数据库密码
    driver-class-name: com.mysql.cj.jdbc.Driver
  jpa:
     show-sql: true
     properties:
       hibernate:
         format_sql: true
server:
  port: 8181
 Create a new package under src->main->java->com.example.sbtest, named entity, and create a new class in it named Book. Note that this song Book is not arbitrary. Book is mapped to the book table in the database (the first letter of the class name is the corresponding table name)
package com.example.sbtest.entity;
import lombok.Data;
import javax.persistence.Entity;
import javax.persistence.Id;

@Entity
@Data
public class Book {
    @Id
    private Integer id;
    private String name;
    private String author;
}
Create a new package under src->main->java->com.example.sbtest, named repository, and then create an excuse named BookRepository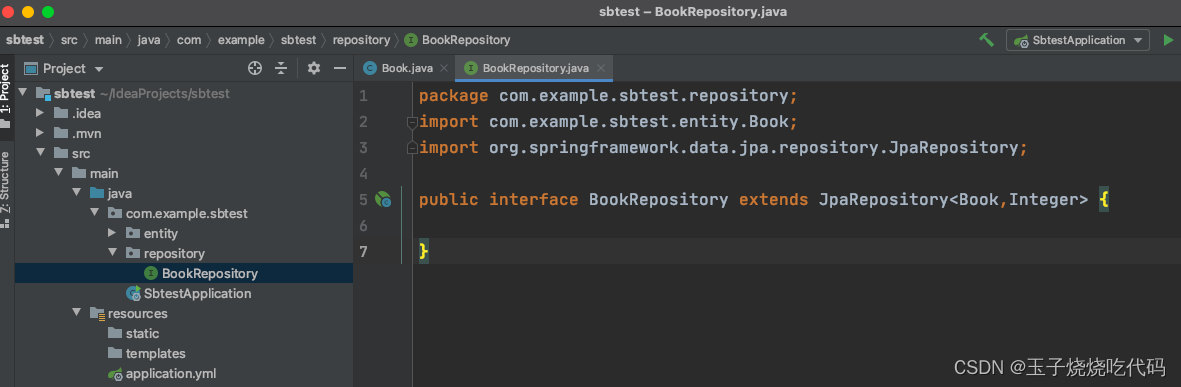
package com.example.sbtest.repository;
import com.example.sbtest.entity.Book;
import org.springframework.data.jpa.repository.JpaRepository;
public interface BookRepository extends JpaRepository<Book,Integer> {
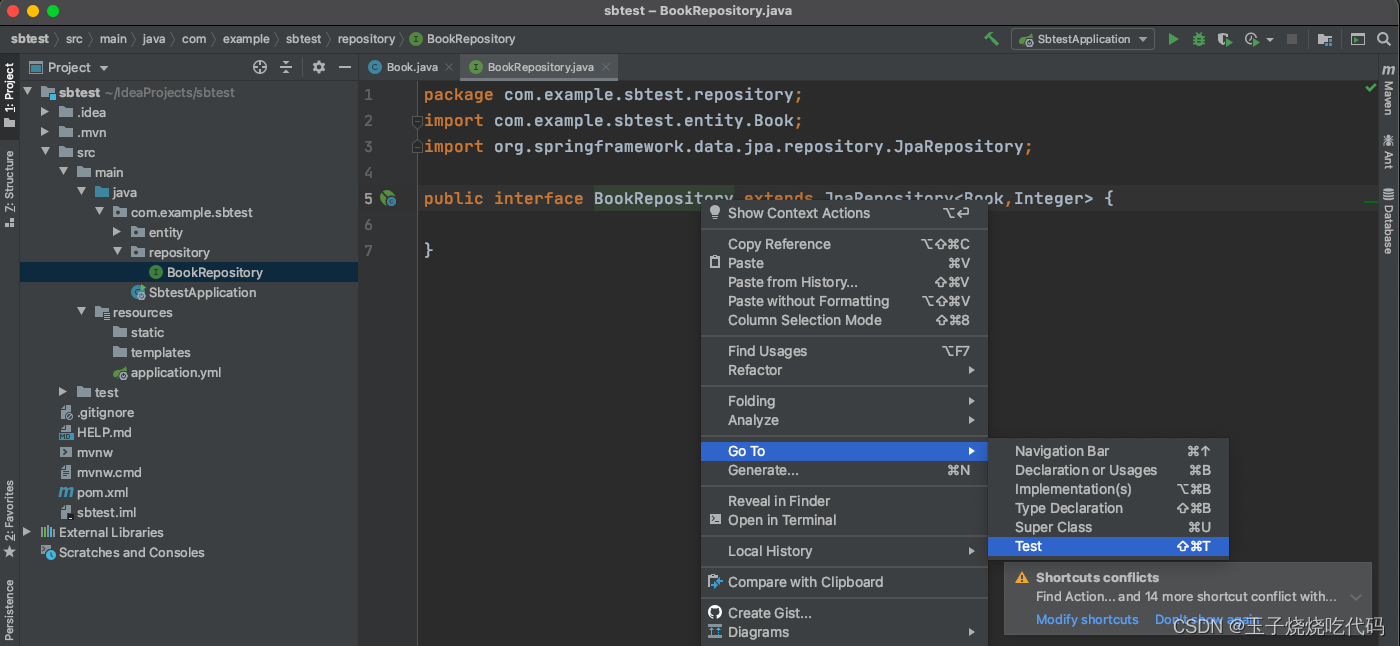
}Conduct unit testing to verify whether the above class can be used successfully
Right-click on the interface, as shown below, and select Test
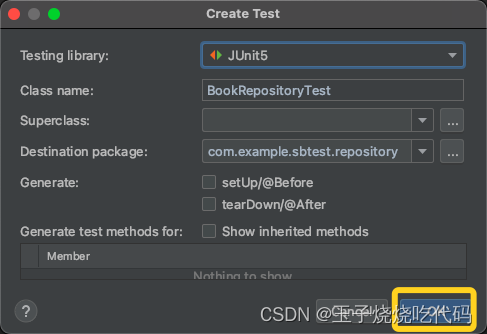
You can find that a test class is automatically generated in the test folder.
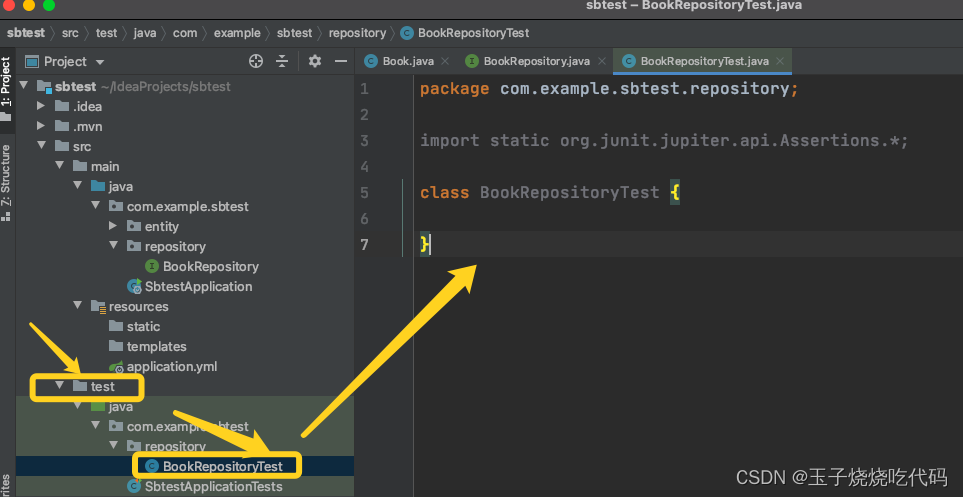
We modify the code and test it:
package com.example.sbtest.repository;

import static org.junit.jupiter.api.Assertions.*;
import org.junit.jupiter.api.Test;
import org.springframework.beans.factory.annotation.Autowired;
import org.springframework.boot.test.context.SpringBootTest;

@SpringBootTest
class BookRepositoryTest {

    @Autowired
    private BookRepository bookRepository;

    @Test
    void findAll(){
        System.out.println(bookRepository.findAll());
    }
}
The first run will take a while. . .
View Results: 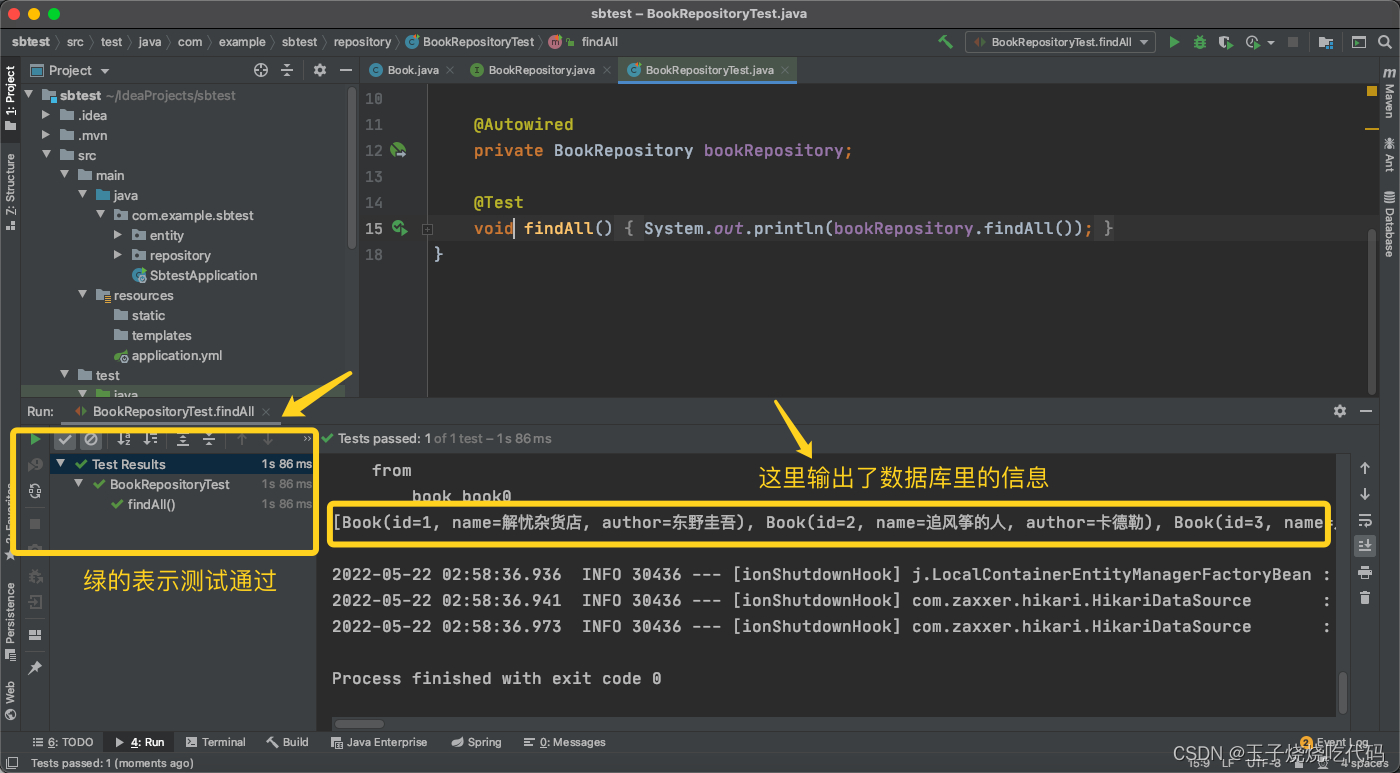
After testing the repository and there are no problems, we can create a controller class so that Vue can call the back-end data!
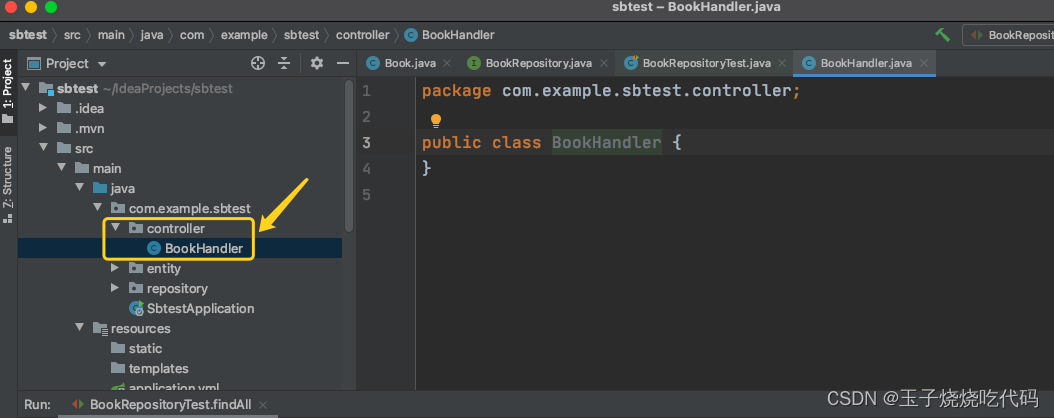
Create a new package under src->main->java->com.example.sbtest, named controller, and then create an interface named BookHandler
package com.example.sbtest.controller;
import com.example.sbtest.entity.Book;
import com.example.sbtest.repository.BookRepository;
import org.springframework.beans.factory.annotation.Autowired;
import org.springframework.web.bind.annotation.GetMapping;
import org.springframework.web.bind.annotation.RequestMapping;
import org.springframework.web.bind.annotation.RestController;
import java.util.List;
@RestController
@RequestMapping("/book")
public class BookHandler {
    @Autowired
    private BookRepository bookRepository;
    @GetMapping("/findAll")
    public List<Book> findAll(){
        return bookRepository.findAll();
    }
}
Create a new package under src->main->java->com.example.sbtest, named config, and then create an interface named CrosConfig. This step is to solve cross-domain problems. It can be simply understood as the front-end port number to access Backend port number:

package com.example.sbtest.config;
import org.springframework.context.annotation.Configuration;
import org.springframework.web.servlet.config.annotation.CorsRegistry;
import org.springframework.web.servlet.config.annotation.WebMvcConfigurer;

@Configuration
public class CrosConfig implements WebMvcConfigurer {
    @Override
    public void addCorsMappings(CorsRegistry registry) {
        /*
        TODO bug:   .allowedOrigins("*")改成 allowedOriginPatterns("*")
         */
        registry.addMapping("/**")
                .allowedOriginPatterns("*")
                .allowedMethods("GET","HEAD","POST","PUT","DELETE","OPTIONS")
                .allowCredentials(true)
                .maxAge(3600)
                .allowedHeaders("*");
    }
}
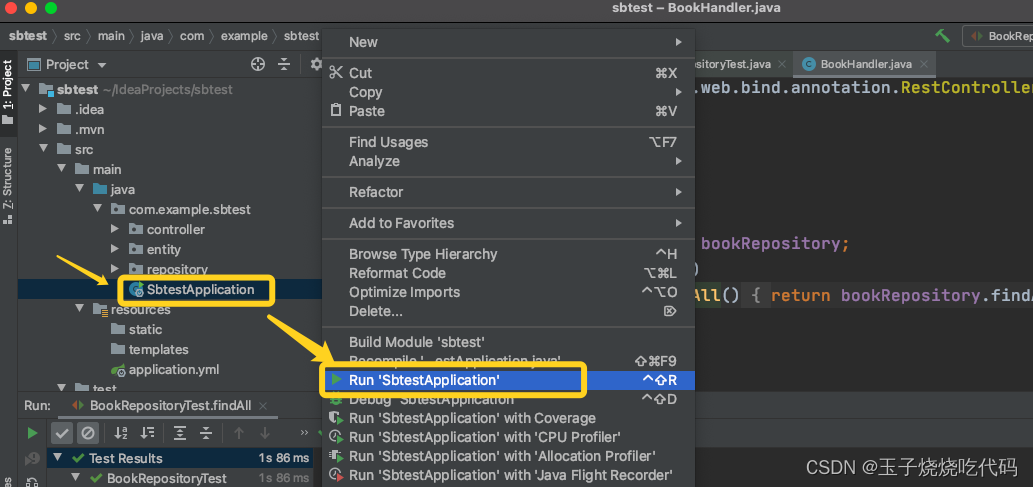
5. Start the springboot project
As shown in the figure, wait for a moment. After the operation is completed, open the browser and enter http://localhost:8181/book/findAll
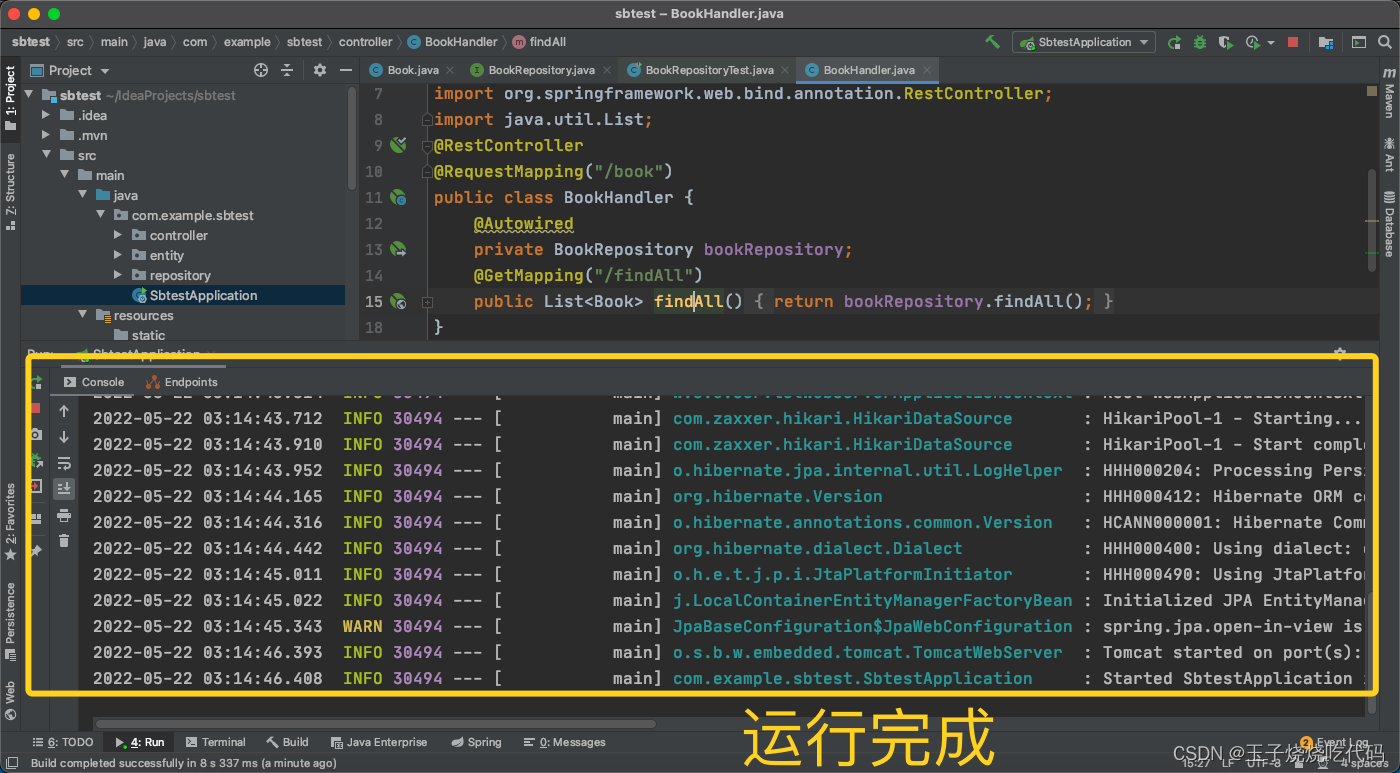

By the way, copy this address, don’t close the project, and then go to the next step!
6.【Return to vue】
Add code to BookView.vue view in view :
Replace the URL in axios.get() in the following code with the address you copied in the previous step. If your settings are the same as mine, you can skip this step.
<template>
    <div>
        <table>
            <tr>
                <td>编号</td>
                <td>图书名称</td>
                <td>作者</td>
            </tr>
            <tr v-for="item in books">
                <td>{

   {item.id}}</td>
                <td>{

   {item.name}}</td>
                <td>{

   {item.author}}</td>
            </tr>
        </table>
    </div>
</template>

<script>

import axios from 'axios'
export default {
    name:"Book",
    data(){
        return {
            books:[]
        }
    },
    created(){
        const _this = this
        axios.get( 'http://localhost:8181/book/findAll').then(function(resp){
            ///console.log(resp.data)
            _this.books = resp.data
        })


    }

}
</script>
<style scoped>

</style>
At this point, the code part is completely completed! Finally, just let the project run in vs code.
http://localhost:8080/book can display the back-end data (note that IDEA also needs to keep the project running).