This article refers to [ Wild Fire EmbedFire] "RT-Thread Kernel Implementation and Application Development Practice - Based on STM32" and is only used as personal study notes. For more detailed content and steps, please view the original text (can be downloaded from the Wildfire Information Download Center)
Table of contents
1. Obtain the STM32 bare metal project template
2. Download RT-Thread Nano source code
4. Add RT-Thread source code to the project
5. Specify RT-Thread header file path
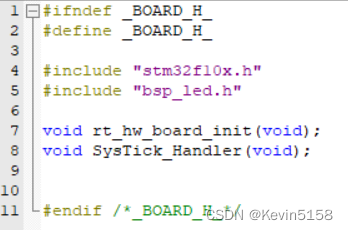
1. Add the "board.h" header file
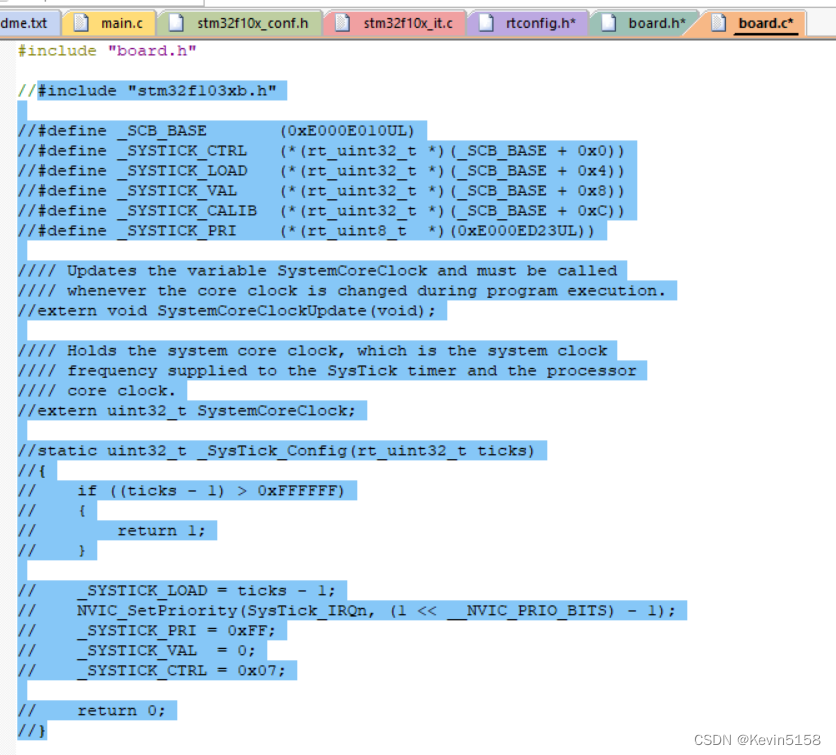
2. Shield the configuration function of the system clock
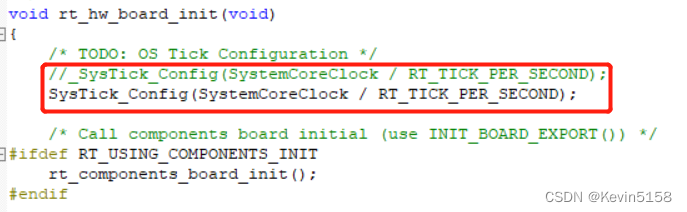
3. Shield the call of the original system clock configuration function, and add the system clock configuration corresponding to this chip later.
1. Obtain the STM32 bare metal project template
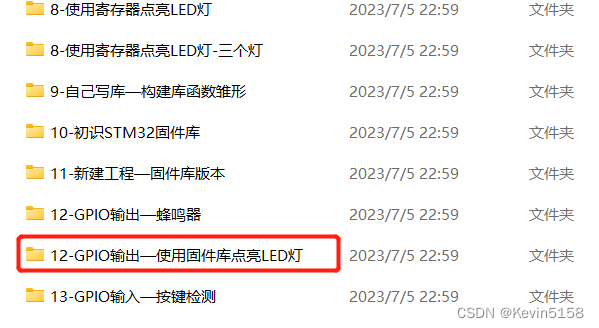
Copy an STM32 bare-metal project template from Wildfire's information. My chip model is STM32F103VET6 (Guide). Use the project of the firmware library to light up the LED light experiment as the project template:
2. Download RT-Thread Nano source code
Link: Arm Keil | RealThread RT-Thread
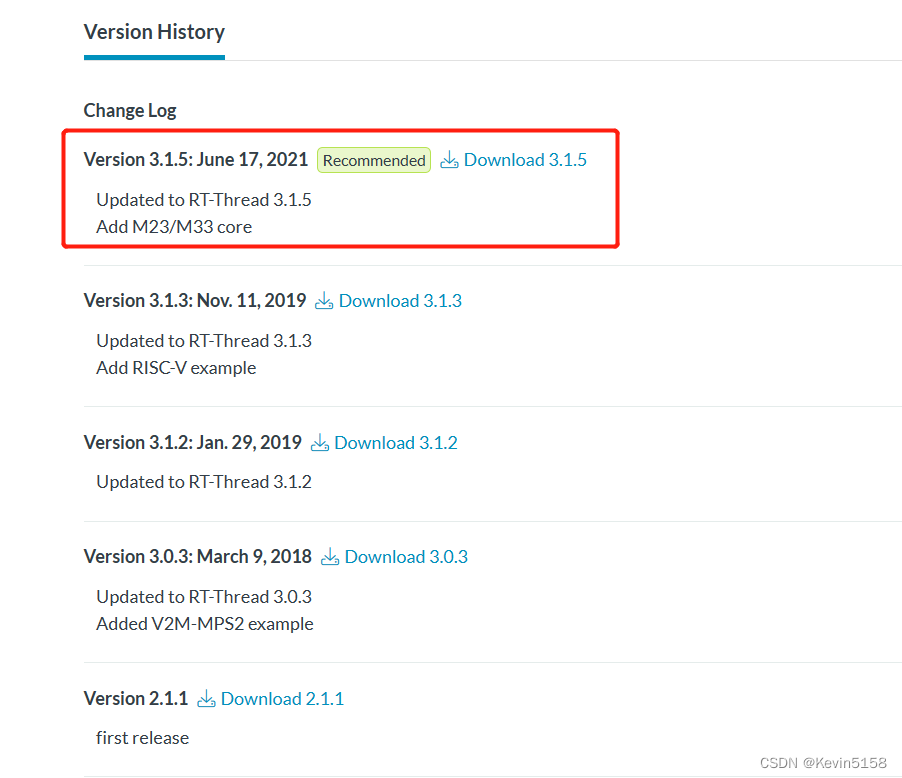
Just download the latest version
3. Install RT-Thread Package

4. Add RT-Thread source code to the project
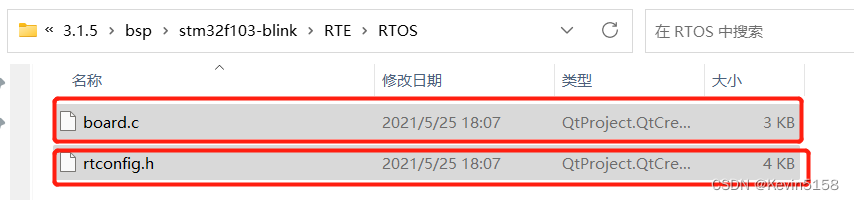
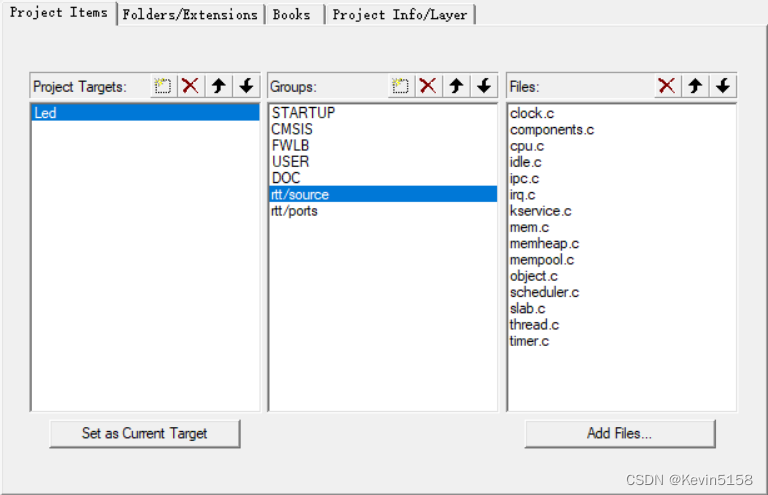
Add board.c and rtconfig.h files to the project

Create new rtt/source and rtt/ports groups
Add the src file under RT-Thread to rtt/source
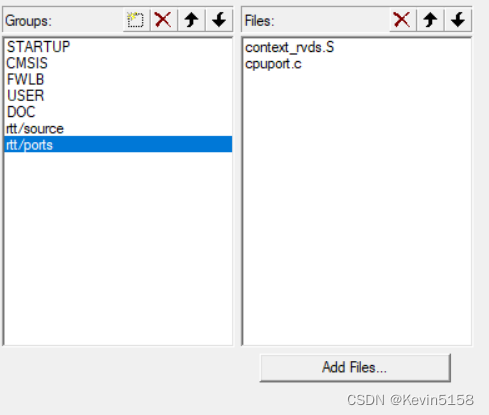
Since my development board model is M3 series, add context_rvds.S and cpuport.c in the RT-Thread->libcpu->ARM->cortex-m3 folder to rtt/ports
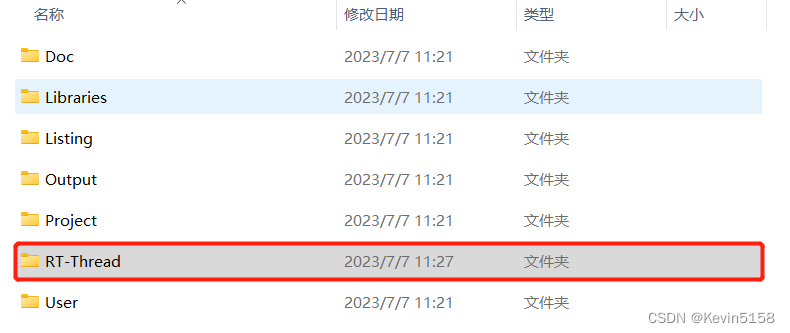
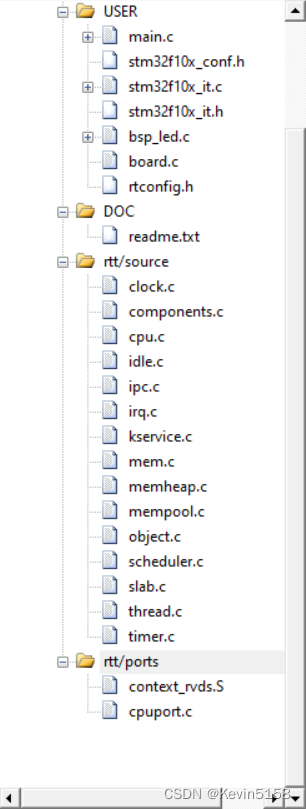
The final result is as shown in the figure. If the file has a small key, cancel read-only and reopen the project.
5. Specify RT-Thread header file path

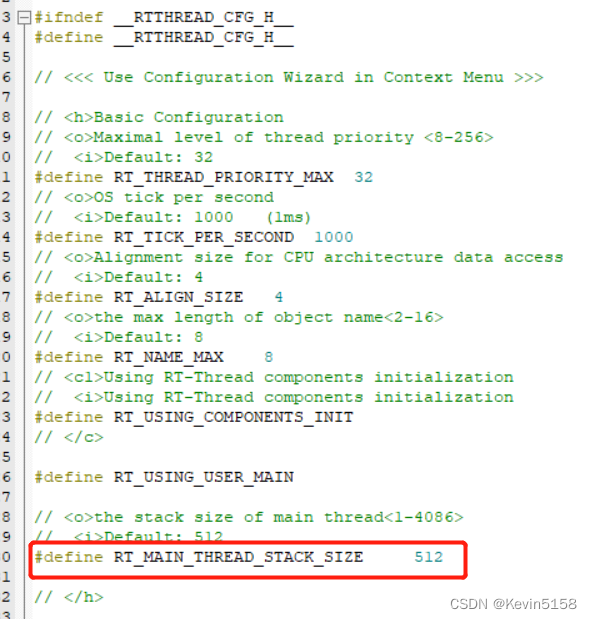
6. Modify rtconfig.h
7. Modify board.c
1. Add the "board.h" header file
2. Shield the configuration function of the system clock
3. Shield the call of the original system clock configuration function, and add the system clock configuration corresponding to this chip later.
8. Compile
After compilation, 3 errors will appear, which are caused by repeated definitions.

The solution is Usr/stm32f10x_it.cto annotate all three functions inside, compile and run, and it will be successful.
