1 Working principle
-
canal simulates the interaction protocol of MySQL slave, disguises itself as MySQL slave, and sends the dump protocol to MySQL master.
-
MySQL master receives the dump request and starts pushing binary log to slave (ie canal)
-
canal parses the binary log object (originally a byte stream)
Advantages : Can be completely decoupled from business code, incremental log subscription.
Disadvantages : The real-time performance is not high. Subscribe to the mysql log. After the data transaction in the DB is successful, synchronization to canal begins.
2 canal realizes data synchronization between MySQL and Elasticsearch7
The following introduces the use of canal and canal adapter to achieve data synchronization between MySQL and ES7
2.1 Mysql configuration modification
In MySQL, you need to create a user and authorize:
-- 使用命令登录:mysql -u root -p
-- 创建用户 用户名:canal
create user 'canal'@'%' identified by 'canal';
-- 授权 .表示所有库
grant SELECT, REPLICATION SLAVE, REPLICATION CLIENT on . to 'canal'@'%' identified by 'canal';
The next step is to set the following information in the MySQL configuration file my.cnf:
[mysqld]
# 开启binlog
log-bin=mysql-bin
# 选择ROW(行)模式
binlog-format=ROW
# 配置MySQL replaction需要定义,不要和canal的slaveId重复
server_id=1
After changing the configuration file, restart MySQL
2.2 Download Canal
Download the latest cana1.1.5 and unzip it. Only 1.1.5 supports Elasticsearch7
download address:
canal.adapter-1.1.5-SNAPSHOT.tar.gz (adapter)
canal.deployer-1.1.5-SNAPSHOT.tar.gz (server) )

canal.adapter is the adapter, canal.deployer is the server
2.3 Start the Canal server
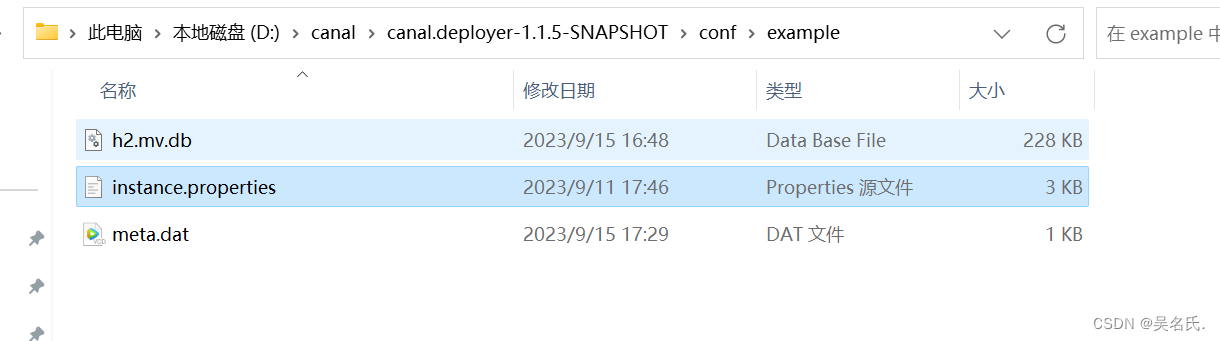
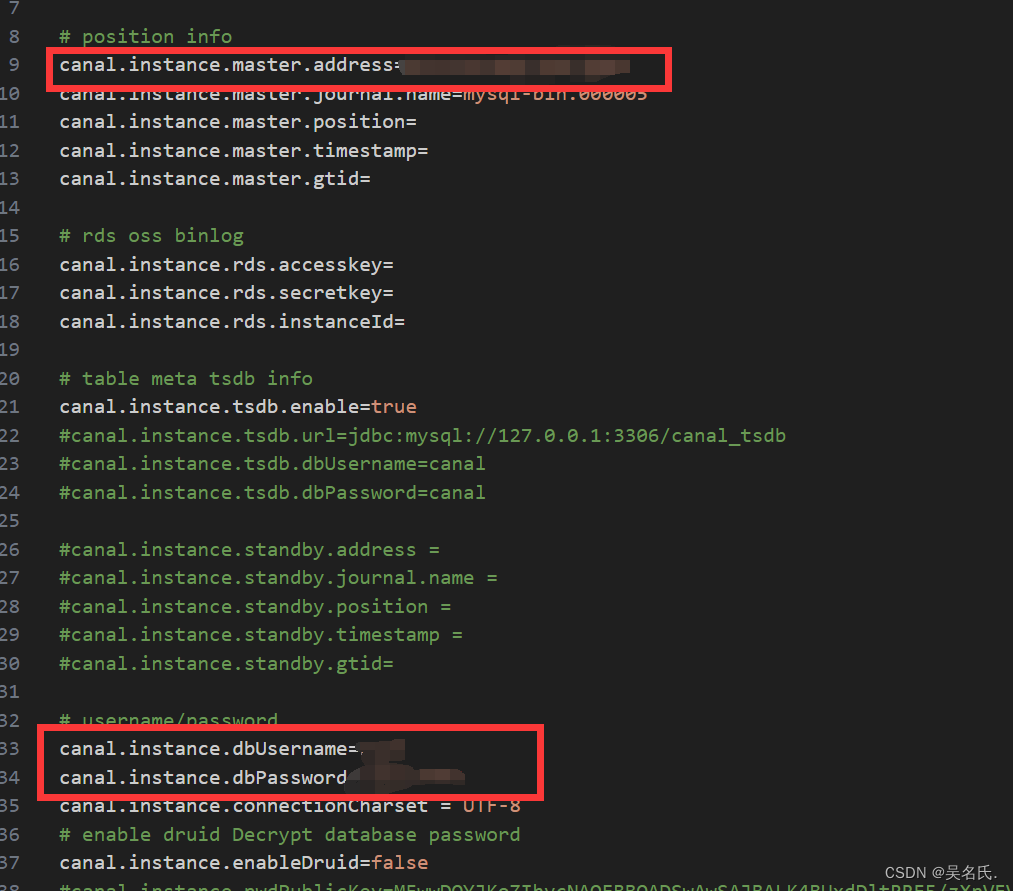
2.3.1 Modify database configuration
Enter the conf/example directory and modify instance.properties to the database configuration
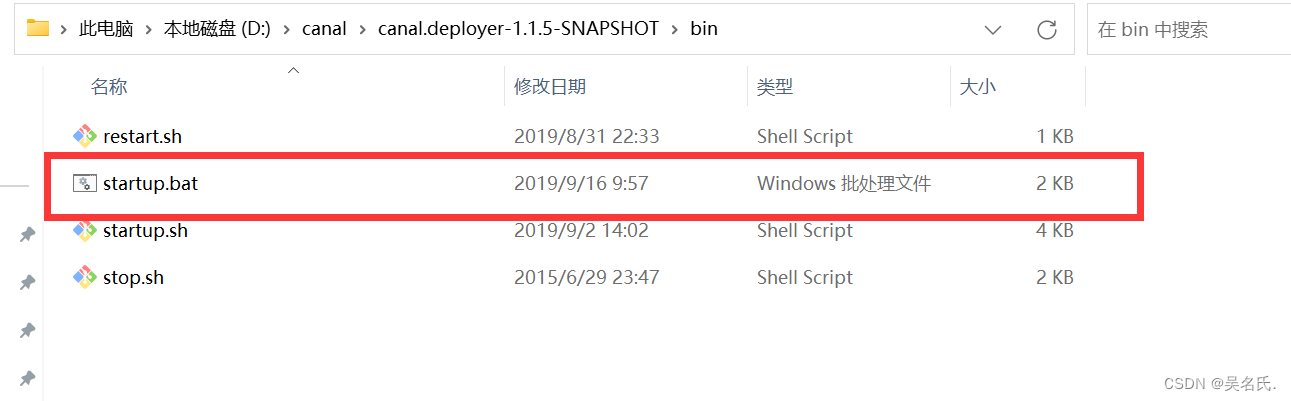
2.3.2 Start the server
Enter the bin directory and double-click starup.bat to start. The following interface appears, indicating that the startup is successful.
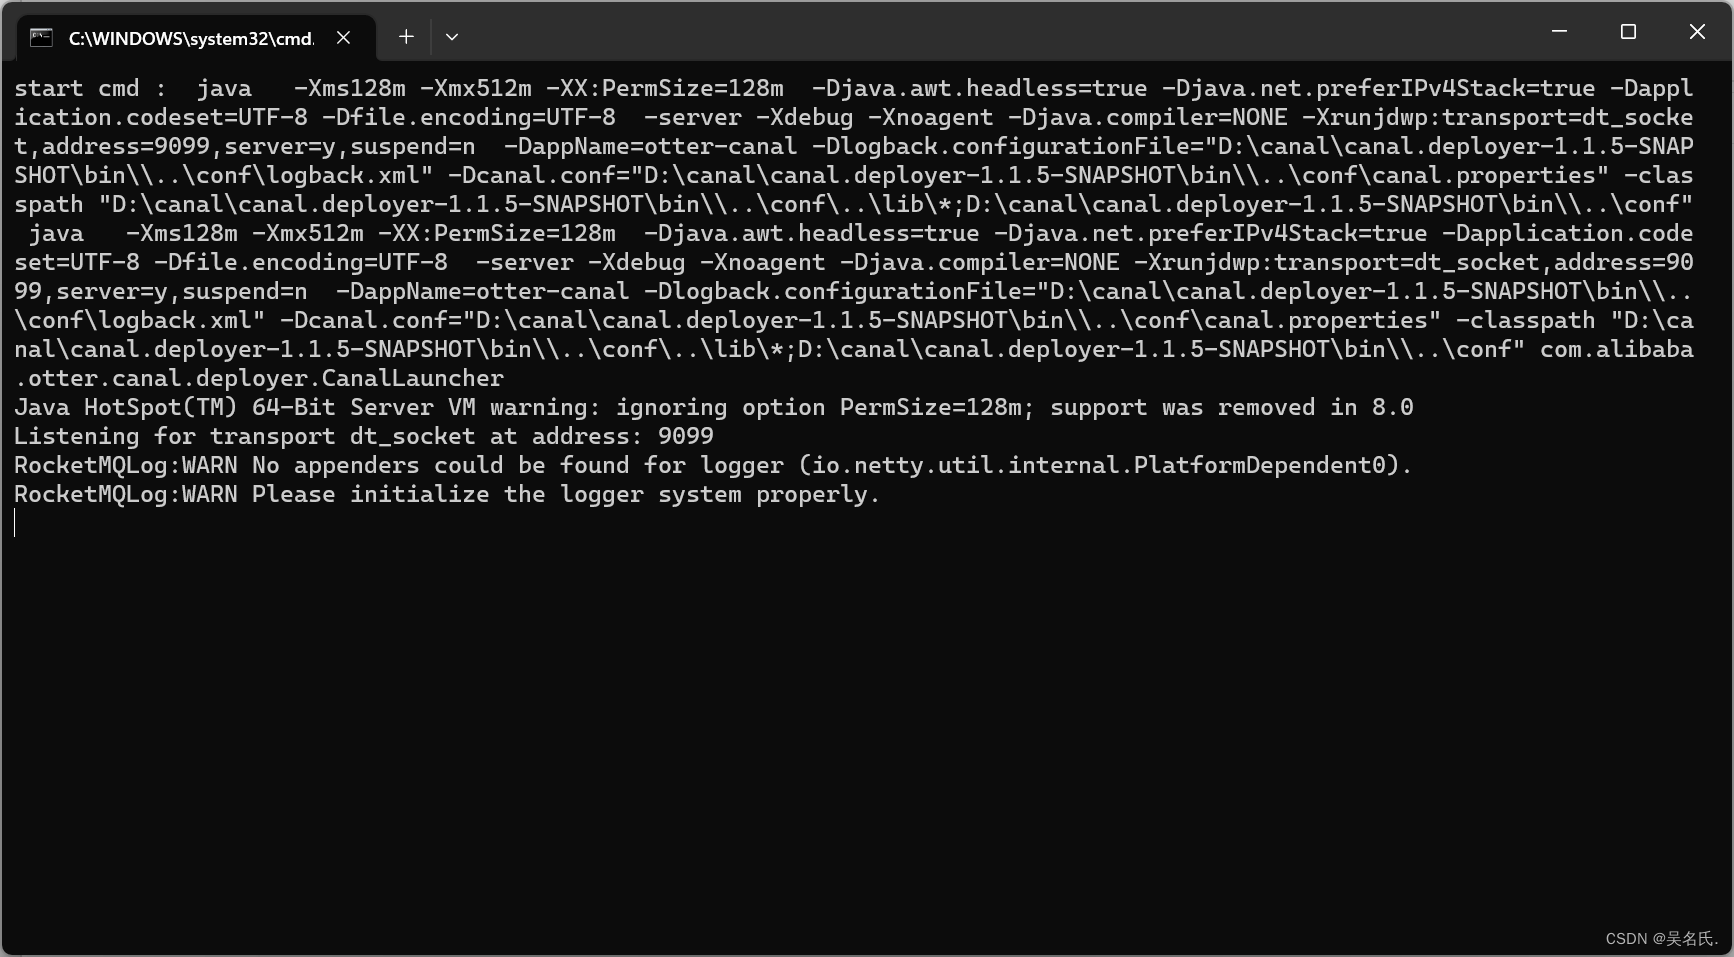
The server is started successfully. Next, enter the client test.
2.4 Start Canal client
2.4.1 Modify configuration
Enter the adapter directory and modify the application.yml

yml content:
server:
  port: 8081
spring:
  jackson:
    date-format: yyyy-MM-dd HH:mm:ss
    time-zone: GMT+8
    default-property-inclusion: non_null

canal.conf:
  mode: rocketMQ #tcp kafka rocketMQ rabbitMQ
  flatMessage: true
  zookeeperHosts:
  syncBatchSize: 1000
  retries: 0
  timeout:
  accessKey:
  secretKey:
  consumerProperties:
    # canal tcp consumer
    canal.tcp.server.host: 127.0.0.1:11111
    canal.tcp.zookeeper.hosts:
    canal.tcp.batch.size: 500
    canal.tcp.username:
    canal.tcp.password:
    # kafka consumer
    kafka.bootstrap.servers: 127.0.0.1:9092
    kafka.enable.auto.commit: false
    kafka.auto.commit.interval.ms: 1000
    kafka.auto.offset.reset: latest
    kafka.request.timeout.ms: 40000
    kafka.session.timeout.ms: 30000
    kafka.isolation.level: read_committed
    kafka.max.poll.records: 1000
    # rocketMQ consumer
    rocketmq.namespace:
    rocketmq.namesrv.addr: 127.0.0.1:9876
    rocketmq.batch.size: 1000
    rocketmq.enable.message.trace: false
    rocketmq.customized.trace.topic:
    rocketmq.access.channel:
    rocketmq.subscribe.filter:
    # rabbitMQ consumer
    rabbitmq.host:
    rabbitmq.virtual.host:
    rabbitmq.username:
    rabbitmq.password:
    rabbitmq.resource.ownerId:

#  srcDataSources:
#    defaultDS:
#      url: jdbc:mysql://127.0.0.1:3306/mytest?useUnicode=true
#      username: root
#      password: 121212
  canalAdapters:
  - instance: example # canal instance Name or mq topic name
    groups:
    - groupId: g1
      outerAdapters:
      - name: logger
#      - name: rdb
#        key: mysql1
#        properties:
#          jdbc.driverClassName: com.mysql.jdbc.Driver
#          jdbc.url: jdbc:mysql://127.0.0.1:3306/mytest2?useUnicode=true
#          jdbc.username: root
#          jdbc.password: 121212
#      - name: rdb
#        key: oracle1
#        properties:
#          jdbc.driverClassName: oracle.jdbc.OracleDriver
#          jdbc.url: jdbc:oracle:thin:@localhost:49161:XE
#          jdbc.username: mytest
#          jdbc.password: m121212
#      - name: rdb
#        key: postgres1
#        properties:
#          jdbc.driverClassName: org.postgresql.Driver
#          jdbc.url: jdbc:postgresql://localhost:5432/postgres
#          jdbc.username: postgres
#          jdbc.password: 121212
#          threads: 1
#          commitSize: 3000
#      - name: hbase
#        properties:
#          hbase.zookeeper.quorum: 127.0.0.1
#          hbase.zookeeper.property.clientPort: 2181
#          zookeeper.znode.parent: /hbase
#      - name: es
#        hosts: 127.0.0.1:9300 # 127.0.0.1:9200 for rest mode
#        properties:
#          mode: transport # or rest
#          # security.auth: test:123456 #  only used for rest mode
#          cluster.name: elasticsearch
#        - name: kudu
#          key: kudu
#          properties:
#            kudu.master.address: 127.0.0.1 # ',' split multi address
2.4.2 Create an index and synchronize sql data to Elasticsearch
Call http://127.0.0.1:9200/product (PUT request) to create an index, product is the index name
{


  "mappings" : {


    "properties" : {


      "attrs" : {


        "type" : "nested",
        "properties" : {


          "attrId" : {


            "type" : "long"
          },
          "attrName" : {


            "type" : "keyword"
          },
          "attrValueId" : {


            "type" : "long"
          },
          "attrValueName" : {


            "type" : "keyword"
          }
        }
      },
      "tags" : {


        "type" : "nested",
        "properties" : {


          "tagId" : {


            "type" : "long"
          },
          "seq" : {


            "type" : "integer"
          }
        }
      },
      "brandId" : {


        "type" : "long"
      },
      "brandImg" : {


        "type" : "keyword"
      },
      "brandName" : {


        "type" : "keyword"
      },
      "code" : {


        "type" : "text",
        "fields" : {


          "keyword" : {


            "type" : "keyword",
            "ignore_above" : 256
          }
        }
      },
      "commentNum" : {


        "type" : "integer"
      },
      "createTime" : {


        "type" : "date"
      },
      "hasStock" : {


        "type" : "boolean"
      },
      "imgUrls" : {


        "type" : "keyword",
        "index" : false,
        "doc_values" : false
      },
      "mainImgUrl" : {


        "type" : "text",
        "fields" : {


          "keyword" : {


            "type" : "keyword",
            "ignore_above" : 256
          }
        }
      },
      "marketPriceFee" : {


        "type" : "long"
      },
      "priceFee" : {


        "type" : "long"
      },
      "saleNum" : {


        "type" : "integer"
      },
      "sellingPoint" : {


        "type" : "text",
        "analyzer" : "ik_max_word",
        "search_analyzer" : "ik_smart"
      },
      "shopId" : {


        "type" : "long"
      },
      "shopImg" : {


        "type" : "keyword",
        "index" : false,
        "doc_values" : false
      },
      "shopName" : {


        "type" : "text",
        "analyzer" : "ik_max_word",
        "search_analyzer" : "ik_smart"
      },
      "shopType" : {


        "type" : "integer"
      },
      "shopPrimaryCategoryId" : {


        "type" : "long"
      },
      "shopPrimaryCategoryName" : {


        "type" : "keyword"
      },
      "shopSecondaryCategoryId" : {


        "type" : "long"
      },
      "shopSecondaryCategoryName" : {


        "type" : "keyword"
      },
      "primaryCategoryId" : {


        "type" : "long"
      },
      "primaryCategoryName" : {


        "type" : "keyword"
      },
      "secondaryCategoryId" : {


        "type" : "long"
      },
      "secondaryCategoryName" : {


        "type" : "keyword"
      },
      "categoryId" : {


        "type" : "long"
      },
      "categoryName" : {


        "type" : "keyword"
      },
      "spuId" : {


        "type" : "long"
      },
      "spuName" : {


        "type" : "text",
        "analyzer" : "ik_max_word",
        "search_analyzer" : "ik_smart"
      },
      "spuStatus" : {


        "type" : "integer"
      },
      "success" : {


        "type" : "boolean"
      }
    }
  }
}

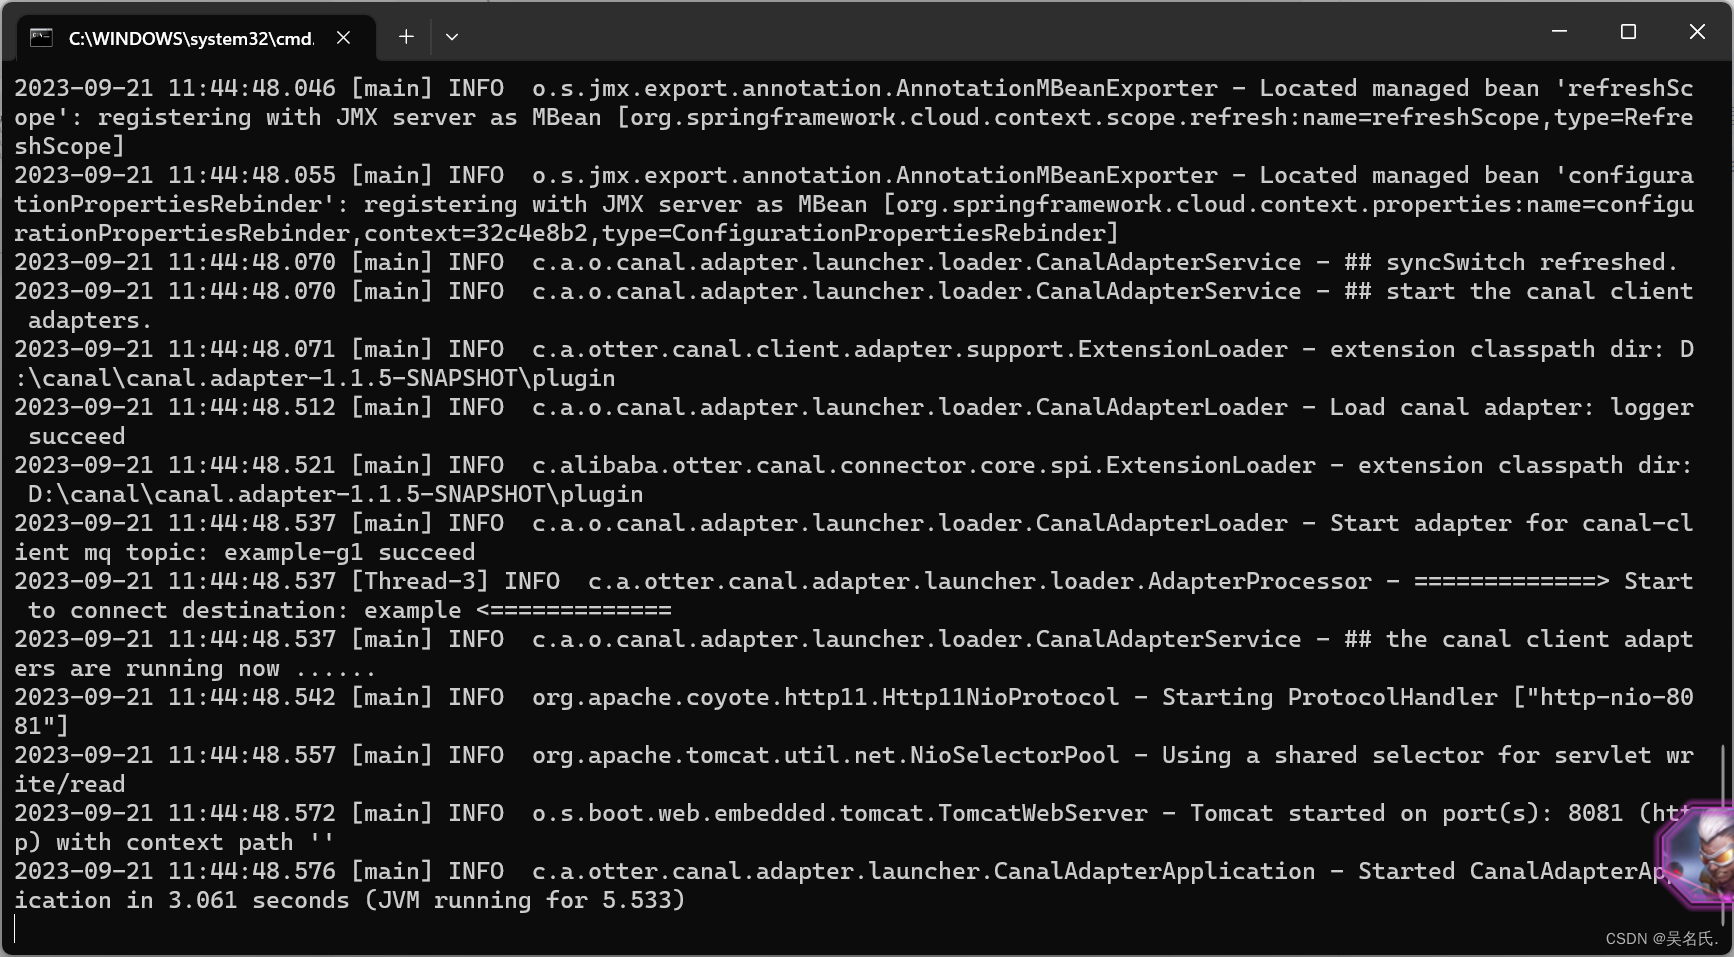
2.4.3 Start the client
Enter \canal.adapter-1.1.5-SNAPSHOT\bin and double-click startup.bat. The following interface will appear, indicating that the startup is successful.
3 things to note
3.1 Using queues
The client configuration in 2.4.1 requires configuring the queue. I use rocketmq. You can choose the queue according to your needs. Depending on the selected queue, you need to change the configuration.
3.2 Startup sequence
You need to start Mysql and Elasticsearch first, then start the Canal server, and finally start the client.
4 Verification
When you add a product in the operation interface, Elasticsearch will also synchronize this data at this time. The details will not be expanded.