There are actually many tutorials on how to install brew on the Internet, but they vary greatly. Today I will share with you an installation tutorial for beginners.
1. Check whether brew is installed on your computer

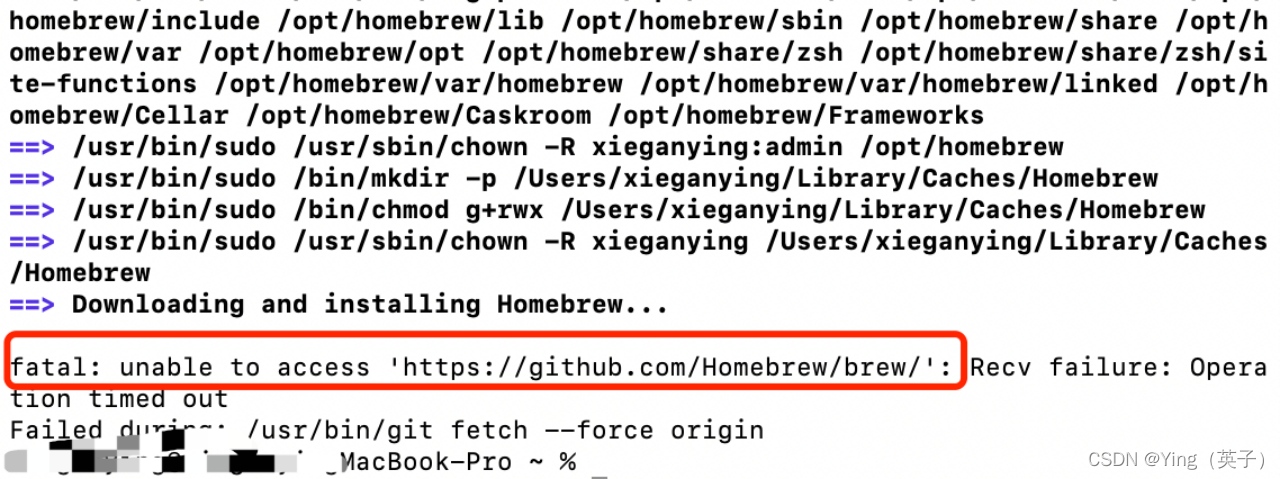
2. Installation through the official website command found that it does not work.
Brew official website: https://brew.sh/
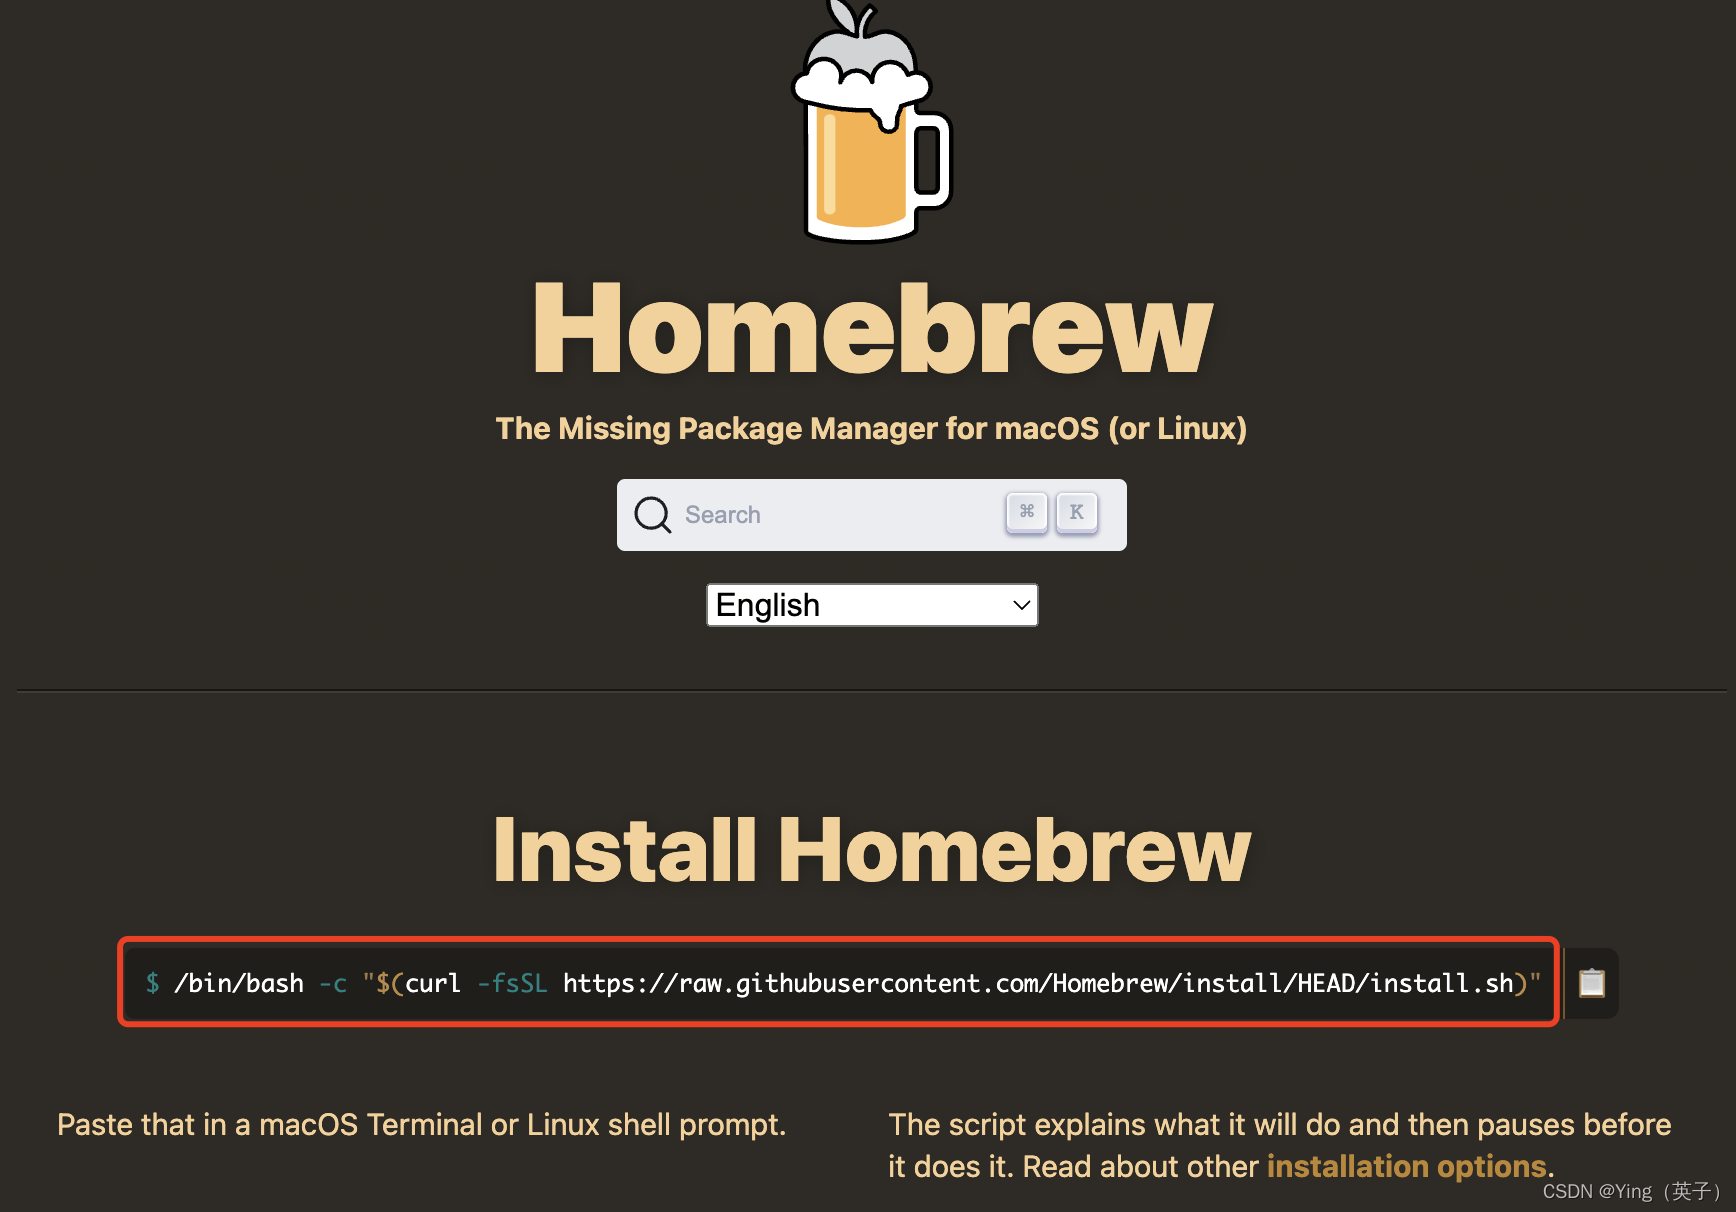
Directly execute the official website installation command:
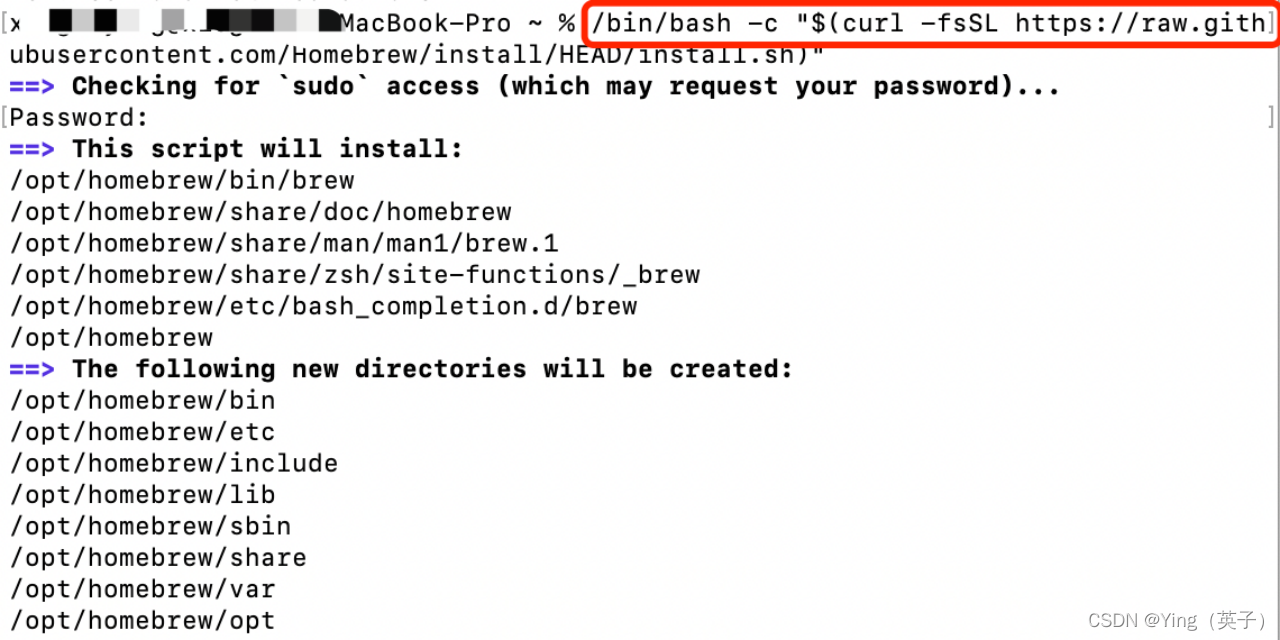
After running, it is found that the installation failed:
3. Successfully install brew through the installation package.
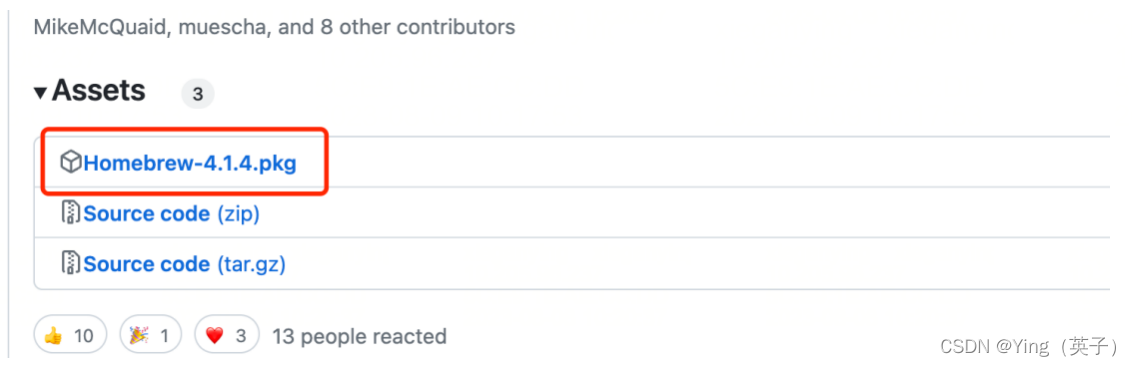
1) Open the github page and download the corresponding mac system installation package
Download address: https://github.com/Homebrew/brew/releases/tag/4.1.4
Download completed: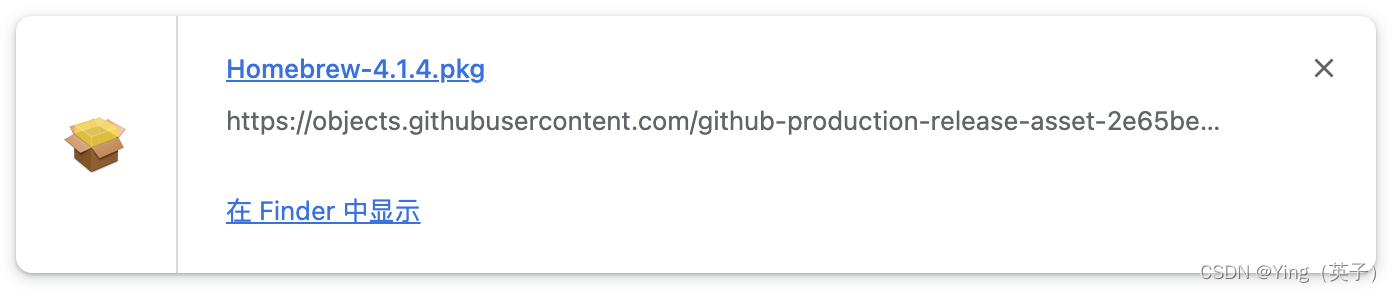
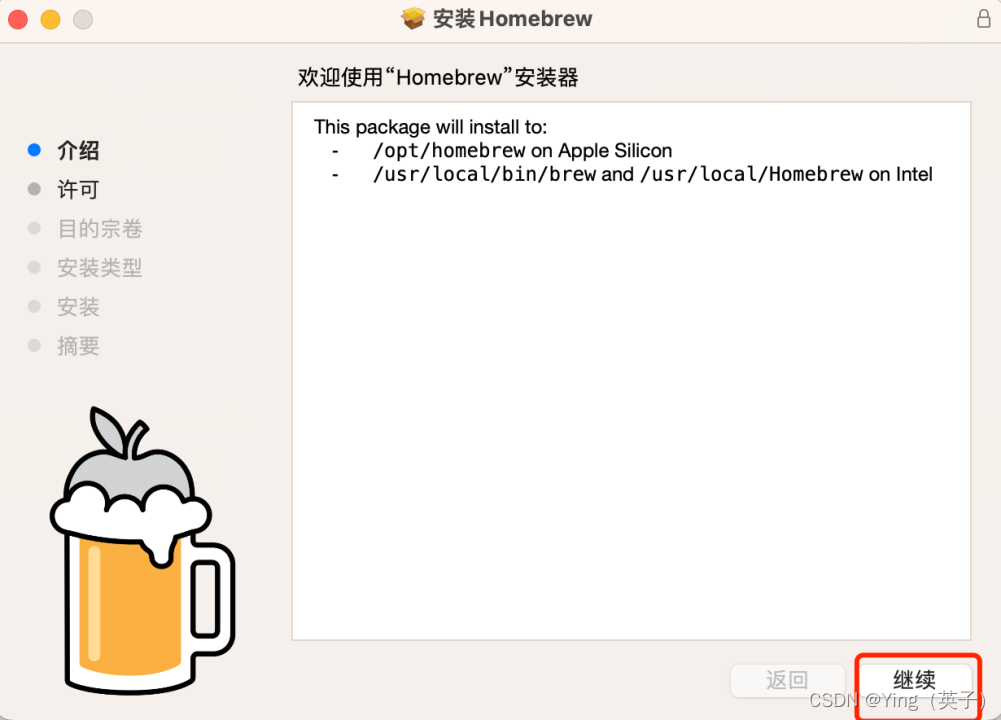
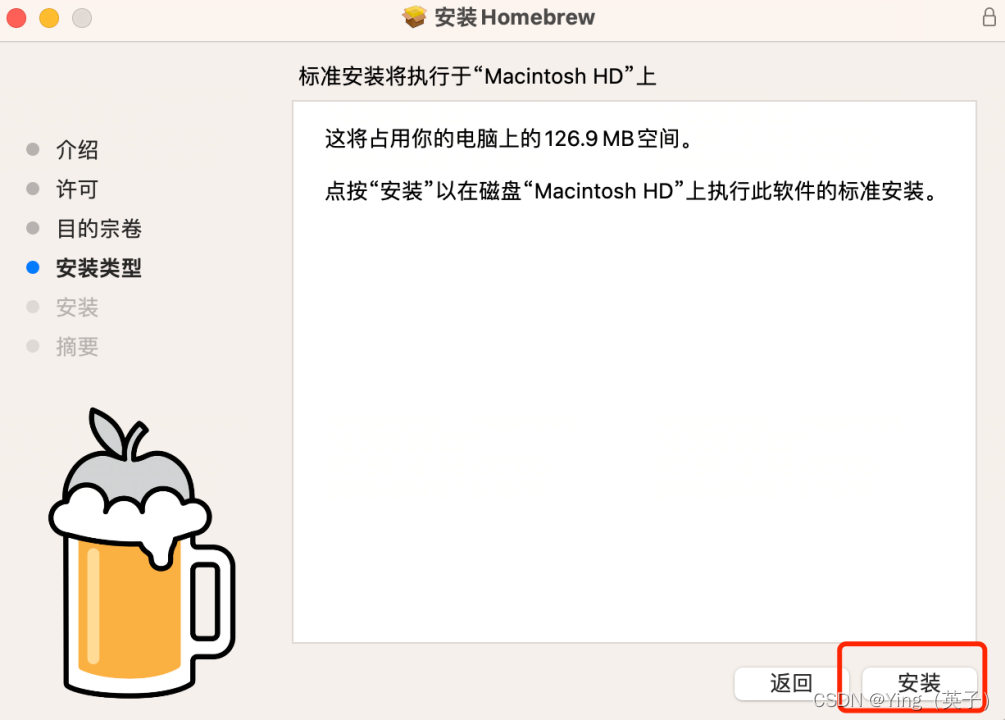
2) Perform the installation steps
Double-click to run the downloaded installation package, click Continue to agree to the installation agreement, and then continue or next step. The

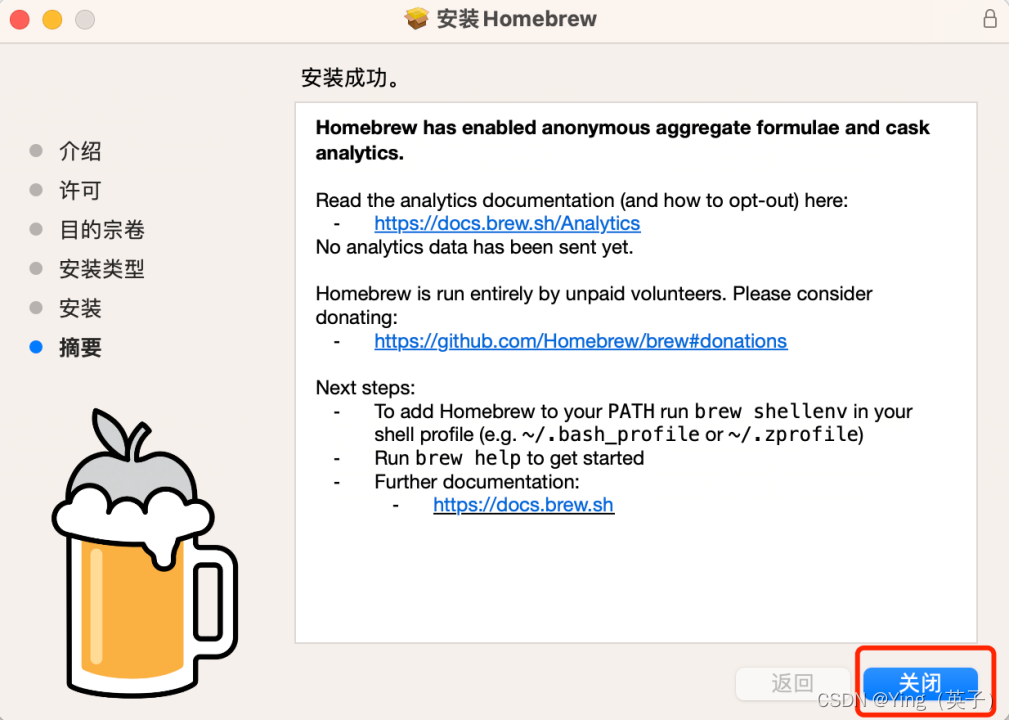
installation is complete, the following page is displayed, just close it.
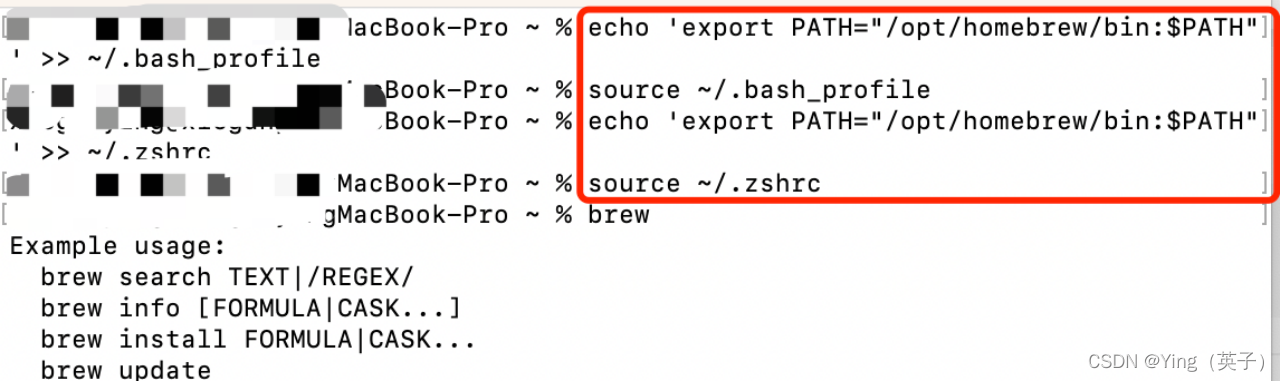
3) Configure environment variables
Execute the following 4 commands in the terminal in sequence:
echo 'export PATH="/opt/homebrew/bin:$PATH"' >> ~/.bash_profile

source ~/.bash_profile

echo 'export PATH="/opt/homebrew/bin:$PATH"' >> ~/.zshrc

source ~/.zshrc
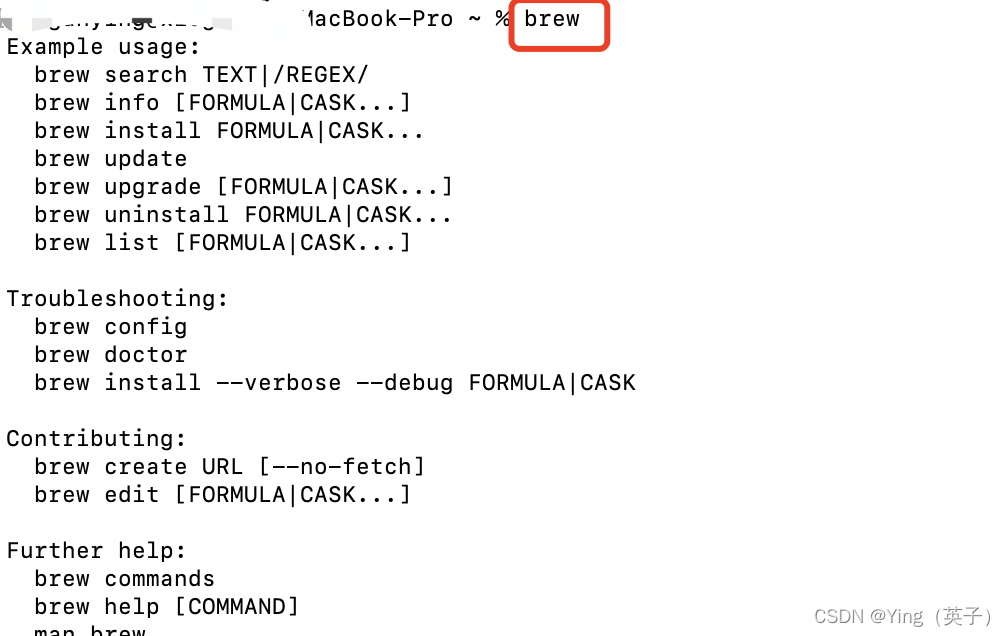
4) Installation completed
Execute the brew command and find relevant information, indicating that it has been successfully installed.
4. Other installation methods (command installation)
Execute the following command and then mirror the selection input: 1
/bin/zsh -c "$(curl -fsSL https://gitee.com/cunkai/HomebrewCN/raw/master/Homebrew.sh)"
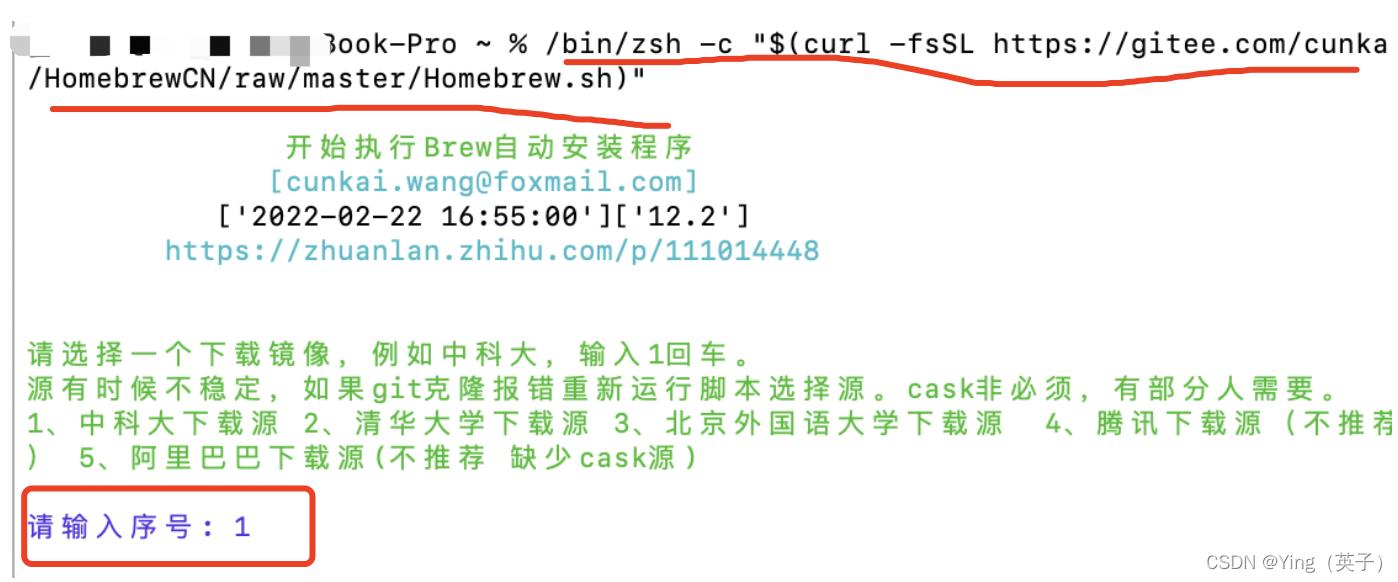
Then enter your password and wait for the installation to complete.
5. Summary
There are generally two ways to install brew: installation package or command line.
Installing through the installation package requires configuring environment variables. Generally, it is more convenient to use the command line, but the command line may cause the installation to fail due to mirroring problems. Both methods have their own advantages and disadvantages.