yolov8 opencv model deployment (python version)
Use opencv to infer the yolov8 model, taking yolov8n as an example. There are dozens of lines of code in total, no nonsense, and comments are given. From today on, you will write less lines of code and lose one less hair. If necessary, see the end of the article for test data.
1. Install yolov8
conda create -n yolov8 python=3.9 -y
conda activate yolov8
pip install ultralytics -i https://pypi.tuna.tsinghua.edu.cn/simple
2. Export onnx
When exporting the onnx format model, please note that if you trained the model yourself, you only need to modify yolov8n.pt in the following code to your own model, such as best.pt. If it is the default model in the code below and you have not downloaded it locally, the system will automatically download it. I provide a download link at the end of the article.
Create and copy the following code to the yolov8 root directory.
Specific code my_export.py:
from ultralytics import YOLO
# Load a model
model = YOLO('yolov8n.pt')  # load an official model
# Export the model
model.export(format='onnx', opset=12)
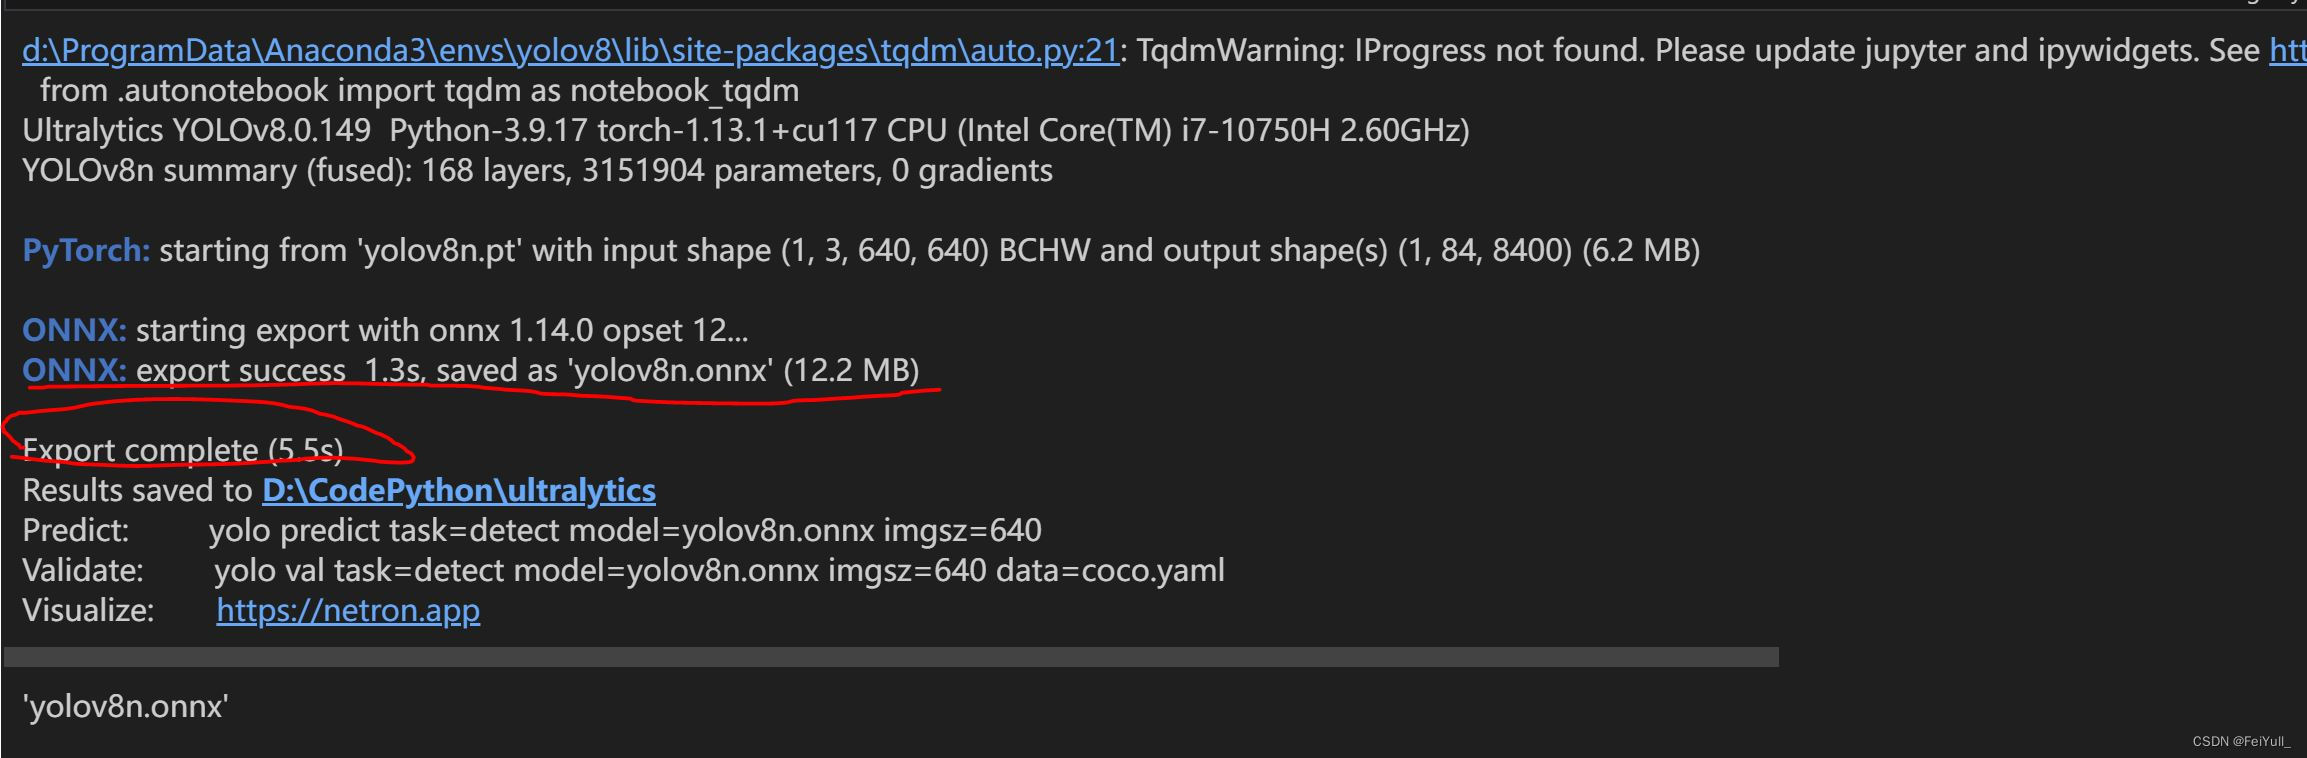
Execute the export command:
python my_export.py
The output information as shown below indicates that the model in onnx format was successfully exported and saved in the same directory as my_export.py.
3. Reasoning onnx based on opencv
In Chapter 1, when ultralytics is installed, opencv-python4.8.0.74 is installed by default, so you can directly use this python environment during inference. Create and copy the following code to the yolov8 root directory.
Specific code infer_opencv.py
import argparse
import cv2.dnn
import numpy as np

'''
注意:如果你推理自己的模型,以下类别需要改成你自己的具体类别
'''
# coco80个类别
CLASSES = {

    0: 'person', 1: 'bicycle', 2: 'car', 3: 'motorcycle', 4: 'airplane', 5: 'bus', 6: 'train', 7: 'truck', 8: 'boat', 9: 'traffic light', 10: 'fire hydrant', 11: 'stop sign', 12: 'parking meter', 13: 'bench', 14: 'bird', 15: 'cat', 16: 'dog', 17: 'horse', 18: 'sheep', 19: 'cow', 20: 'elephant', 21: 'bear', 22: 'zebra', 23: 'giraffe', 24: 'backpack', 25: 'umbrella', 26: 'handbag', 27: 'tie', 28: 'suitcase', 29: 'frisbee', 30: 'skis', 31: 'snowboard', 32: 'sports ball', 33: 'kite', 34: 'baseball bat', 35: 'baseball glove', 36: 'skateboard', 37: 'surfboard', 38: 'tennis racket', 39: 'bottle', 40: 'wine glass', 41: 'cup', 42: 'fork', 43: 'knife', 44: 'spoon', 45: 'bowl', 46: 'banana', 47: 'apple', 48: 'sandwich', 49: 'orange', 50: 'broccoli', 51: 'carrot', 52: 'hot dog', 53: 'pizza', 54: 'donut', 55: 'cake', 56: 'chair', 57: 'couch', 58: 'potted plant', 59: 'bed', 60: 'dining table', 61: 'toilet', 62: 'tv', 63: 'laptop', 64: 'mouse', 65:
'remote', 66: 'keyboard', 67: 'cell phone', 68: 'microwave', 69: 'oven', 70: 'toaster', 71: 'sink', 72: 'refrigerator', 73: 'book', 74: 'clock', 75: 'vase', 76: 'scissors', 77: 'teddy bear', 78: 'hair drier', 79: 'toothbrush'}
# 80个类别对应80中随机颜色
colors = np.random.uniform(0, 255, size=(len(CLASSES), 3))

# 绘制
def draw_bounding_box(img, class_id, confidence, x, y, x_plus_w, y_plus_h):
    label = f'{CLASSES[class_id]} ({confidence:.2f})'
    color = colors[class_id]
    # 绘制矩形框
    cv2.rectangle(img, (x, y), (x_plus_w, y_plus_h), color, 2)
    # 绘制类别
    cv2.putText(img, label, (x - 10, y - 10), cv2.FONT_HERSHEY_SIMPLEX, 0.5, color, 2)


def main(onnx_model, input_image):
    # 使用opencv读取onnx文件
    model: cv2.dnn.Net = cv2.dnn.readNetFromONNX(onnx_model)
    # 读取原图
    original_image: np.ndarray = cv2.imread(input_image)
    [height, width, _] = original_image.shape
    length = max((height, width))
    image = np.zeros((length, length, 3), np.uint8)
    image[0:height, 0:width] = original_image
    scale = length / 640 # 缩放比例
    # 设置模型输入
    blob = cv2.dnn.blobFromImage(image, scalefactor=1 / 255, size=(640, 640), swapRB=True)
    model.setInput(blob)
    # 推理
    outputs = model.forward() # output: 1 X 8400 x 84
    outputs = np.array([cv2.transpose(outputs[0])])
    rows = outputs.shape[1]

    boxes = []
    scores = []
    class_ids = []
    # outputs有8400行,遍历每一行,筛选最优检测结果
    for i in range(rows):
        # 找到第i个候选目标在80个类别中,最可能的类别
        classes_scores = outputs[0][i][4:] # classes_scores:80 X 1
        (minScore, maxScore, minClassLoc, (x, maxClassIndex)) = cv2.minMaxLoc(classes_scores)
        if maxScore >= 0.25:
            box = [
                # cx cy w h  -> x y w h
                outputs[0][i][0] - (0.5 * outputs[0][i][2]), outputs[0][i][1] - (0.5 * outputs[0][i][3]),
                outputs[0][i][2], outputs[0][i][3]]
            boxes.append(box) #边界框
            scores.append(maxScore) # 置信度
            class_ids.append(maxClassIndex) # 类别
    # opencv版最极大值抑制
    result_boxes = cv2.dnn.NMSBoxes(boxes, scores, 0.25, 0.45, 0.5)

    for i in range(len(result_boxes)):
        index = result_boxes[i]
        box = boxes[index]
        draw_bounding_box(original_image, class_ids[index], scores[index], round(box[0] * scale), round(box[1] * scale),
                          round((box[0] + box[2]) * scale), round((box[1] + box[3]) * scale))
    cv2.imshow('image', original_image)
    cv2.waitKey(0)
    cv2.destroyAllWindows()


if __name__ == '__main__':
    parser = argparse.ArgumentParser()
    parser.add_argument('--model', default='yolov8n.onnx', help='Input your onnx model.')
    parser.add_argument('--img', default=str('bus.jpg'), help='Path to input image.')
    args = parser.parse_args()
    main(args.model, args.img)
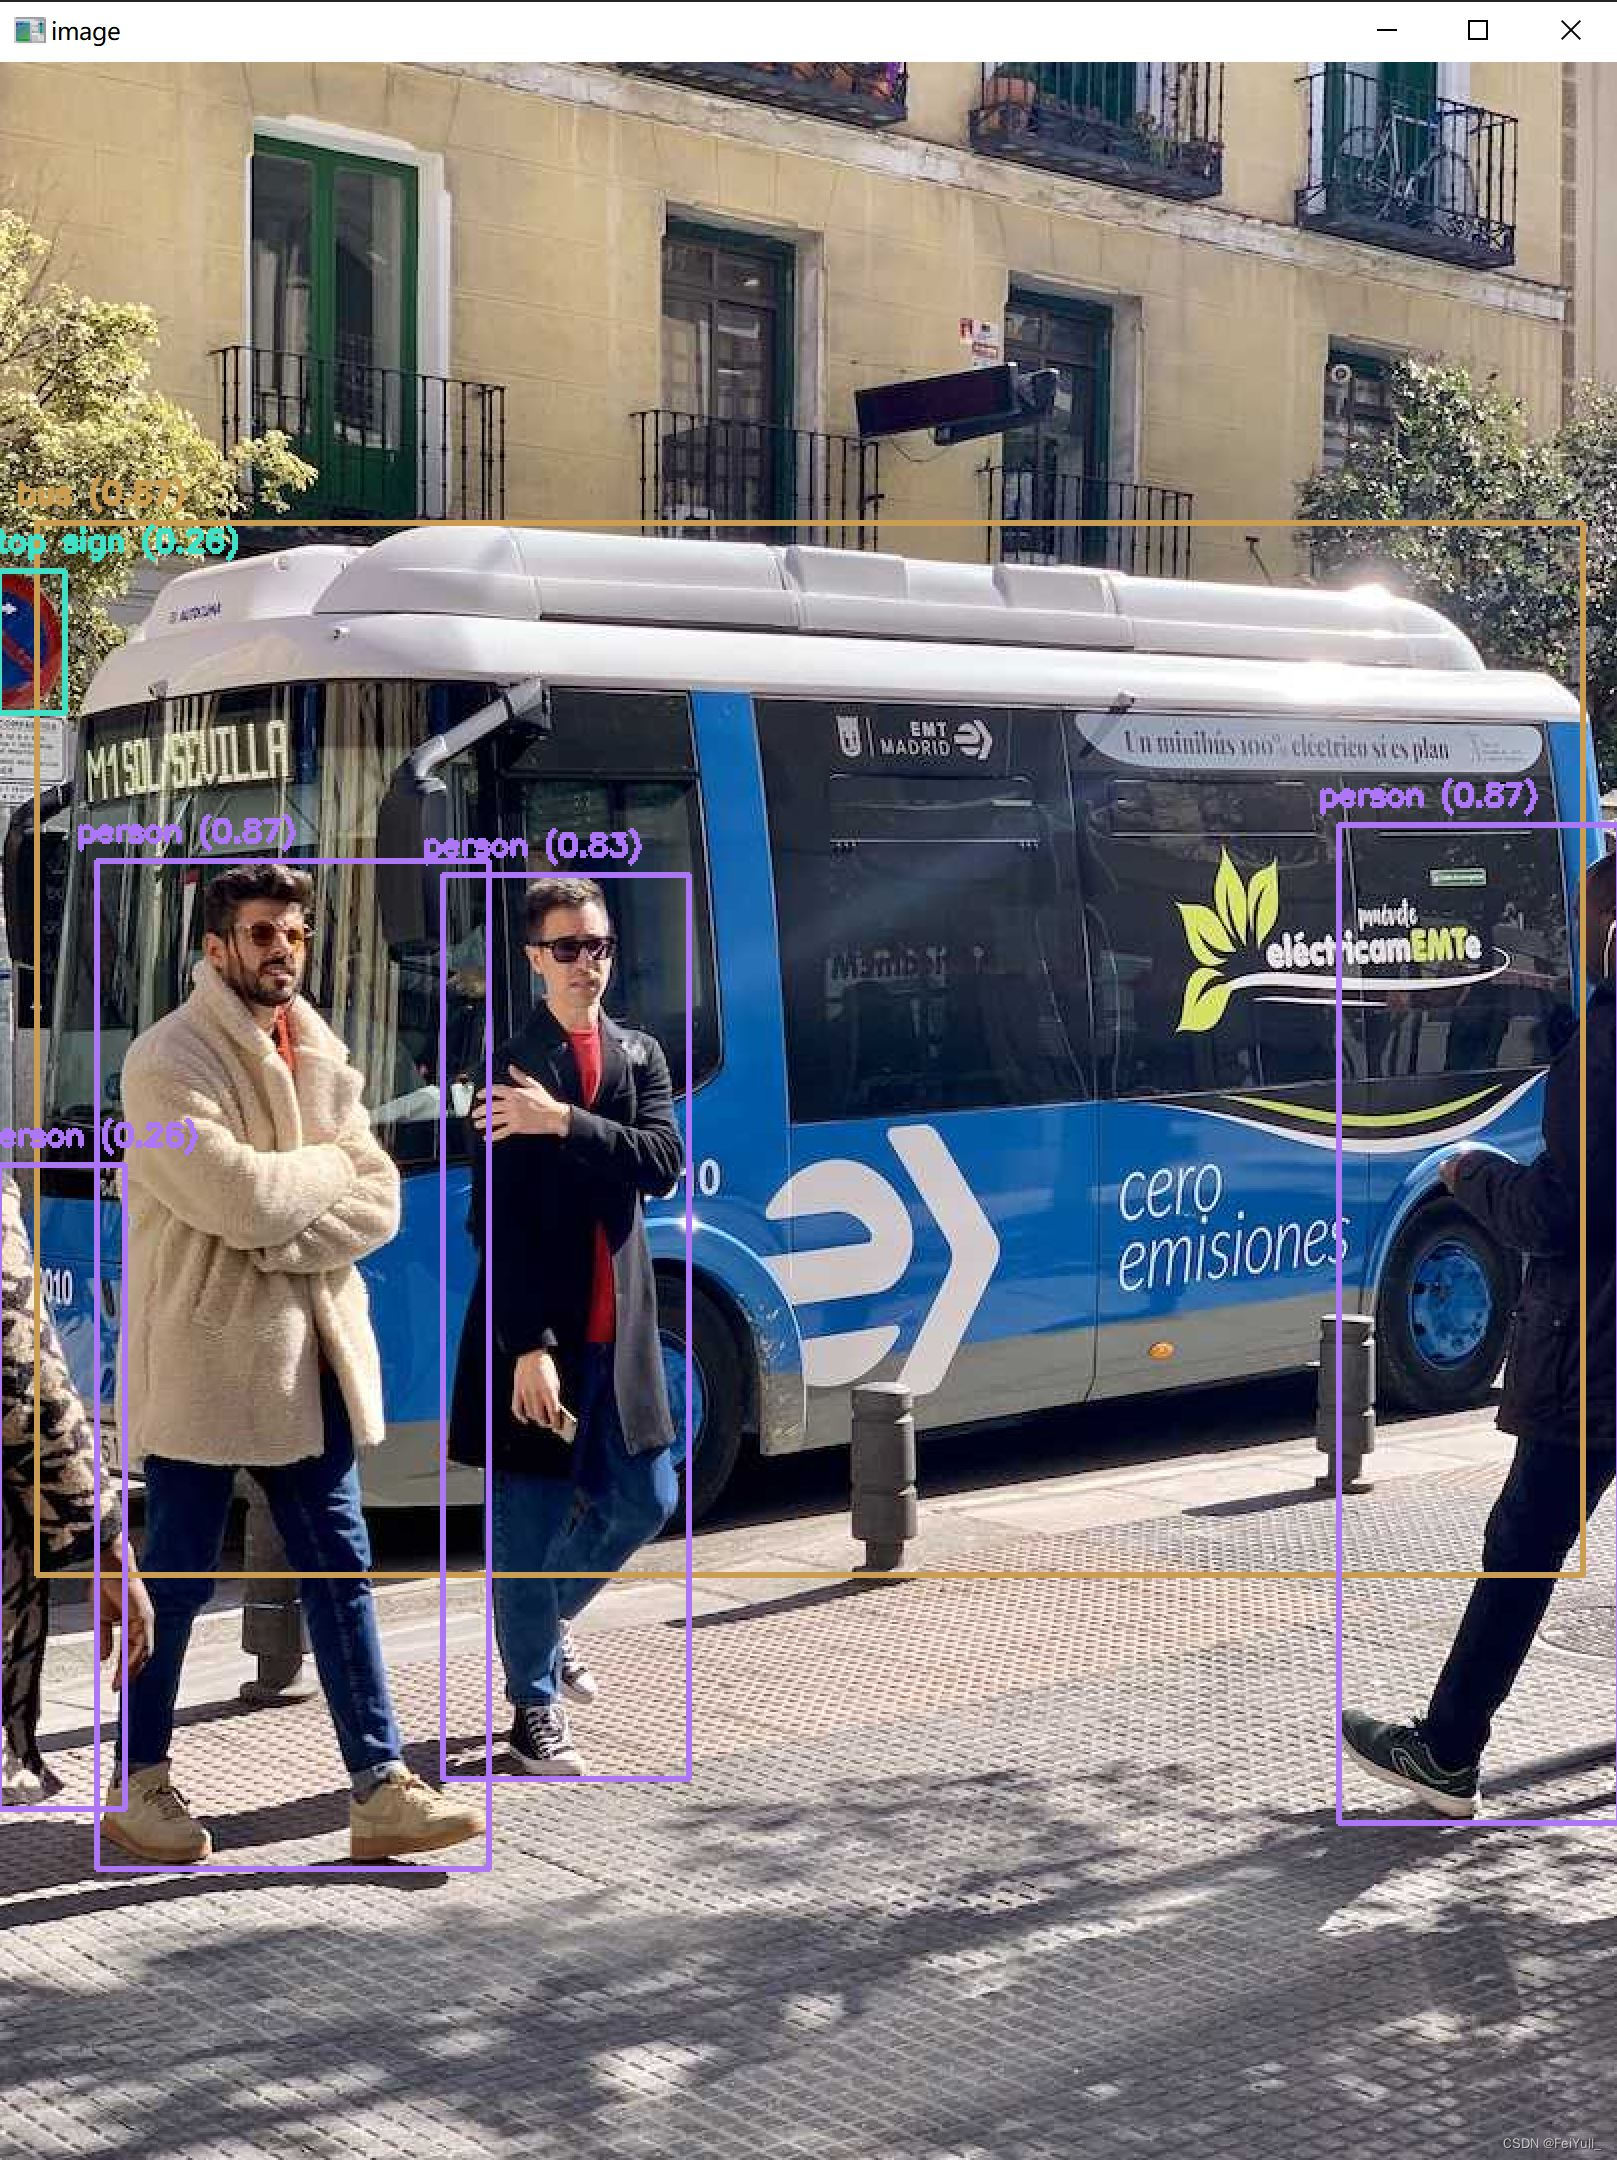
Execute the inference command in the terminal, the command is as follows:
python infer_opencv.py --model yolov8n.onnx --img bus.jpg
The rendering is shown in the figure:
Resource download: (You can use the article code to generate it yourself, or you can use the following resources)
Link: https://pan.baidu.com/s/1mCBx_TVpUhpREoMXhRIlJw?pwd=fkmtExtraction
code: fkmt