Article directory
1. Basic environment construction
1. Original ISO acquisition
OS version: Galaxy Kirin Advanced Server Operating System V10SP1 (X86_64)
Baidu Netdisk: https://pan.baidu.com/s/1xAdxWht0wMB-ebQVbjehbQ Extraction code: cns2
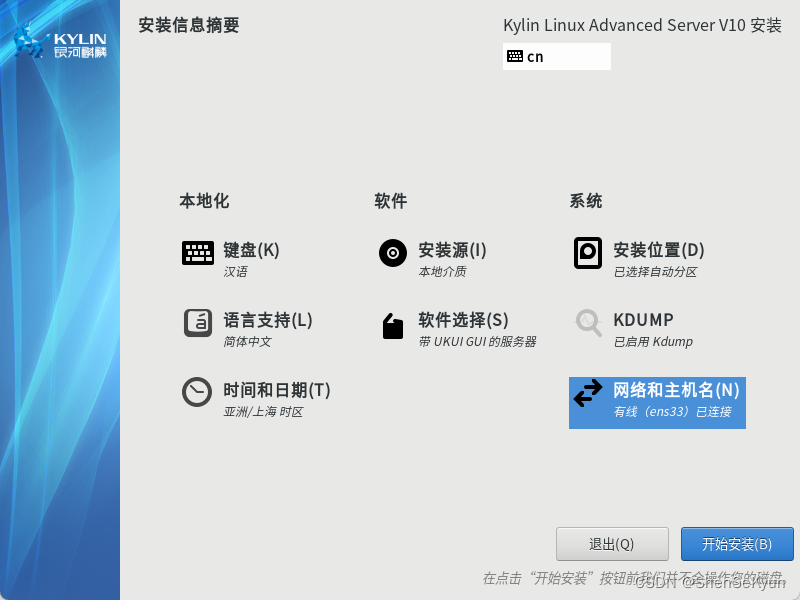
2. System installation
Here we choose the "server with UKUI GUI" and "automatic partition" solutions commonly used in Galaxy Kirin server systems.
2. ISO image customization
1. Preparation
(1) Create the "ISO image production directory";
[root@localhost ~]# mkdir /root/kylin-iso
(2) Mount the original ISO image to the system (the system will automatically mount it after inserting the CD);
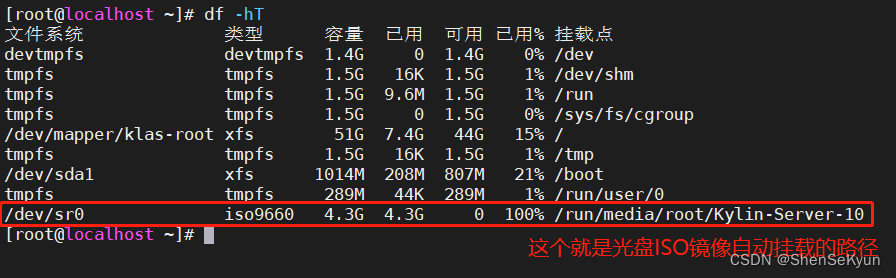
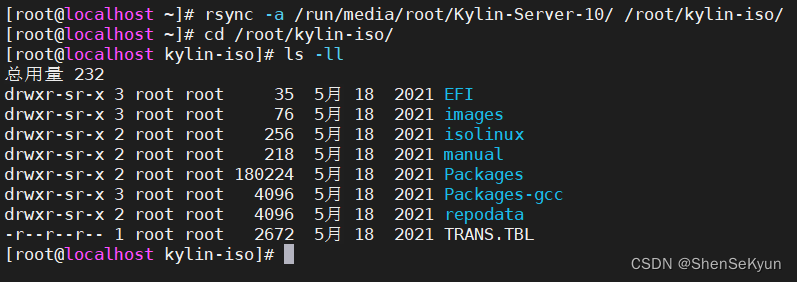
(3) Copy all files in the ISO mounting directory to the "ISO image production directory";
[root@localhost ~]# rsync -a /run/media/root/Kylin-Server-10/ /root/kylin-iso/
(4 ) Get a list of all rpm packages installed in the current system;
[root@localhost ~]# rpm -qa > /root/package-list.txt

2. Modify ISO image
(1) In order to make the ISO file we generate later as small as possible, we only keep the RPM packages required for system installation and other RPM packages that need to be customized; A. First, delete the ISO
production directory /root/kylin-iso/Packages / All RPM packages under /;
[root@localhost ~]# cd /root/kylin-iso/Packages/
[root@localhost Packages]# rm -rf *.rpm

B. Next, mount the directory /run/media from the ISO /root/Kylin-Server-10/Packages/Copy the RPM packages required for system installation to the "ISO image production directory" /root/kylin-iso/Packages/; [root@localhost Packages]# cat /root/
package -list.txt | awk '{print $0}' |xargs -i cp /run/media/root/Kylin-Server-10/Packages/{}.rpm /root/kylin-iso/Packages/

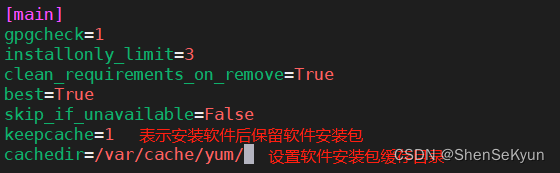
C. Modify the system/ etc/yum.conf configuration file, enable the installation software to retain cache settings;
[root@localhost ~]# vim /etc/yum.conf
Before modification: After
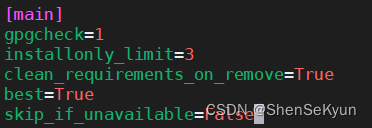
modification:
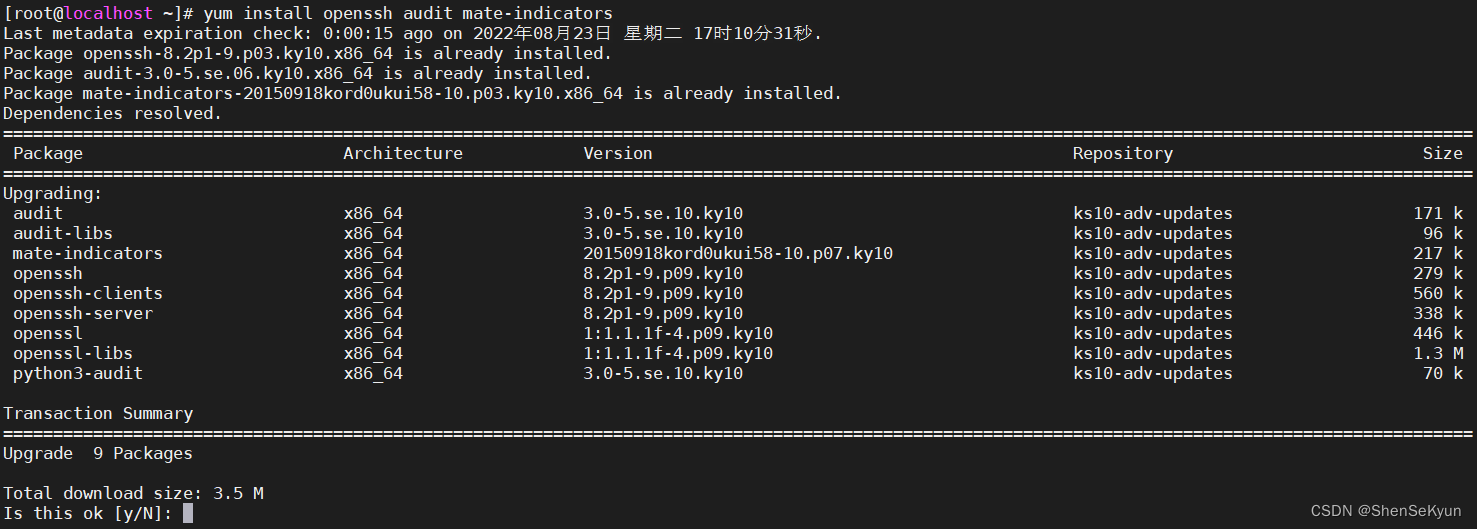
D. Use yum to update the OpenSSH and other software that comes with the system to the latest Version;
[root@localhost ~]# yum install openssh audit mate-indicators
E. Copy the RPM cache package under the yum cache directory /var/cache/yum/ to the Packages folder of the "ISO image production directory"; [root@
localhost ~]# cd /var/cache/yum/ks10-adv -updates-b74b513216569387/packages/
[root@localhost packages]# cp -a *.rpm /root/kylin-iso/Packages/

F. Update the xxx-comps.xml file in the repodata folder of the "ISO image production directory" ;
[root@localhost ~]# cd /root/kylin-iso/
[root@localhost kylin-iso]# createrepo -g repodata/8cdeadbf13f3898044bd53454eab119481c7fcb672eae31327419bcf1516d54d-Kylin-x86_64-V10-ukui-comps. xml.

(2) Configure KickStart automation Installation;
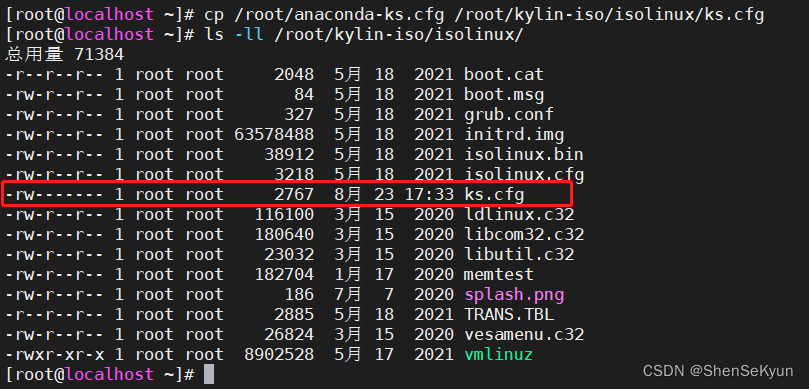
A. After the system installation is completed, the anaconda-ks.cfg file will be generated in the /root/ directory by default, which records the configuration during the system installation process. We copy it to the isolinux folder of the "ISO image production directory" and rename it ks.cfg;
[root@localhost ~]# cp /root/anaconda-ks.cfg /root/kylin-iso/isolinux/ks .cfg
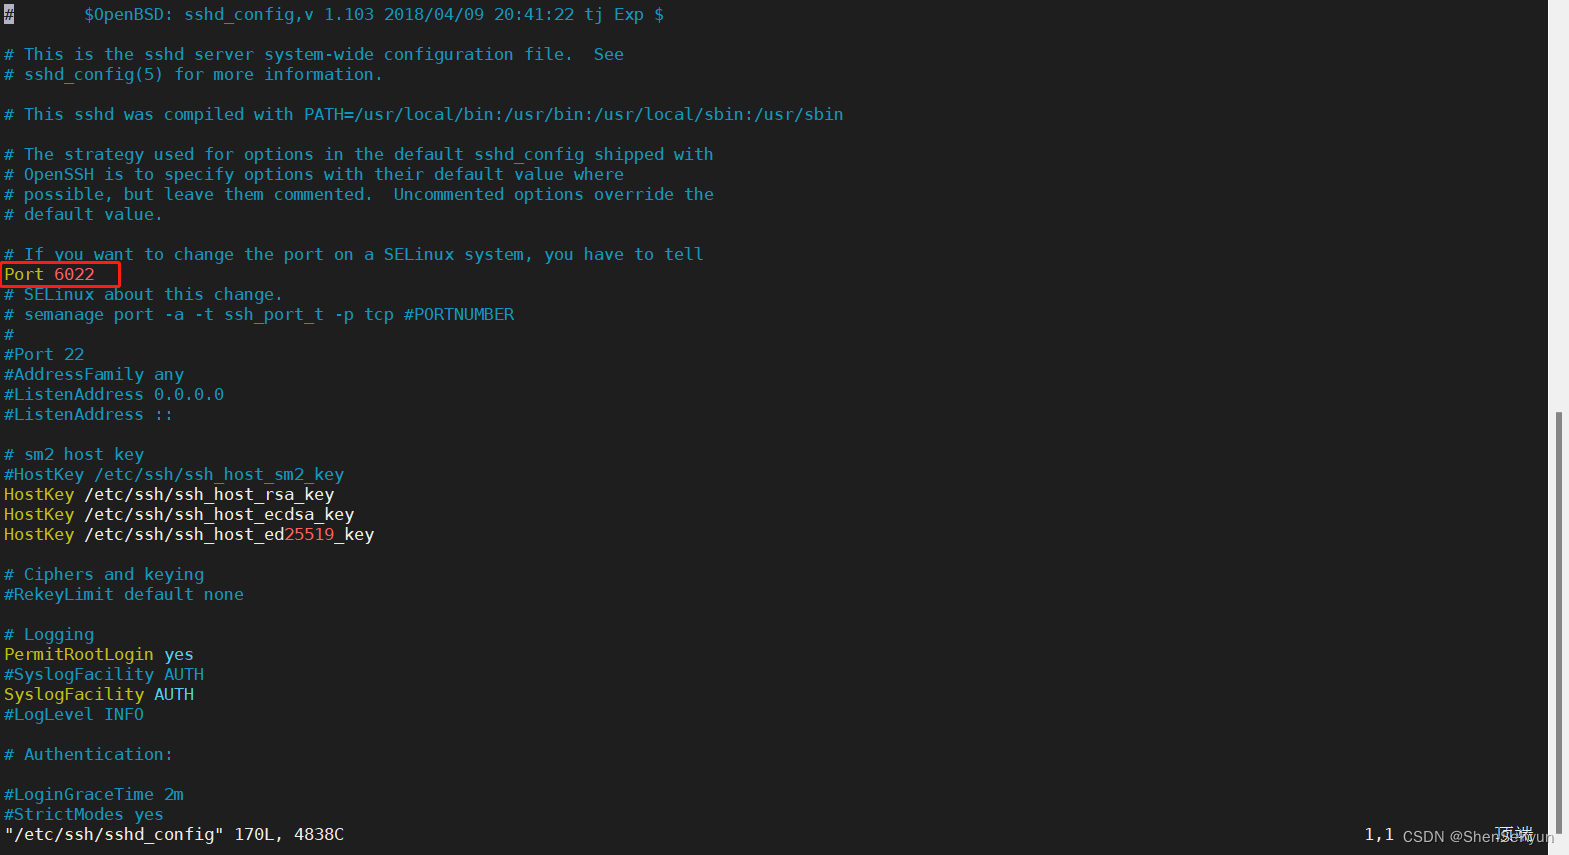
B. Edit the ks.cfg automated installation script file and modify the following configurations:
① Modify the SSH port number to 6022 and set "Allow the root account to use SSH to log in remotely"

② Automatically clear the original partition information before system installation

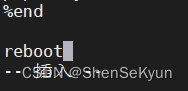
③ Automatically restart after the system installation is completed
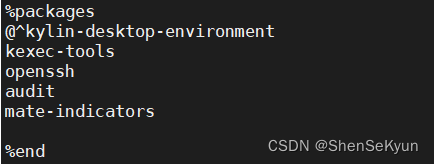
④ Install and upgrade openssh, audit and mate-indicators
#version=DEVEL
ignoredisk --only-use=sda
autopart --type=lvm
# Partition clearing information
clearpart --all --initlabel --drives=sda
# Use graphical install
graphical
# Use CDROM installation media
cdrom
# Keyboard layouts
keyboard --vckeymap=cn --xlayouts='cn'
# System language
lang zh_CN.UTF-8

# Network information
network  --bootproto=dhcp --device=ens33 --ipv6=auto --activate
network  --bootproto=dhcp --device=ens37 --onboot=off --ipv6=auto
network  --hostname=localhost.localdomain
# Root password
rootpw --iscrypted $6$qZquFjZf5nbW3GyN$G/x3FR11KkE0eSPeYFOmYx8mhYcvkssy1vKOPF4rVLB7Estu5L/Fi62SIgtxW0VHeksm5WzcJI2Q30OX3Hr1a0
# X Window System configuration information
xconfig  --startxonboot
# Run the Setup Agent on first boot
firstboot --enable
# System services
services --enabled="chronyd"
# System timezone
timezone Asia/Shanghai --isUtc

%post --nochroot
#####copy kyinfo and LICENSE
if [ -e /tmp/.kyinfo ];then
  echo y | cp -a /tmp/.kyinfo $ANA_INSTALL_PATH/etc/
fi
if [ -e /tmp/LICENSE ];then
  echo y | cp -a /tmp/LICENSE $ANA_INSTALL_PATH/etc/
fi
if [ -e /run/install/repo/.kyinfo ];then
  echo y | cp -a /run/install/repo/.kyinfo $ANA_INSTALL_PATH/etc/
fi
if [ -e /run/install/repo/LICENSE ];then
echo y | cp -a /run/install/repo/LICENSE $ANA_INSTALL_PATH/etc/
fi

##### kylin postaction
## cdrom install, copy .kylin-post-actions
if [ -e /run/install/repo/.kylin-post-actions ];then
  echo y | cp -a /run/install/repo/.kylin-post-actions /tmp/.kylin-post-actions
  echo "repo=/run/install/repo" > /tmp/.kylin-repo
fi
## copy kylin post scripts in new os
if [ -e /tmp/.kylin-post-actions ];then
  echo y | cp -a /tmp/.kylin-post-actions $ANA_INSTALL_PATH/bin
fi
if [ -e /tmp/.kylin-repo ];then
  echo y | cp -a /tmp/.kylin-repo $ANA_INSTALL_PATH/tmp/
fi

## copy and run .kylin-post-actions-nochroot
if [ -e /run/install/repo/.kylin-post-actions-nochroot ];then
  echo y | cp -a /run/install/repo/.kylin-post-actions-nochroot /tmp/.kylin-post-actions-nochroot
fi
if [ -e /tmp/.kylin-post-actions-nochroot ];then
  /bin/bash -x /tmp/.kylin-post-actions-nochroot &> $ANA_INSTALL_PATH/var/log/.kylin-post-actions-nochroot.log
fi

%end

%post
/bin/sed -i '13a Port 6022' /etc/ssh/sshd_config; \\
/bin/sed -i '/PermitRootLogin /d' /etc/ssh/sshd_config; \\
/bin/sed -i '32a PermitRootLogin yes' /etc/ssh/sshd_config; \\

systemctl disable systemd-networkd-wait-online.service
systemctl disable multipathd.service
### do kylin post action
if [ -e /bin/.kylin-post-actions ];then
  /bin/bash -x /bin/.kylin-post-actions &> /var/log/.kylin-post-actions.log
fi

%end

%packages
@^kylin-desktop-environment
kexec-tools
openssh
audit
mate-indicators

%end

%addon com_redhat_kdump --enable --reserve-mb='1024M'

%end

%anaconda
pwpolicy root --minlen=8 --minquality=1 --notstrict --nochanges --notempty
pwpolicy user --minlen=8 --minquality=1 --notstrict --nochanges --emptyok
pwpolicy luks --minlen=8 --minquality=1 --notstrict --nochanges --notempty
%end

reboot
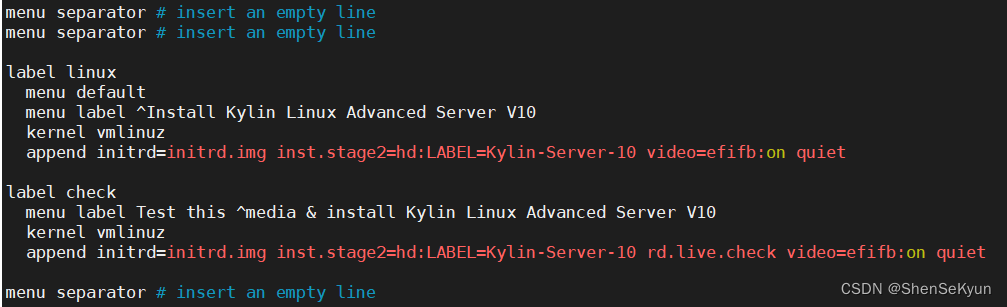
(3) Modify the startup file isolinux.cfg;
[root@localhost ~]# vim /root/kylin-iso/isolinux/isolinux.cfg
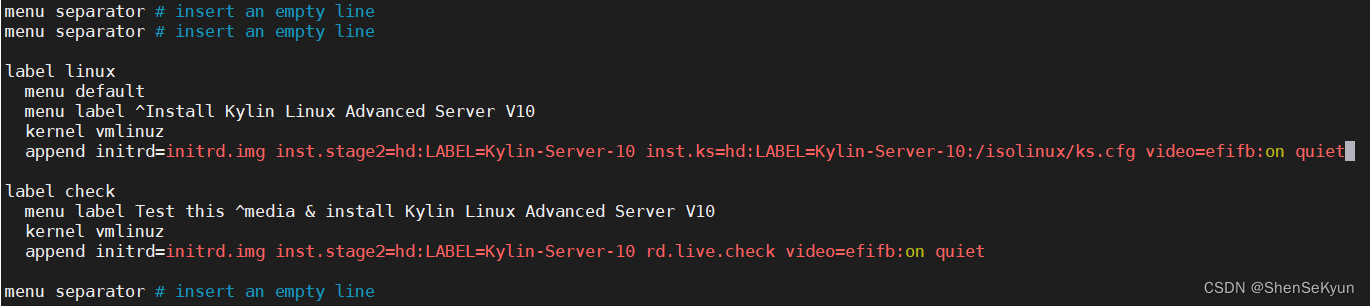
Note: The parameter value after "LABEL=" here must be the same as "Kylin-Server-10" The volume name of the USB bootable disk created subsequently or the name of the burned disc will be the same.
Before modification:
After modification:
3. Generate ISO image;
[ root@localhost ~]# cd /root/kylin-iso/
[root@localhost kylin-iso]# mkisofs -o kylin10.iso -input-charset utf-8 -b isolinux/isolinux.bin -c isolinux/boot. cat -no-emul-boot -boot-load-size 4 -boot-info-table -R -J -v -T -joliet-long -V Kylin-Server-10 /root/kylin-iso/ [root@
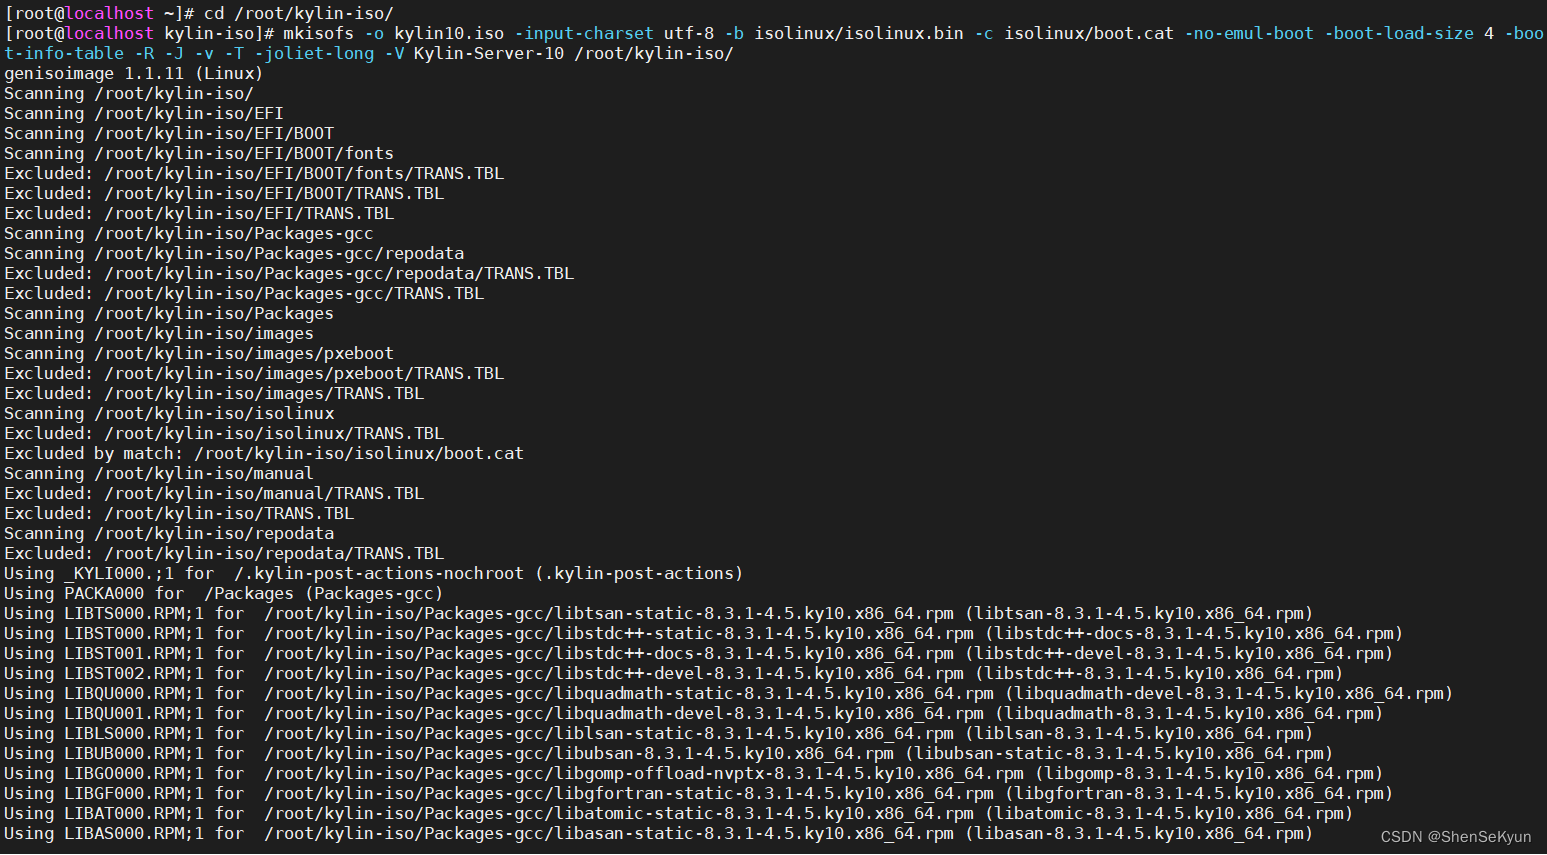

localhost kylin-iso]# ls -lh kylin10.iso

3. ISO image verification
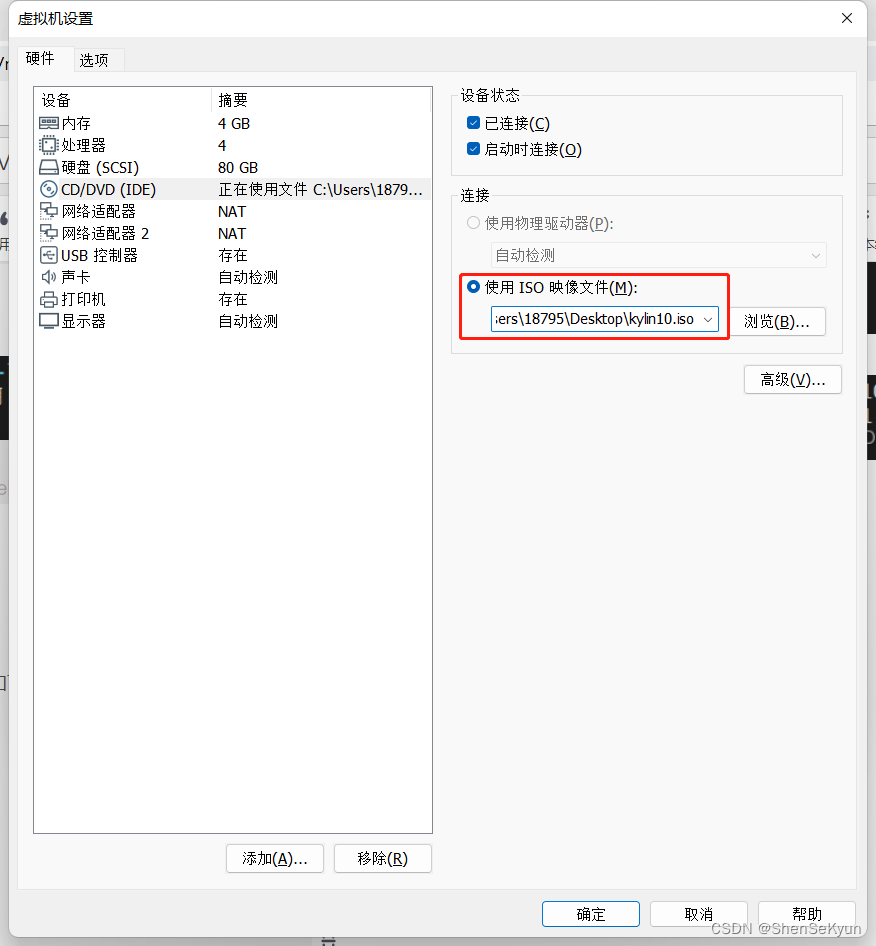
Note: The verification environment is a VMware virtual machine environment.
(1) Modify "CD/DVD(IDE)" to "Use ISO image file", as shown below:
(2) Start the virtual machine directly from "CD/DVD(IDE)", and the system will automatically start the installation, as shown below:
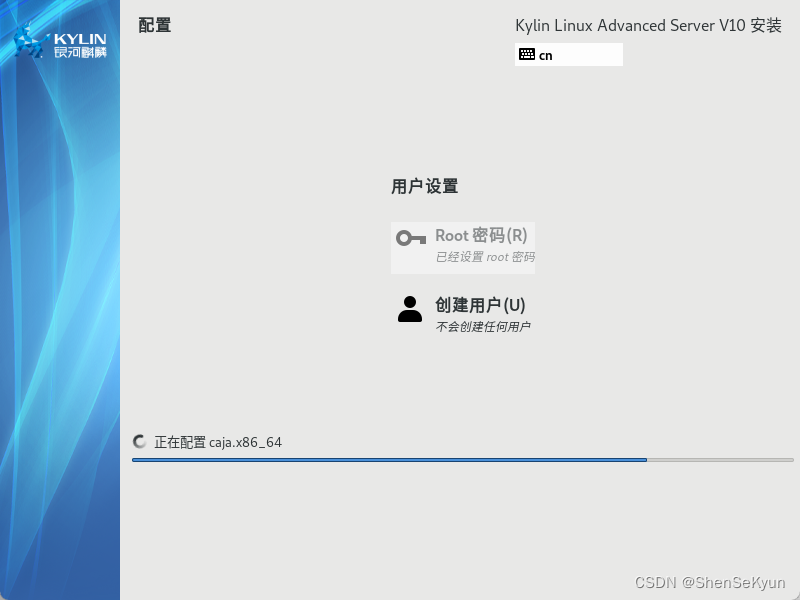
( 3) The system installation is completed;
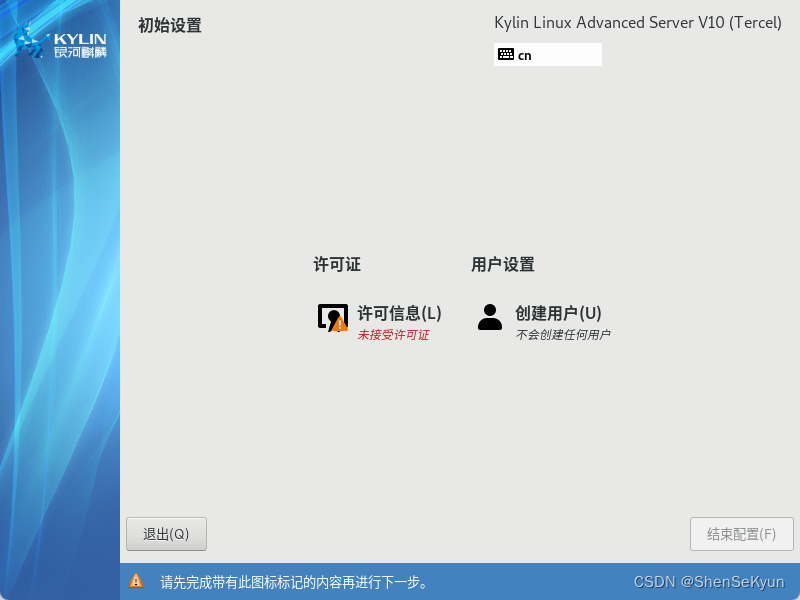
(4) Enter the system to verify whether the customized option configuration in the above steps is effective.
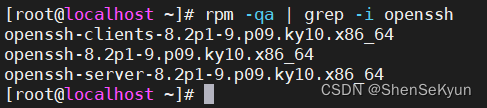
A. The SSH port is normal;
B. The OpenSSH software package version is normal;