1. First download the ros driver source code of usb-cam (if you can already drive a single camera, you can ignore step 1 and go to step 2 directly)
Code link: https://github.com/ros-drivers/usb_cam ![]() https://github.com/ros-drivers/usb_cam
https://github.com/ros-drivers/usb_cam
And copy the code to your ros workspace. If there is no ros workspace, you need to create it first. For how to create a ros workspace, you can refer to my other blog:
https://blog.csdn.net/qq_49959714/article/details/127028396?spm=1001.2014.3001.5502
Enter the workspace and execute catkin_make to compile it.
Execute the following command to start a single camera:
source devel/setup.bash
roslaunch usb_cam usb_cam-test.launch
2. Start multiple cameras at the same time
Here you need to configure the corresponding files
1) Write sublaunch
For example, if I have 7 cameras here, I need to write 7 sub-launches.
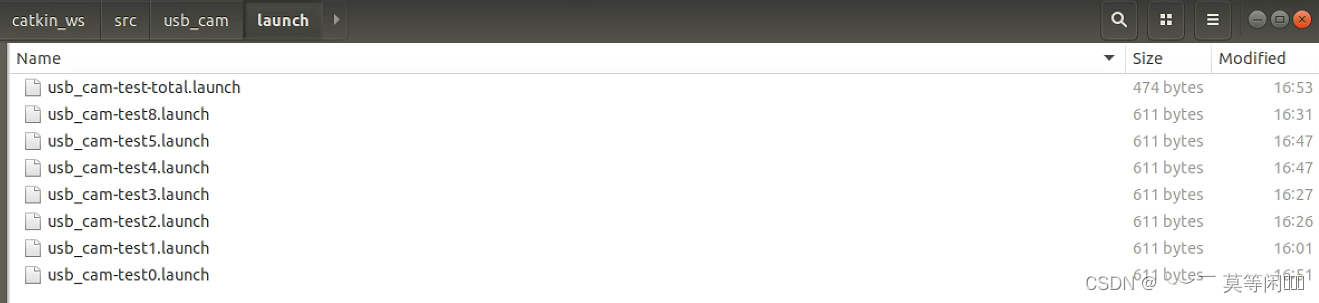
Directly copy the original usb_cam-test.launch and modify it
The specific modifications are as follows:

2) Write the total launch file
Add sub-launch

3) Write nodes nodes
Here we also need to start several cameras and write several nodes.
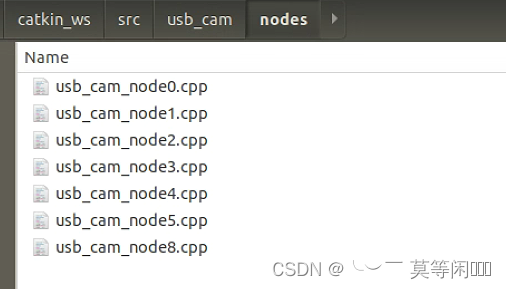
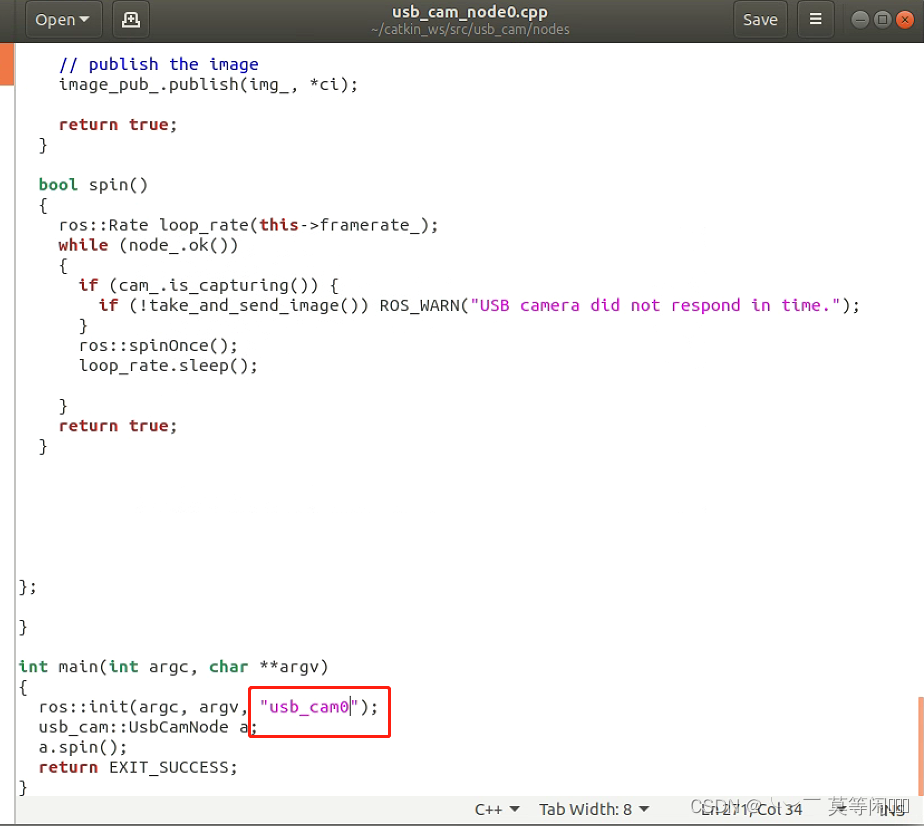
Directly copy usb_cam_node.cpp and modify it. The specific modification content is as follows in the red box:

4) Modify the CMakeLists.txt configuration file
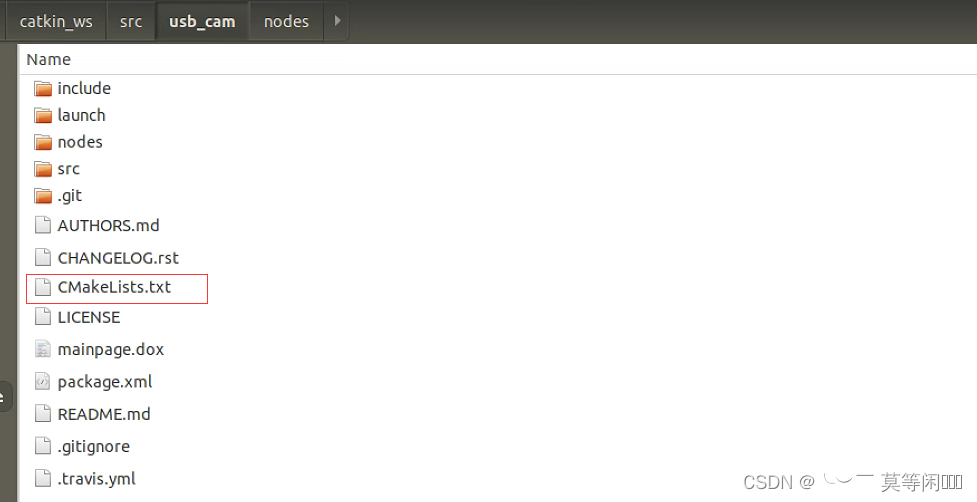
What are the specific modifications:


As many nodes as there are, add several add_executable and install
At this point, the file configuration has been completed.
5) Enter the workspace directory and recompile
catkin_make 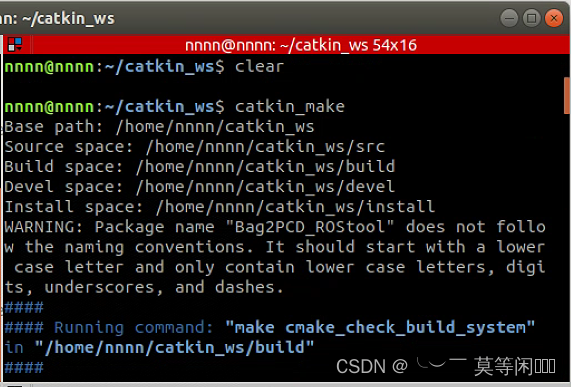
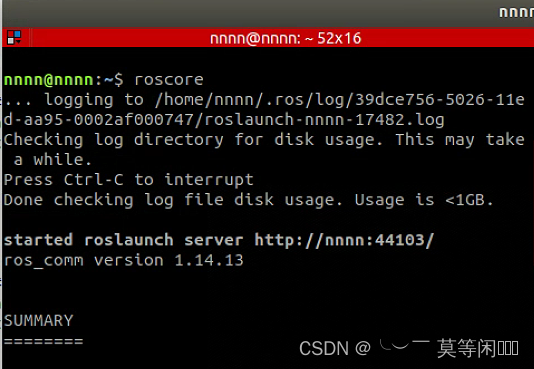
6) Execute roscore in a new terminal
7) Start launch
roslaunch usb_cam usb_cam-test-total.launch 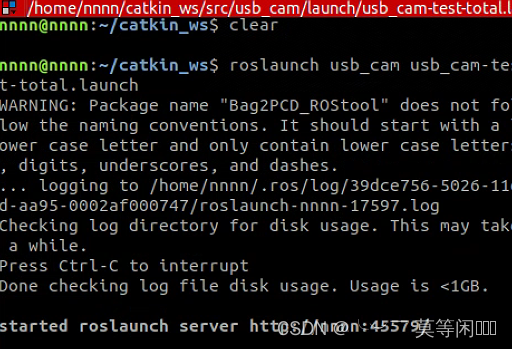
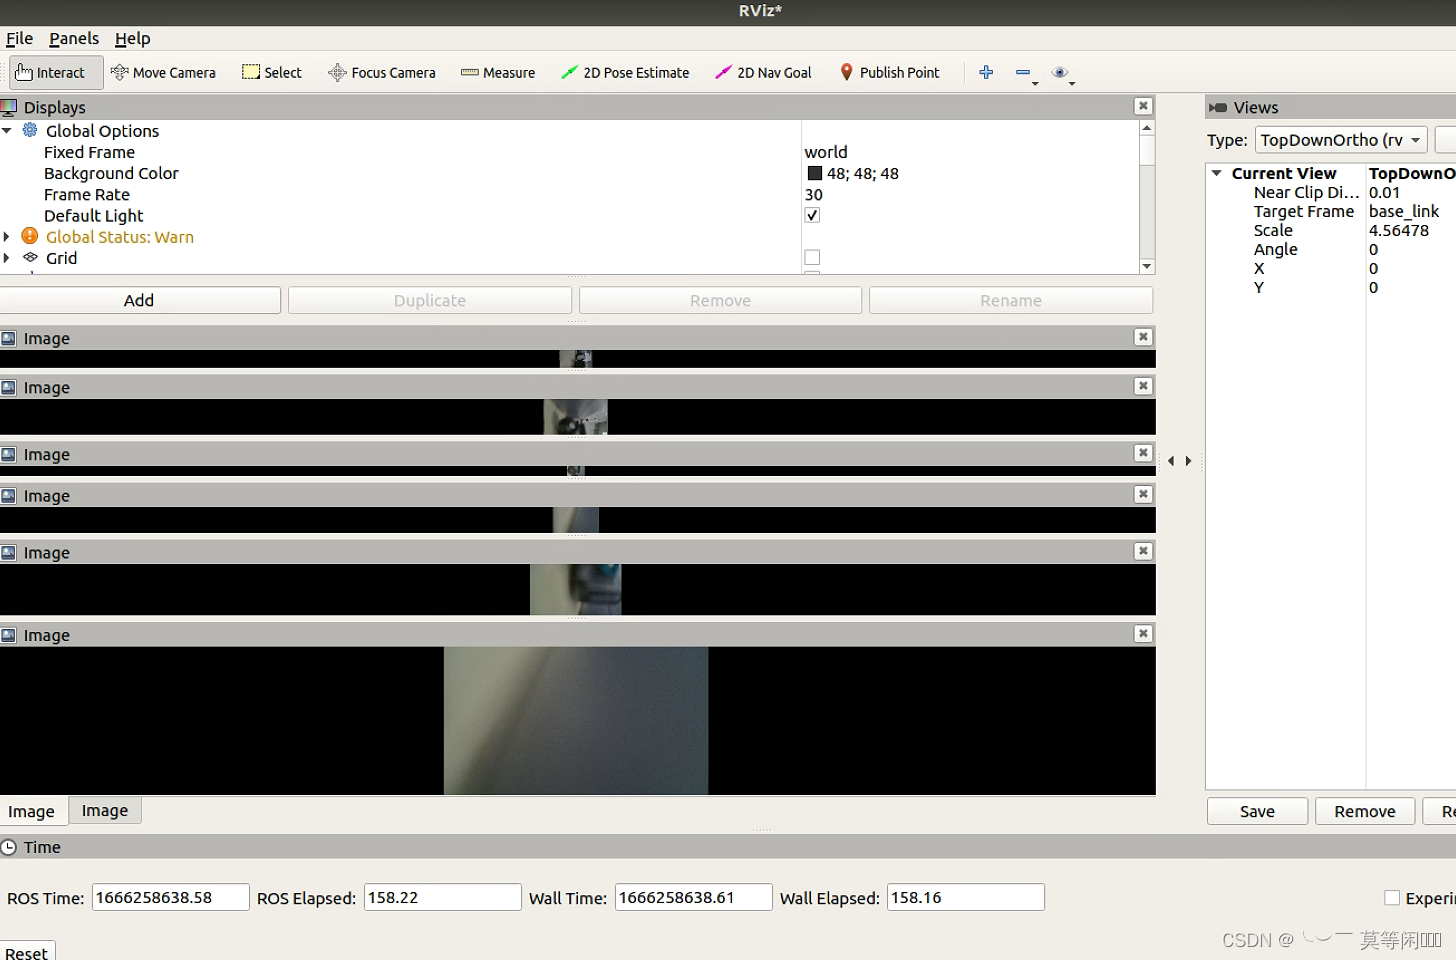
Here you can see the 7 cameras we started at the same time
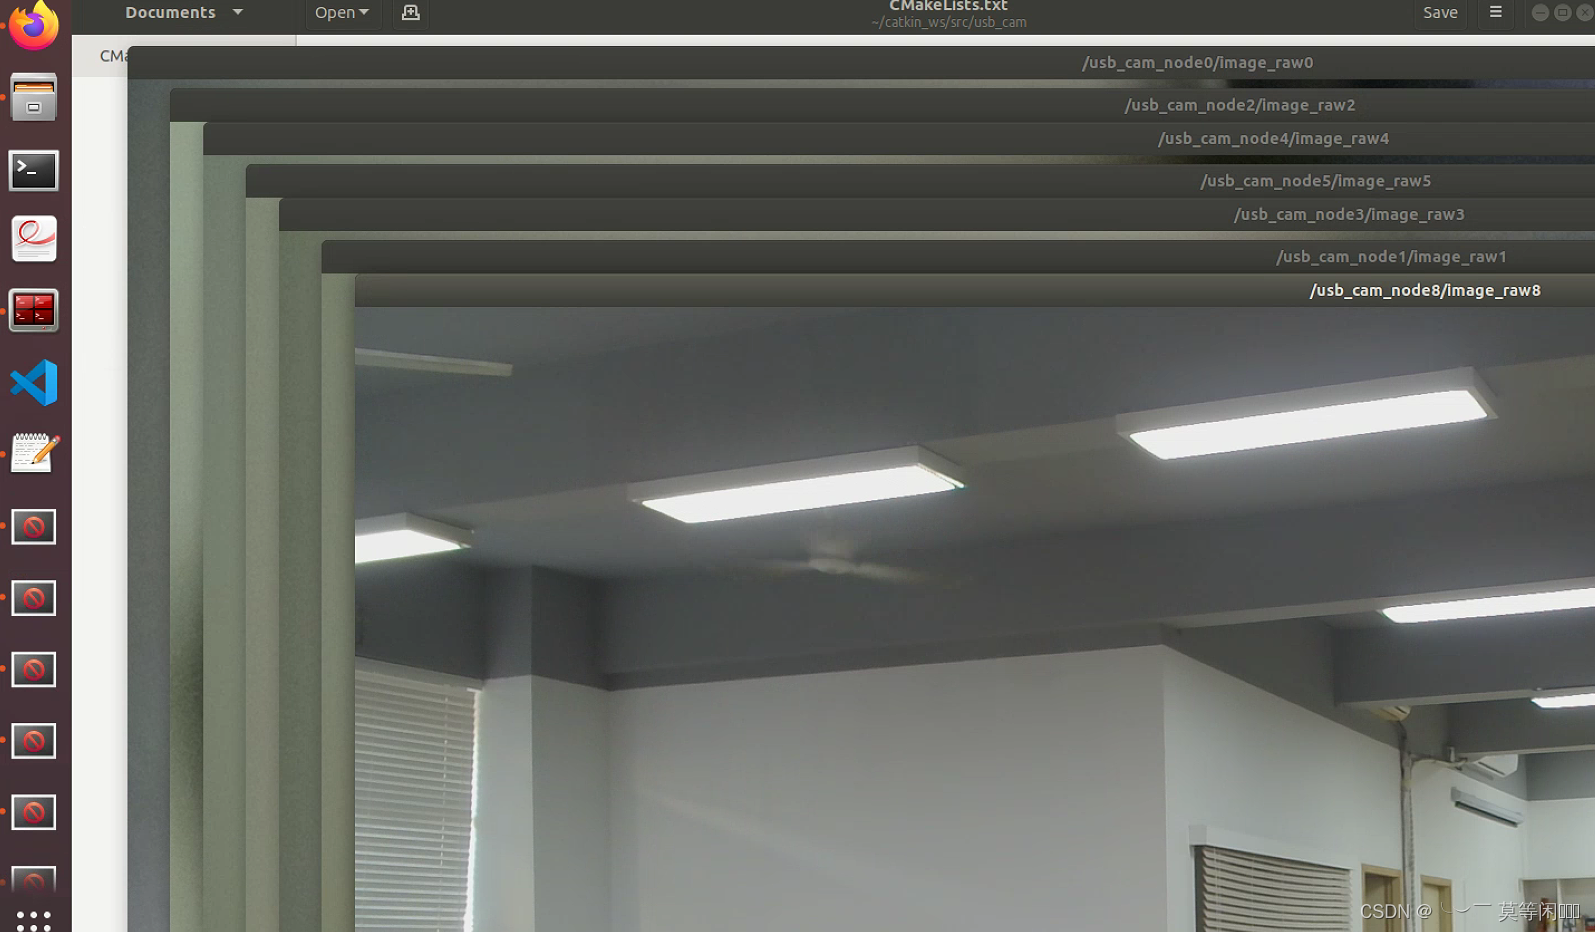
8) Visualize using ros
rosrun rviz rviz
Open RVIZ to subscribe to the topic of 7 cameras