1.TeX Live download and installation
Reference: Visual Studio Code (vscode) configures LaTeX - Zhihu (zhihu.com)
Mirror website Index of /CTAN/systems/texlive/Images/ | Tsinghua University Open Source Software Mirror Station | Tsinghua Open Source Mirror


2.vscode download plug-in

3.Configure json
Open a workspace with vscode and create a new .tex file in the folder

After opening it, I found that the tex icon appeared on the left

enter this file

Press ctrl+ to open the settings, enter json and click on the location marked in the picture

Enter the json configuration file
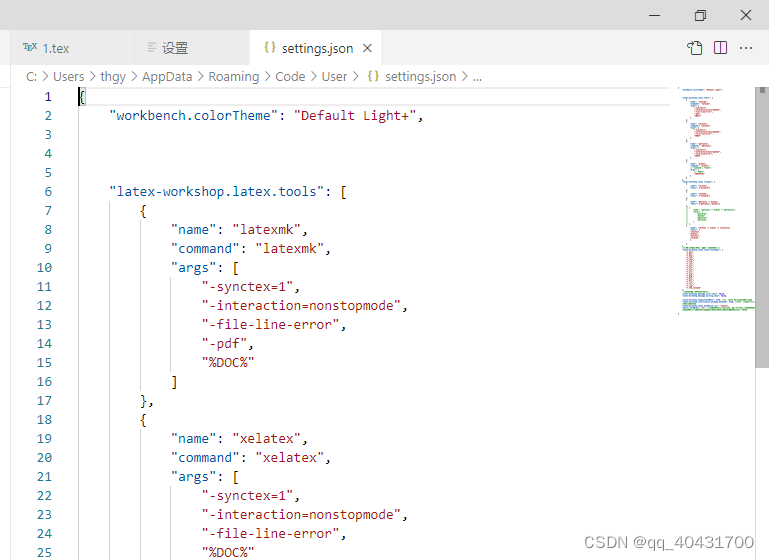
The configuration I use is:
{
    "workbench.colorTheme": "Default Light+",


    "latex-workshop.latex.tools": [
        {
            "name": "latexmk",
            "command": "latexmk",
            "args": [
                "-synctex=1",
                "-interaction=nonstopmode",
                "-file-line-error",
                "-pdf",
                "%DOC%"
            ]
        },
        {
            "name": "xelatex",
            "command": "xelatex",
            "args": [
                "-synctex=1",
                "-interaction=nonstopmode",
                "-file-line-error",
                "%DOC%"
            ]
        },
        {
            "name": "pdflatex",
            "command": "pdflatex",
            "args": [
                "-synctex=1",
                "-interaction=nonstopmode",
                "-file-line-error",
                "%DOC%"
            ]
        },
        {
            "name": "bibtex",
            "command": "bibtex",
            // "command": "biber",
            "args": [
                // "%DOC%"
                "%DOCFILE%"
            ]
        }
    ],
    "latex-workshop.latex.recipes": [
        {
            "name": "xelatex",
            "tools": ["xelatex"]
        },
        {
            "name": "latexmk",
            "tools": ["latexmk"]
        },
        {
            "name": "pdflatex -> bibtex",
            "tools": ["pdflatex","bibtex"]
        },
        // {
        //     "name": "pdflatex -> bibtex -> pdflatex*2",
        //     "tools": [
        //         "pdflatex",
        //         "bibtex",
        //         "pdflatex",
        //         "pdflatex"
        //     ]
        // },
        {
            "name": "xelatex -> bibtex -> xelatex*2",
            "tools": [
            "xelatex",
            "bibtex",
            "xelatex",
            "xelatex"
            ]

        }
    ],
    //设置在编译完成后所需要删除的文件格式
    "latex-workshop.latex.clean.fileTypes": [
        "*.aux",
        "*.bbl",
        "*.blg",
        "*.idx",
        "*.ind",
        "*.lof",
        "*.lot",
        "*.out",
        "*.toc",
        "*.acn",
        "*.acr",
        "*.alg",
        "*.glg",
        "*.glo",
        "*.gls",
        "*.ist",
        "*.fls",
        "*.log",
        "*.fdb_latexmk"
    ],
     //取消编译出错时的烦人气泡
    "latex-workshop.message.error.show": false,
    "latex-workshop.message.warning.show": false,

    "latex-workshop.showContextMenu": true, //添加LaTex Workshop右键菜单。
    "latex-workshop.intellisense.package.enabled": true, //根据加载的包,自动完成命令或包。
    "latex-workshop.latex.autoBuild.run": "onSave",
    "editor.wordWrap": "on", //保存文件时自动build(也就是说,点击保存文件或者按快捷键Ctrl+S的时候,除了会保存Tex文件,还会帮你编译LaTex为Pdf。

}
After the configuration is completed, it looks like this
