Install and configure the Scala IDE environment in Windows OS
1. Scala installation process
(1) Download and install Scala software
There is a post below, which records in detail the steps of installing Scala on the Windows system, for readers' reference,
In addition, we will still fully introduce the whole process of installing Scala under the Window system.
Download the Scala software for Windows OS at the following address,
Scala official website download

Click the "Next" button, as shown in the figure below.

Check "I accept the terms in the License Agreement" and click the "Next" button, as shown in the figure below.

Select the installation directory, as shown in the figure below.
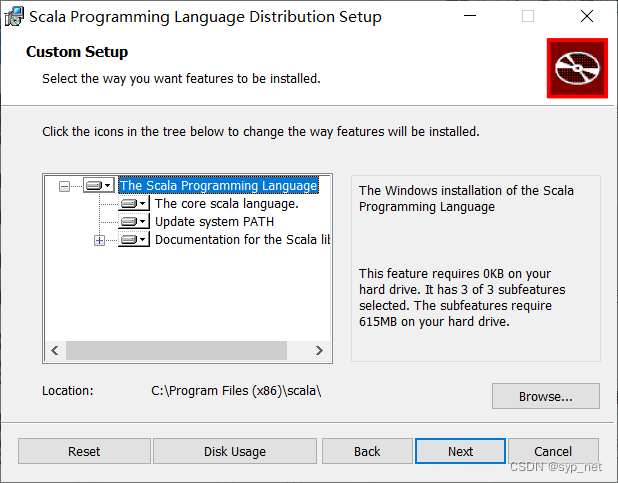
Click the "Install" button, as shown in the figure below.

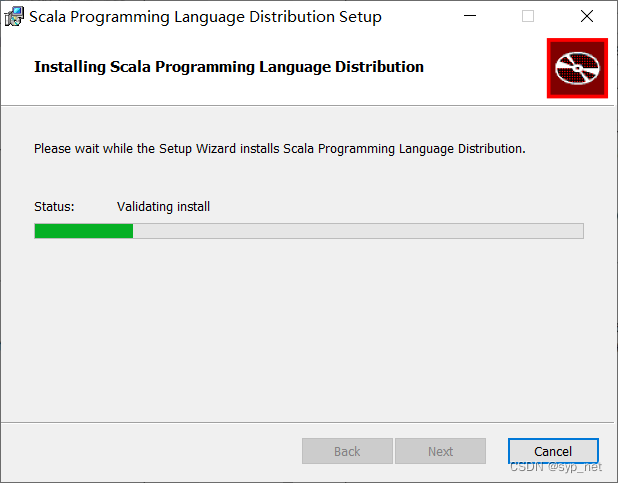
Perform the installation operation, as shown in the figure below.
After the installation is complete, click the "Finish" button, as shown in the figure below.

(2) Set Scala environment variables
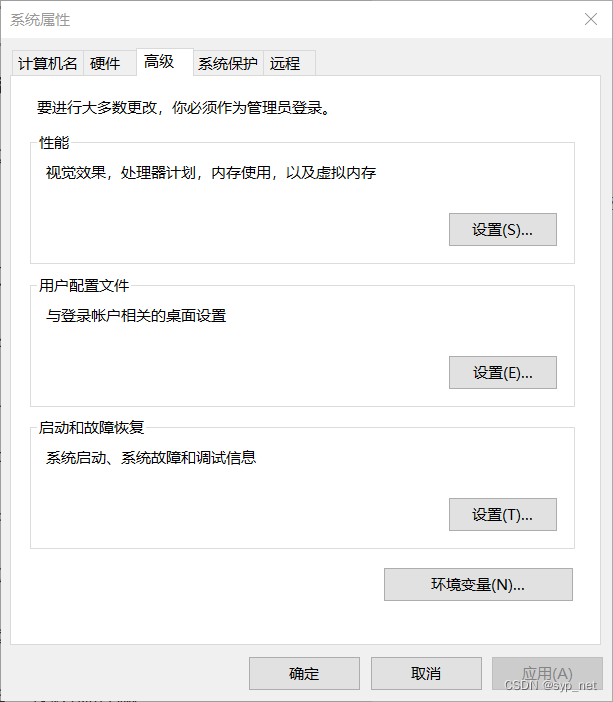
Open the environment variable of Windows OS, as shown in the following figure.
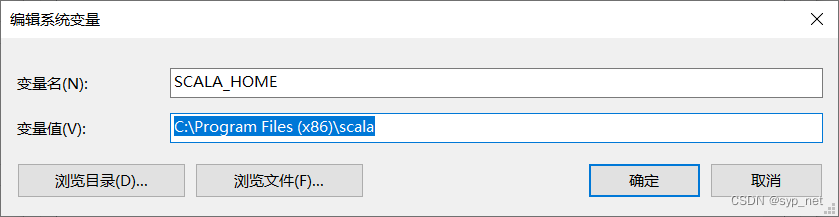
Add the system variable SCALA_HOME and set its value to the scala installation directory, as shown in the figure below.
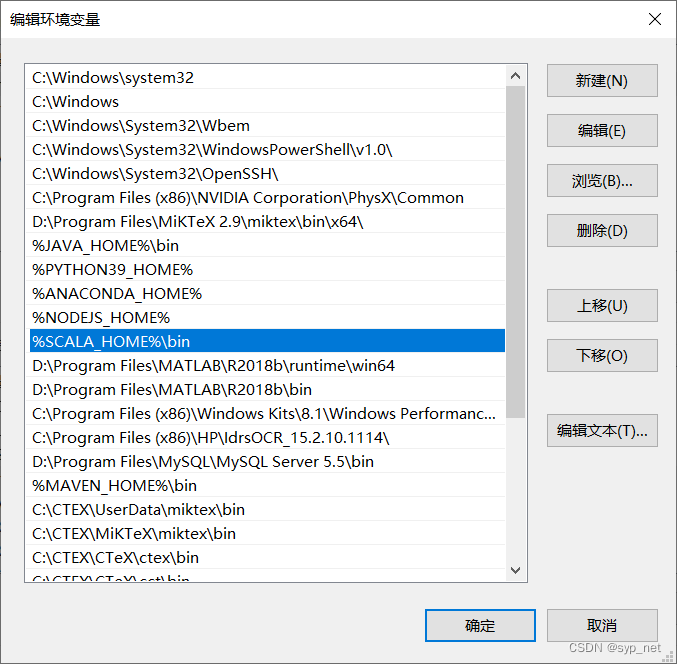
In the system PATH variable, configure the scala variable, as shown in the following figure.
It should be noted here that the version matching problem , because the previously downloaded version is Scala 2.12.17, and the JDK of the system is 1.7.0_17, so the following error will appear, as shown in the figure below.

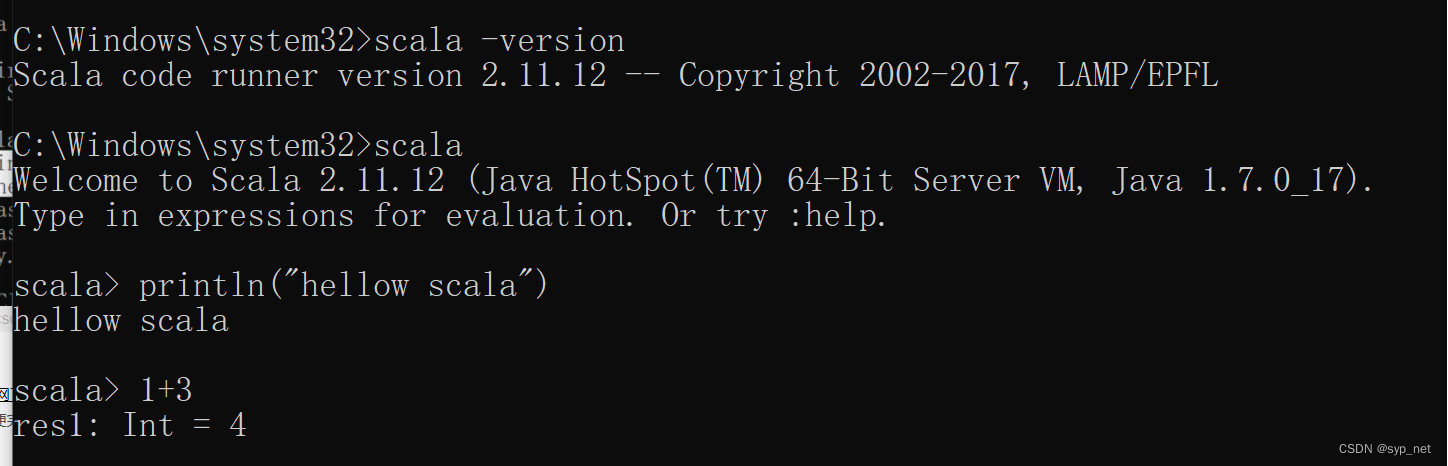
We re-download scala-2.11 (that is, re-download the scala-2.11.12.msi file on the Scala official website download , and then perform the installation. This completes the installation of the Scala environment, as shown in the figure below.
2. Integration of Scala and IDE
【Easter eggs are coming】
After reading this blog post written by the author, please see:
created in 2022.12.11,updated in 2022.12.xx