Experimental procedure
The design process of a simple calculator based on Qt can refer to the following steps
Article directory
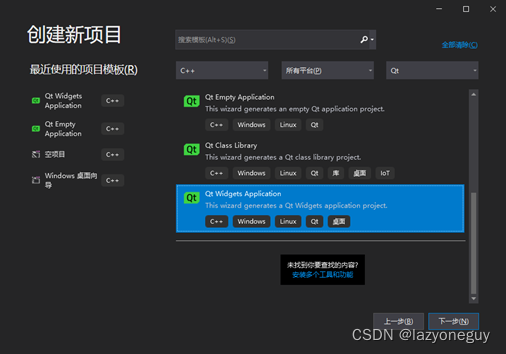
1. Create a new Qt project
① Select "Create New Project" → "Qt Widgets Application" → "Next" as shown in the figure below
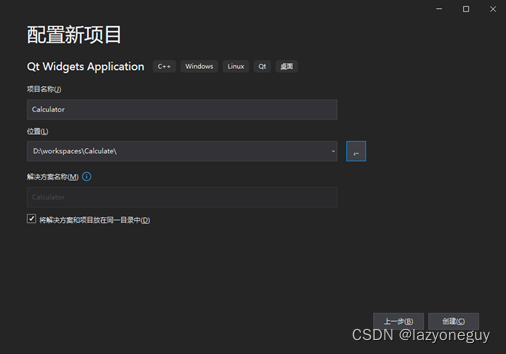
② Rename the project name to Calculator
③ Select the project location
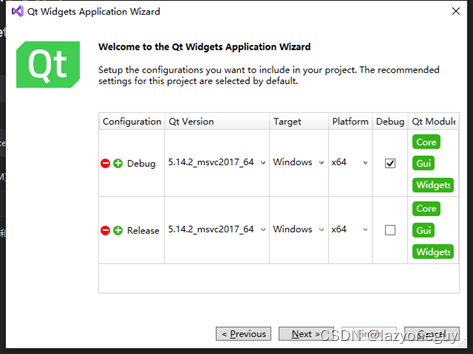
④ Enter the Qt application wizard, click "next" all the way
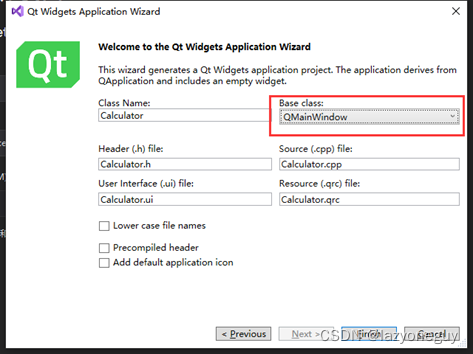
⑤ All the way to this step, the Base class can choose QMainWindow or QWidget, if you need components such as the menu bar in the future, choose mainwindow; after selecting, click "next"
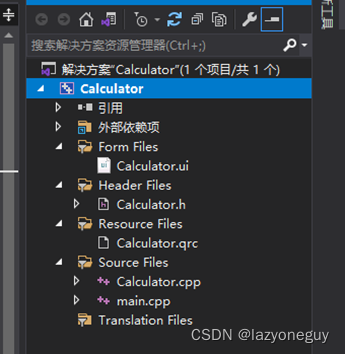
⑥ After the project is created, the code resources are as follows, and a blank QWidget window can be generated by running directly
2. Create interface
The calculator designed this time is mainly composed of buttons and display boxes. Including "0-9" number buttons, operators "/" "*" "-" "+", decimal point button, evaluation button, reset button, left and right bracket () buttons, and back button. The specific design process is as follows.
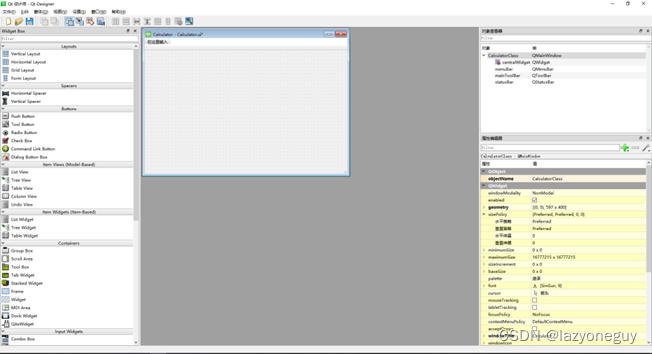
① Double-click the calculator.ui file in the previous figure to pop up Qt Designer.

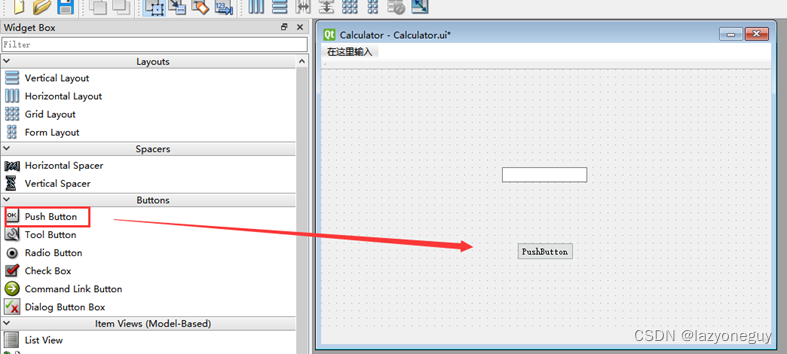
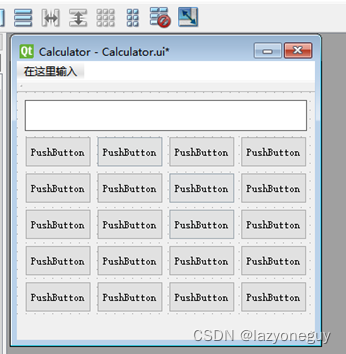
② Press and hold PushButton and LineEdit and drag to the design area on the right, and the addition is successful, adding multiple times;
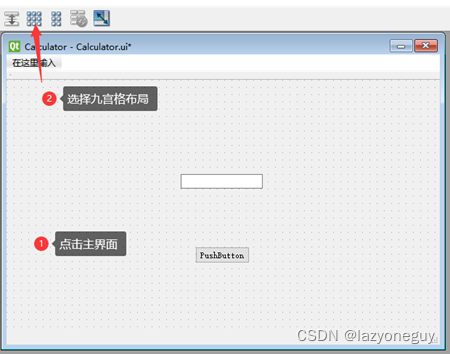
③ Select the main interface and click on the Jiugongge layout above;
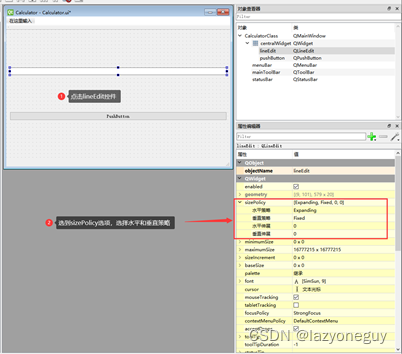
④ Click the LineEdit control, click the sizePolicy option, and change the horizontal policy and vertical policy to Preferred at the same time;
⑤ Add the remaining 19 buttons and place them in a suitable position, pull the lineEdit control down to the right border, and adjust the size of the main interface;
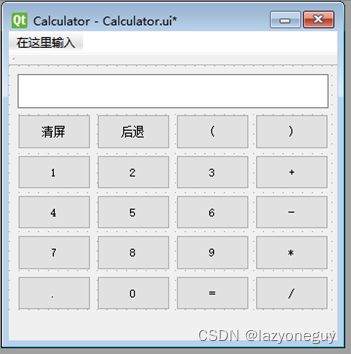
⑥ Select all the buttons, adjust the vertical layout strategy according to the method in step ④, and modify the name of each button;
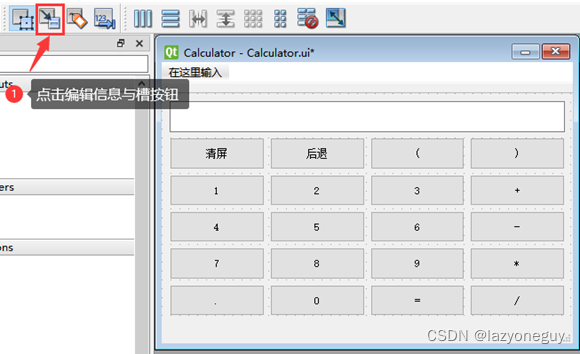
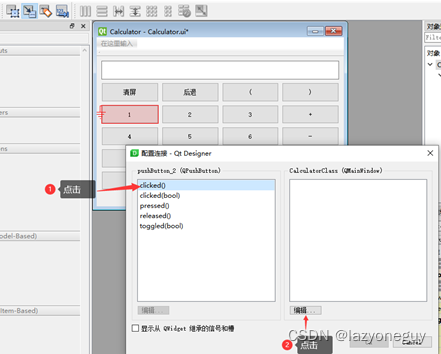
⑦ Click the Edit Information and Slot button;
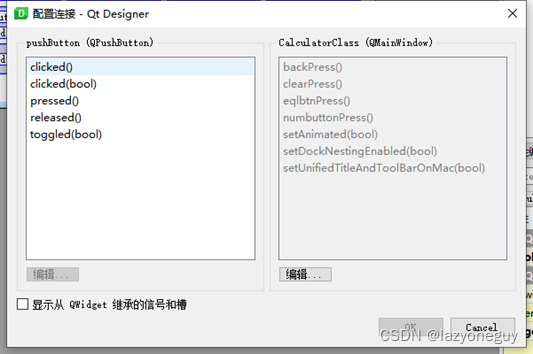
⑧ Press and hold the button "1" with the mouse, drag it to a blank space without controls on the side, and release it. In the pop-up interface, select the clicked() signal on the left, and then click the edit button on the right to enter the slot function editing interface;
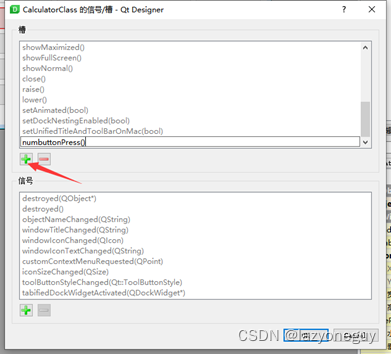
⑨ Click the plus button of the slot, add a slot function of numbuttonPress(), and click OK
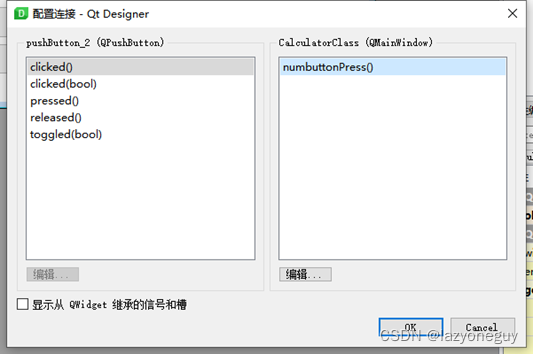
⑩ Return to the configuration connection interface again, select the newly added numbuttonPress() slot function, and click OK to map the clicked() signal of the "1" button with the numbuttonPress() slot function.
⑪ Repeat step 8, remove the "=" key, "Clear Screen" key and "Back" key, and map the clicked() signal of other keys with the numbuttonPress() slot function;
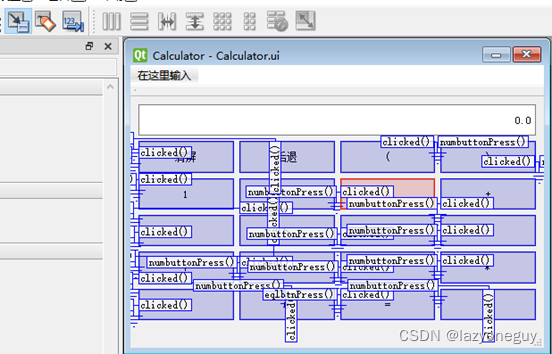
⑫ Repeat step 8 to add three slot functions eqlbtnPress(); clearPress(); backPress(); map the clicked() signal of the "=" key to the eqlbtnPress() slot function; The clicked() signal is mapped to the clearPress() slot function; the clicked() signal of the "Back" key is mapped to the backPress() slot function;
3. Write button code
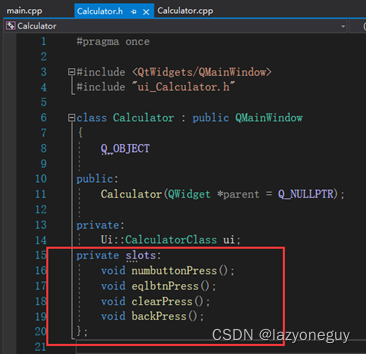
① In order to implement the slot function just created, first add private slots in the Calculator.h file: declare the added four function members eqlbtnPress();clearPress();backPress();numbuttonPress();
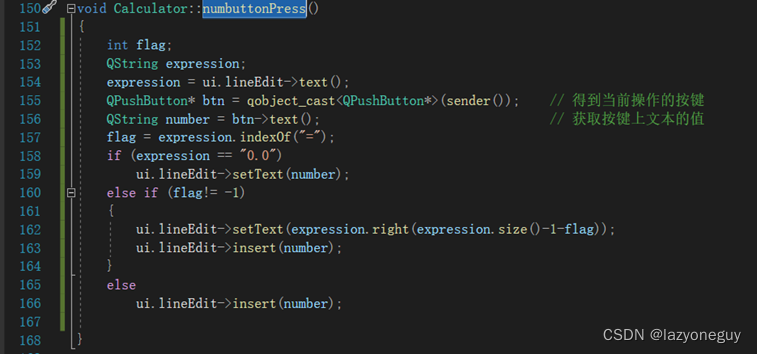
② Implement the numbuttonPress() function;
③ Implement clearPress (function);

④ Implement the backPress() function;

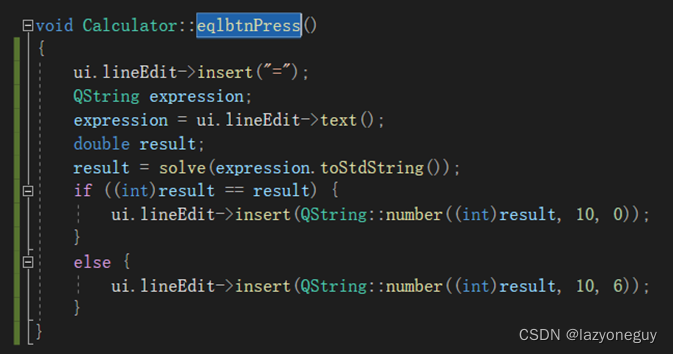
⑤ Implement the eqlbtnPress() function, and use the solve function to obtain the value of the expression;
4. Expression parsing and result calculation
After the input expression is completed, it is necessary to analyze the expression in lineEdit and calculate the corresponding value of the expression. You can refer to the calculation principle and code in the experiment guide, or use the algorithm in this article. This article uses a solve function to parse the expression, calculate the corresponding result, and display it in the result box. The specific code is as follows:
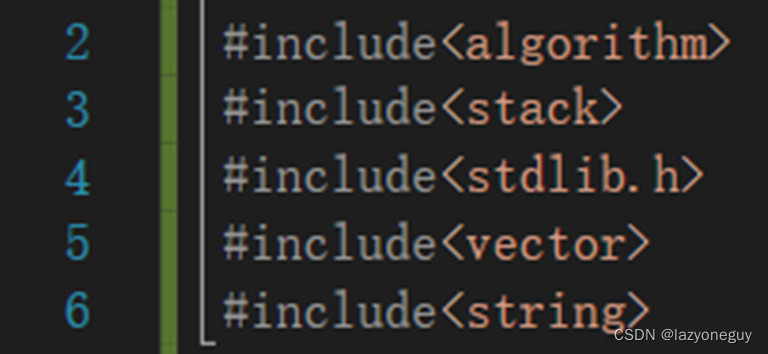
① Include related header files
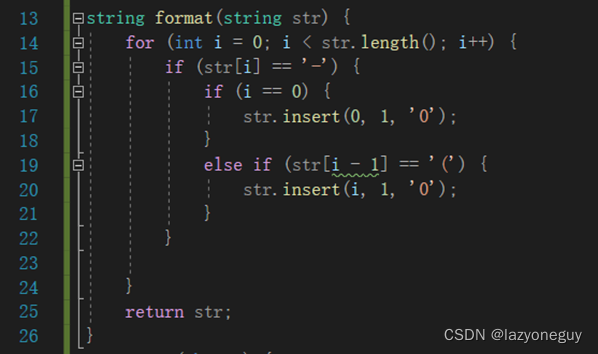
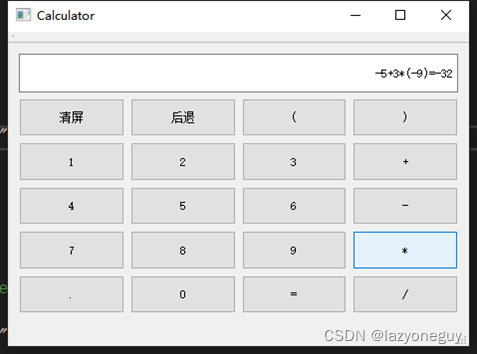
② String preprocessing, here is mainly to deal with negative numbers like -2+3,1+(-3+2)
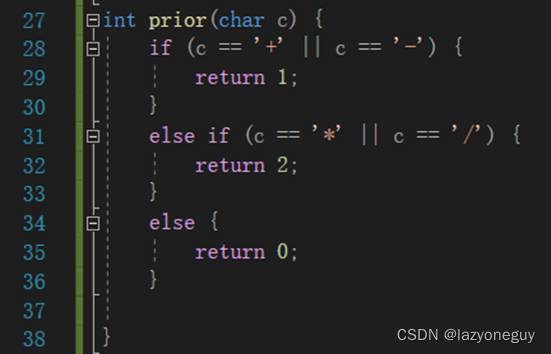
③ Determine operator priority
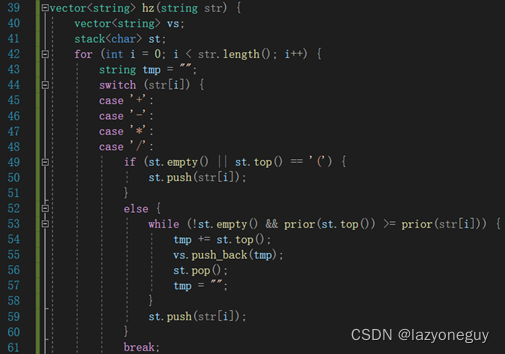
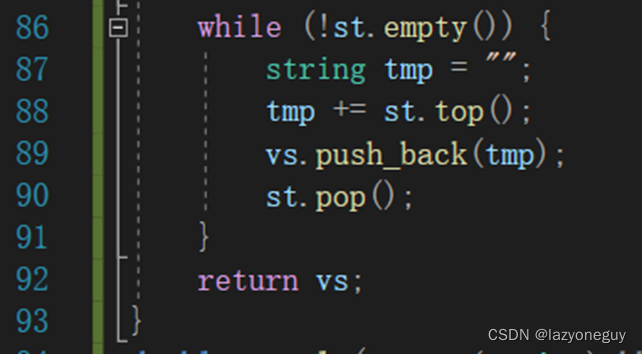
④ Infix expression to postfix expression
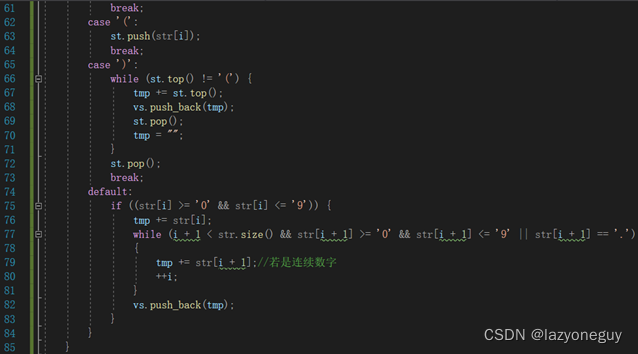
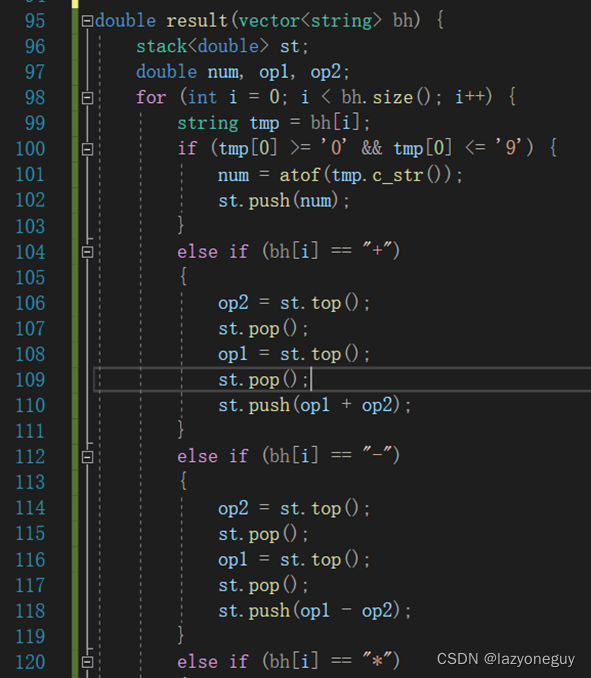
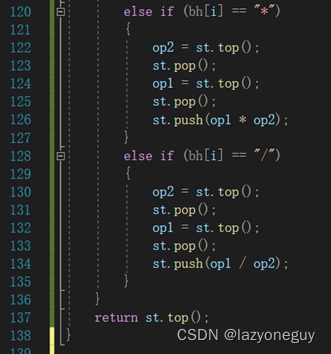
⑤ Calculation of suffix expressions
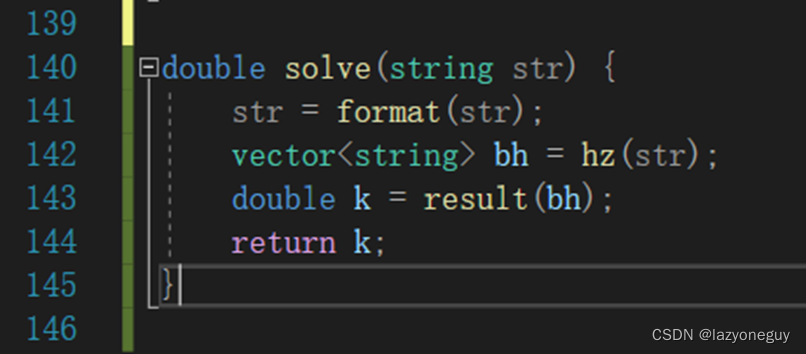
⑥ Implement the solve function
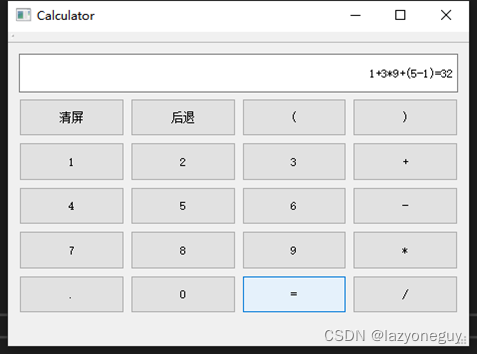
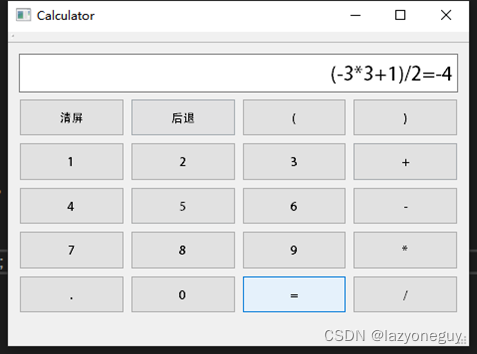
5. Compile and run the results
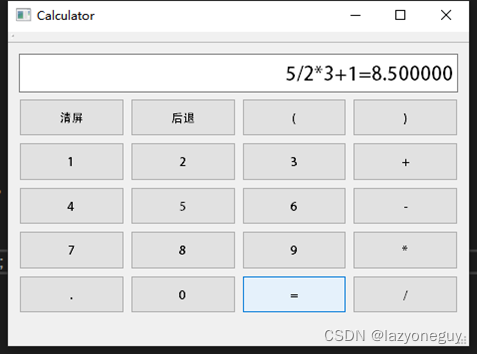
You can also go back to the ui file to change the font;