Article directory
1. Install OpenJDK
1. Open the terminal, enter the command in the command line mode, and add the source of OpenJDK
sudo add-apt-repository ppa:openjdk-r/ppa
sudo apt-get update
2. Enter the command to install OpenJDK 8
sudo apt-get install openjdk-8-jdk
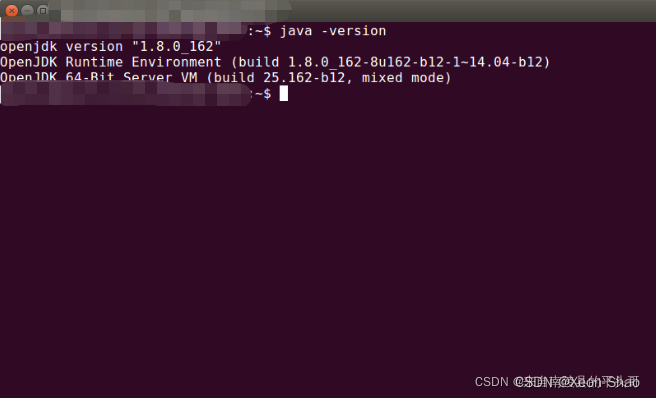
3. After the installation is complete, you can enter the "java -version" command in the command line mode to verify whether the installation is successful
2. Install Oracle JDK
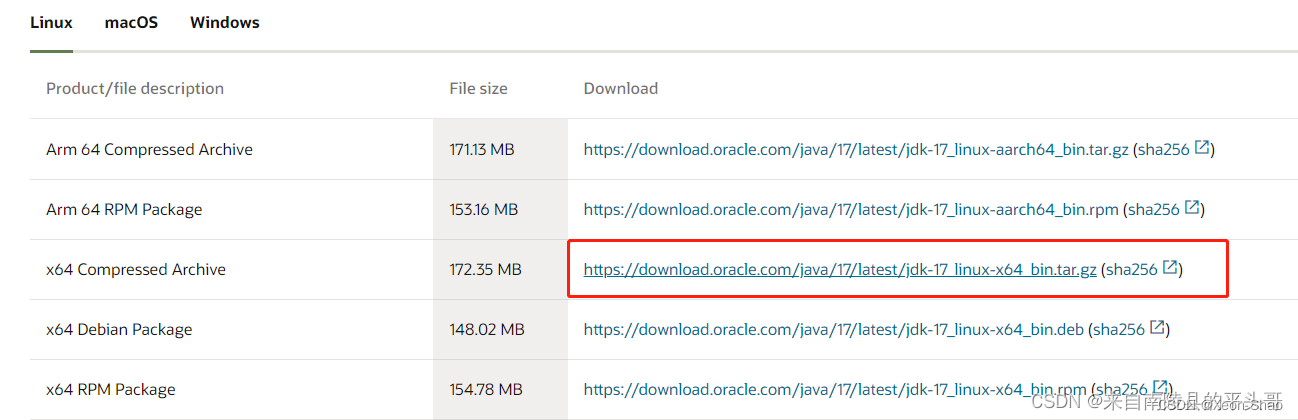
1. Download JDK from the official website
http://www.oracle.com/technetwork/java/javase/downloads/index.html
Download the package in tar.gz format
2. Unzip and put it in a custom directory
Create the folder where jdk is to be stored
sudo mkdir /usr/lib/jdk_17
unzip to this directory
cd ~/Downloads
sudo tar -zxvf jdk-17_linux-x64_bin.tar.gz -C /usr/lib/jdk_17
3. Modify environment variables
gedit ~/.bashrc
Append the following at the end, save and exit:
#set oracle jdk environment
export JAVA_HOME=/usr/lib/jdk_17/jdk-17.0.1  ## 这里要注意目录要换成自己解压的jdk目录
export JRE_HOME=${JAVA_HOME}/jre
export CLASSPATH=.:${JAVA_HOME}/lib:${JRE_HOME}/lib
export PATH=${JAVA_HOME}/bin:$PATH
Make the environment variable take effect
source ~/.bashrc
4. After the installation is complete, you can enter the "java -version" command in the command line mode to verify whether the installation is successful
$ java -version
java version "17.0.1" 2021-10-19 LTS
Java(TM) SE Runtime Environment (build 17.0.1+12-LTS-39)
Java HotSpot(TM) 64-Bit Server VM (build 17.0.1+12-LTS-39, mixed mode, sharing)
$