
illustrate
First of all, you need to go to Alibaba Cloud to purchase Alibaba Cloud products. It would be even better if you have the opportunity to try it for free. Skip the steps of purchasing cloud services and demonstrate directly below.
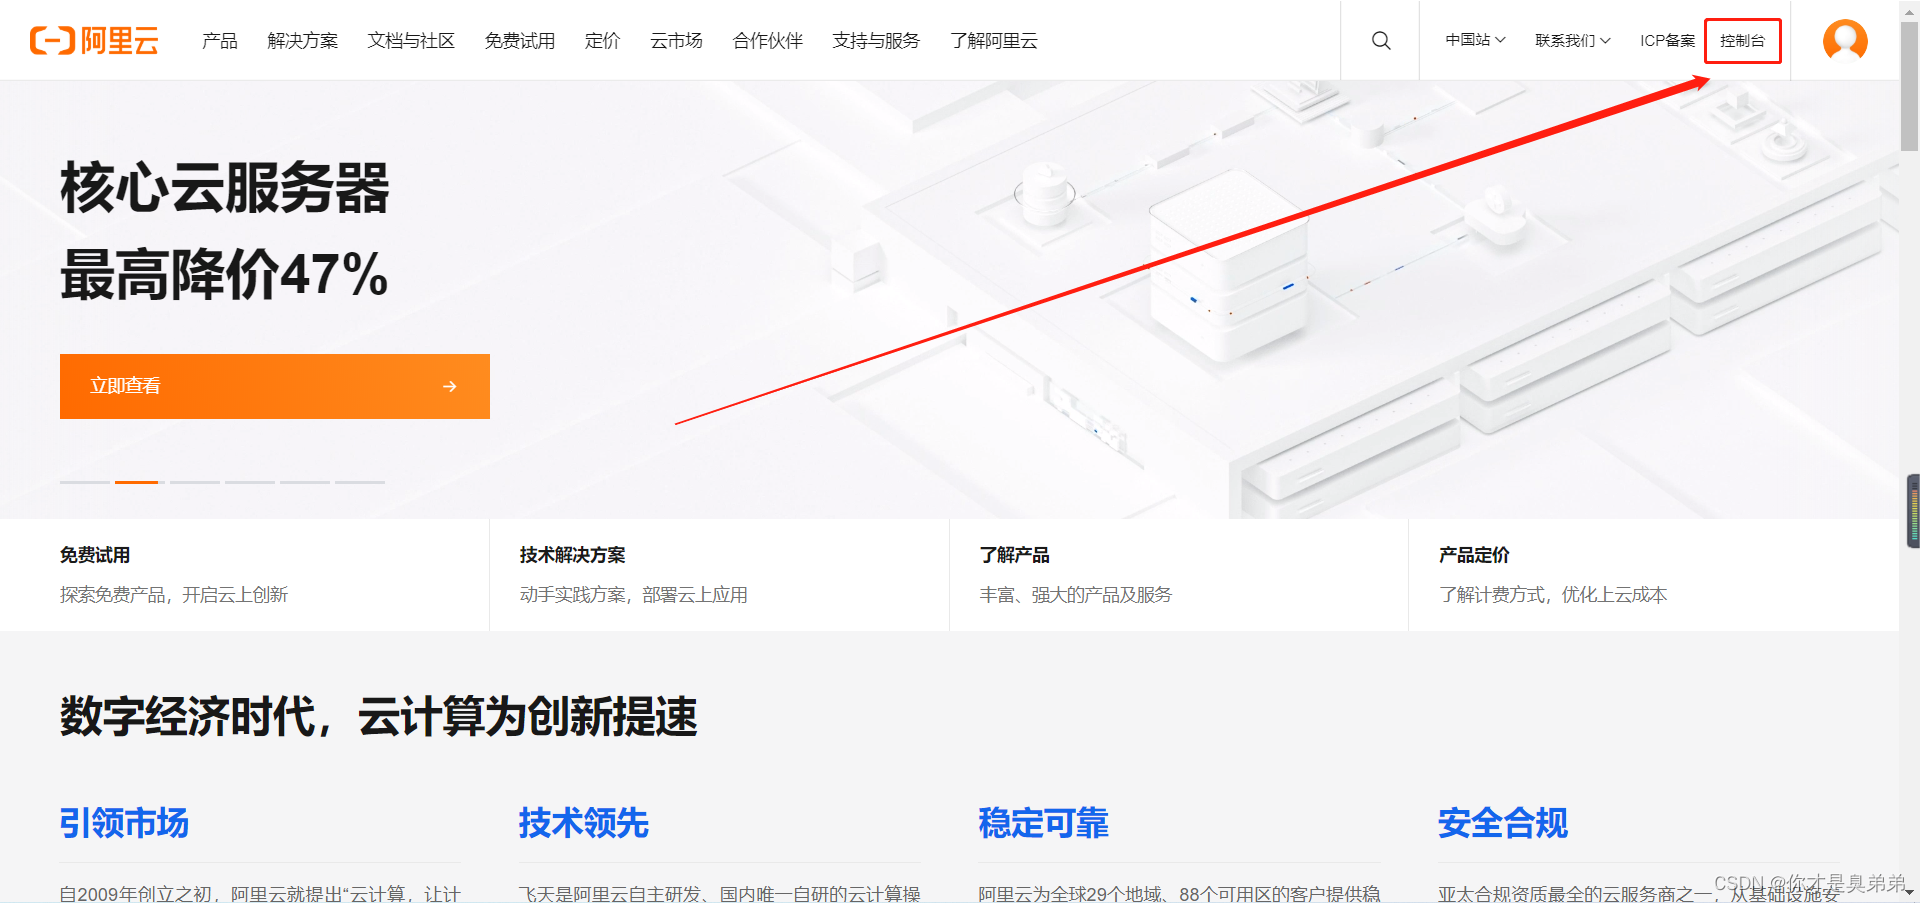
1. Schematic diagram of Alibaba Cloud official website
1. Baidu search Alibaba cloud official

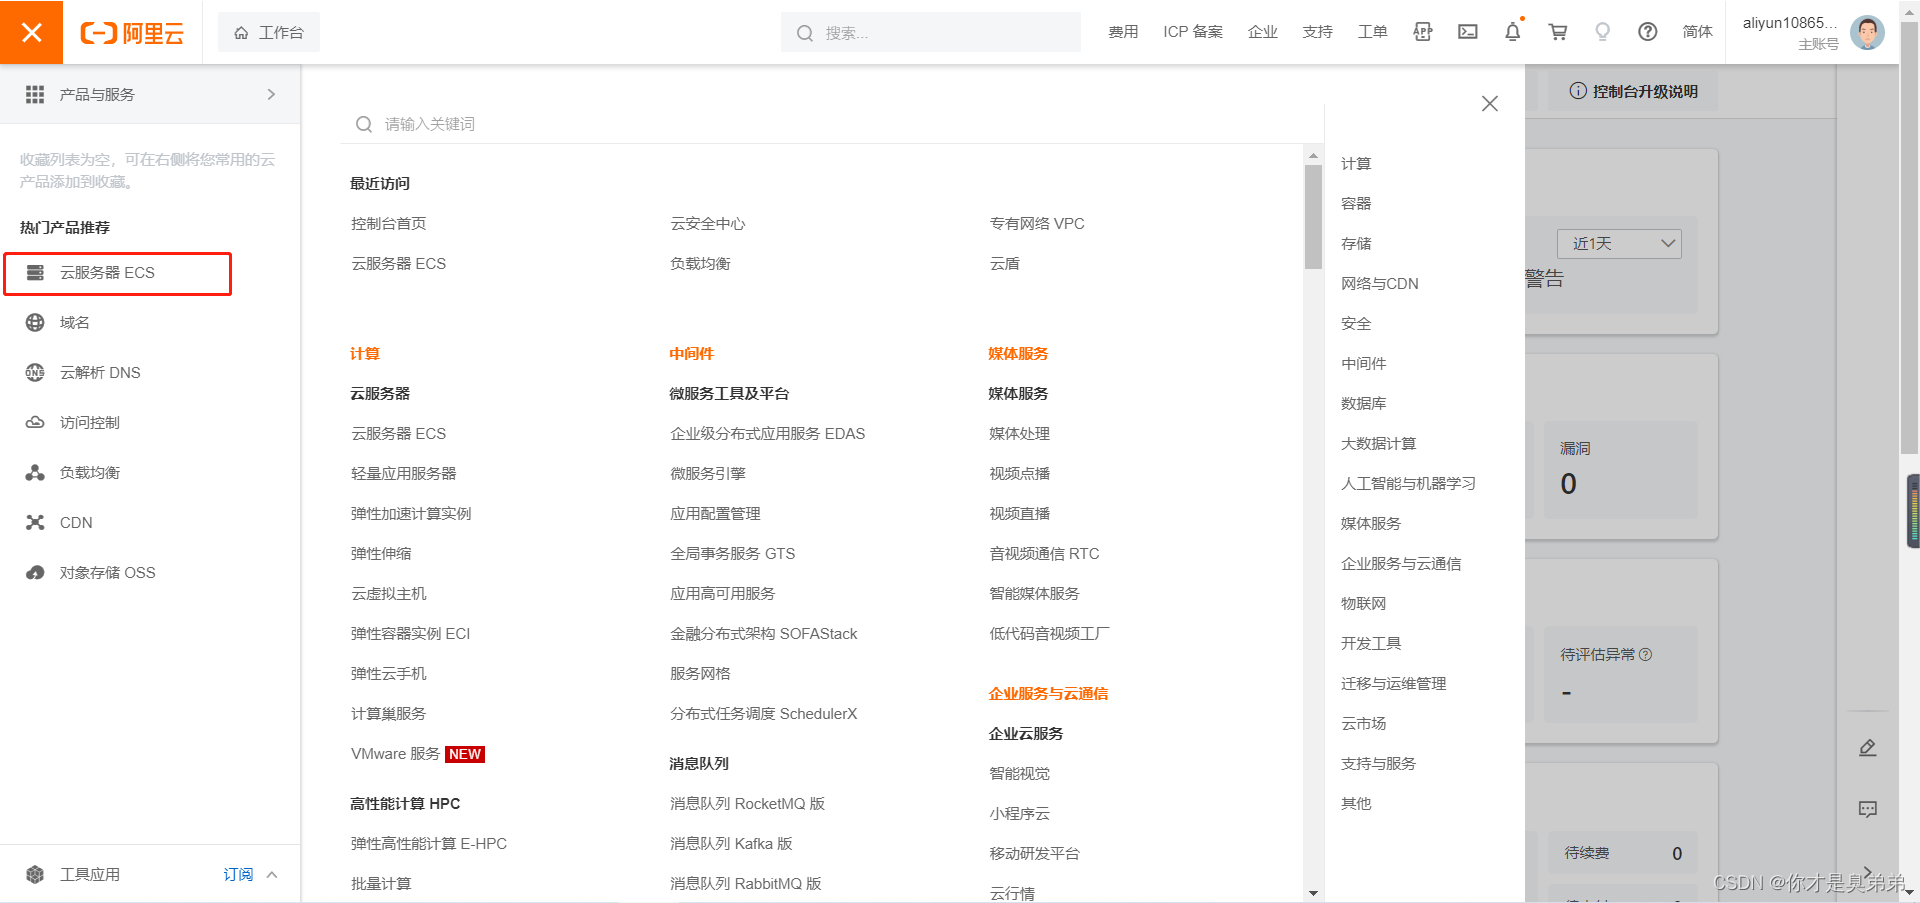
2. Click on the console
3. Expand more

4. Select cloud server ECS
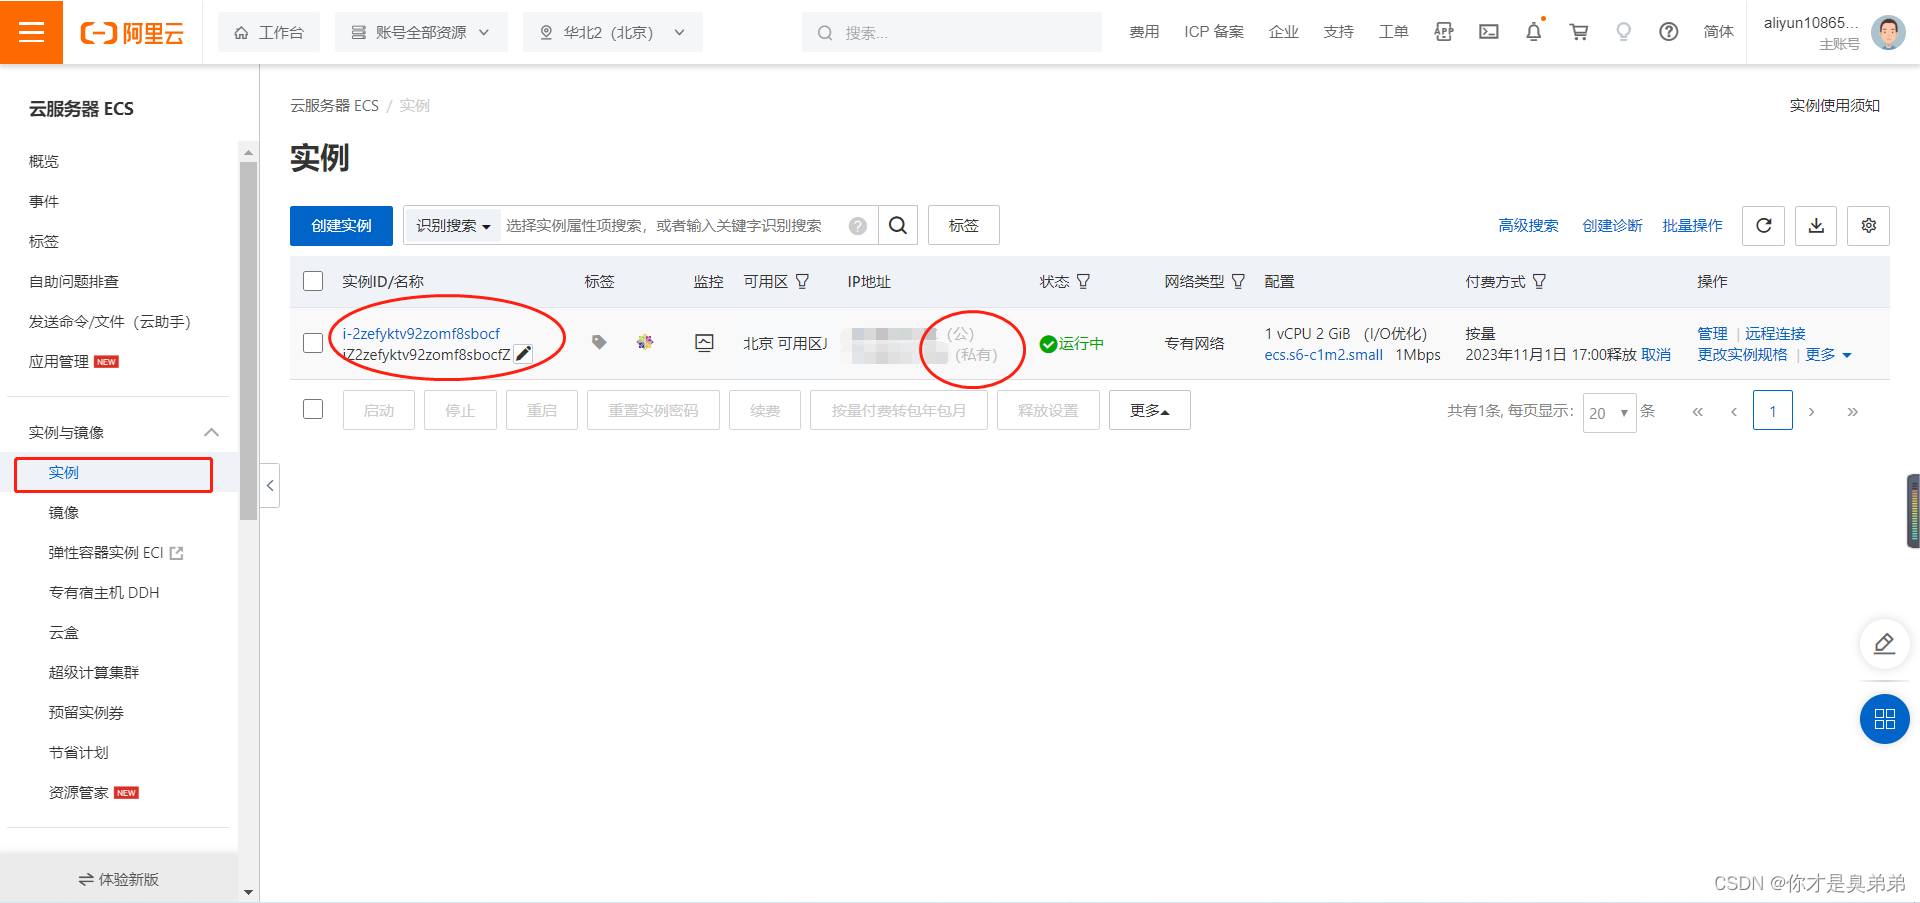
5. Click the instance to see the server status, including public/private IP and other information.
6. After clicking the instance ID to enter, you can see more information including (remote connection)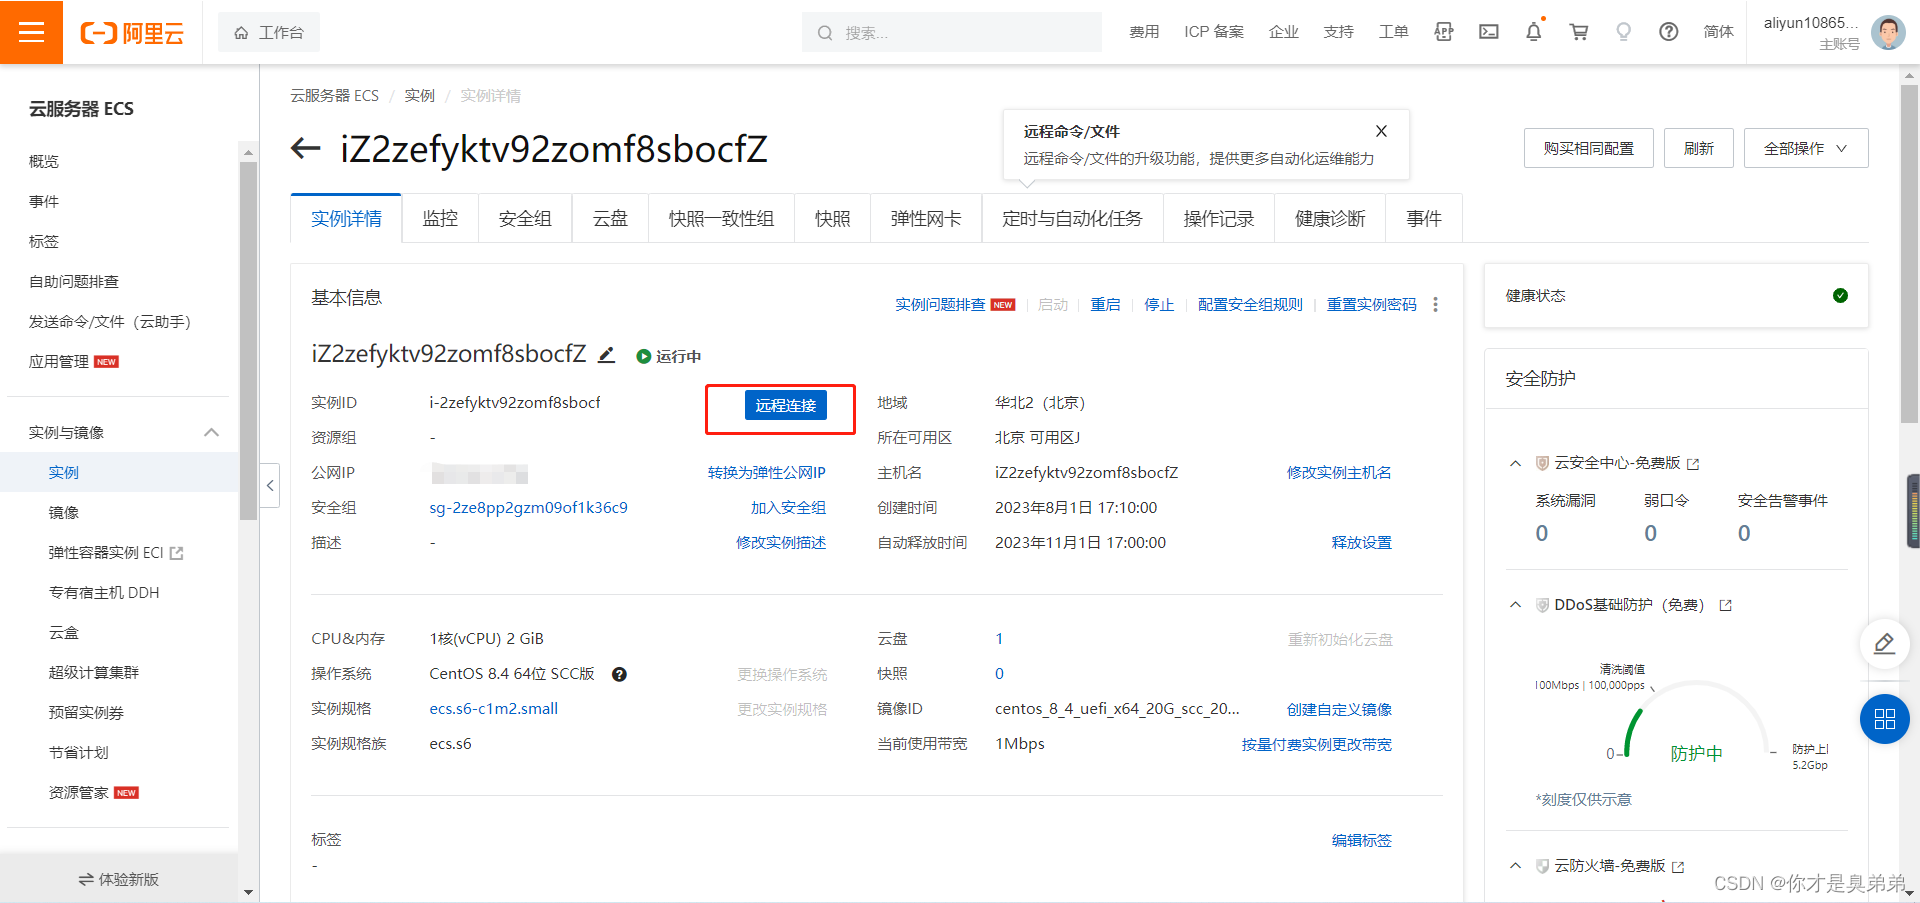
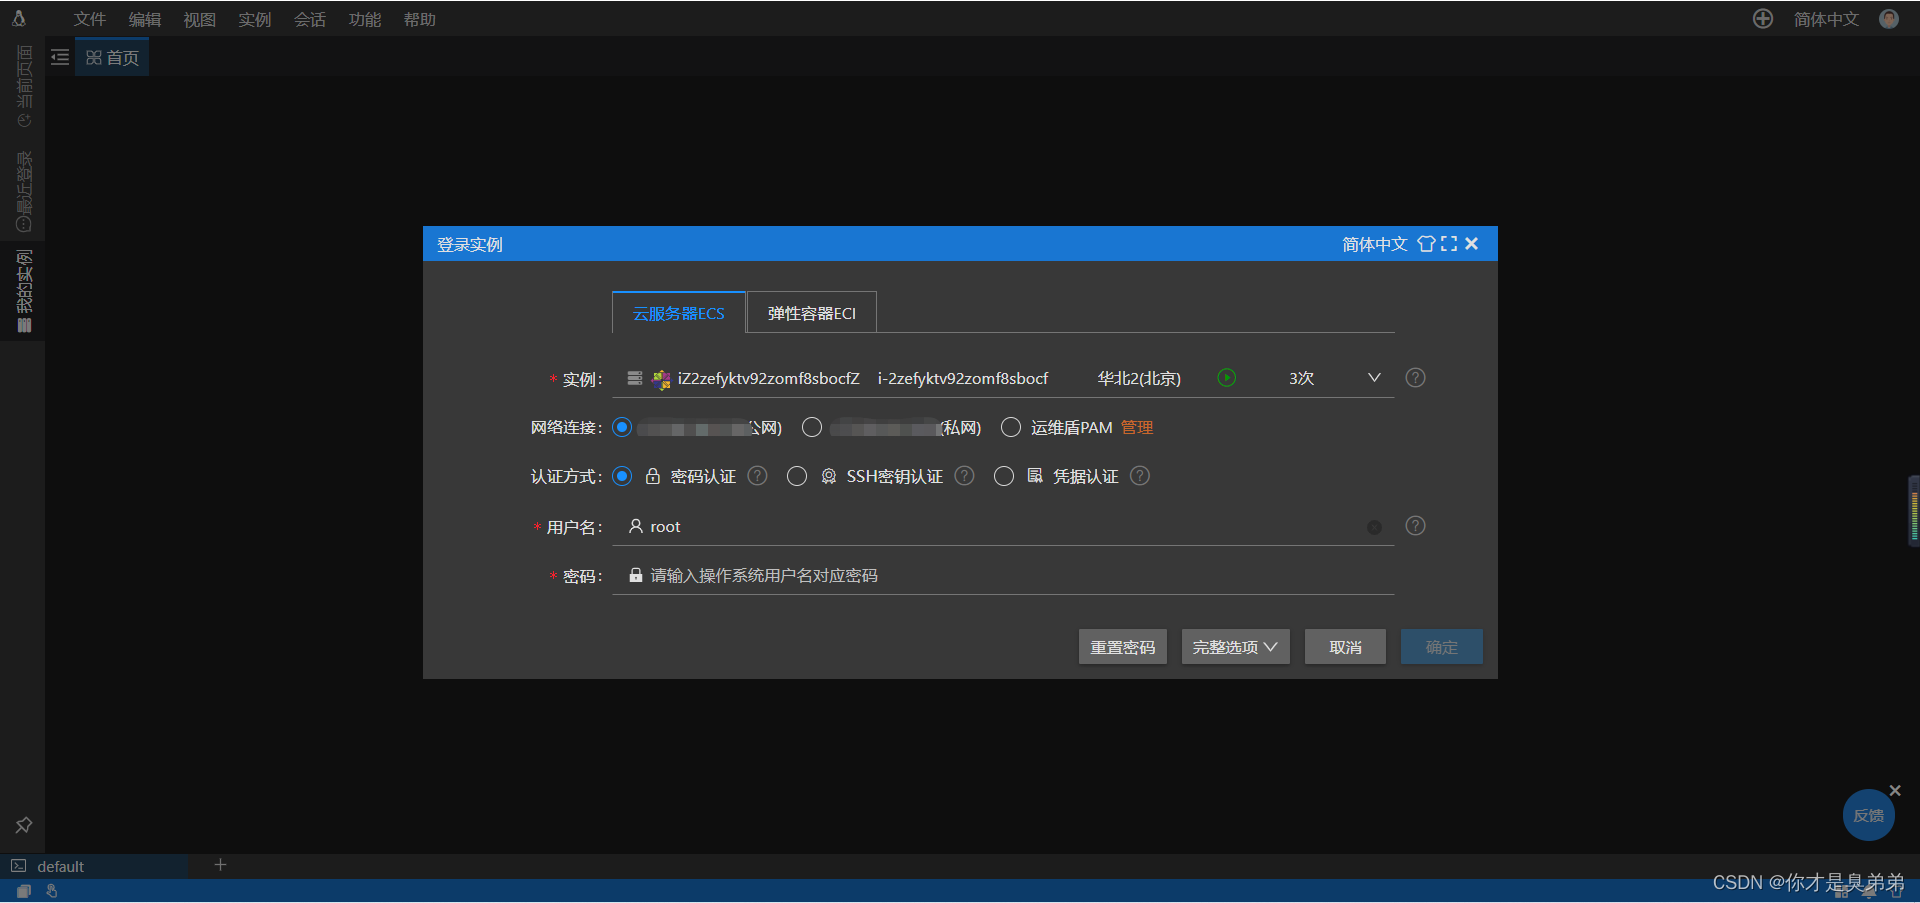
7. Xshell connection
The remote connection format command is as follows:
ssh [email protected] 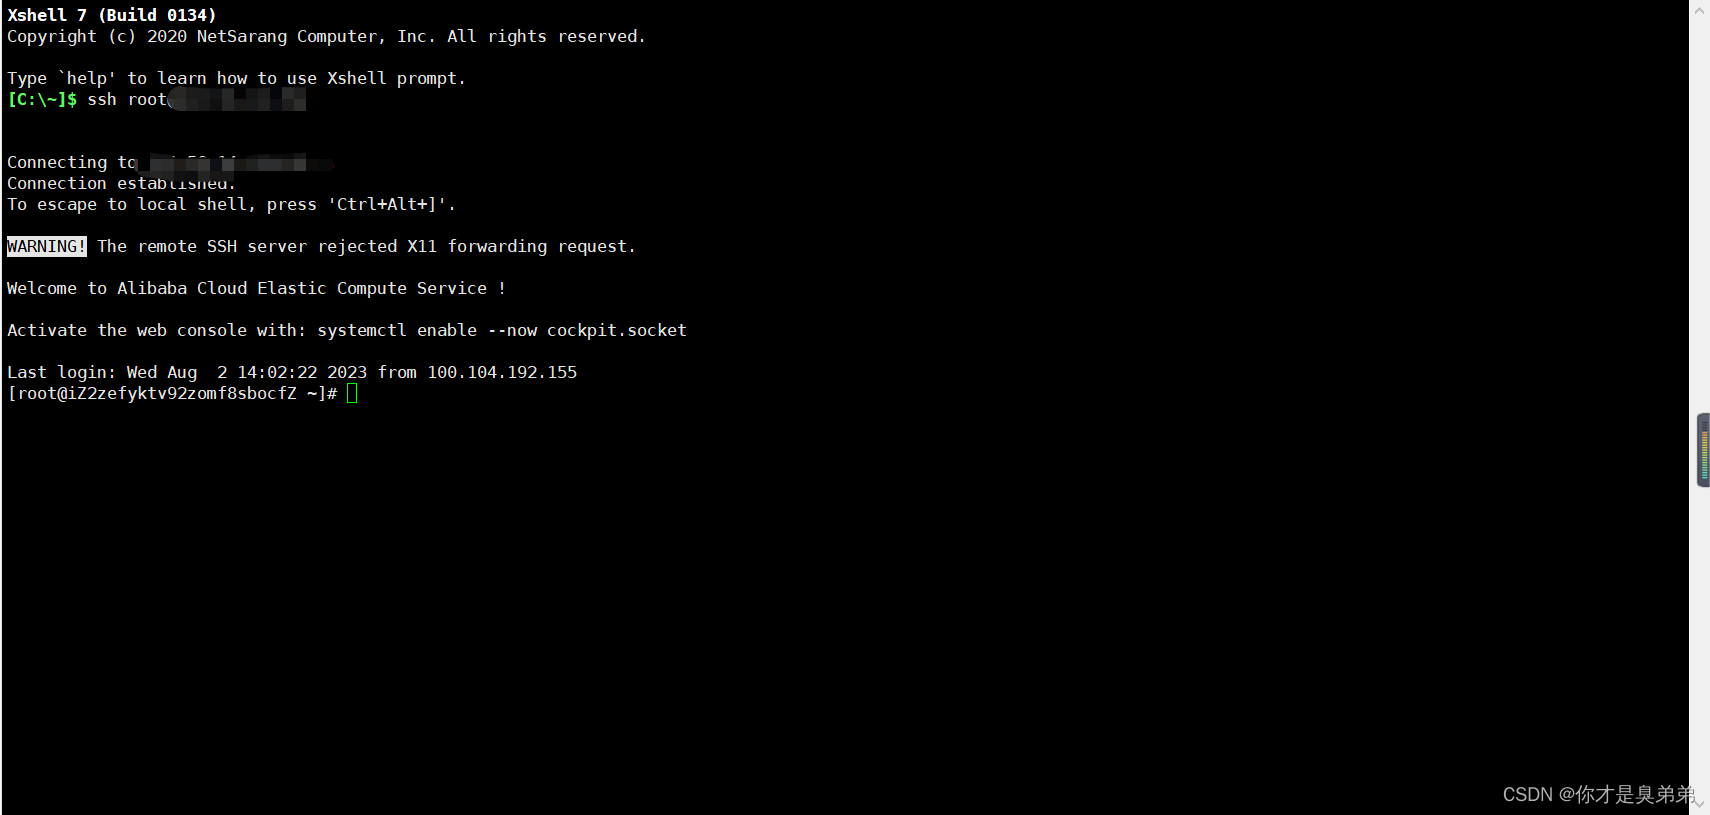
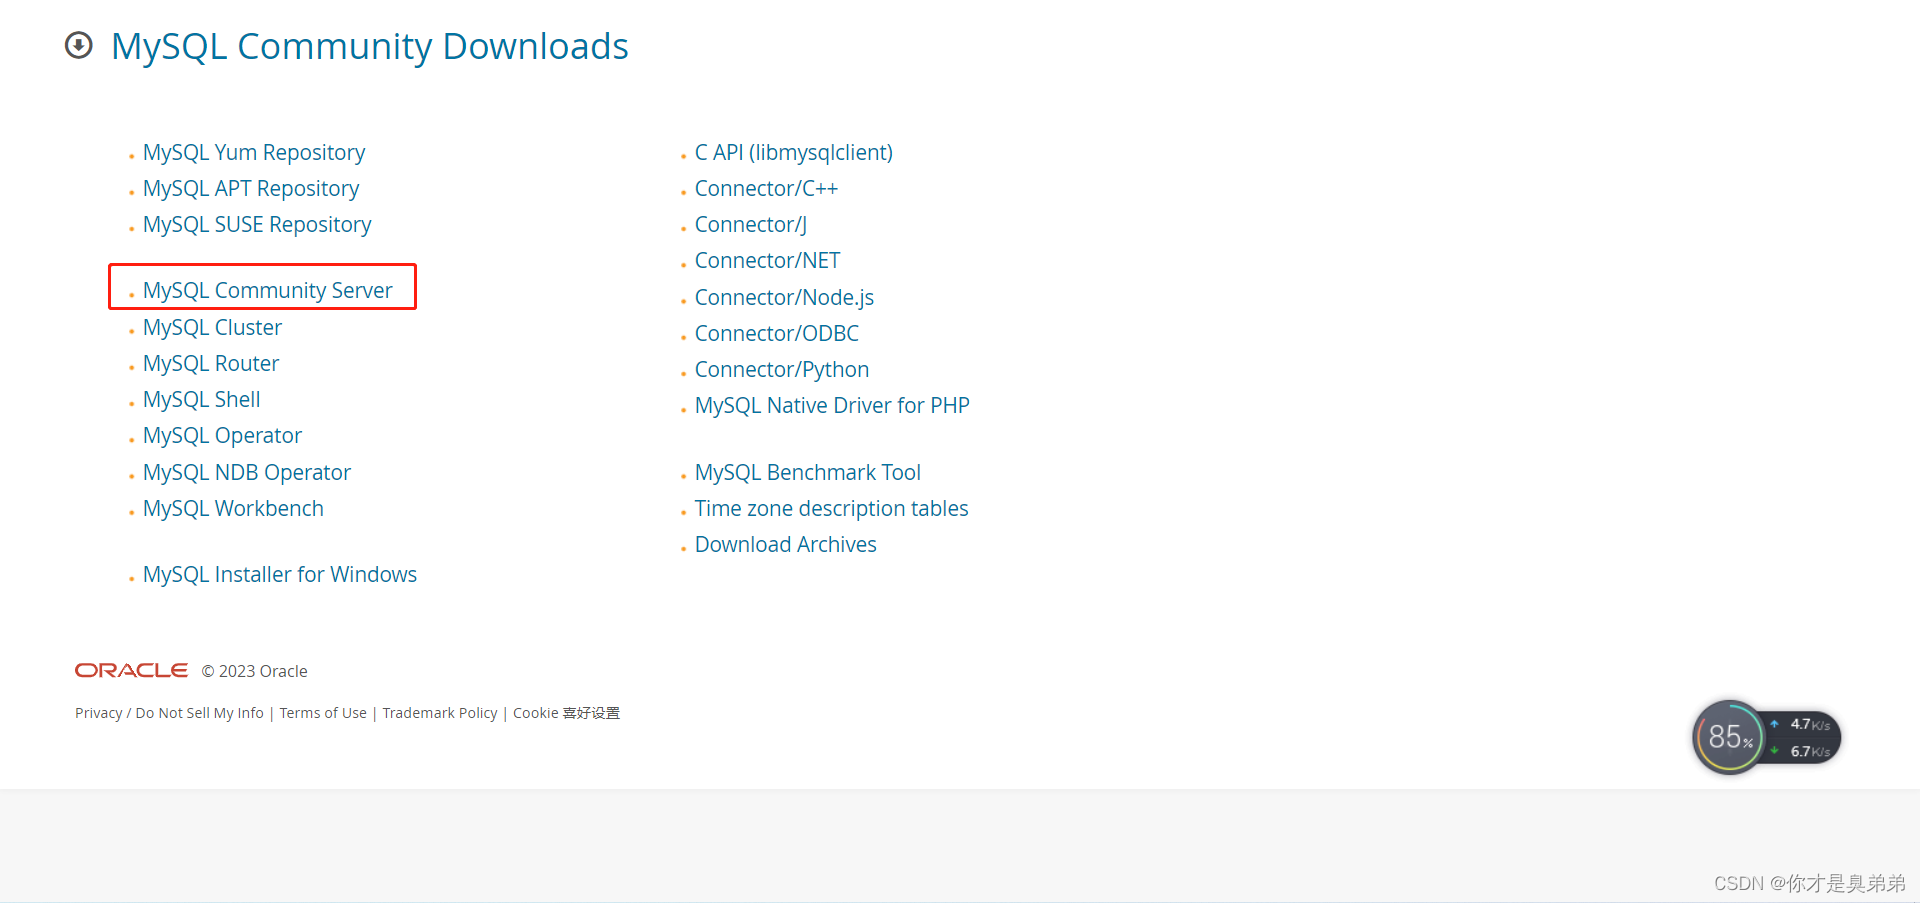
2. Download Mysql for Linux
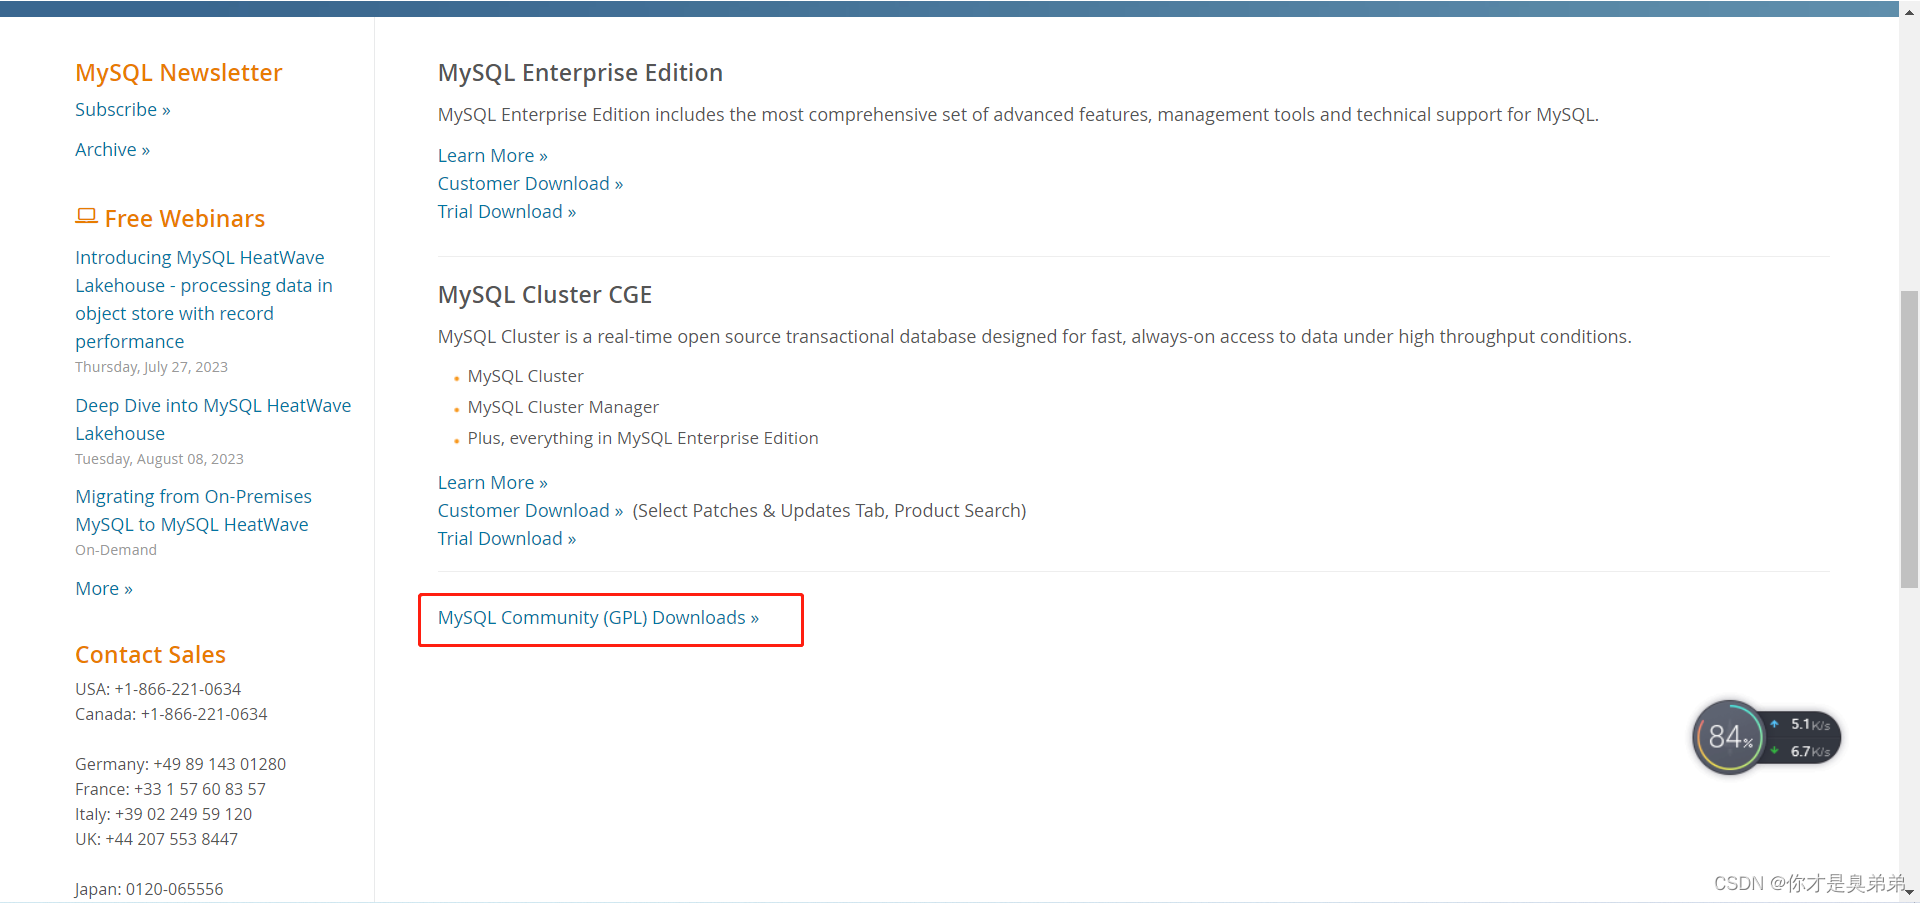
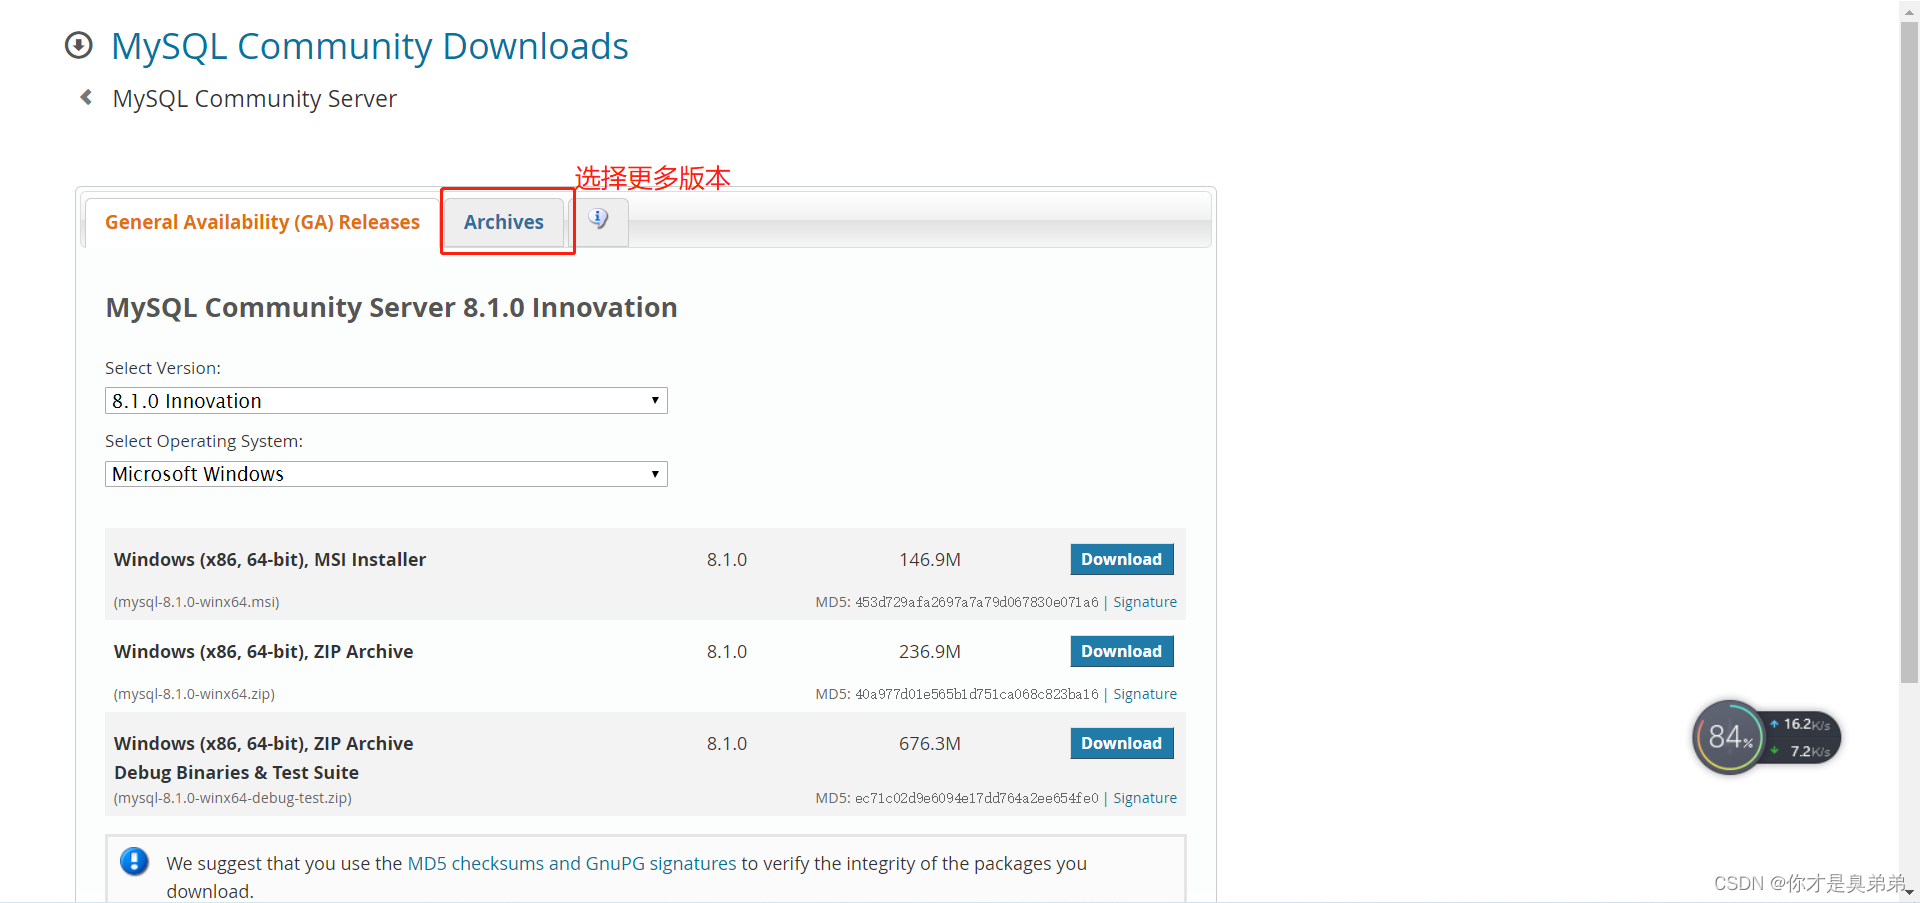
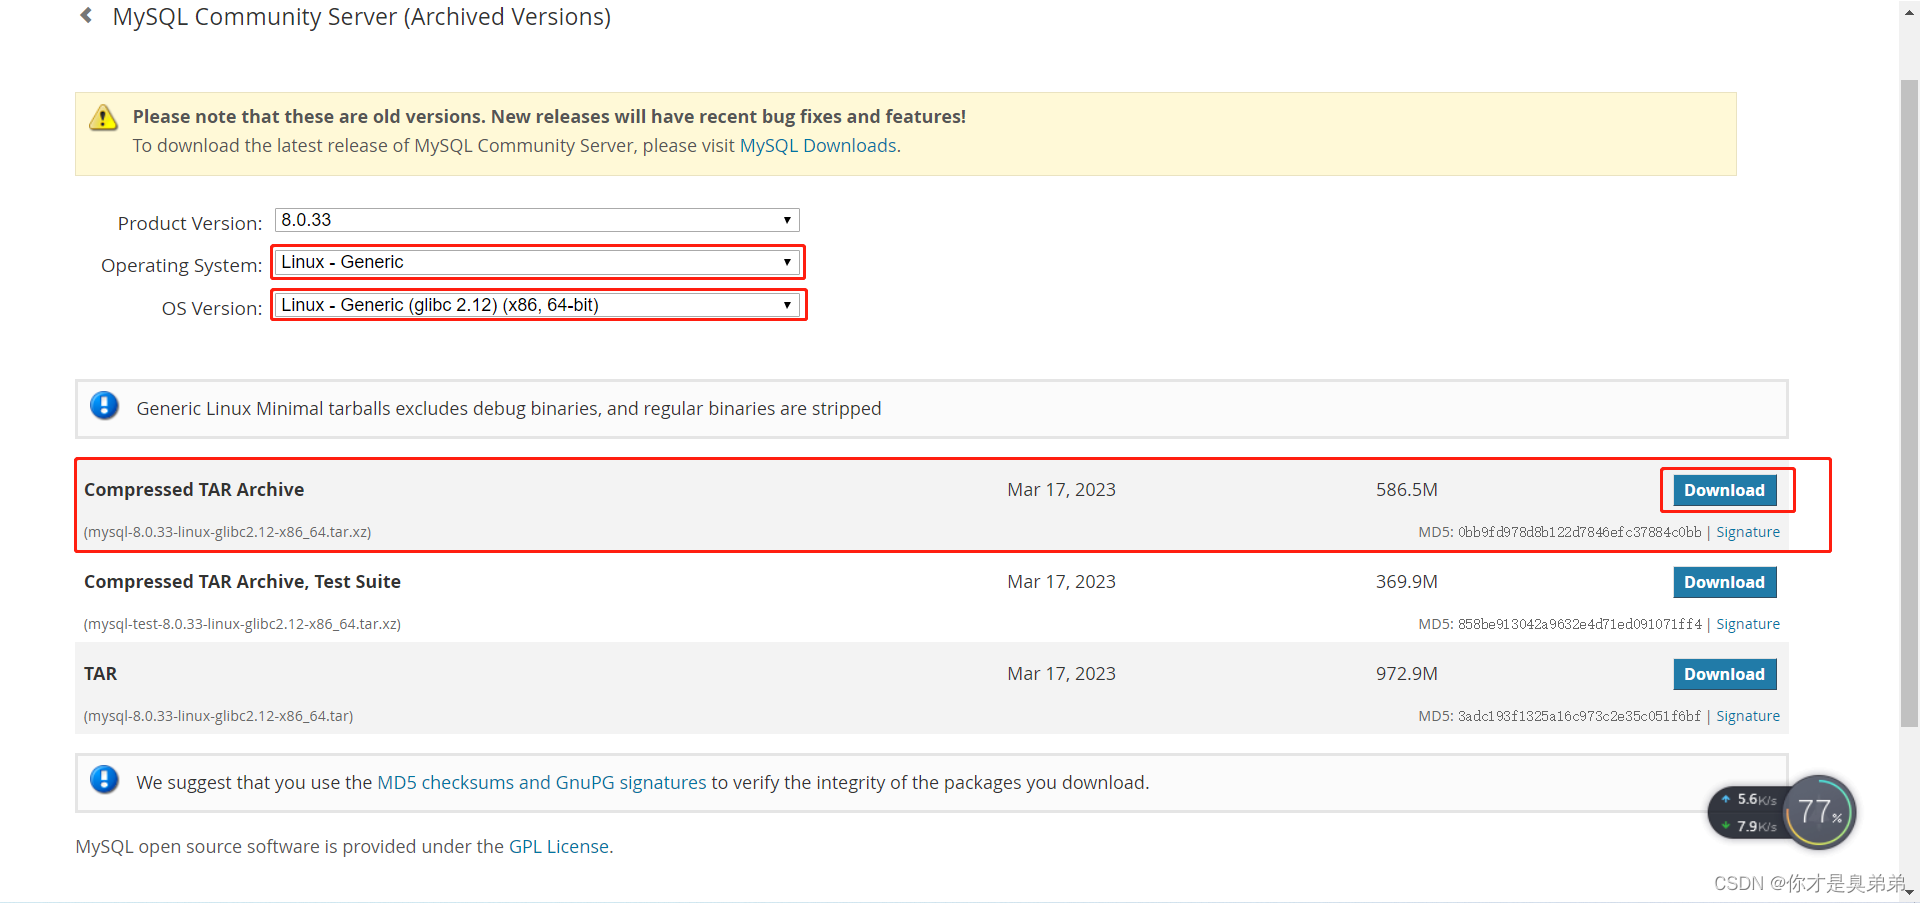
1. Upload the mysql8.0 version downloaded from the Mysql official website (and the Linux version)
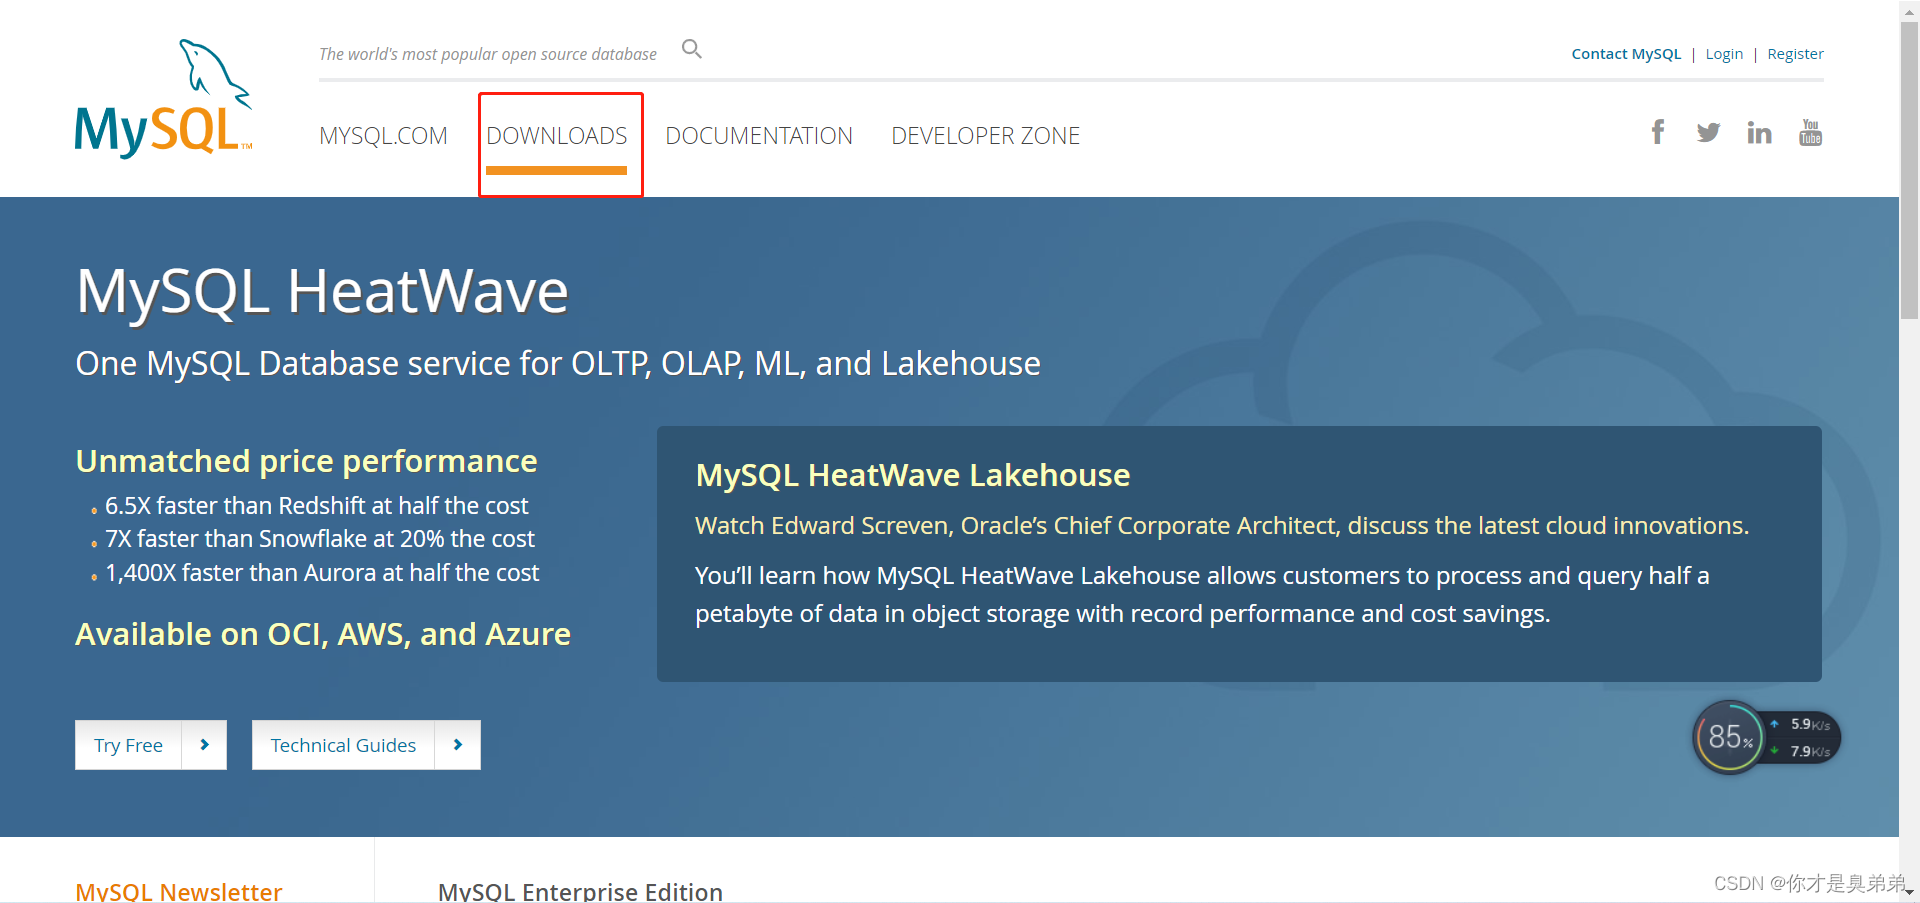
Official address: MySQL
Download steps:
3. Decompression
Upload to cloud server via Xftp and decompress
tar -xvf mysql-8.0.33-linux-glibc2.12-x86_64.tar -C /usr/local
This command is used to decompress the compressed file named mysql-8.0.33-linux-glibc2.12-x86_64.tar and extract it to the /usr/local directory. The -x option indicates decompression, the -v option indicates detailed information when decompressing, the -f option specifies the name of the file to be decompressed, and the -C option specifies the target directory after decompression.
4. Rename
If you want to modify the name: enter the decompression directory and rename mysql-8.0.33-linux-glibc2.12-x86_64 to mysql
Execute the command as follows:
mv mysql-8.0.33-linux-glibc2.12-x86_64 mysql5. Add user/group
#进入到安装目录
[root@iZ2zefyktv92zomf8sbocfZ local]# cd /usr/local/mysql/

#创建组
[root@iZ2zefyktv92zomf8sbocfZ mysql]# groupadd mysql

#创建用户
[root@iZ2zefyktv92zomf8sbocfZ mysql]# useradd -r -g mysql mysql

#设置/usr/local/mysql/文件夹的拥有者
[root@iZ2zefyktv92zomf8sbocfZ mysql]# chown -R mysql:mysql ./
6. Initialize Mysql to generate a default random password
#创建数据库文件存放的文件夹。这个文件夹将来存放每个数据库的库文件
[root@iZ2zefyktv92zomf8sbocfZ mysql]# mkdir data

#执行命令,
[root@iZ2zefyktv92zomf8sbocfZ mysql]# bin/mysqld --initialize --user=mysql --lower_case_table_names=1 --basedir=/usr/local/mysql --datadir=/usr/local/mysql/data/

#参数说明
     #--initialize:初始化MySQL服务器,包括创建数据目录和初始化系统数据库等操作。
     #--user=mysql:指定运行MySQL服务器的用户,这里为mysql用户。
     #--lower_case_table_names=1:将数据库和表名转换为小写,方便在不同操作系统间迁移。
     #--basedir=/usr/local/mysql:指定MySQL服务器的安装路径。
     #--datadir=/usr/local/mysql/data:指定MySQL服务器的数据目录。
#注意:有些centos版本缺少libaio.so.1文件,就会执行不成功,使用yum install -y libaio安装

#设置数据库存储文件夹拥有者
[root@iZ2zefyktv92zomf8sbocfZ mysql]# chown -R root:root ./
[root@iZ2zefyktv92zomf8sbocfZ mysql]# chown -R mysql:mysql data
Remember the generated password, which will be used for login or modification
Seven, modify the configuration
vi /etc/my.cnf[mysql]
# 设置mysql客户端默认字符集
default-character-set=utf8
[mysqld]
# 设置3306端口
port=3306
# 设置mysql的安装目录
basedir=/usr/local/mysql
# 设置mysql数据库的数据的存放目录
datadir=/usr/local/mysql/data
# 允许最大连接数
max_connections=1500
# 服务端使用的字符集默认为8比特编码的latin1字符集
character-set-server=utf8
# 创建新表时将使用的默认存储引擎
default-storage-engine=INNODB
# 默认使用"mysql_native_password"插件认证
default_authentication_plugin=mysql_native_password
# 区分大小写,0区分,1不区分,填写这个配置前提是在initialize初始化数据库的时候加参数--lower_case_table_names=1,否则报错
lower_case_table_names=1
[client]
# 设置mysql客户端连接服务端时默认使用的端口
default-character-set=utf8After entering, press i to insert, Esc to exit editing, :wq to save and exit
8. Start the Mysql service
[root@iZ2zefyktv92zomf8sbocfZ mysql]# cd /usr/local/mysql/support-files
[root@iZ2zefyktv92zomf8sbocfZ support-files]# ./mysql.server start
If the installation package supports systemd, you can start the server in other ways such as:
1.systemctl {start|stop|restart|status} mysqld
systemctl start mysqld:启动MySQL服务器。
systemctl stop mysqld:停止MySQL服务器。
systemctl restart mysqld:重新启动MySQL服务器。
systemctl status mysqld:查看MySQL服务器的状态,包括是否正在运行、已经运行的进程等。

2.service mysqld {start|stop|restart|status}
service mysqld start:启动MySQL服务器。
service mysqld stop:停止MySQL服务器。
service mysqld restart:重新启动MySQL服务器。
service mysqld status:查看MySQL服务器的状态,包括是否正在运行、已经运行的进程等。
service mysqld reload:重载配置
9. Configure cloud service rules
At this time, the remote connection executes mysql -u root -p and why will it report an error? Because Alibaba Cloud needs to open port 3306. If it is not configured, it will not be able to connect to mysql. How to set it is shown in the following figure:
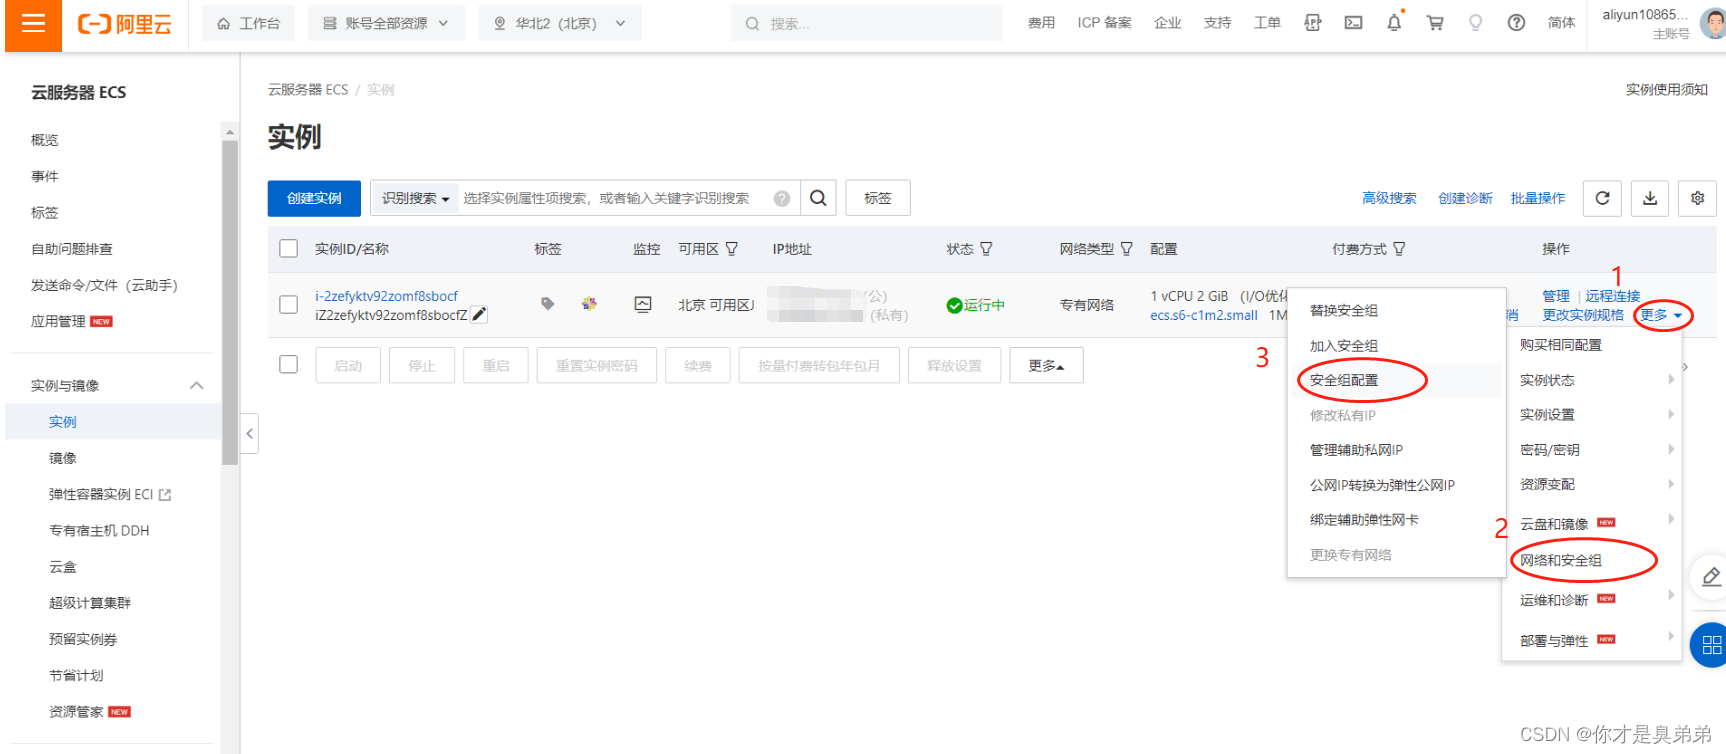
Click Configure Rules
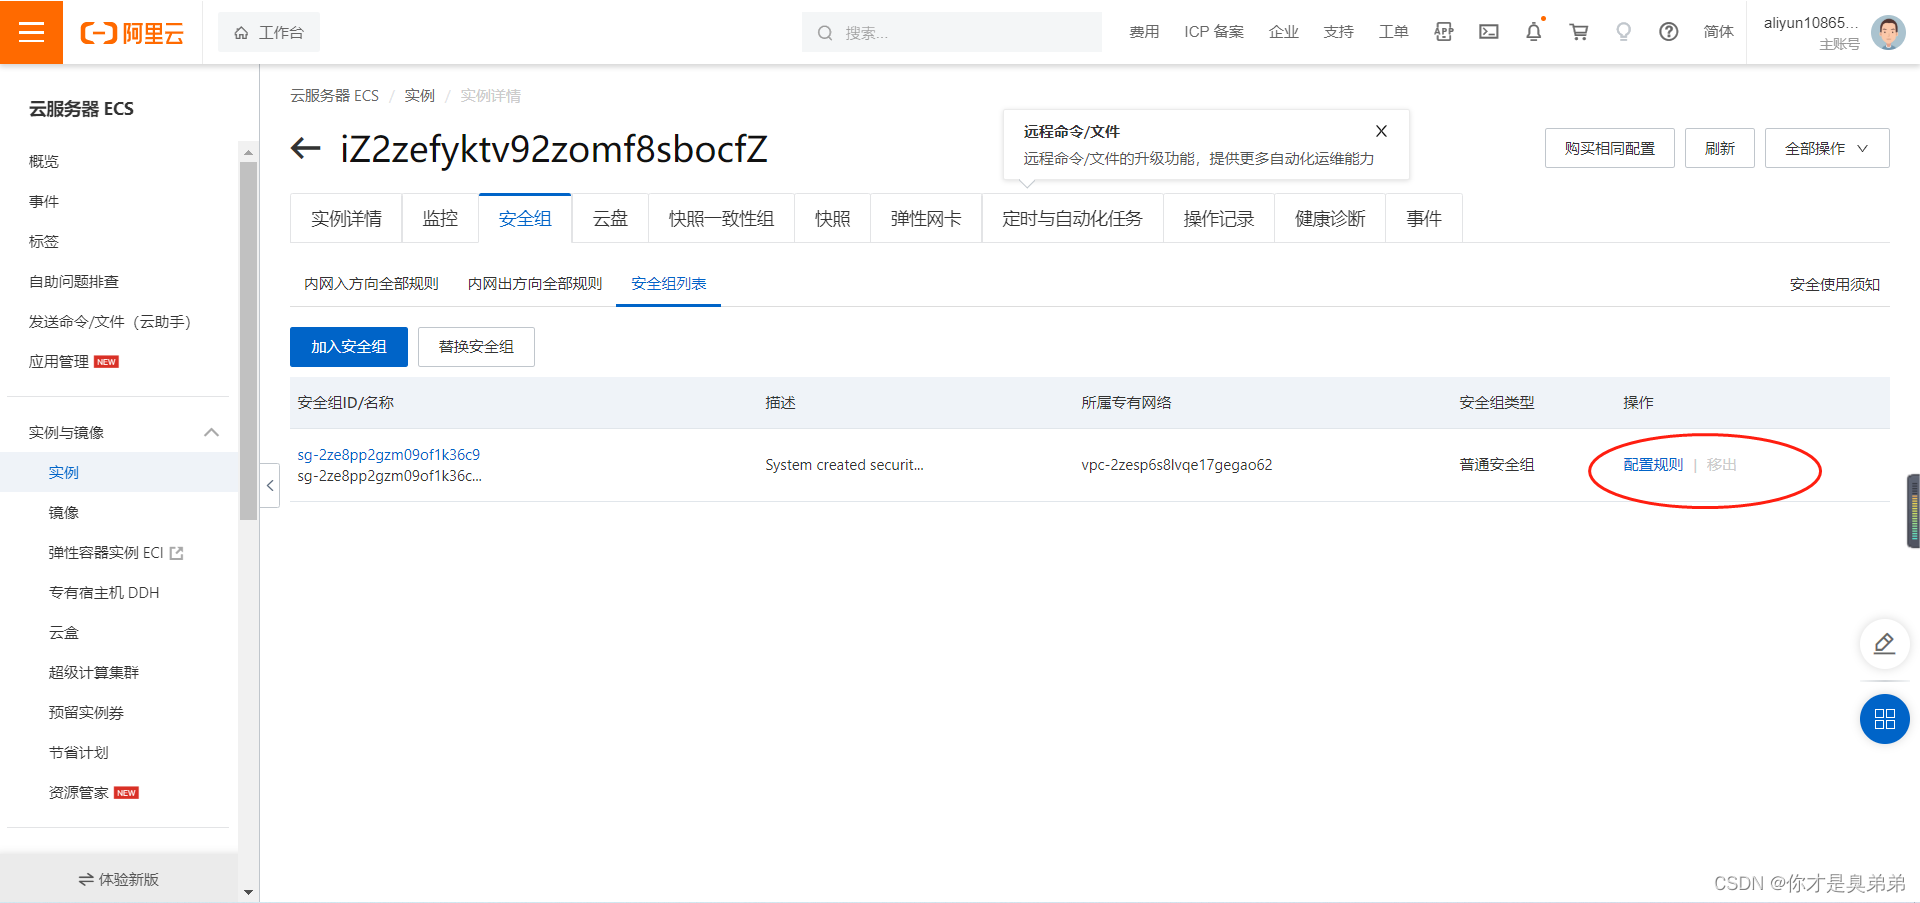
Save after setting the rules

10. Configure MySQL environment variables
Although port 3306 is released, if you do not configure environment variables, you still cannot access mysql.
Excuting an order:
1. enter
vi /root/.bash_profile2. edit
Change the original environment variable to the following command ↓ ↓ ↓
PATH=$PATH:$HOME/bin:/usr/local/mysql/bin:/usr/local/mysql/libNote: If you are not installed under /usr/local/....., modify your own installation path
3. After saving the above and exiting, refresh the configuration
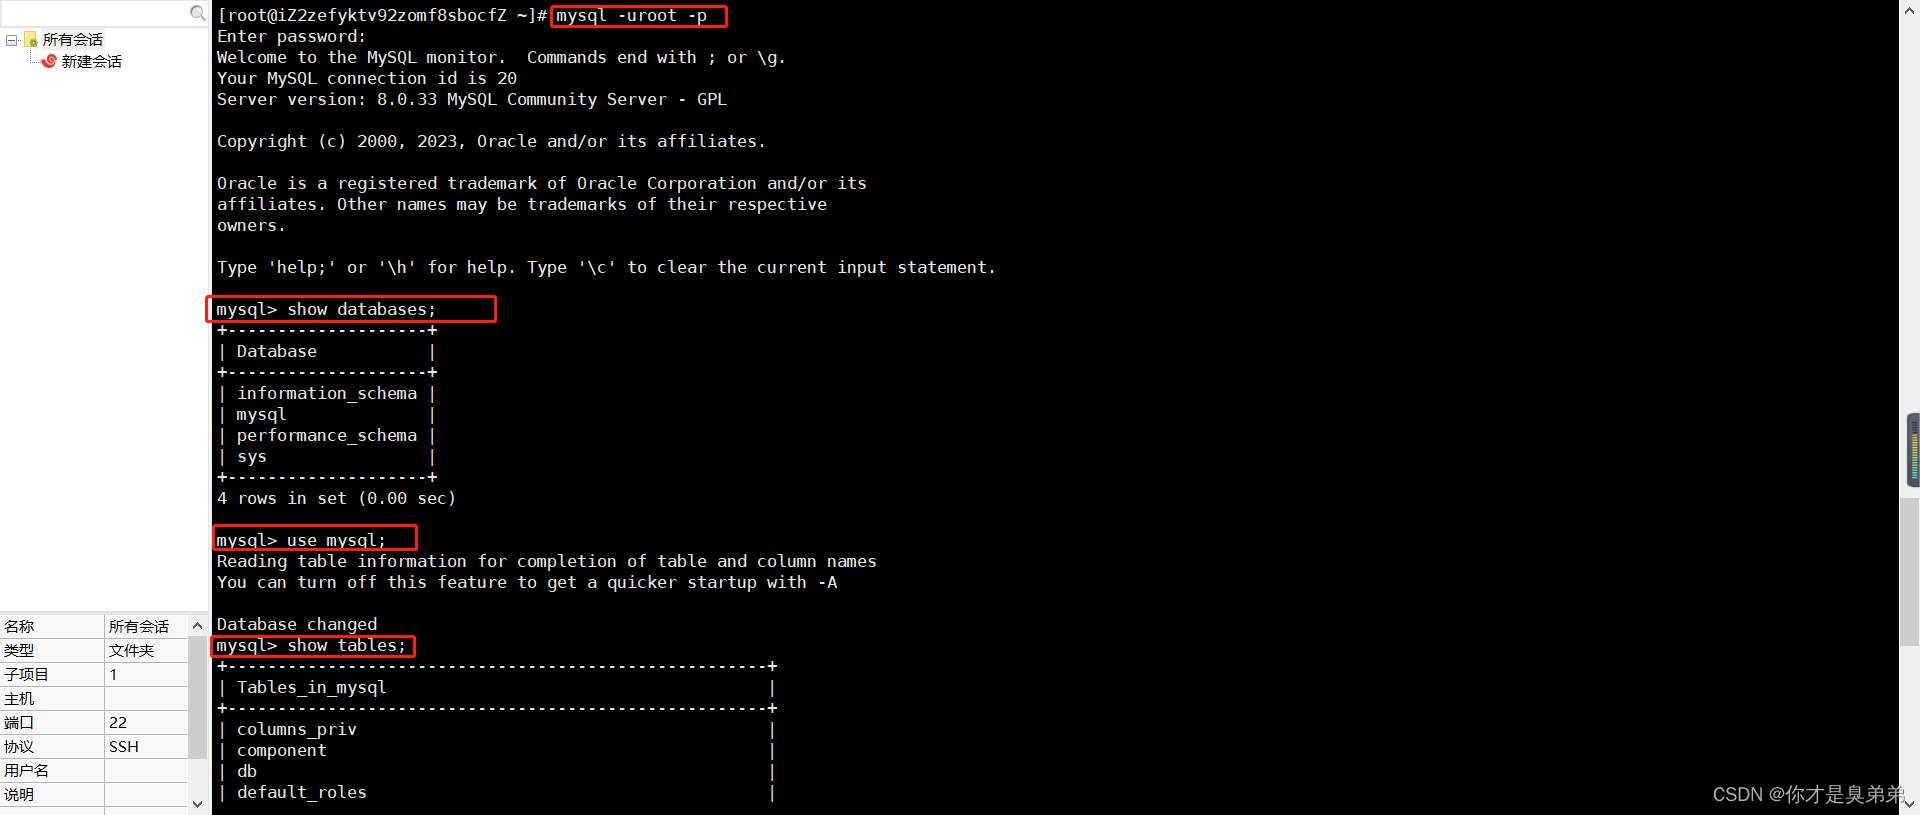
source /root/.bash_profile11. Connect to cloud server Mysql
12. Modify the database password
#设置Mysql新密码为 'root'
mysql> alter user 'root'@'localhost' IDENTIFIED WITH mysql_native_password BY 'root';
Query OK, 0 rows affected (0.00 sec)