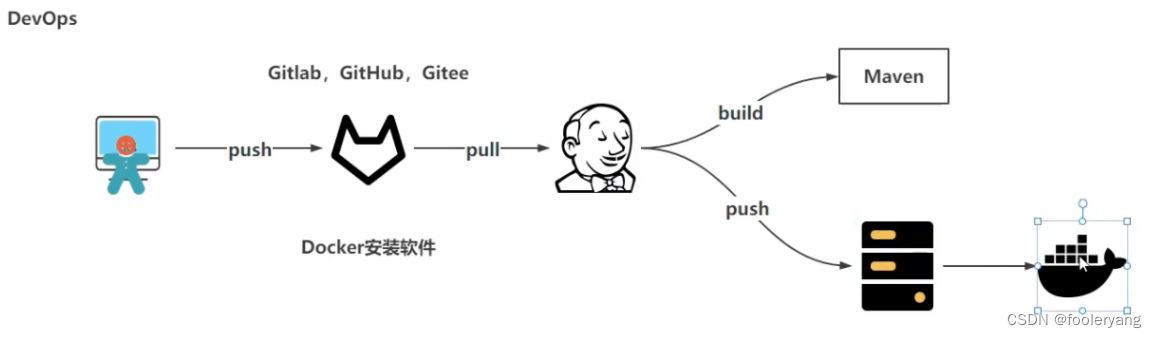
cicd concept
Continuous Integration
Continue to "integrate" local code into the main branch frequently (multiple times a day), and ensure that the main branch is available
Continuous Delivery
It is the next step of continuous integration, where new versions of the software are continuously and frequently delivered to a production-like environment (similar to pre-release), delivered to testing, and product acceptance.
Continuous delivery emphasizes "delivery". No matter how it is updated, software can be delivered anytime and anywhere. Compared with continuous integration, continuous delivery will not only deliver to a production-like environment, but also perform some integration tests, API tests, etc. to ensure Delivered products can be delivered directly for deployment
Continuous Deployment
is the next step in continuous delivery, "automatically" deploying code to production
Continuous deployment emphasizes "deployment", and its goal is that the code is deployable at any time and can enter the production stage.
The difference between continuous deployment and continuous delivery is that continuous deployment is done automatically, while continuous delivery is done manually
1 jenkins CICD operation
premise:
gitlab installed, and created a project, gitlab installed the corresponding plug-ins, see the previous article
illustrate:
The following steps are carried out step by step. After ensuring that there is no problem in each step, proceed to the next step, so as to obtain a relatively complete jenkinsicd operation and lay the foundation for the subsequent use of the jenkins pipeline project
The project is based on a simple springboot project for operation
The current operation is only jenkins operation, not connected to k8s, and the connection operation is performed during the jenkins pipeline project
1.1 jenkins pulls gitlab code
step
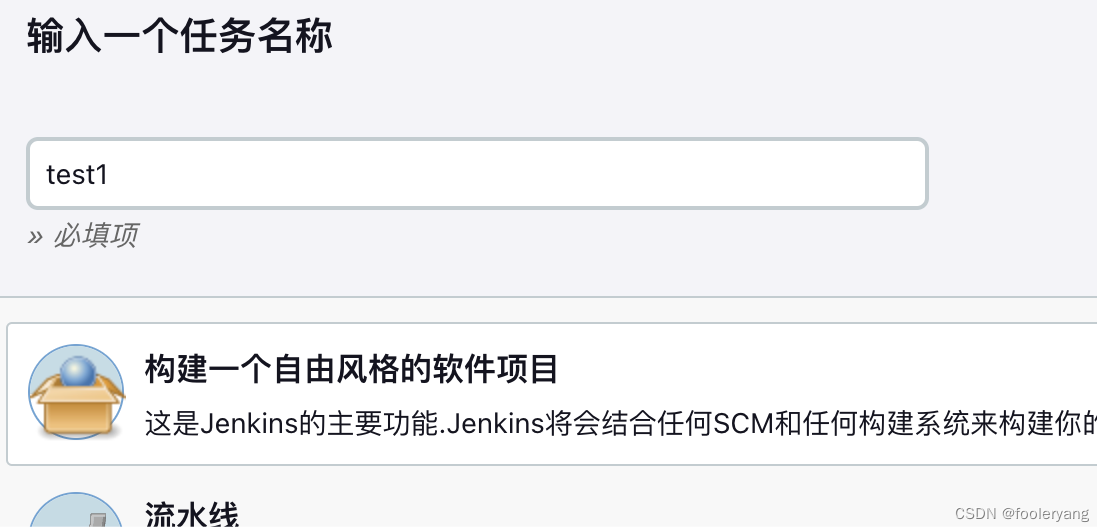
First create a free style project in jenkins
Add git, remote warehouse name and login credentials in source code management

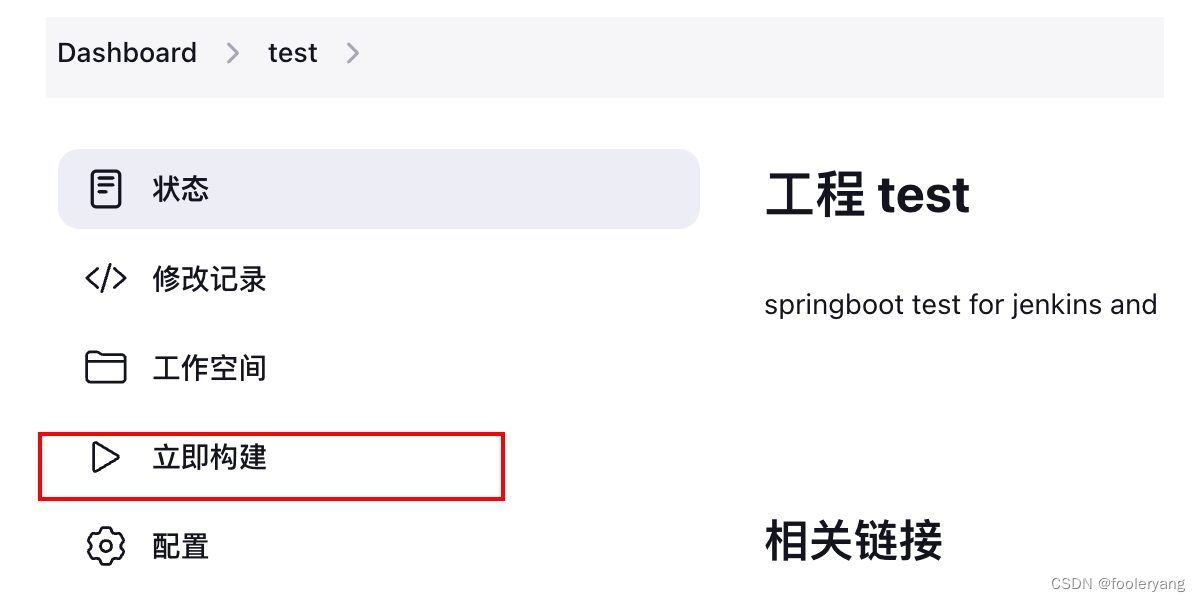
Click to build now
Verify that the pull was successful
You can view the console output log
You can also enter the jenkisn server to check whether the code is pulled, the operation is as follows:
Enter the server [server installed by jenkins], enter the container to view [the pulled local projects will be stored in the workspace directory of the current user directory]
 # 1.进入容器
 sudo docker exec -it jenkins bash
 # 2.进入用户目录
 cd ~
 # 3.进入workspace
 cd workspace/
 # 4.查看项目是否已经拉去到本地
jenkins@fe5b68bad9e1:~/workspace$ cd test
jenkins@fe5b68bad9e1:~/workspace/test$ ls
pom.xml  src
Found the code pulled to gitlab, indicating that there is no problem with the test
1.2 Call maven to package
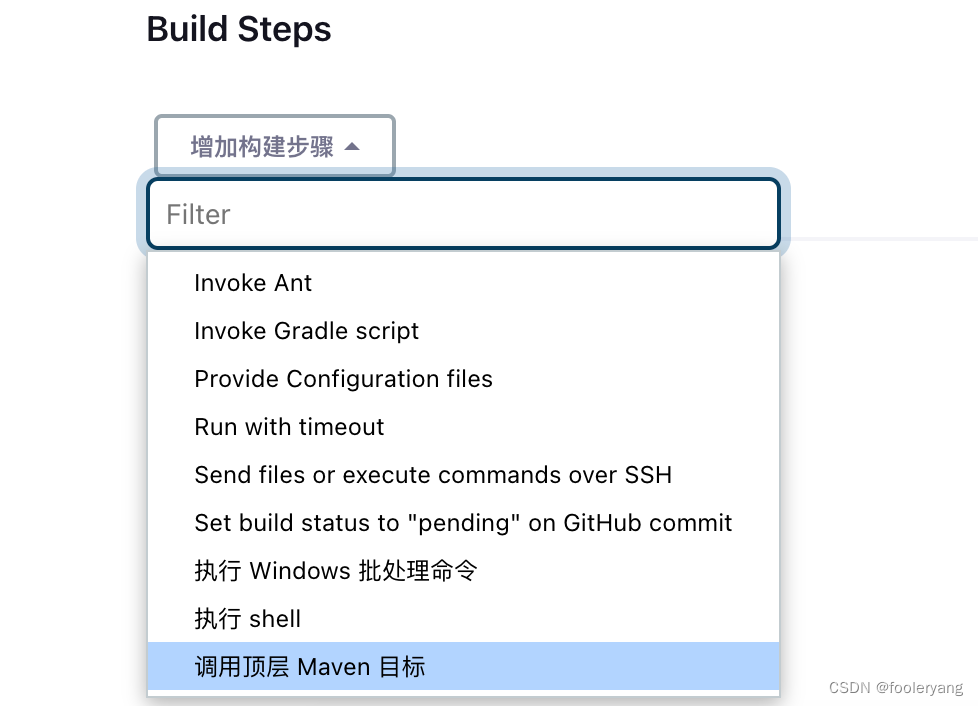
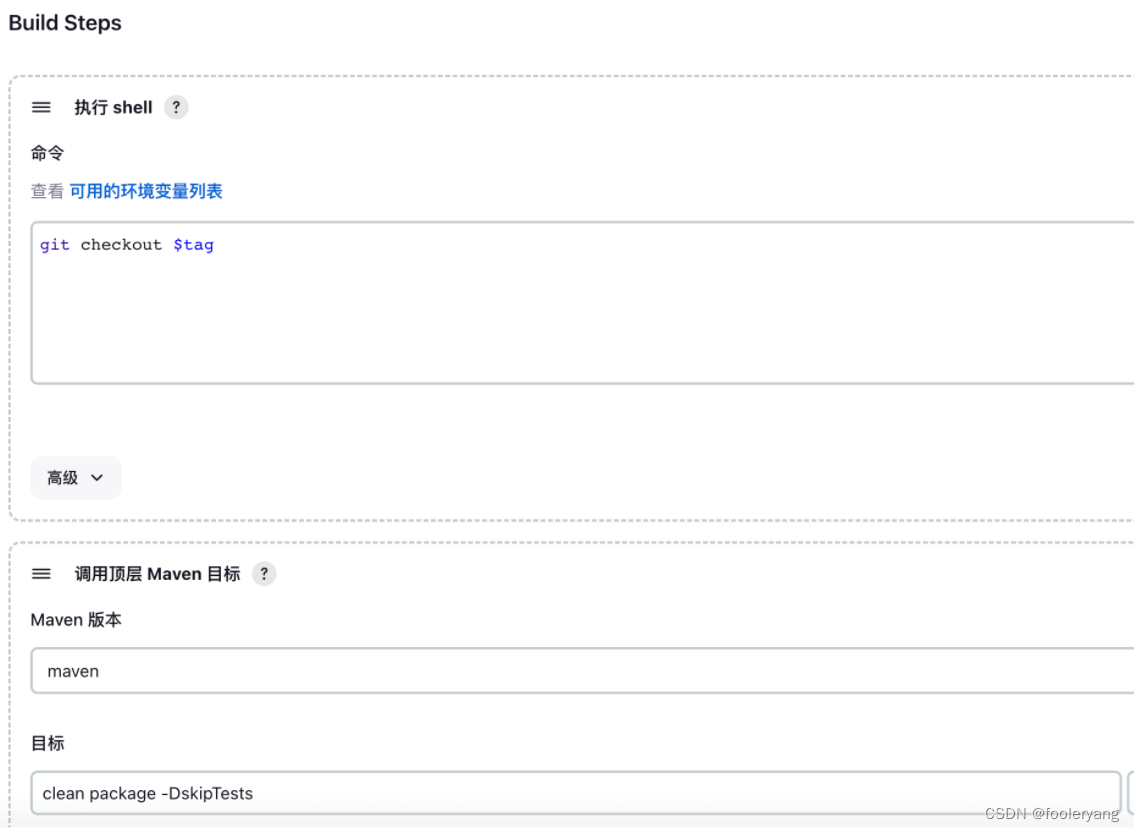
Enter project management again, add build steps in build steps, and choose to call the top-level maven goal
Select the previously added maven
The command is clean package -DskipTestspack and skip tests

Click to build now

After the build is complete, enter the server to see if there is a jar package
jenkins@fe5b68bad9e1:~/workspace$ cd test
jenkins@fe5b68bad9e1:~/workspace/test$ ls
pom.xml  src  target
jenkins@fe5b68bad9e1:~/workspace/test$ cd target/
jenkins@fe5b68bad9e1:~/workspace/test/target$ ls
classes		   generated-test-sources  maven-status		    test-0.0.1-SNAPSHOT.jar.original
generated-sources  maven-archiver	   test-0.0.1-SNAPSHOT.jar  test-classes
1.3 Send the jar package to the target server
Edit project configuration
Select post-build actions
添加send build artifacts over ssh
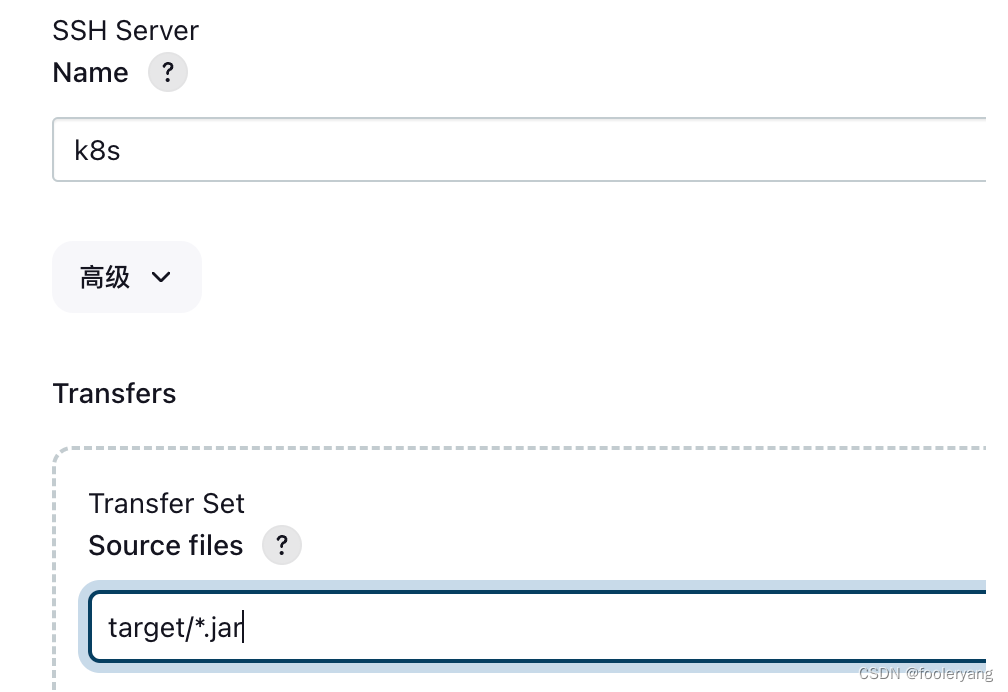
Select the previously configured ssh
Send the jar package of target/ to the target server
The ssh server is configured after installing the plug-in for jenkisn in the previous article
The source files in transfers are all jar files in the target directory in jenkisn
View in target server after selecting build
[root@k8s-master target]# pwd
/usr/local/k8s/target
[root@k8s-master target]# ls
test-0.0.1-SNAPSHOT.jar
Found that the jar file has been sent
1.4 Build the jar into the docker image
Add dockerfile and docker-compose.yml to the code
Dockerfile
FROM eclipse-temurin:8-jre
LABEL org.opencontainers.image.authors="[email protected]"
COPY mytest.jar /usr/local/
WORKDIR /usr/local
CMD java -jar mytest.jar
Docker-compose.yml
version: 'v1.0.0'
services:
  mytest:
    build:
      context: ./
      dockerfile: Dockerfile
    image: mytest:v1.0.0
    container_name: mytest
    ports:
      - 8080:8080
Add a fixed name to pom.xml, and let it be packaged with a fixed name of mytest

Add post-build configuration in project configuration in jenkins
Add commands to jenkins project configuration

The command is to copy the jar file in the target directory to the docker directory [save the dockerfile file directory and create it in the source code], and then execute the build
View on target server
[root@k8s-master docker]# docker images |grep test
mytest                                                                        v1.0.0              5178b6e1eab7   12 minutes ago   239MB
[root@k8s-master docker]# docker ps |grep test
f8f5be867460   mytest:v1.0.0                                       "/bin/sh -c 'java -j…"   12 minutes ago   Up 12 minutes   0.0.0.0:8080->8080/tcp, :::8080->8080/tcp   mytest
Found that the mirror has been run
access

1.5 Modify the code and republish
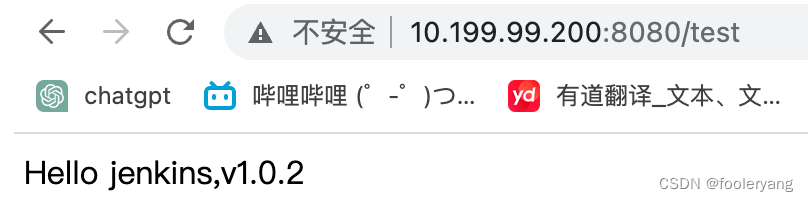
Modify the code to return information as version 1.0.2
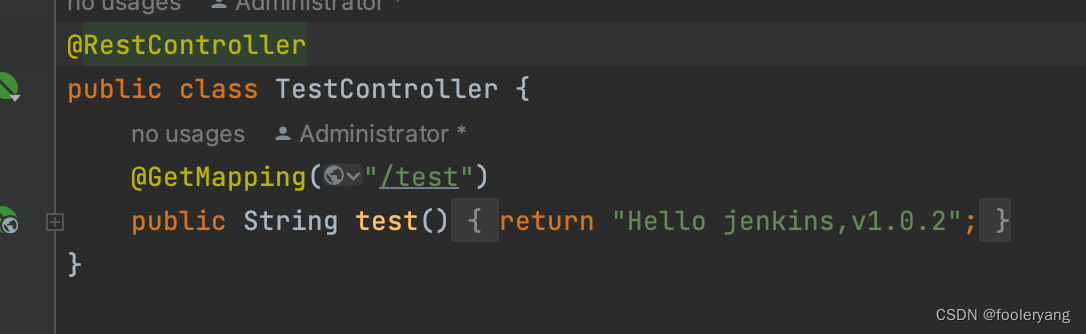
Submit the code to gitlab, jenkins re-build
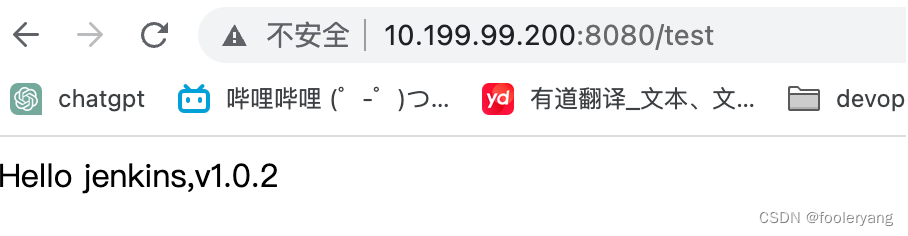
Access after build
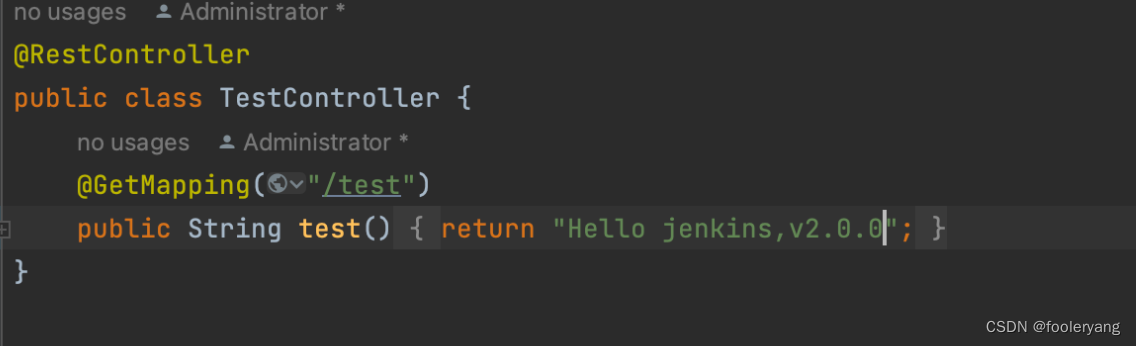
1.6 Parametric construction
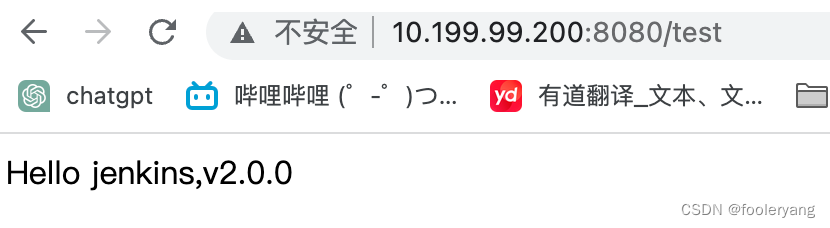
Modify the code to output the version as v2.0.0
Modify docker-compose.yml
Set image to v2.0.0 and version to v2.0.0

Upload the code to gitlab and label it as v2.0.0
Configure in the current task in jenkins
Select the parameterized build process in general

Select the git parameter [the previously downloaded Git paremeter plugin]
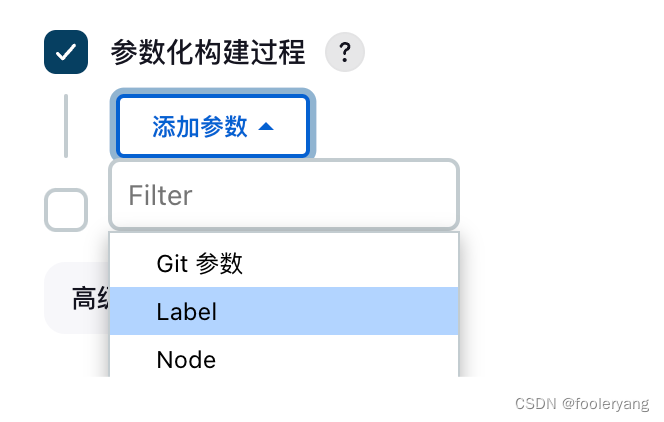
The name is tag [custom, but it needs to be used later]
Parameter Type Selection Tab
The default value selects the main branch

Add advisory shell action in build setp
Add switch branch command
And move this step to the first step $tag can get the parameter tag configured in parameters
Check the project and find that the gitlab label is automatically pulled

Choose to build v1.0.0, the output is the previously modified v1.0.2
Select build v2.0.0, the output is the current modified v2.0.0
2 summary
At this point, jenkins pulls gitlab, and can parametrically build the code, and publish it to the target machine to complete
However, the shortcomings of the current operation are also obvious. A docker file is required, and multiple contents are modified each time the label is released; the operation modification of the release process enters jenkins for setting and modification
In the future, the pipeline project will be used to integrate the jenkins release operation into a Jenkins file, which is in the project source code, so that only the file needs to be modified to complete the modification of the release operation, and there is no need to modify multiple places to replace the tag
Will also use k8s to publish projects